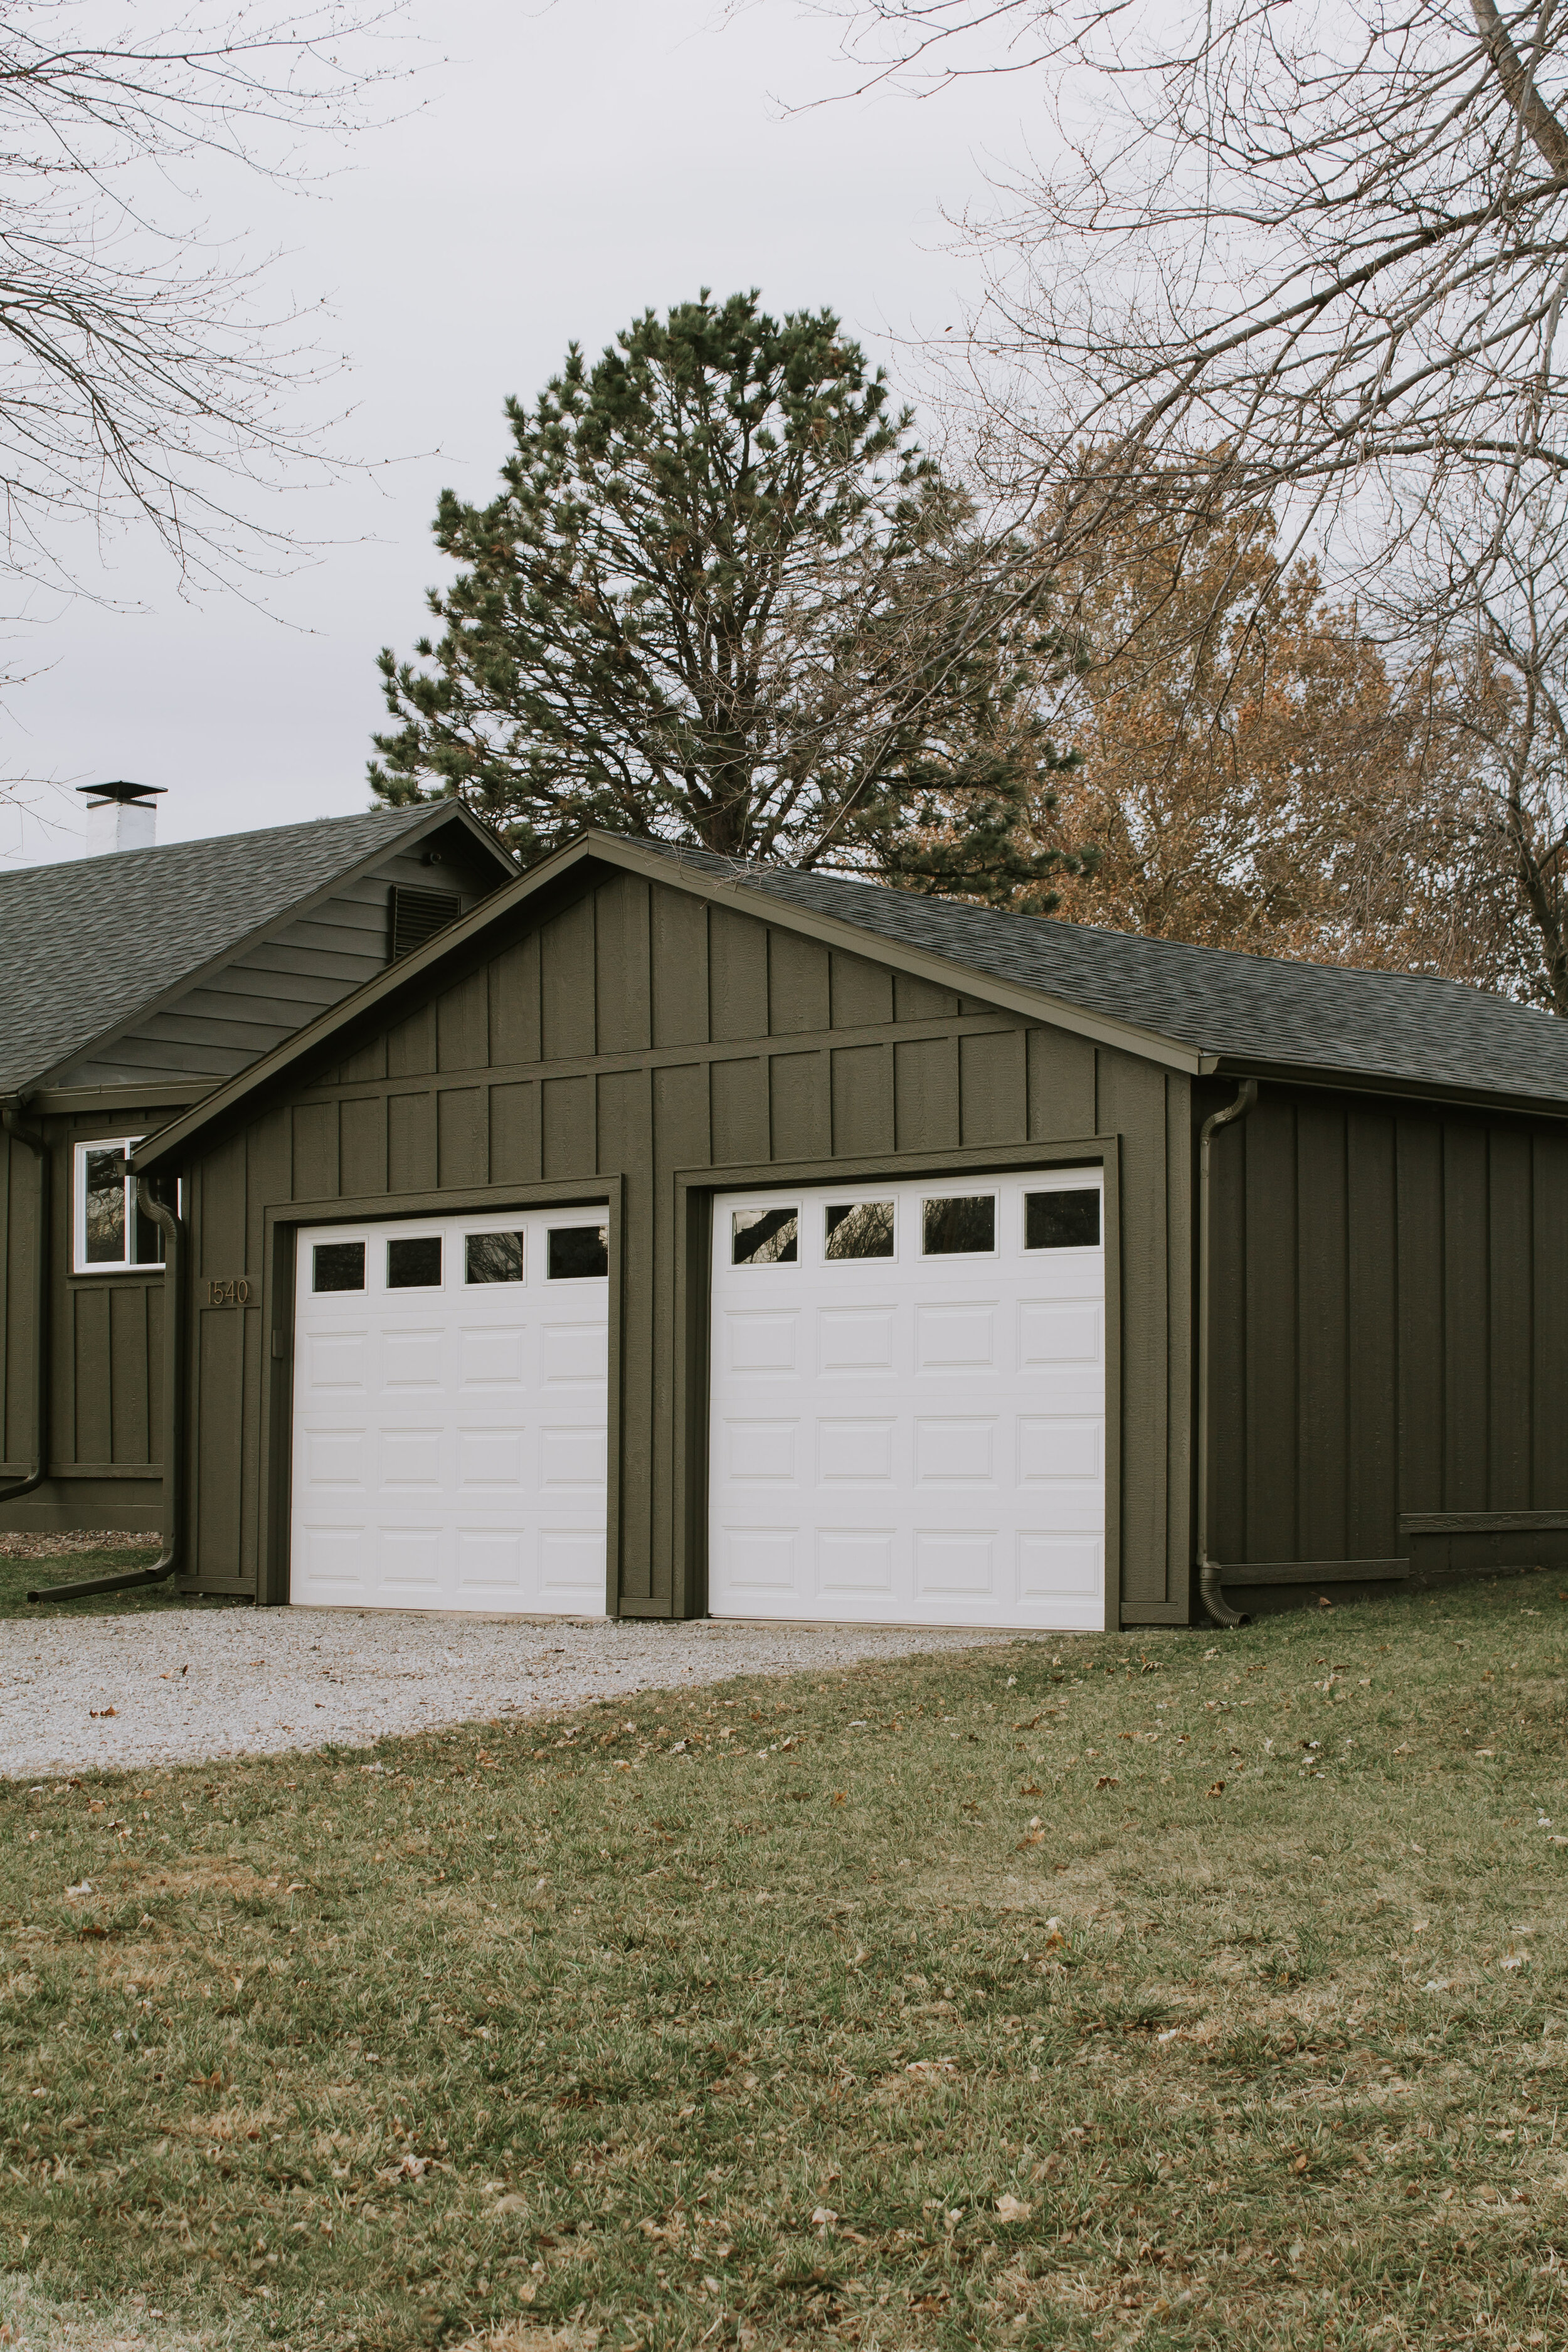
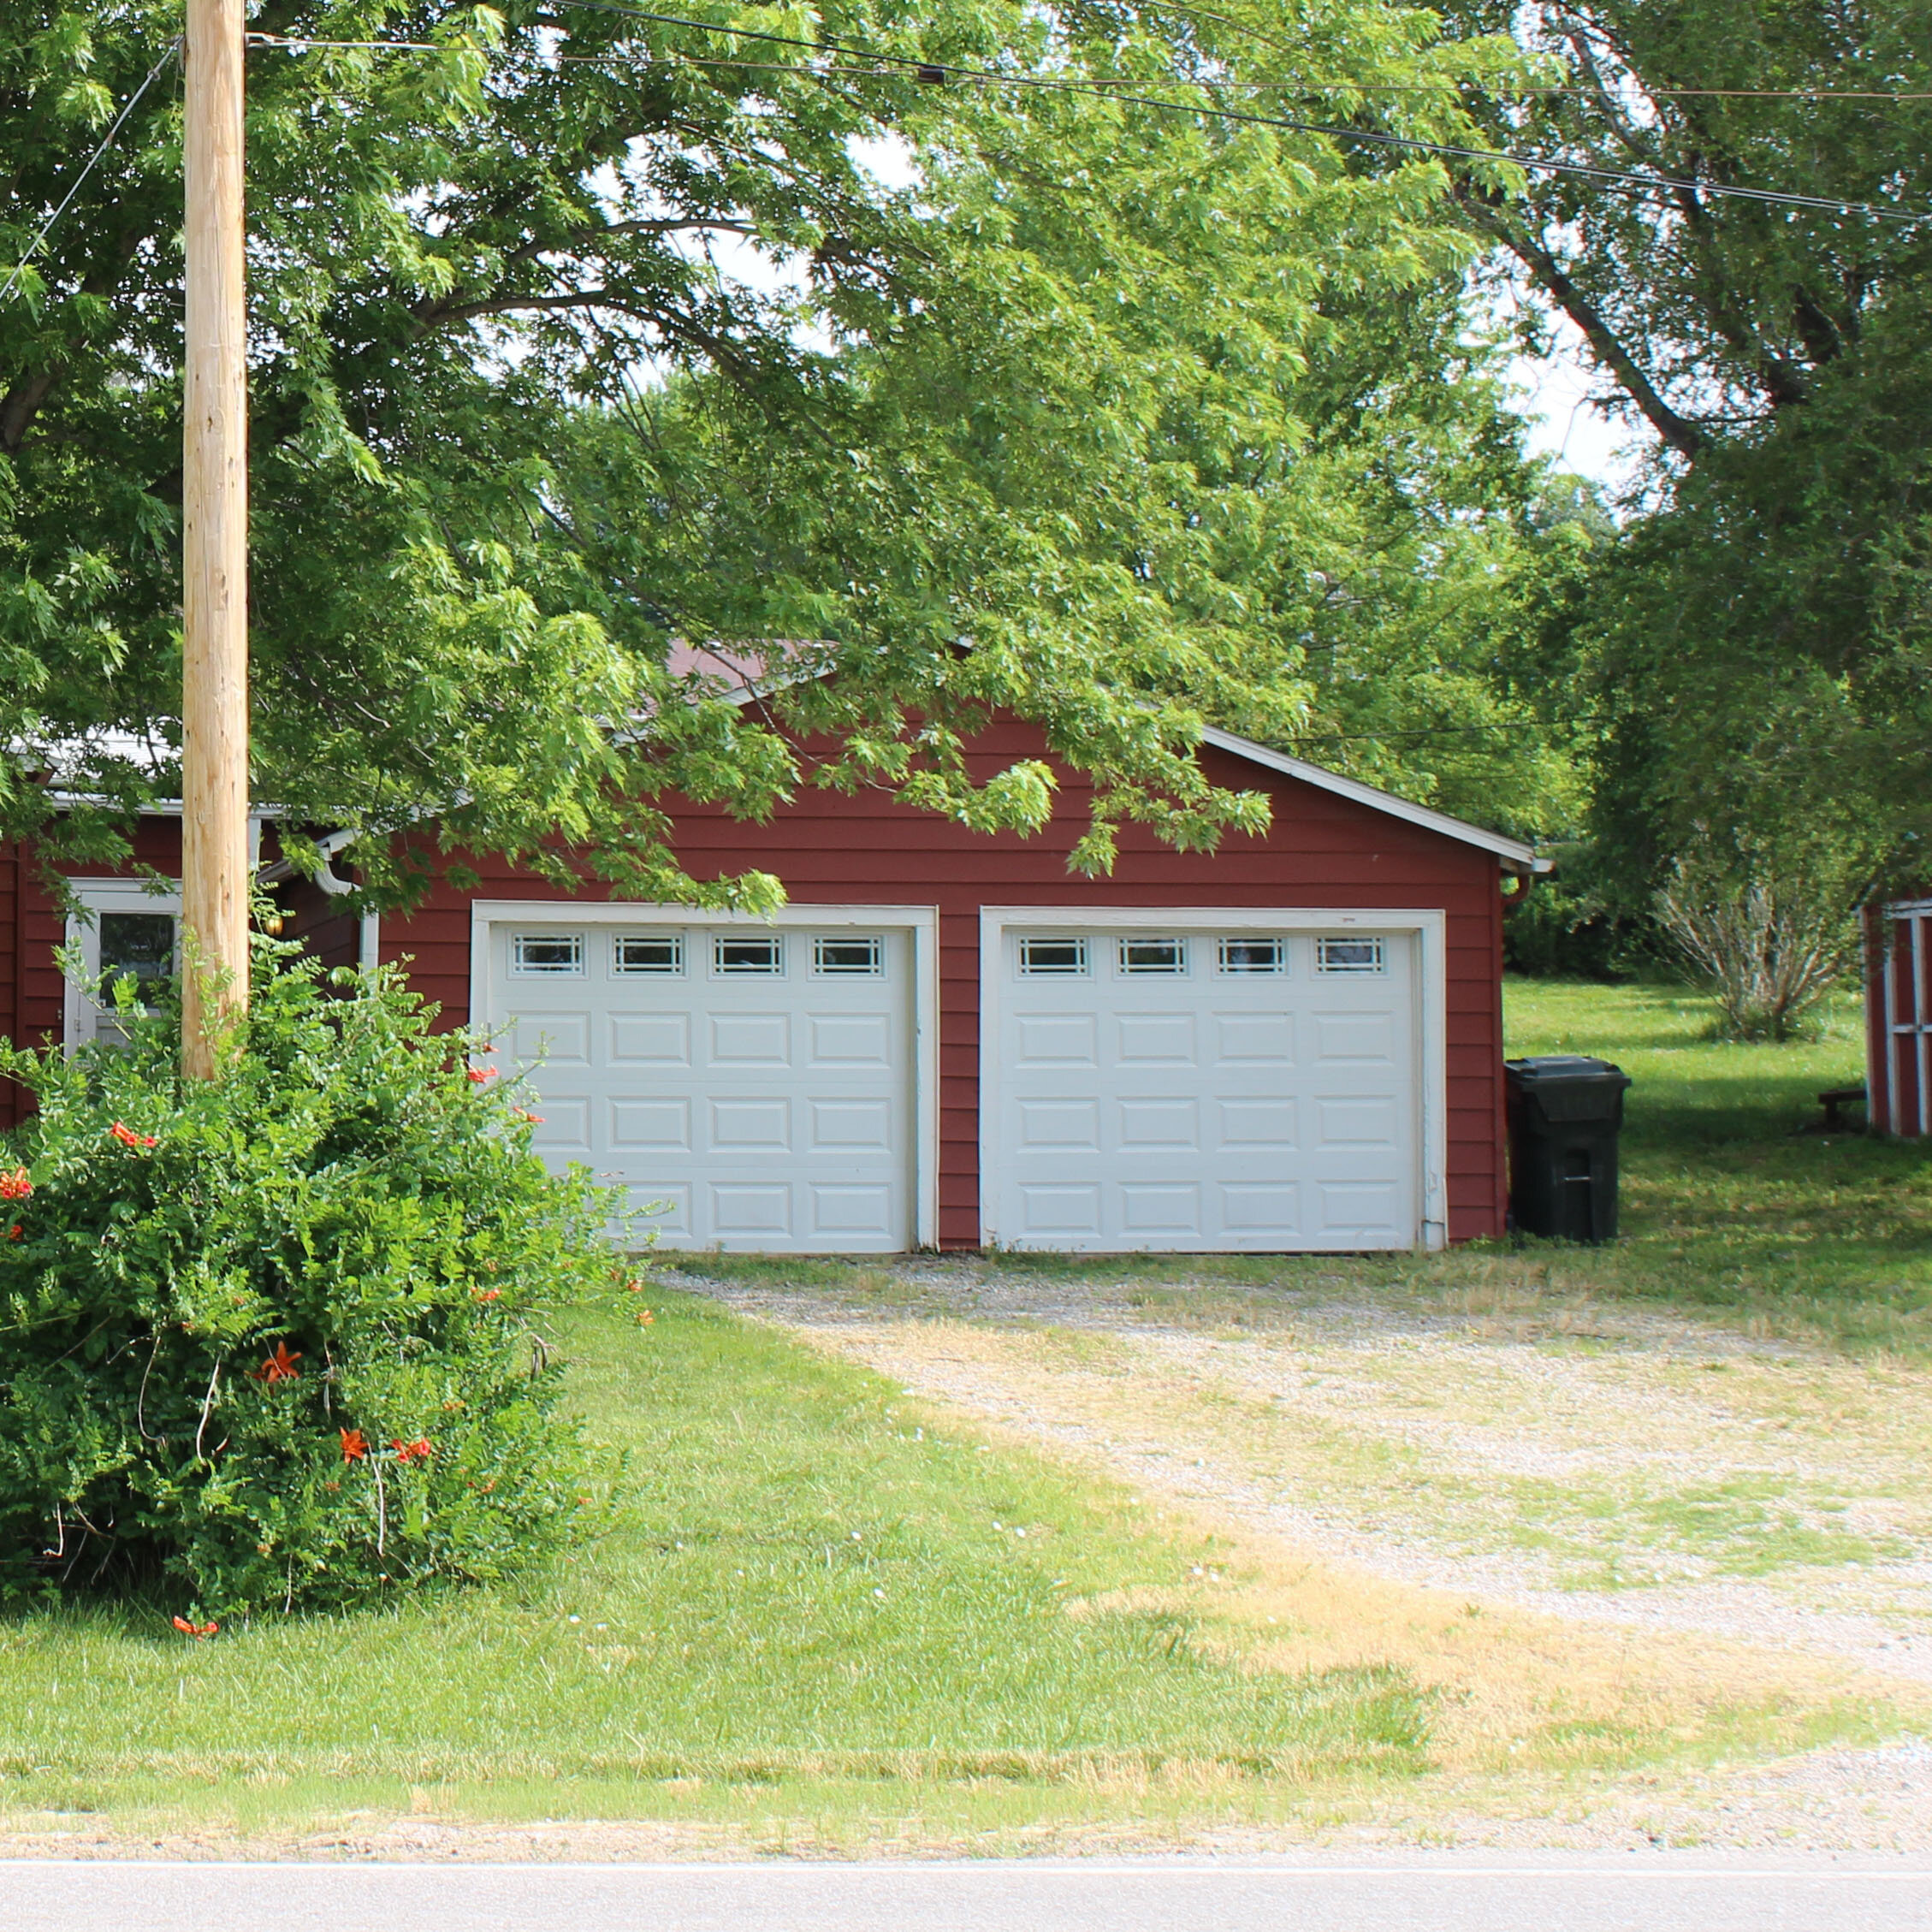
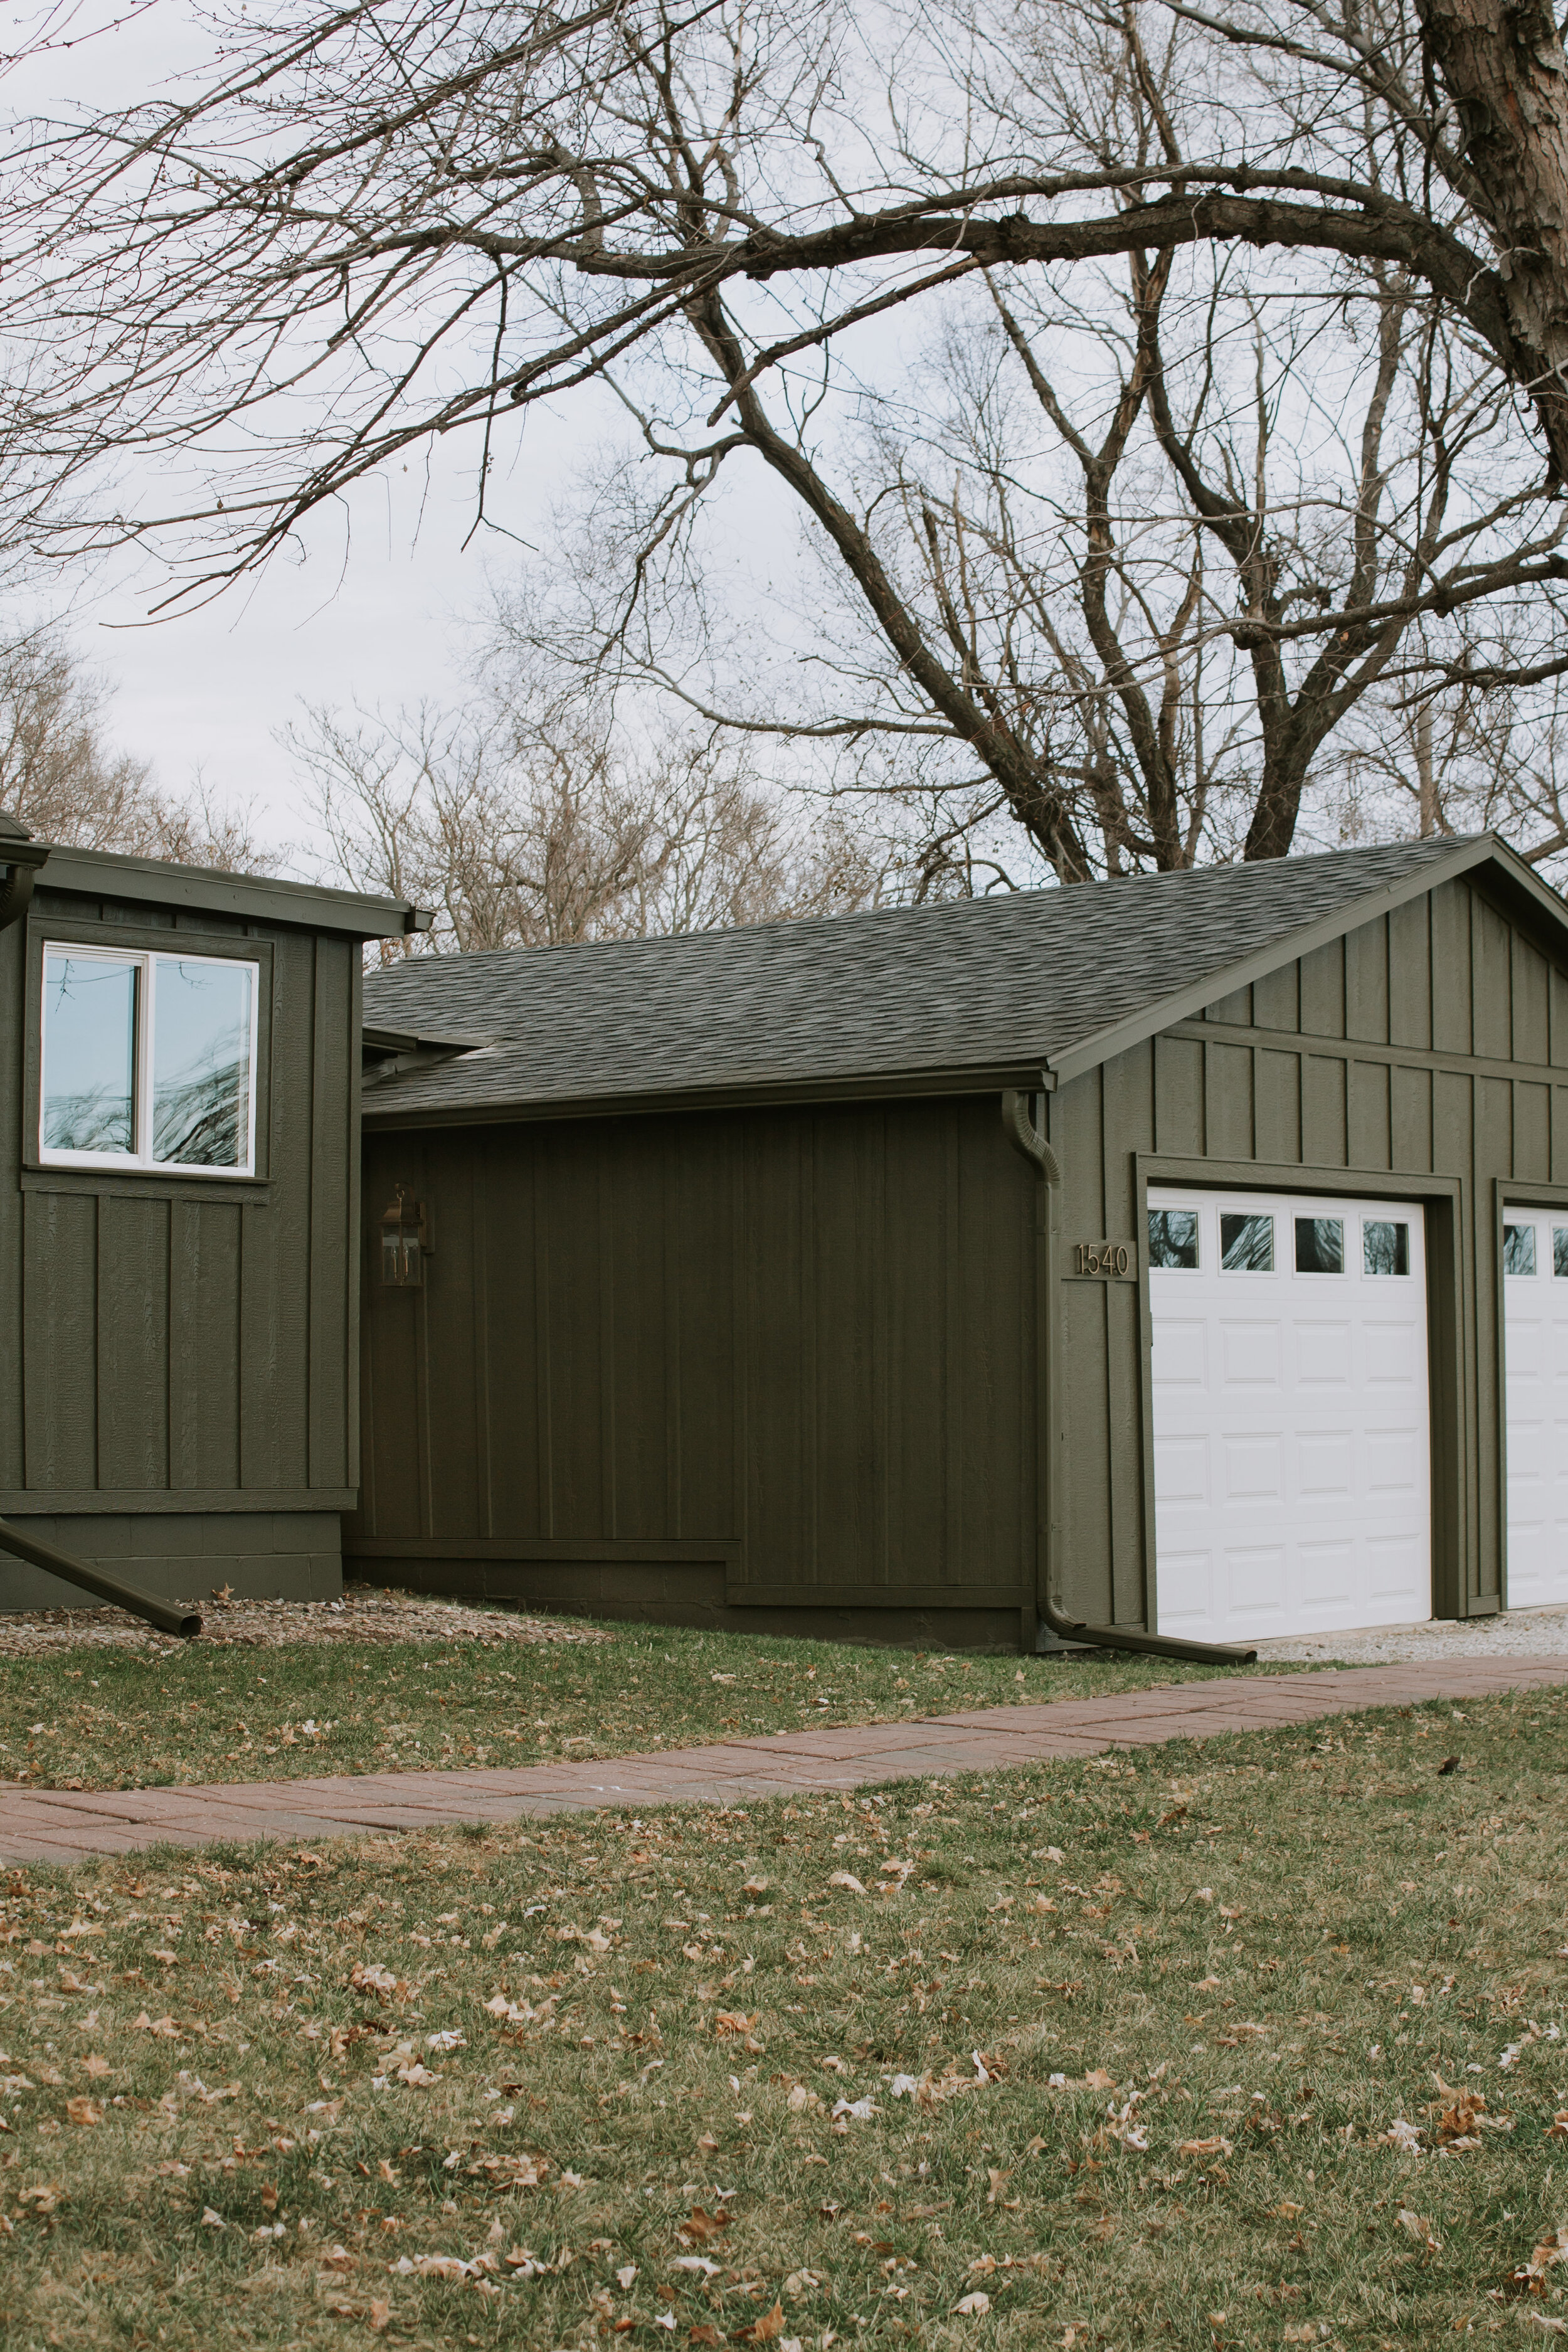
We did a ton of work to our exterior and most of what you see is new, but one thing we didn’t replace were our garage doors. Between the endless list of projects that felt more important and our desire to keep the exterior renovation cost down, we opted to keep our garage doors and simply repaint them. They’re nothing fancy but I was confident we could make them look good with a fresh coat of paint. For reference, here’s how our garage doors looked before –
I wish you could see the grime that had built up on these doors over the years. I know it looks like we kept the original color, but I promise we repainted the garage doors a different color! 😉
After picking a color for our siding, “Subterranean” from HGTV Home by Sherwin Williams, (NOTE: the paint color name has since changed to “Muddled Basil” by Sherwin Williams) I felt like our garage doors needed to remain a contrasting color. White was too stark of a contrast so I picked a neutral greige (“Gracious Greige” from HGTV Home by Sherwin Williams) which miraculously reads greige in both the sun and shade. (Some whites/light colors looked blue in the sun and some beiges looked yellow…)
Painting the garage doors was actually really simple and today I’ll share the exact steps and products we used to do so. Now I know I know, it’s almost Christmas and no one is thinking about exterior projects right now….but bookmark this post for the spring when you get antsy to go outside again! 🙂
1 – Clean
Chris power washed the garage doors a day ahead of time to get rid of all the grime and dirt. If power washing doesn’t seem to do the trick, soapy water with a bristle brush should do the job.
2 – Prime
When it comes to metal garage doors specifically, a quality “bonding” primer is necessary in order to ensure that the paint will adhere and last a long time. Kilz Adhesion Primer was the #1 most recommended primer, but we couldn’t find it at any local store so we bought this Bondz primer by Zinsser instead and it worked wonderfully.
We used this paint sprayer to prime the garage doors and it took all of 5 minutes tops. After letting it sit for another 5 minutes or so, we opened the garage doors partially to ensure that the primer on each panel seam didn’t stick together.
(I should also note, we primed our garage doors before painting our siding so we didn’t need to tape or tarp off the siding.)
3 – Paint
Had it not been the windiest day of the year (….not joking) we would’ve painted our garage doors with the sprayer again. But the wind didn’t let up so I decided to roll the garage doors instead. This took a lot longer but the finish still turned out really good. Starting from the top and working my way down, I painted each panel with this mini roller. After finishing one or two rows, I raised the garage door slightly so the paint didn’t dry or seal the panels together.
I used the same brand of paint that we used on our siding since it states that it can also be used on metal and garage doors. It’s the Everlast exterior paint from Lowe’s and I’ve been more than impressed with the quality and coverage of this paint! Two coats was necessary since garage doors take a beating.
And that’s all. It’s all about finding a high quality bonding primer and paint and ensuring that both can be applied on the material that your garage doors are made of. The back of the paint can usually lists this info!
Cheers to “new” garage doors for the price of a gallon of paint and primer!
Leave a Reply Cancel reply
Where behind the scenes, exclusive advice, and candid conversations are sent straight to your inbox every week.




using metal primer is a big help! I use Boysenhttps://diyhardware.ph/products/boysen-paint-1-liter-red-oxide-metal-primer-310