Sources: Wicker Vase | Wicker Tray | Pendant
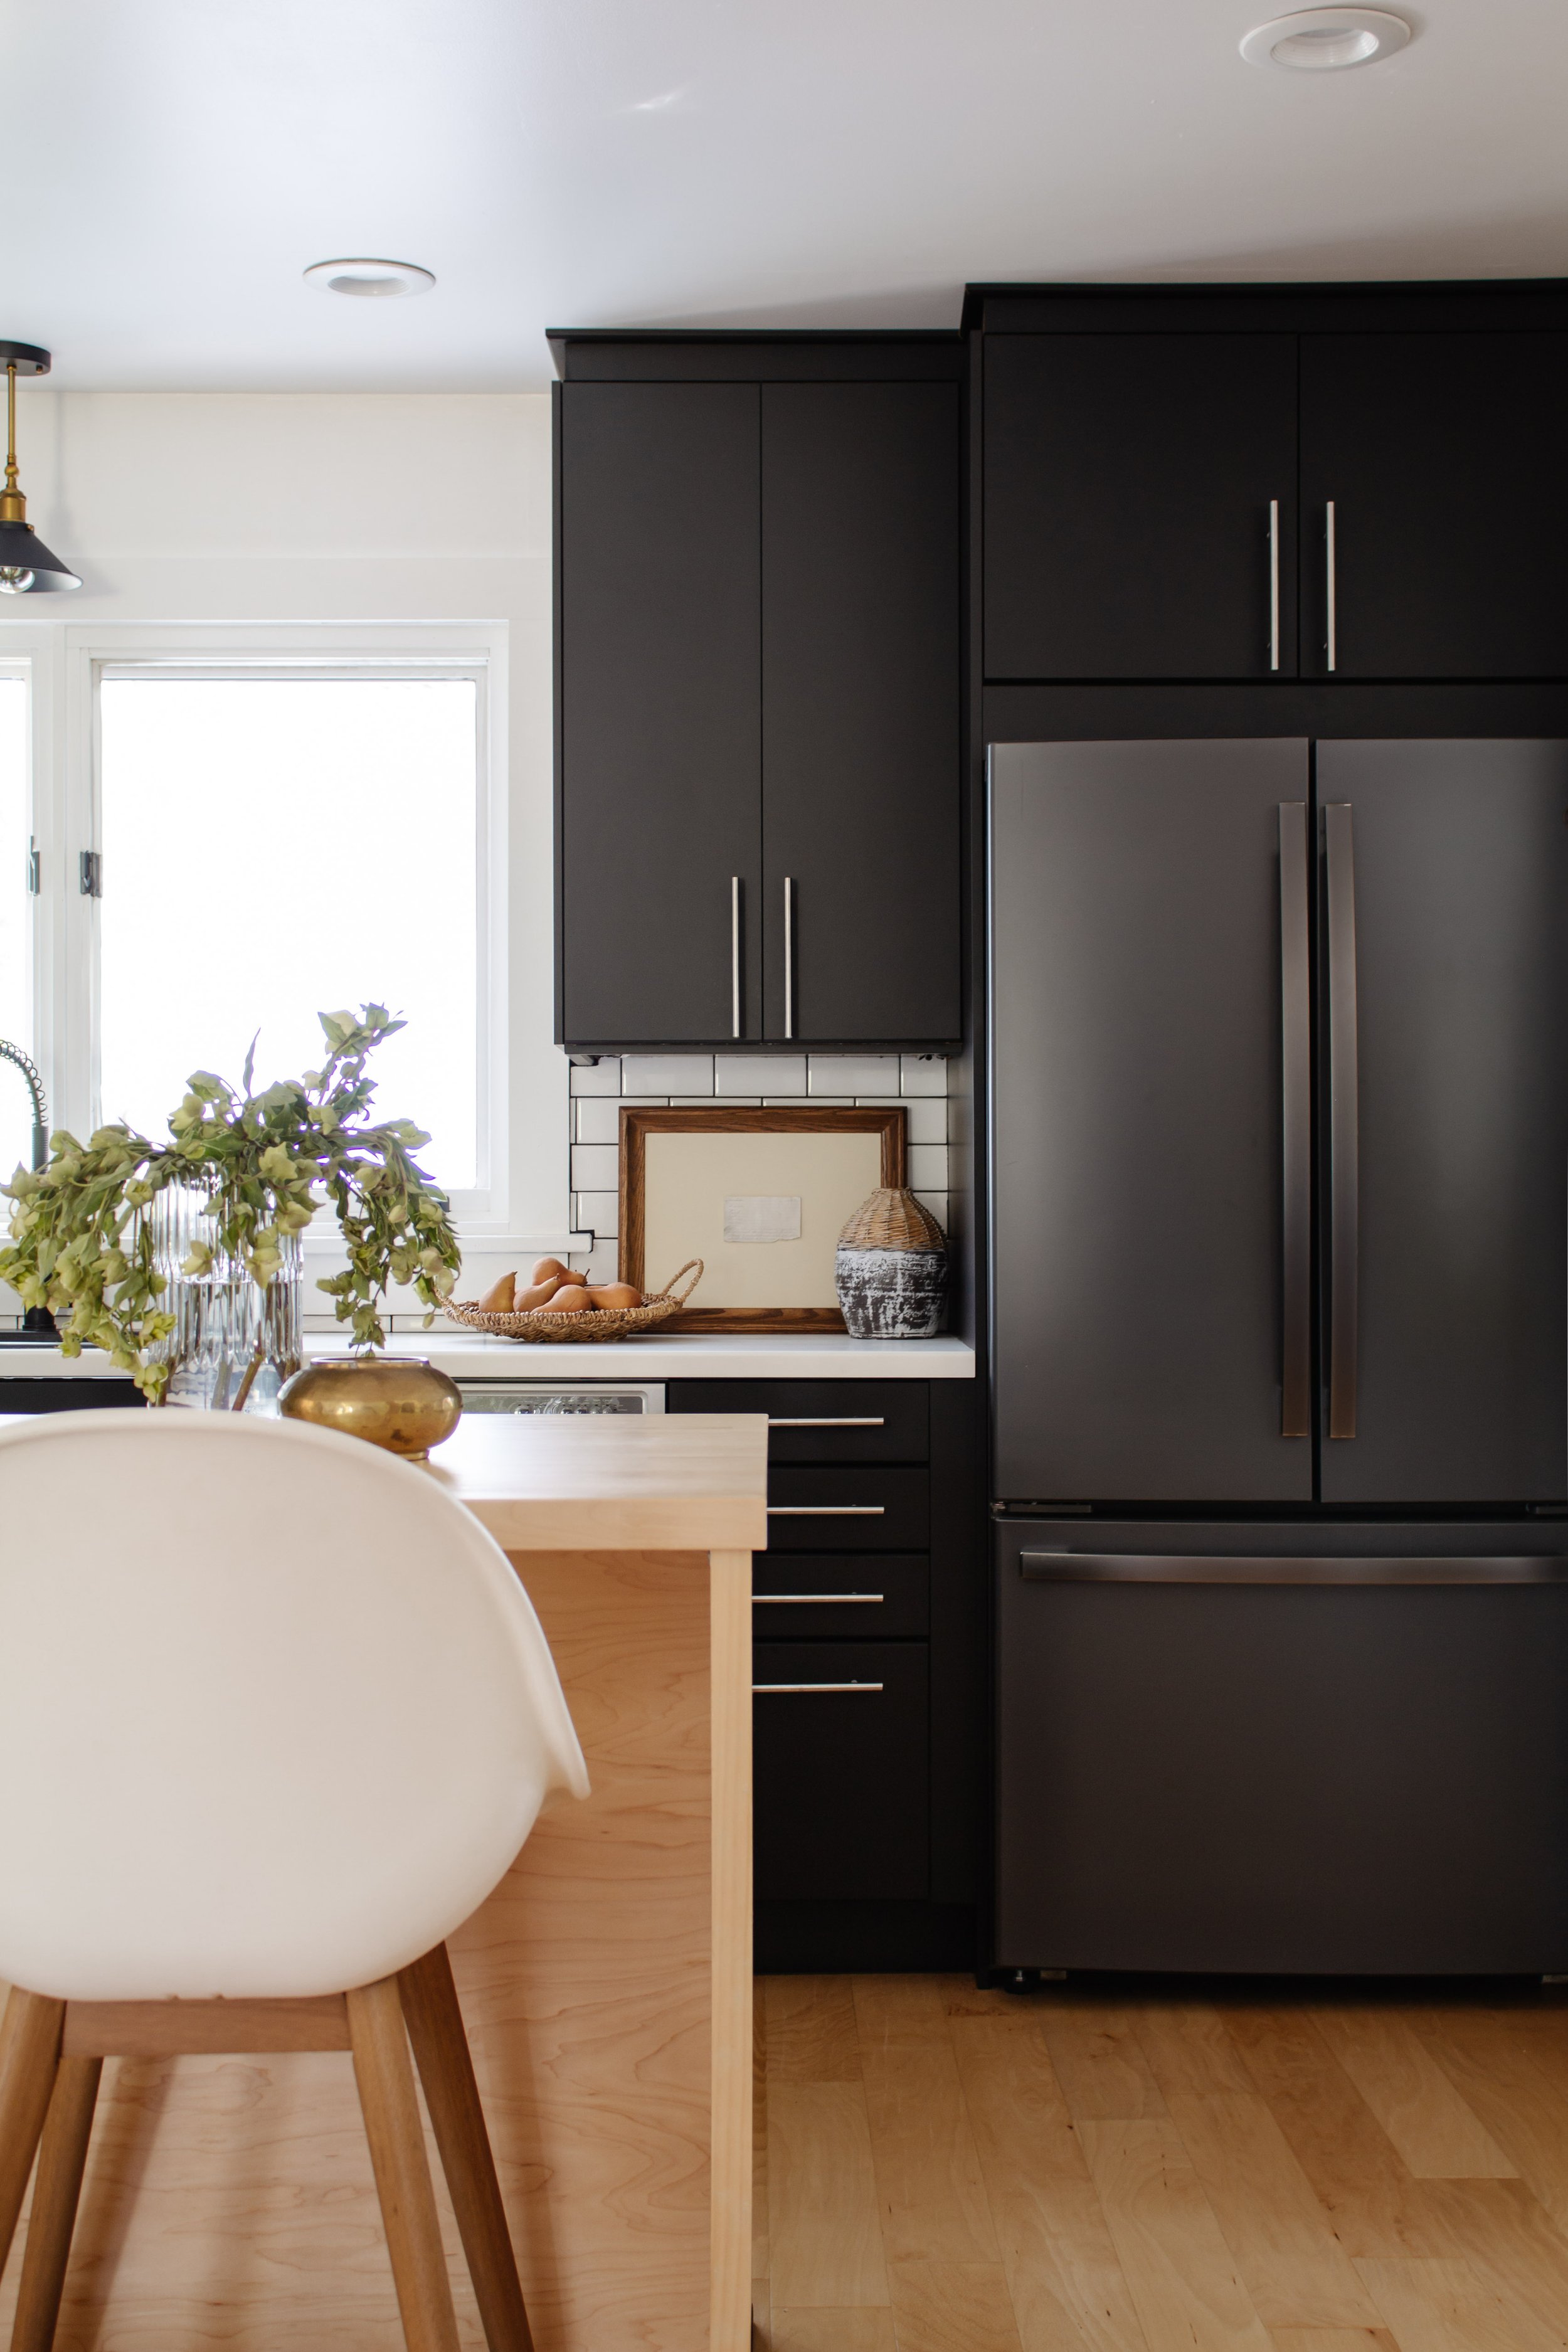
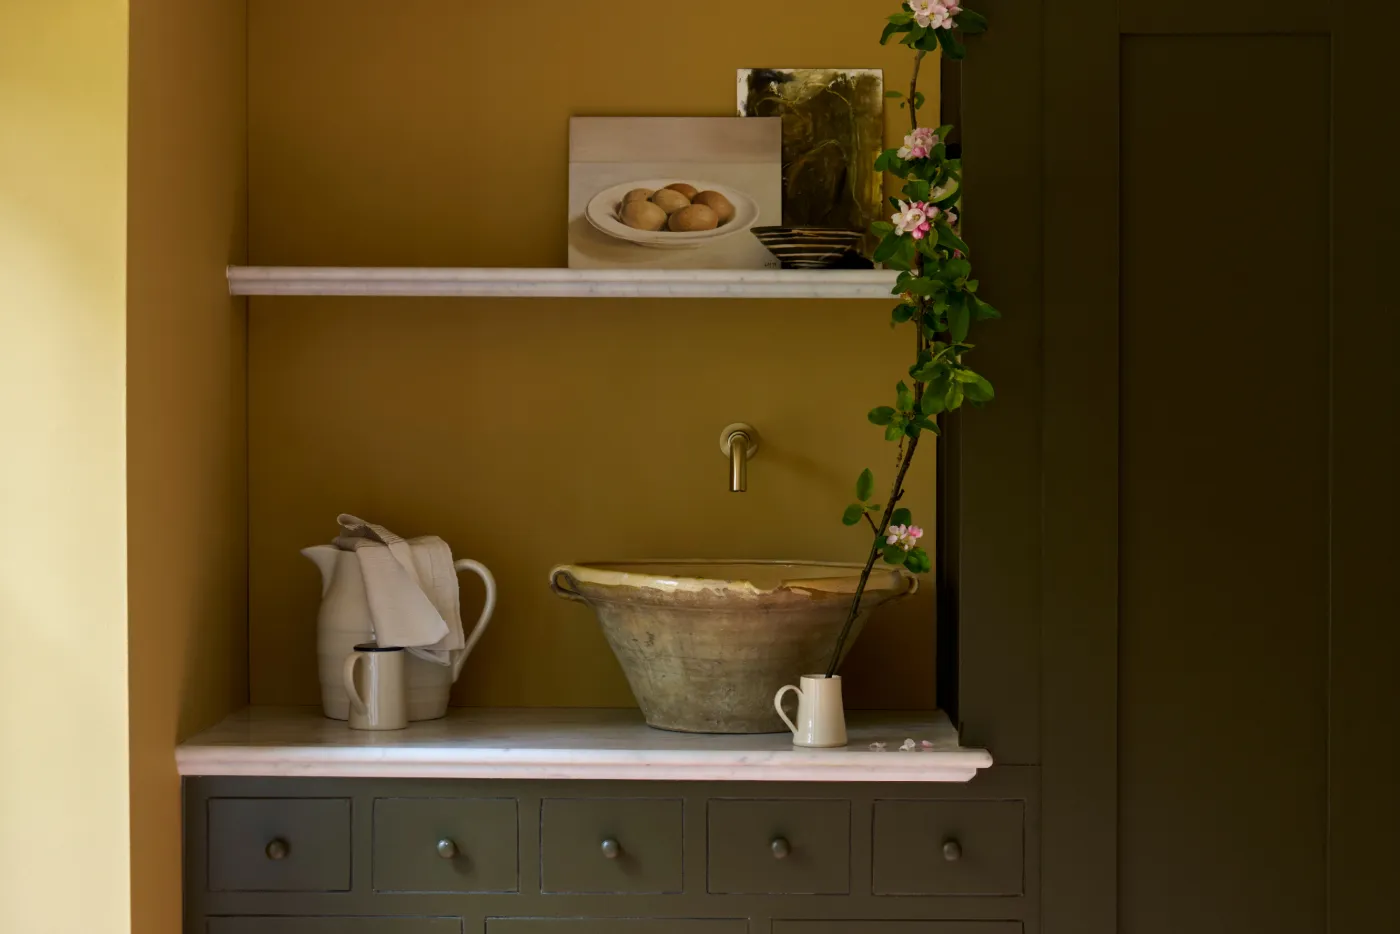
I absolutely adore unexpected decor in the kitchen. Art, mirrors, lamps, books, candlesticks, stools, maybe even an antique chair at the end of the cabinets. Something unexpected can be the difference between a purely functional space and a captivating room.
Sources: Wicker Vase | Wicker Tray
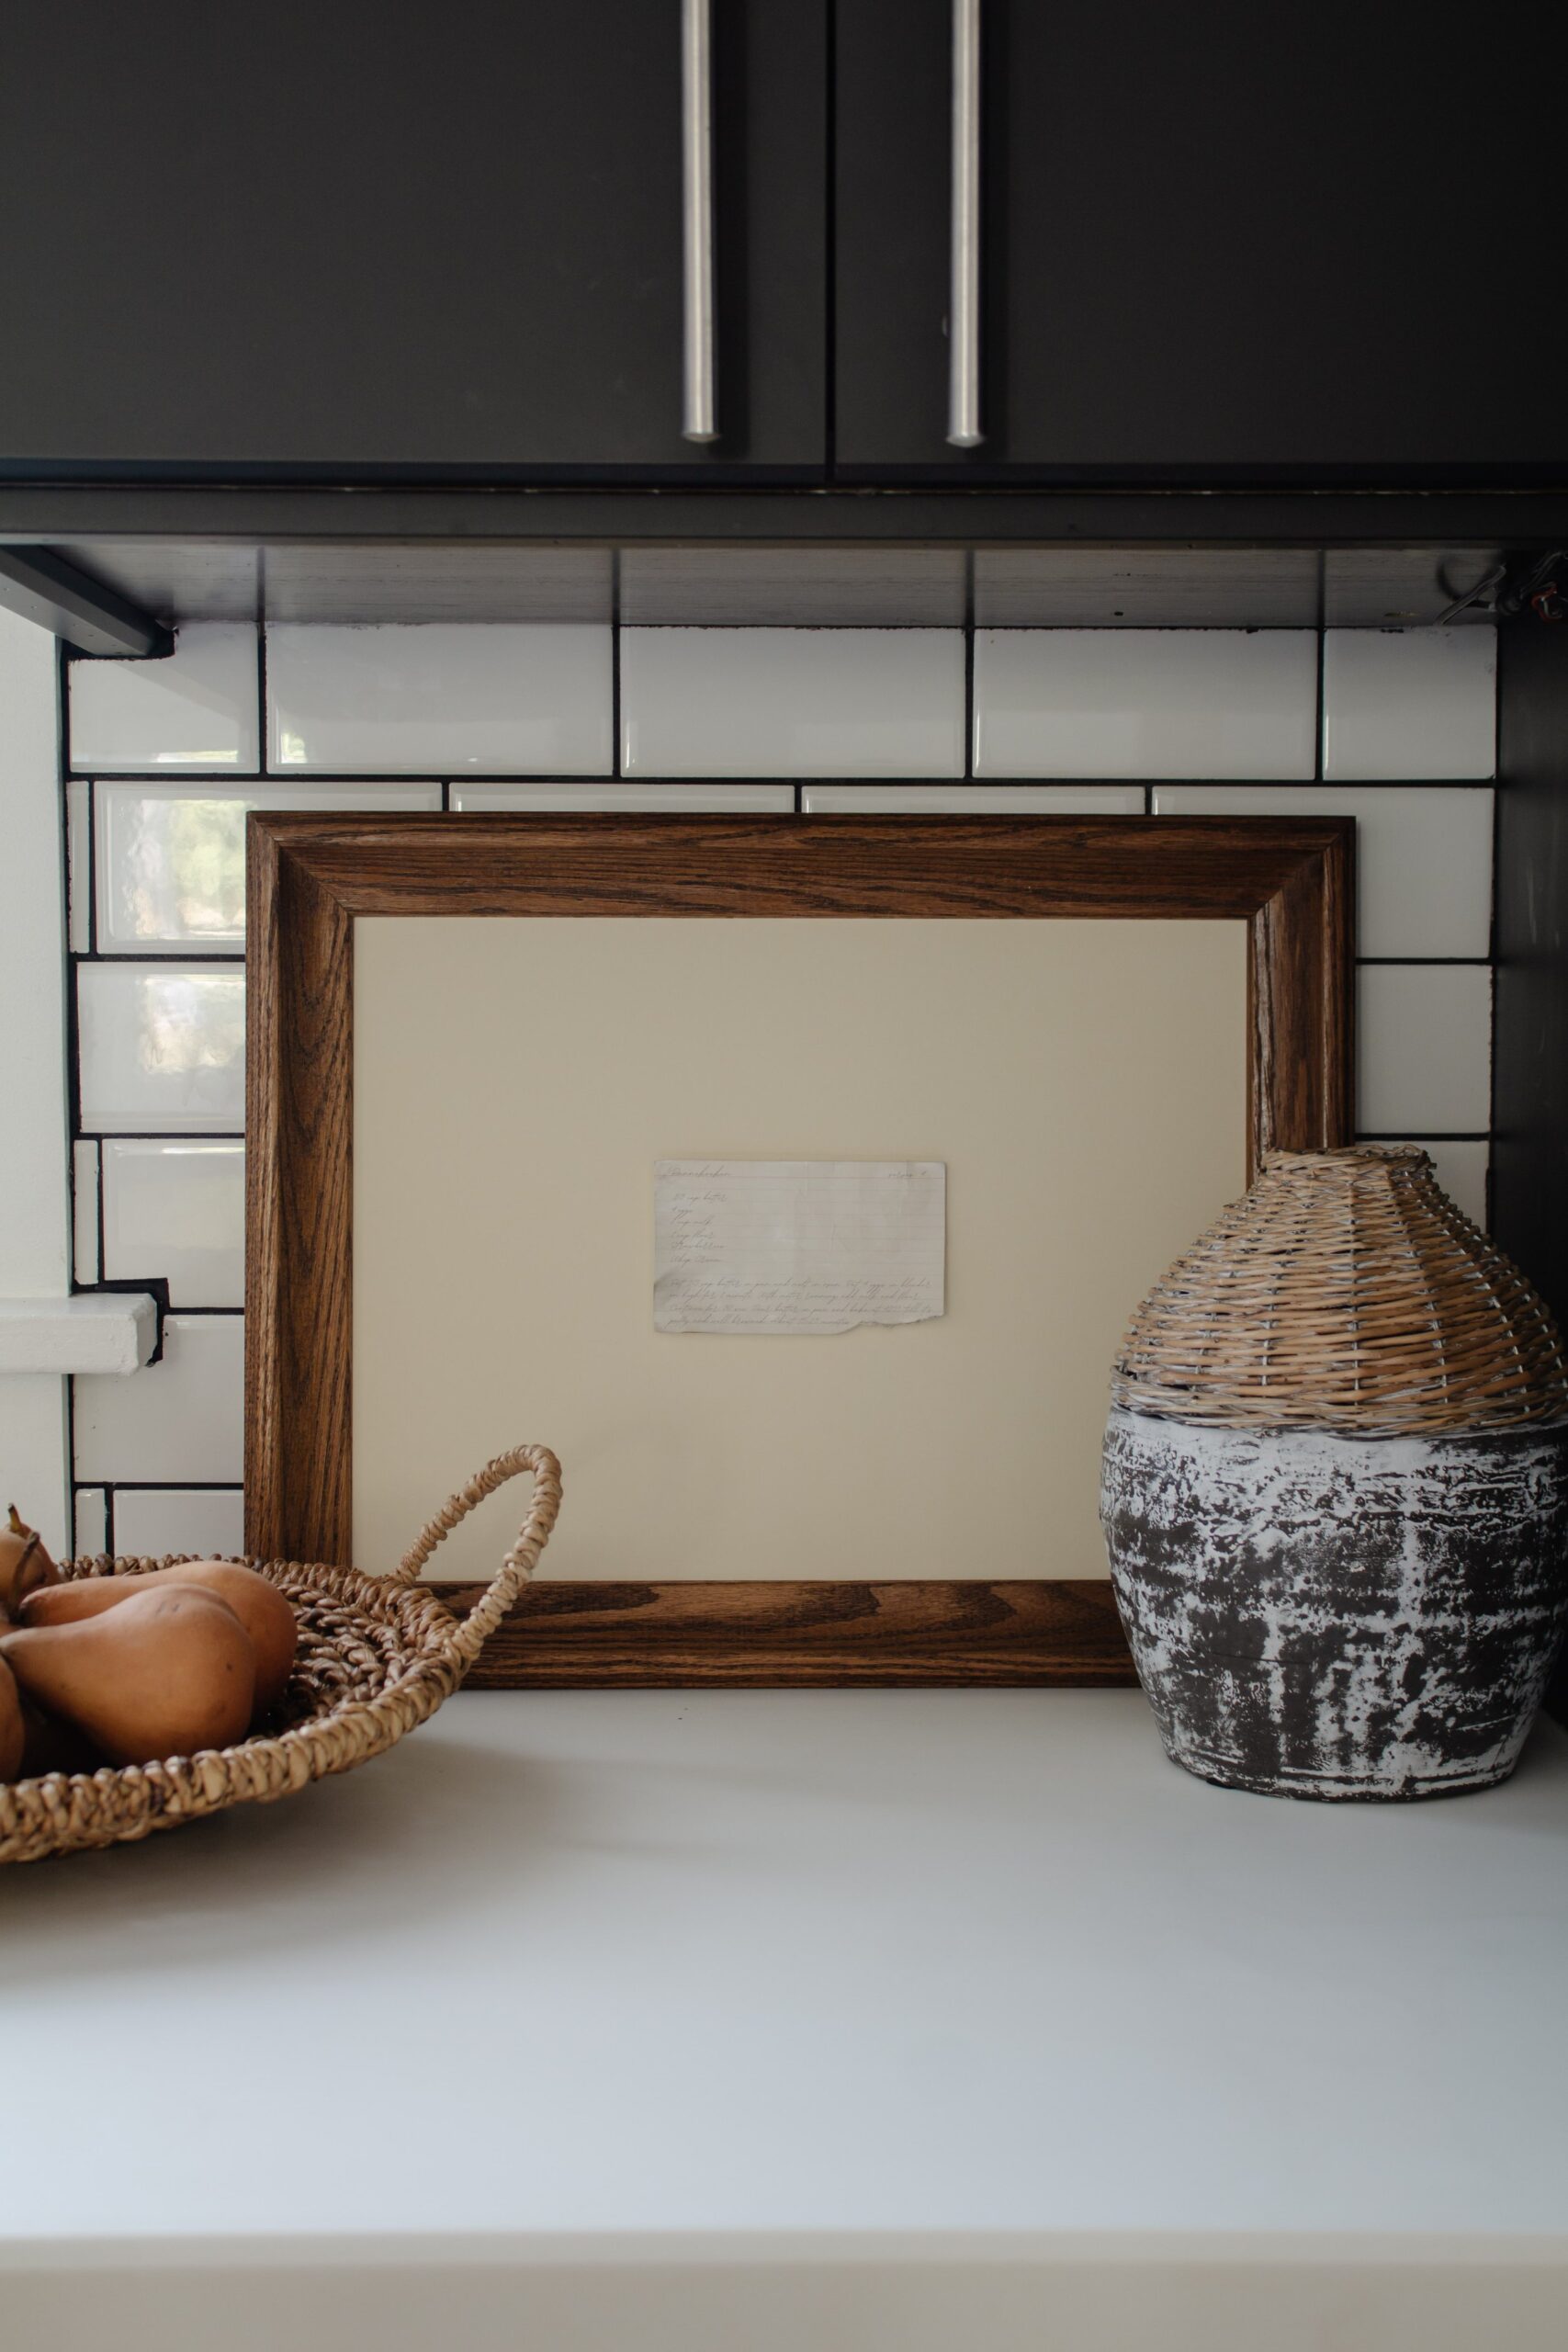
Last week I was perusing Pinterest when I saw this pin of a framed recipe card and I was so intrigued by it. Not only is art in the kitchen fun…but framing something that isn’t traditionally used as art is even better!
If you happen to have a genuine old family recipe card that you could frame, that’s ideal! But if not, here’s how I created my imitation of an old recipe card with a recipe that’s been in my family for years!
STEP 1
Create Your Recipe Card Online
I used Canva to create my recipe card. It’s a free online site that’s really easy and fun to use! Just sign up with your email address and create a password if you don’t already have an account.
I created a 5” x 3” recipe card template for you to use to speed up this process! You can download the recipe card template here. Just change the text to your ingredients and cooking instructions to personalize it!
STEP 2
Print The Recipe Card
Once you’ve customized the recipe card, download the design as a “PDF Print.” Then open this site and convert the pdf into a jpg file. (Canva’s version of a jpg file is lower quality so I prefer to download my designs as a PDF first, and then convert it to a jpg offsite to maintain image quality.)
Ok next, open a Word document and upload your recipe card file onto your Word document. (click Insert > Pictures > Picture From File > and select the recipe card saved on your computer) It should upload as 5” x 3” and be ready to print.
Print it (in color) on a sheet of thicker cardstock paper. Once the ink dries, cut it out and then you can start to “age” it.
STEP 3
Make It Look Old
I crinkled mine up, ripped the corner, bent the other corners, burned the side of it lightly with a match, and then rubbed some maple flavoring on the whole card with my finger to make it look older. There’s no wrong way to do this.
STEP 4
Mount It
I chose to float mount the recipe card in my frame, but you can also tuck it behind a mat, or stick it in a frame that’s the same size as your card. Completely up to you!
To float mount your recipe like I did, pick a backing. I bought this creamy mat board at Michaels and cut it to the size of an old frame I had. Then I cut out a couple pieces of mat board that were slightly smaller than my recipe card and stacked them/taped them together. Then I taped them to the back of the recipe card and taped that all to my backing!
My frame didn’t come with glass but you can choose to go with or without glass.
It’s a simple project with a lot of personality and it genuinely looks like an old recipe card. Even Chris thought it was real! How appropriate is this art for the kitchen though? Unexpected, personal, and a conversation starter.
Sources: Wicker Vase | Wicker Tray
For those wondering what my family recipe is, It’s called Pannekoeken and it’s the most delicious breakfast dish you could eat! Top it with strawberries and whip cream and enjoy! Here’s the recipe-
A RECIPE FOR
Pannekoeken
INGREDIENTS
1/3 cup butter
4 eggs
1 cup milk
1 cup flour
Strawberries
Whip cream
INSTRUCTIONS
Preheat oven to 425°. Put 1/3 cup butter in a cast iron skillet and put the skillet in the oven while it preheats to melt the butter. Put 4 eggs in a blender on high for 1 minute. With motor running, add milk and flour. Continue for 30 seconds. Once the butter has melted, remove the cast iron skillet and pour the batter in. Bake at 425° until it’s puffy and well browned. About 15-25 minutes. Top with stawberries and whip cream and enjoy!

SHOP THE POST

Leave a Reply Cancel reply
DO YOU WANT
The Inside Scoop
Where behind the scenes, exclusive advice, and candid conversations are sent straight to your inbox every week.


Hi Danica! I’ve been following you for a while and I just love your blog! Your house looks amazing, elegant, and cozy! Your do’s and don’ts guides are so helpful. I always refer back to them. You’ve made it so easy to understand basic design principles. Okay now for my question, a bit random but I noticed you have a new fridge and I think it’s beautiful! I need to get a new fridge and was wondering what fridge this is and if you like it?
Hi Trish, wow I’m so glad you enjoy my blog! Makes me so happy! We really like our fridge. It’s the GE counter depth fridge in Black Slate. I’ll link it here – https://rstyle.me/+1hC4oloiIg-KVq-dBquuHA
Love that it doesn’t show fingerprints and that the shelves inside are all adjustable. One note: the model we got doesn’t have a water dispenser, but I believe they make other models that have that inside.
I love this! I’m hoping to make some of these for family members with recipes from my grandmother who passed earlier this year. I’m having some trouble though. When I click on the link to get the template card it takes me to a watermarked version that I have to pay to save without the watermark. Any chance you could share how to create it from scratch for free? Thanks!
Ohh, thank you for the heads up! I didn’t realize the template I created was only for paid users. I just updated the template and you can now use and download the recipe card for free! I updated the link above but you can also get the free template here – https://www.canva.com/design/DAFLk_-8oMk/57fBz36gjgcT_4FFUC-Z6w/view?mode=preview&utm_campaign=designshare&utm_content=DAFLk_-8oMk&utm_medium=link&utm_source=publishsharelink