When you see a good deal, take it! That’s the moral of this story.
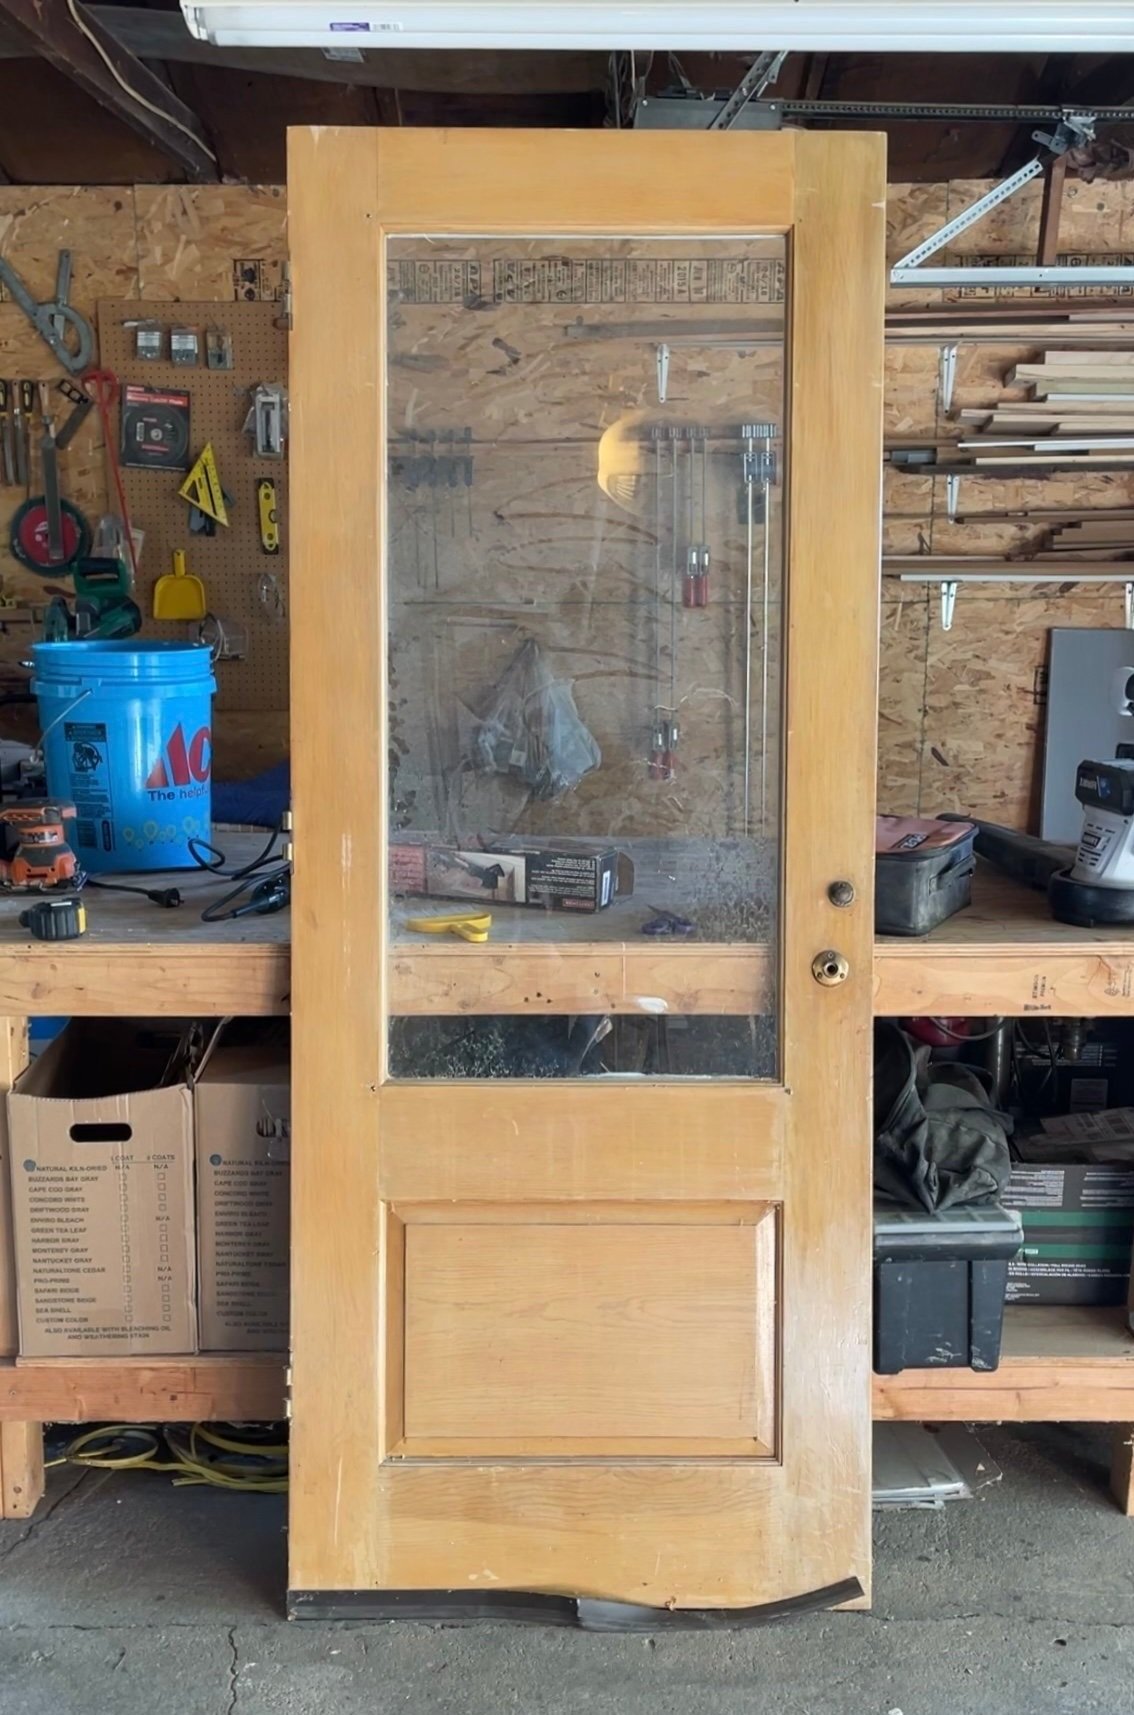
Before
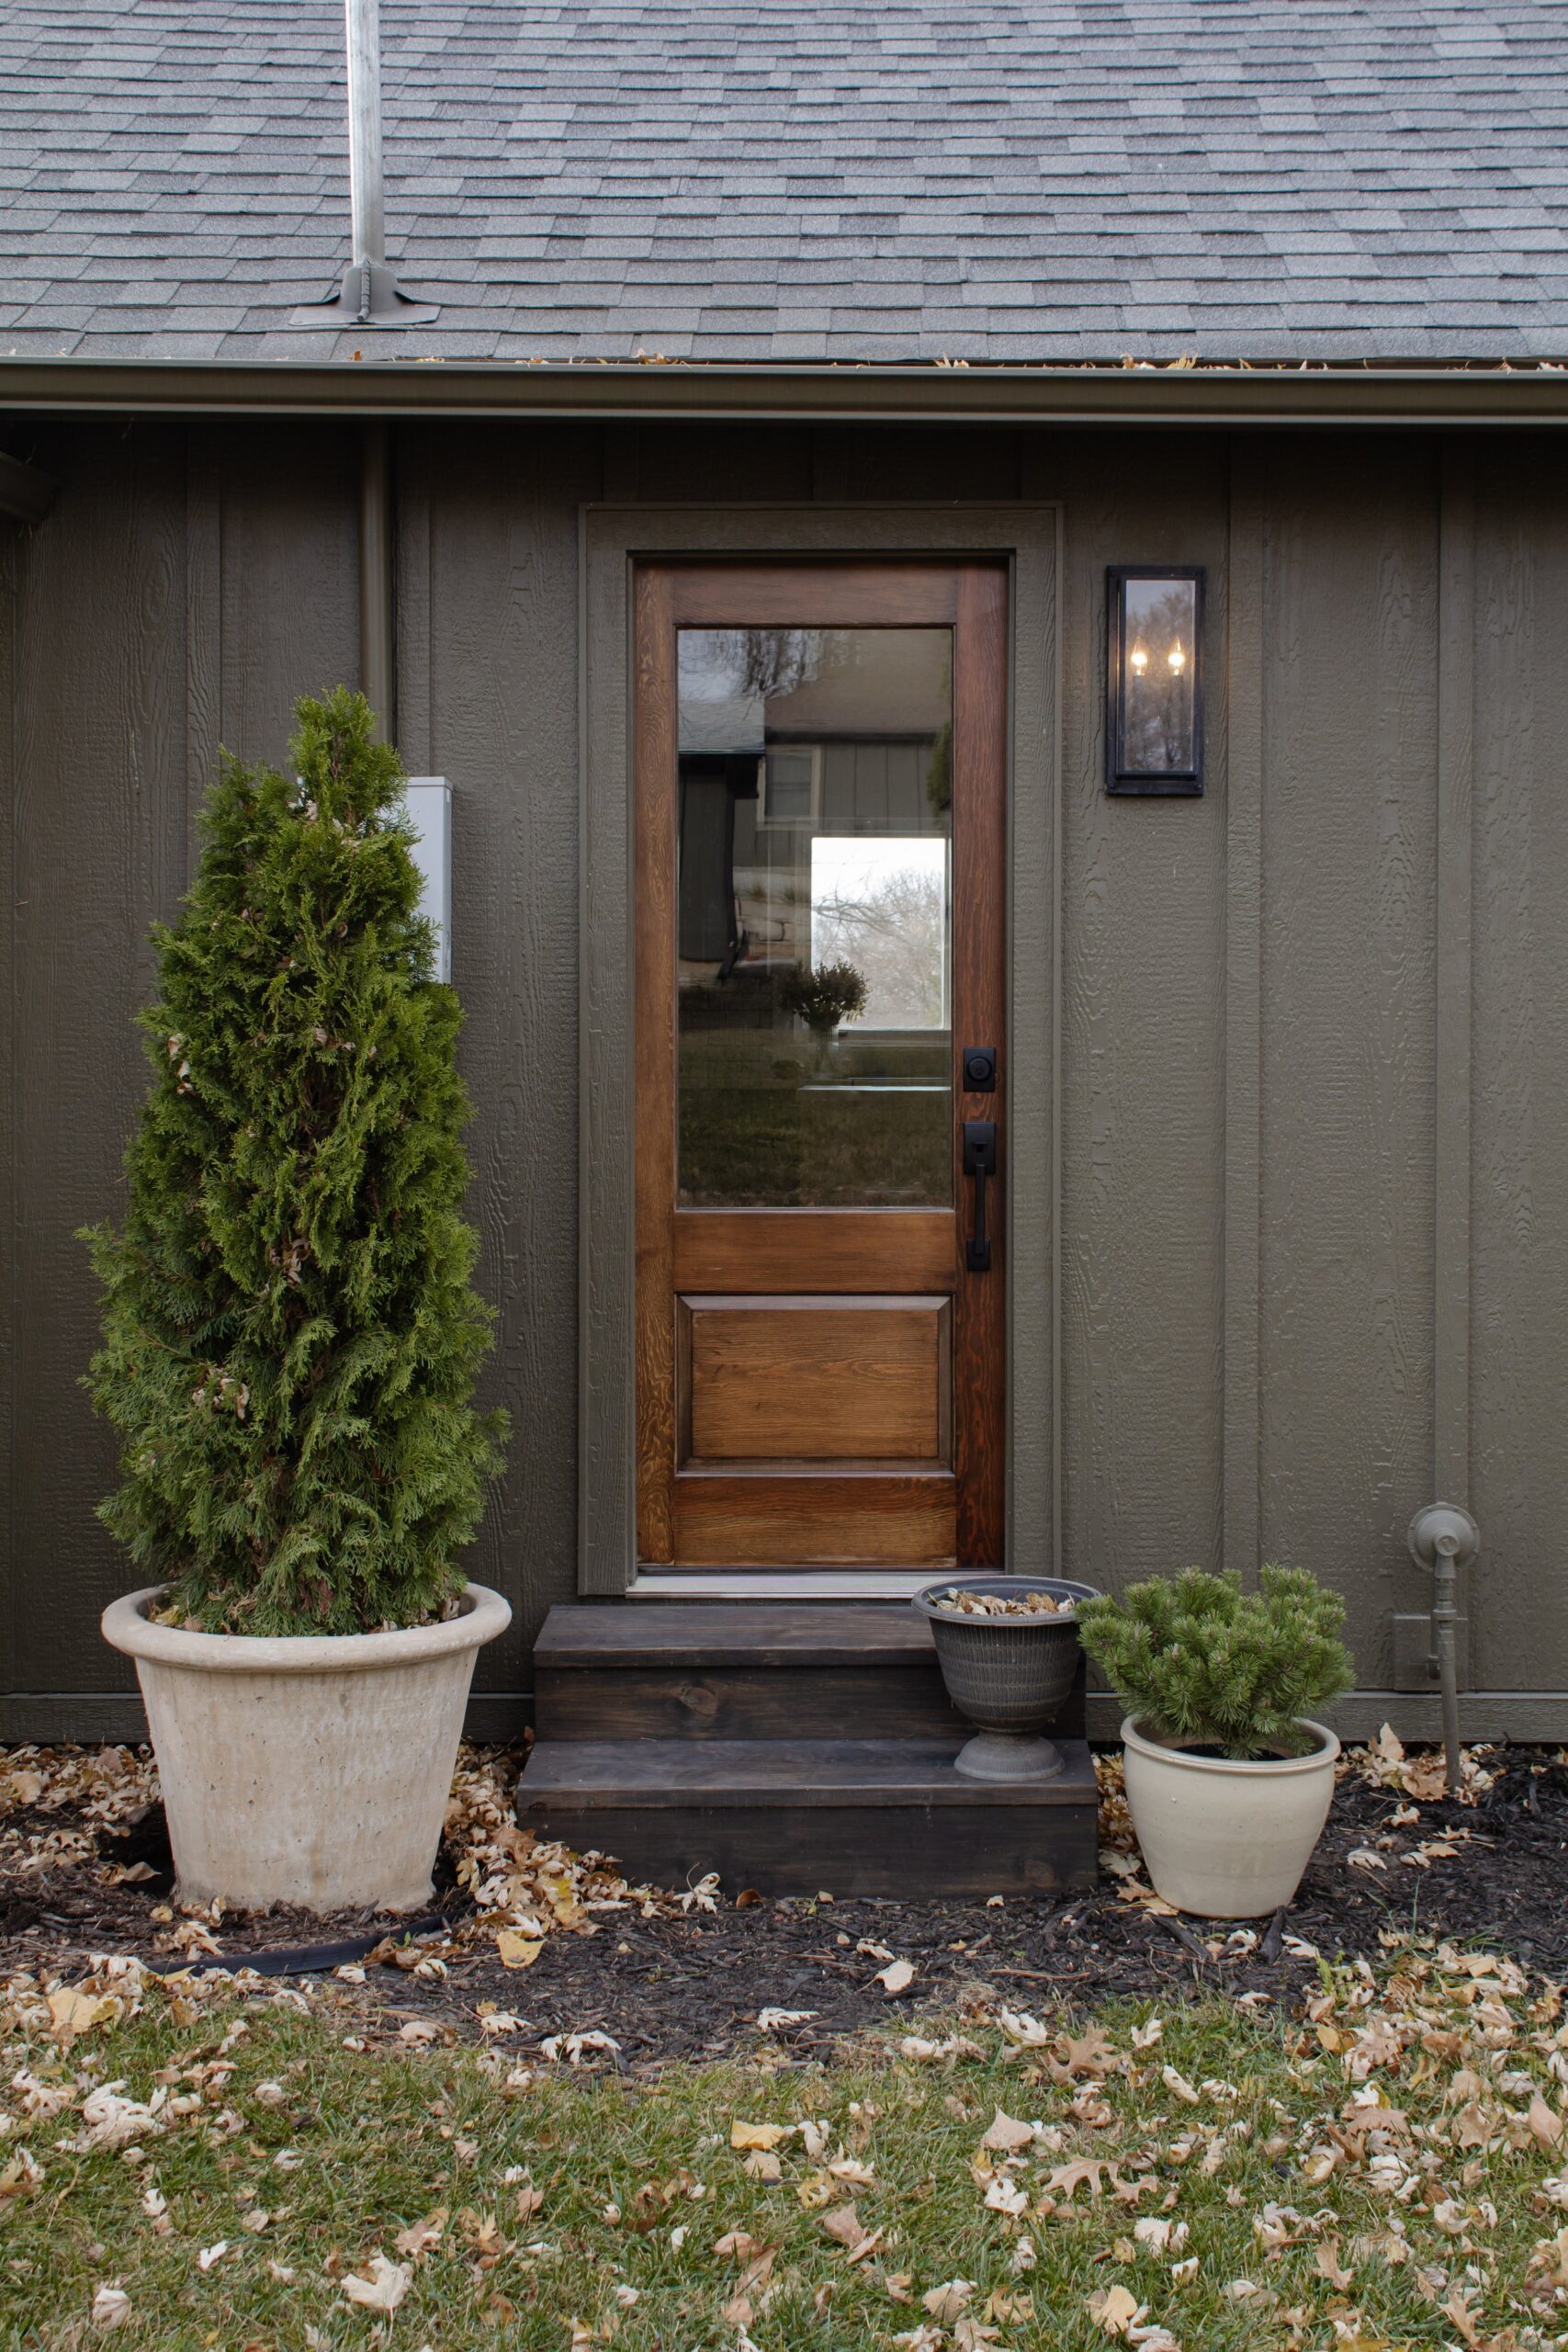
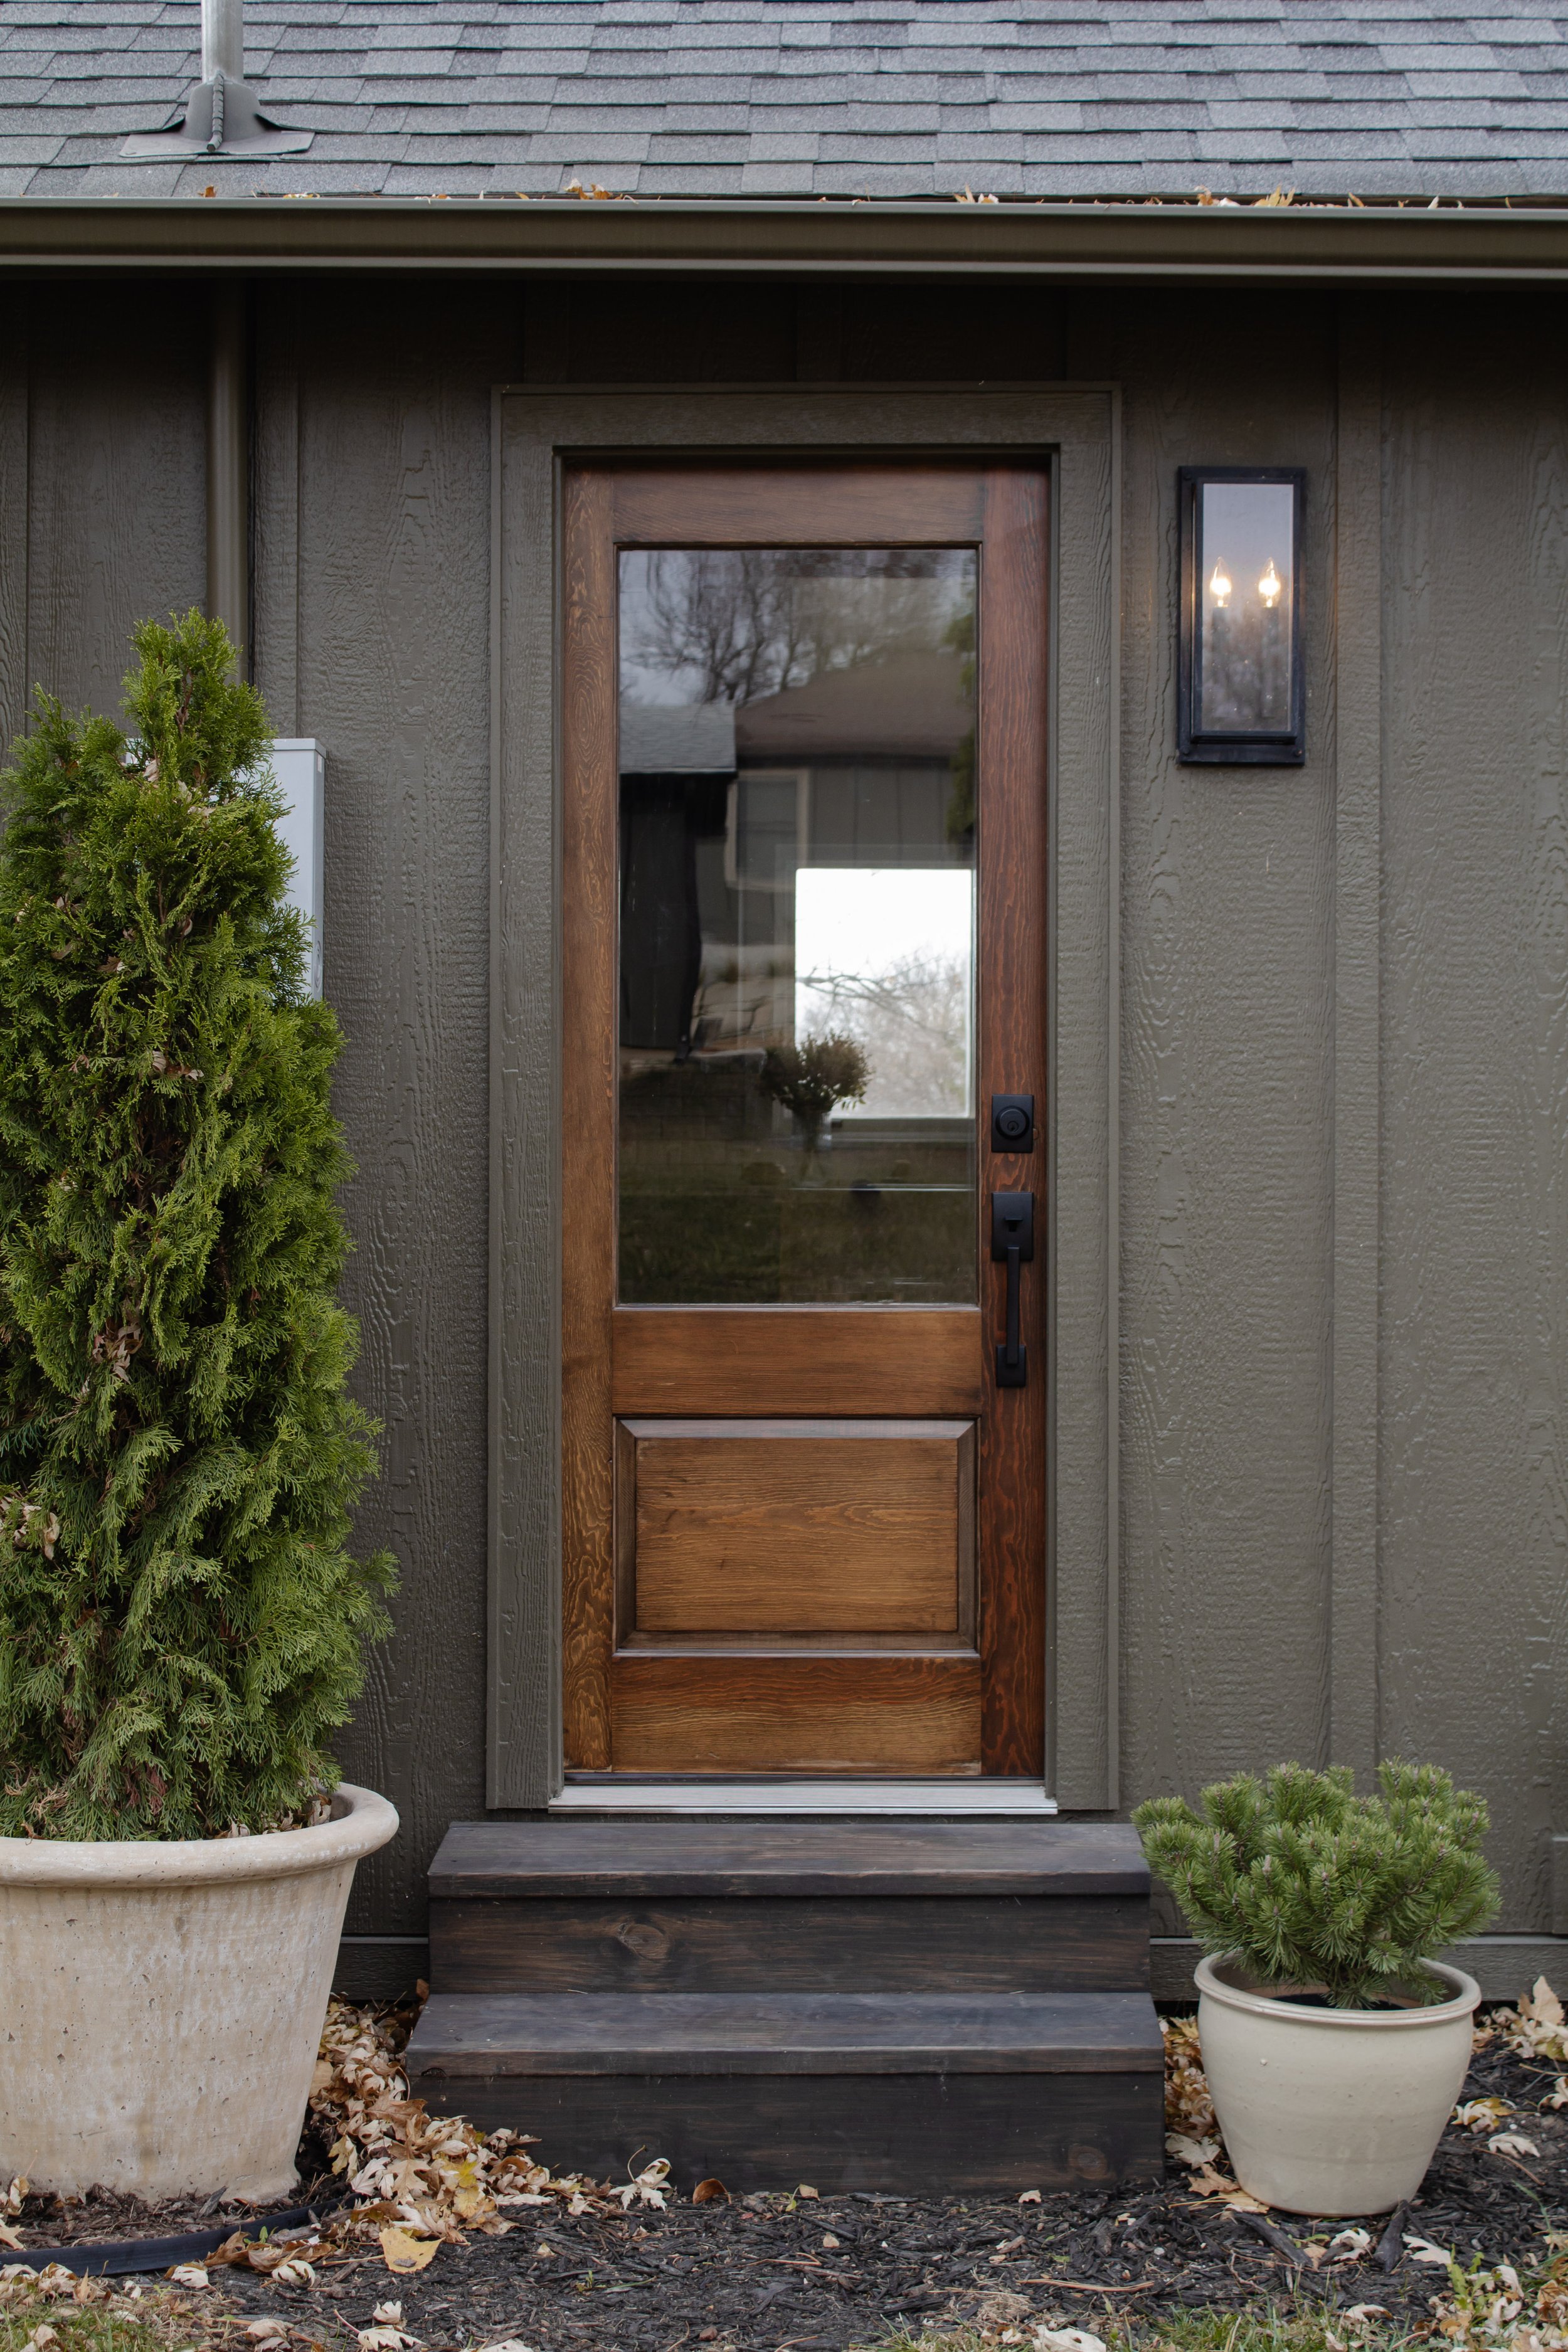
After
Chris and I stumbled upon this exterior wood door at Habitat for Humanity earlier this summer for $20. At the time we were looking for a door for our laundry room (without a window) so we passed on this door. But I couldn’t stop thinking about it all day and then I had an epiphany – It wouldn’t work for our laundry room…but it WOULD work for our back door!
You see, our previous back door was a purchase we regretted. It’s a standard, metal, builder grade door with little to no character. It’s not bad…but it’s nothing worth talking about. The kicker is that it was really expensive, I think somewhere around $700 if I remember correctly. $700 for a door neither of us love feels like a LOT of money. I always wanted to replace it, but it felt so wasteful to buy another expensive door to take its place when it technically worked fine. But if I could work with a $20 old door?? That’s not wasteful, that’s resourceful!
10 minutes before the store closed, I told Chris we had to go back to get the door. Even if it was the wrong size, or for some reason wouldn’t work, it was worth the risk for $20. A very low stakes gamble.
Turns out it was a little too big for our existing back door opening, but Chris did some trimming and it fit perfectly after that! You can watch the cutting process here. Thank goodness it ended up fitting because I got attached to the “new” door quick.
It required a full refinishing job, and I’d love to show you everything I did to get this old door back to it’s former glory in case you happen to find an exterior wood door that you want to refinish too.
1. REMOVE THE OLD FINISH
The first order of business was to remove the existing varnish and paint on the door. One side was painted white and the other had a clear varnish. This door was clearly old so both finishes came off pretty easily for me with just a sander & 80 grit sandpaper. That being said, there were intricate trim pieces along the border of the window and the panel below that I couldn’t get with a sander.
For the parts that I couldn’t sand, I used this paint and varnish stripper and let me tell you….it worked like a charm. I’ve *never* had good luck with stripping agents but this was the first product I’ve used that actually worked! I applied the paste with a brush, the paint & varnish starting bubbling up within a minute, and after 15 minutes I scraped/brushed it off. It took a few coats to get down to bare wood.
I cleaned off the stripper with mineral spirits and water and once the door was dry, I power sanded the whole door with 220 grit sandpaper to smooth the wood.
The hard part is over.
2. APPLY WOOD CONDITIONER
My door was made with soft wood, so I knew I needed to apply a wood conditioner before stain. Wood conditioner’s sole purpose is to keep the stain from absorbing unevenly and looking blotchy. This step may not be as necessary if your door is made with hard wood like oak, but it never hurts to apply it just to be safe. Once it’s on, you’ll need to stain within 2 hours so plan accordingly!
3. STAIN IT
I wanted my door to look as though it was original to home, complete with dings and imperfections. Our home has a cabin feel to it and a dark wood blends with that style so beautifully. To achieve a rich wood color that still highlights the age of the wood, I chose the stain color “Coffee” by Minwax. It’s a gel stain and unfortunately this color is really hard to find. (Dark Walnut by Minwax is similar)
4. APPLY AN OUTDOOR SAFE TOP COAT
The very last step of this process is probably the most important – the top coat. I used Helmsman Spar Urethane which is intended for outdoor use to protect wood from moisture, rain, sunlight, color fading, and temperature changes. I used this on our front door 6 years and it’s held up incredibly well. A minimum of three coats is necessary for the exterior side, and I chose to apply 2 coats for the interior.
To apply the finish, I used a foam brush. It’s a pretty easy product to work with as long as you don’t stop or take breaks mid application. It takes about 4-6 hours to dry, and once it did I gave the door a gentle sanding with a 220 grit sponge to smooth it out before I applied the next coat.
After you’ve applied 3 coats and let it dry for 24 hours, it’s ready for use!
I mean….who would ever think that door cost me just $20!?
SUPPLIES YOU’LL NEED

Leave a Reply Cancel reply
DO YOU WANT
The Inside Scoop
Where behind the scenes, exclusive advice, and candid conversations are sent straight to your inbox every week.



Hi there! What is the paint color of the home in this photo? Love it??
Beautiful! What type of wood is the door?
What’s the name of the exterior paint?? I love the deep green!!
It’s called Muddled Basil by Sherwin Williams!
I love this door, and It looks great with the siding. What is the paint color of the house?
Thank you! The house color is Muddled Basil by Sherwin Williams.
Love this!! Would you consider that this looks matte?
I’d consider this finish more of a satin sheen!
This came out just awesome!
Thank you! We’re so thrilled it actually worked!