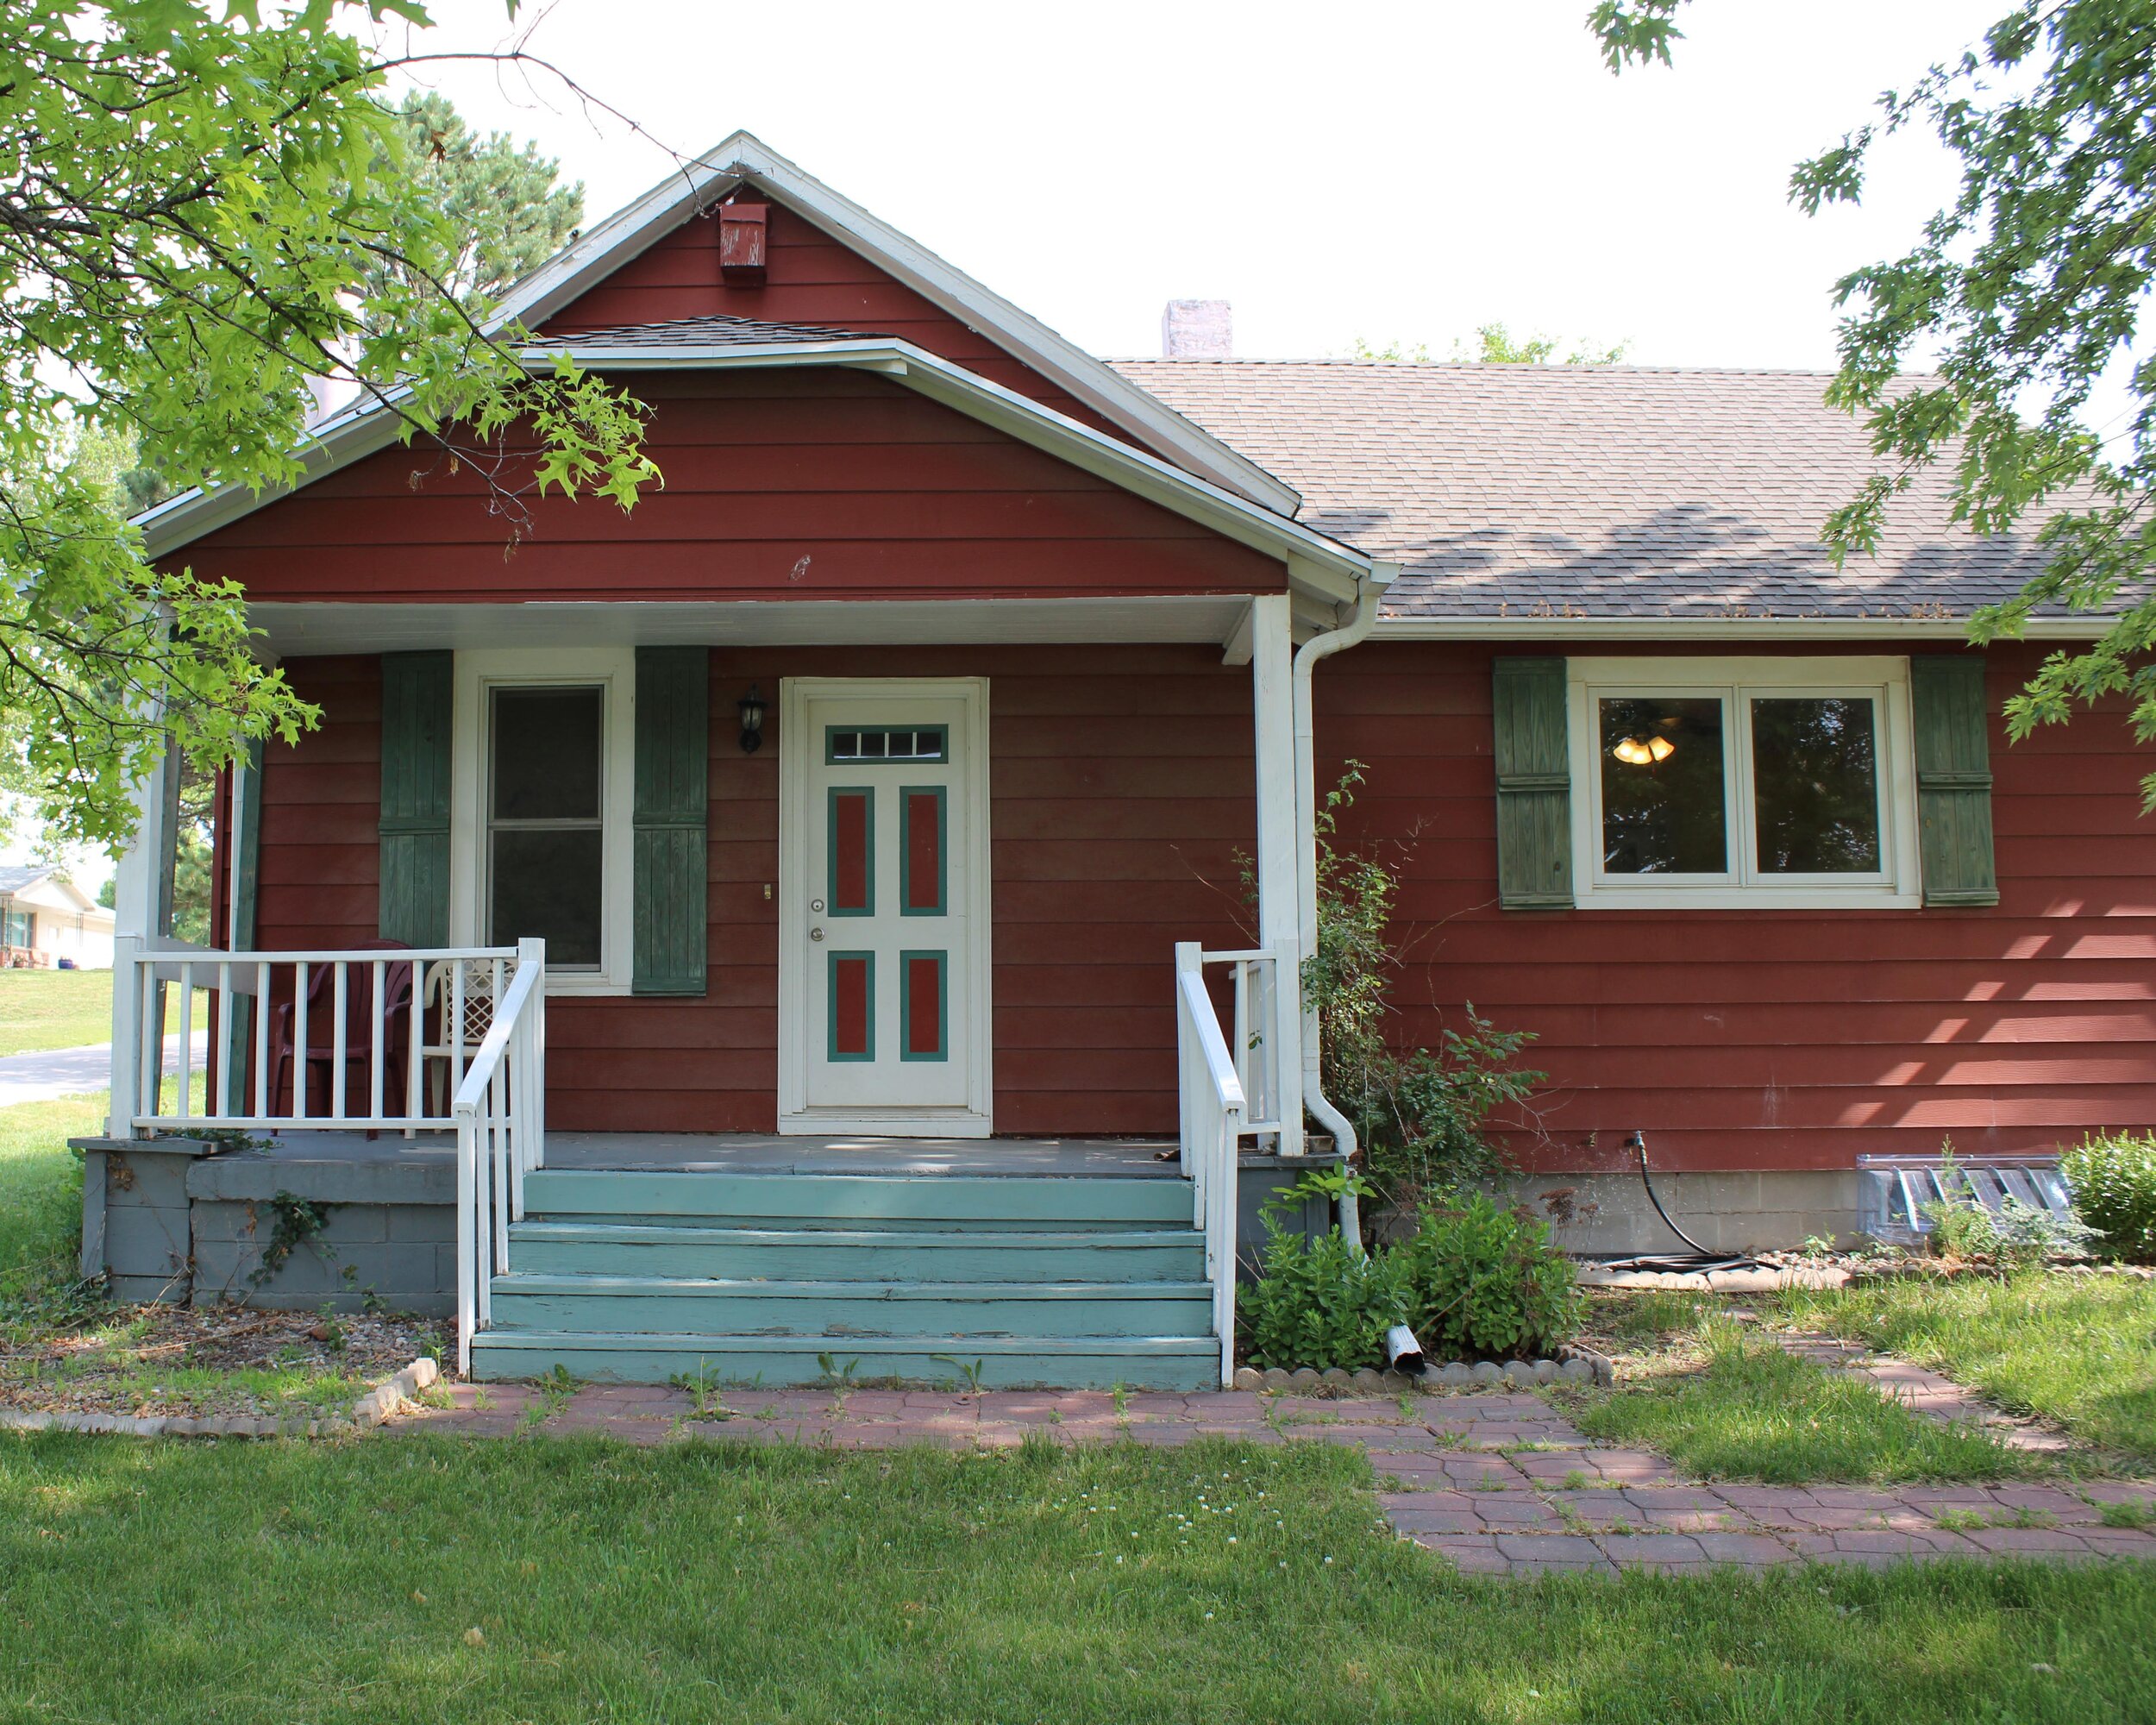
Wow! To say we’re thrilled is an understatement! Over the past few weeks we have been installing our new siding and we cannot believe what a transformation the new siding has made on our house…even before we paint! I wanted to outline all the specs of our siding, the brand we chose, and our honest thoughts on the material, but before we get into it…let me remind you what our house looked like before.
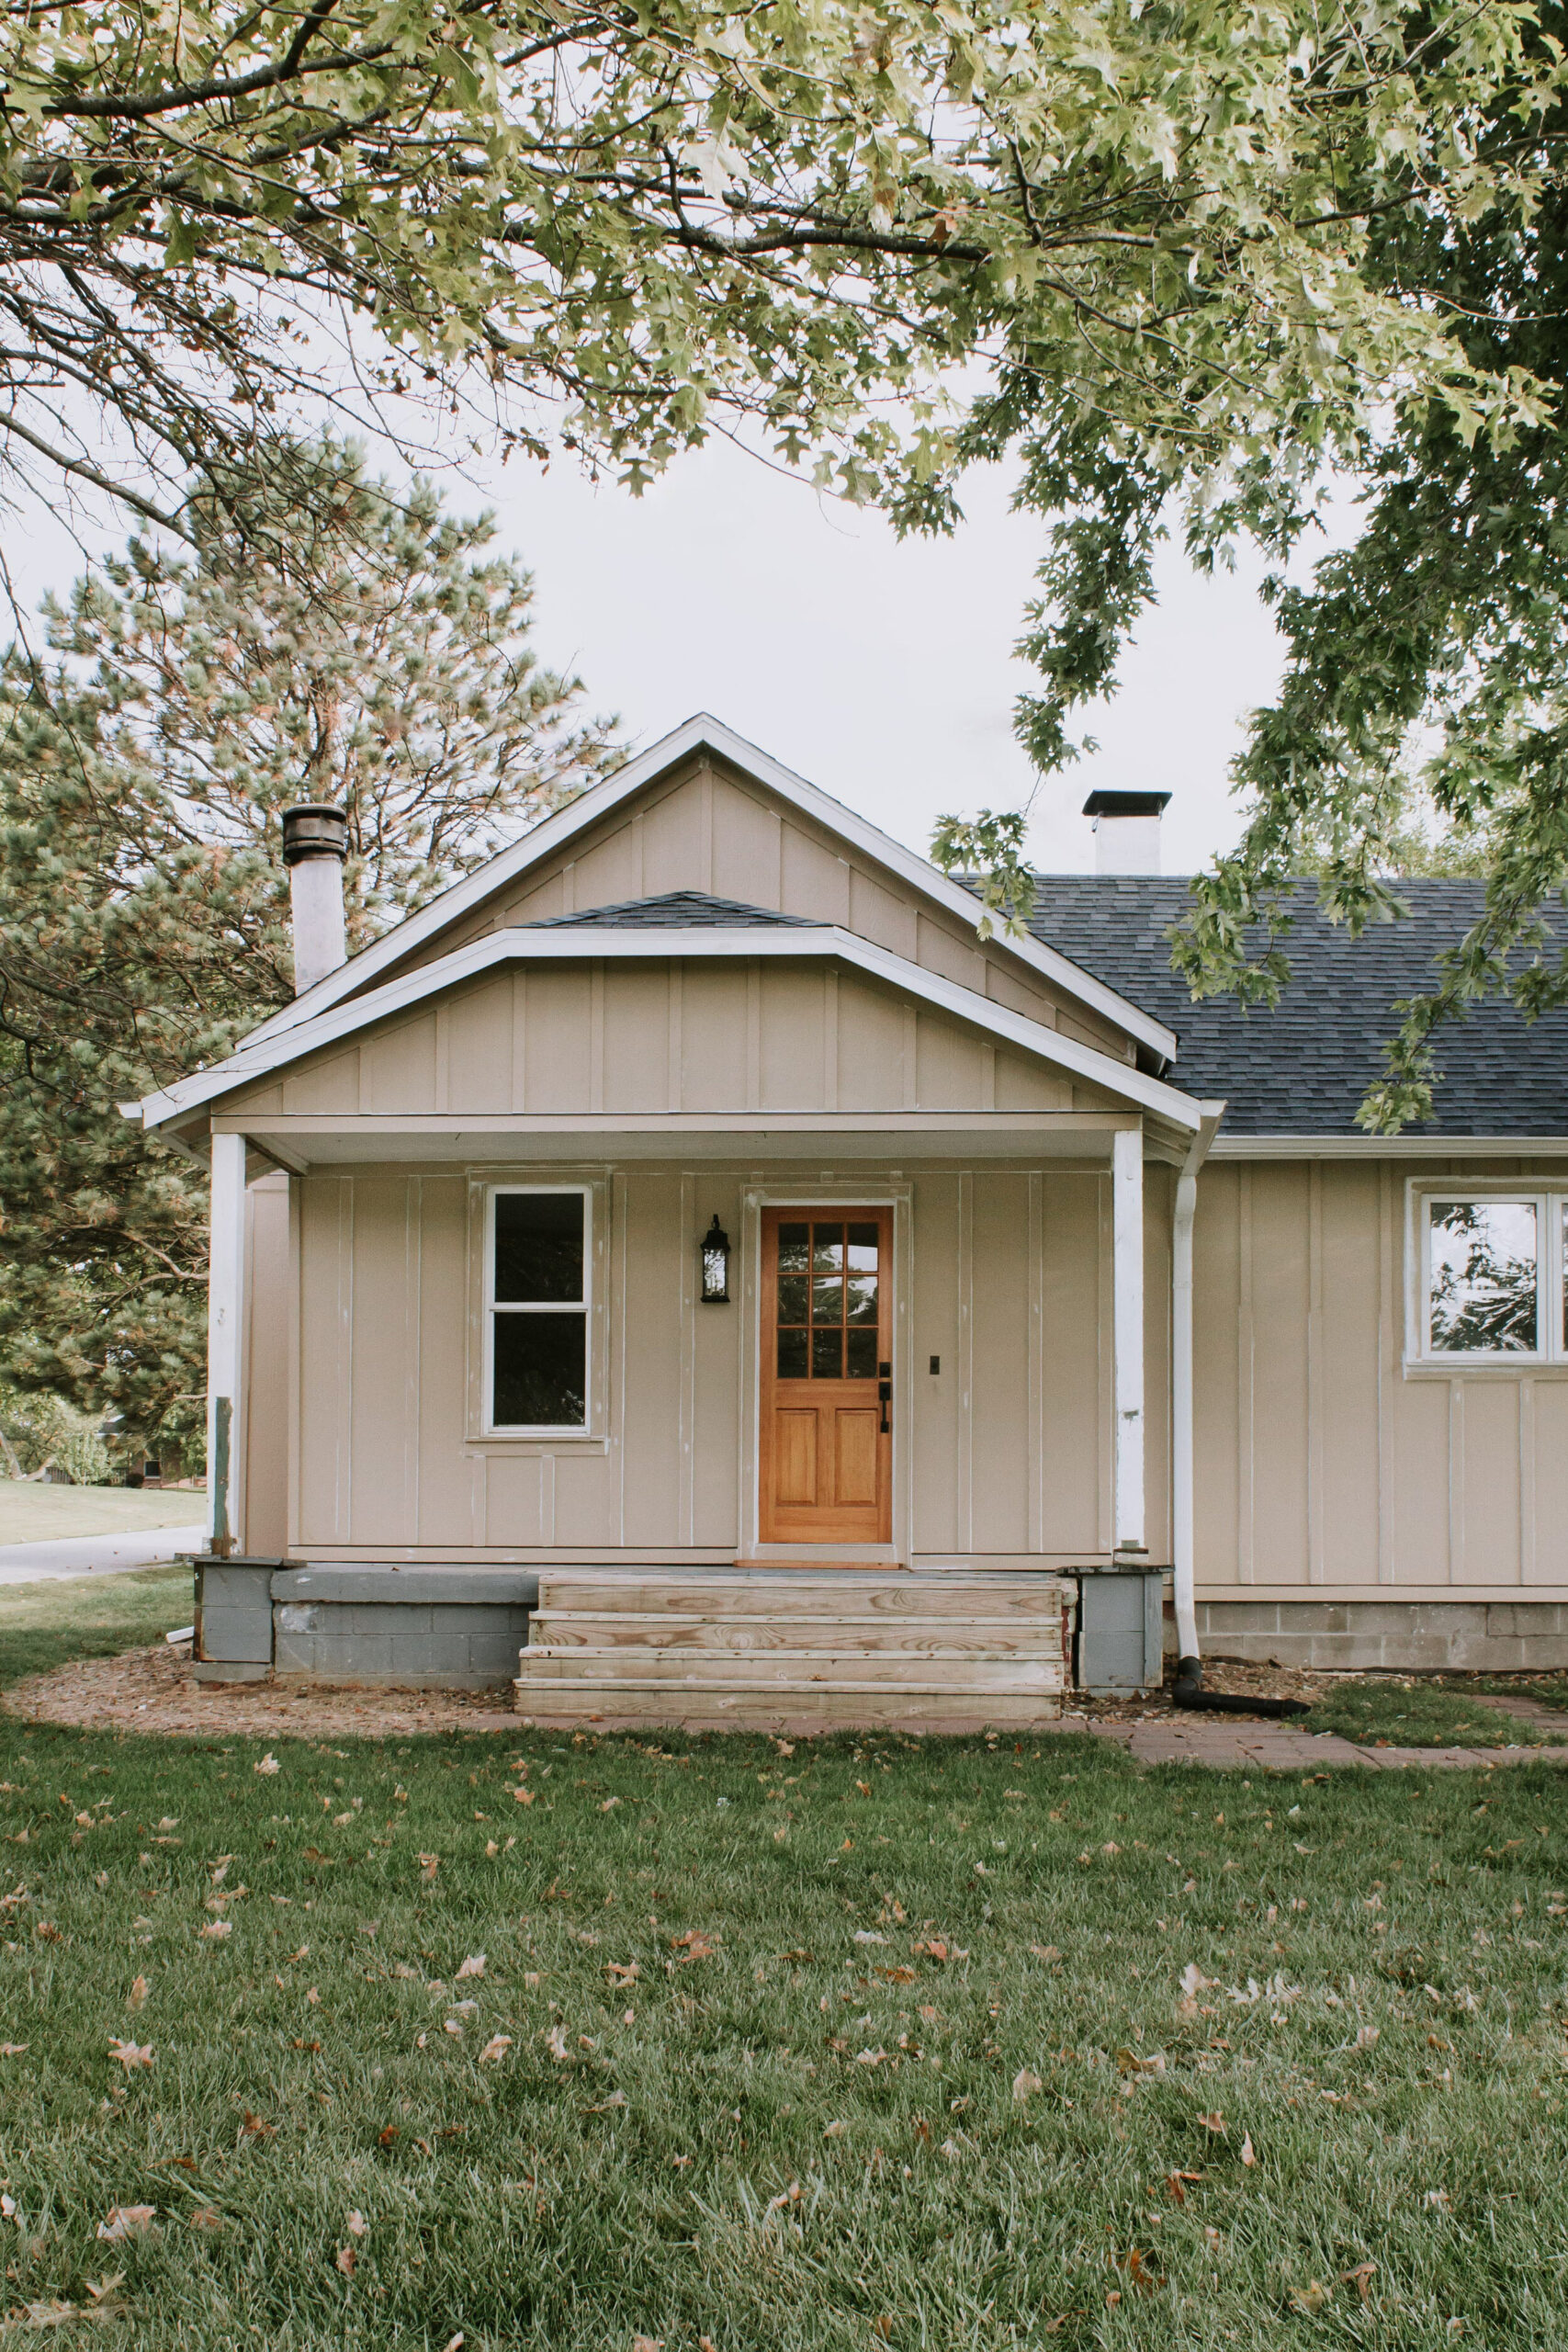
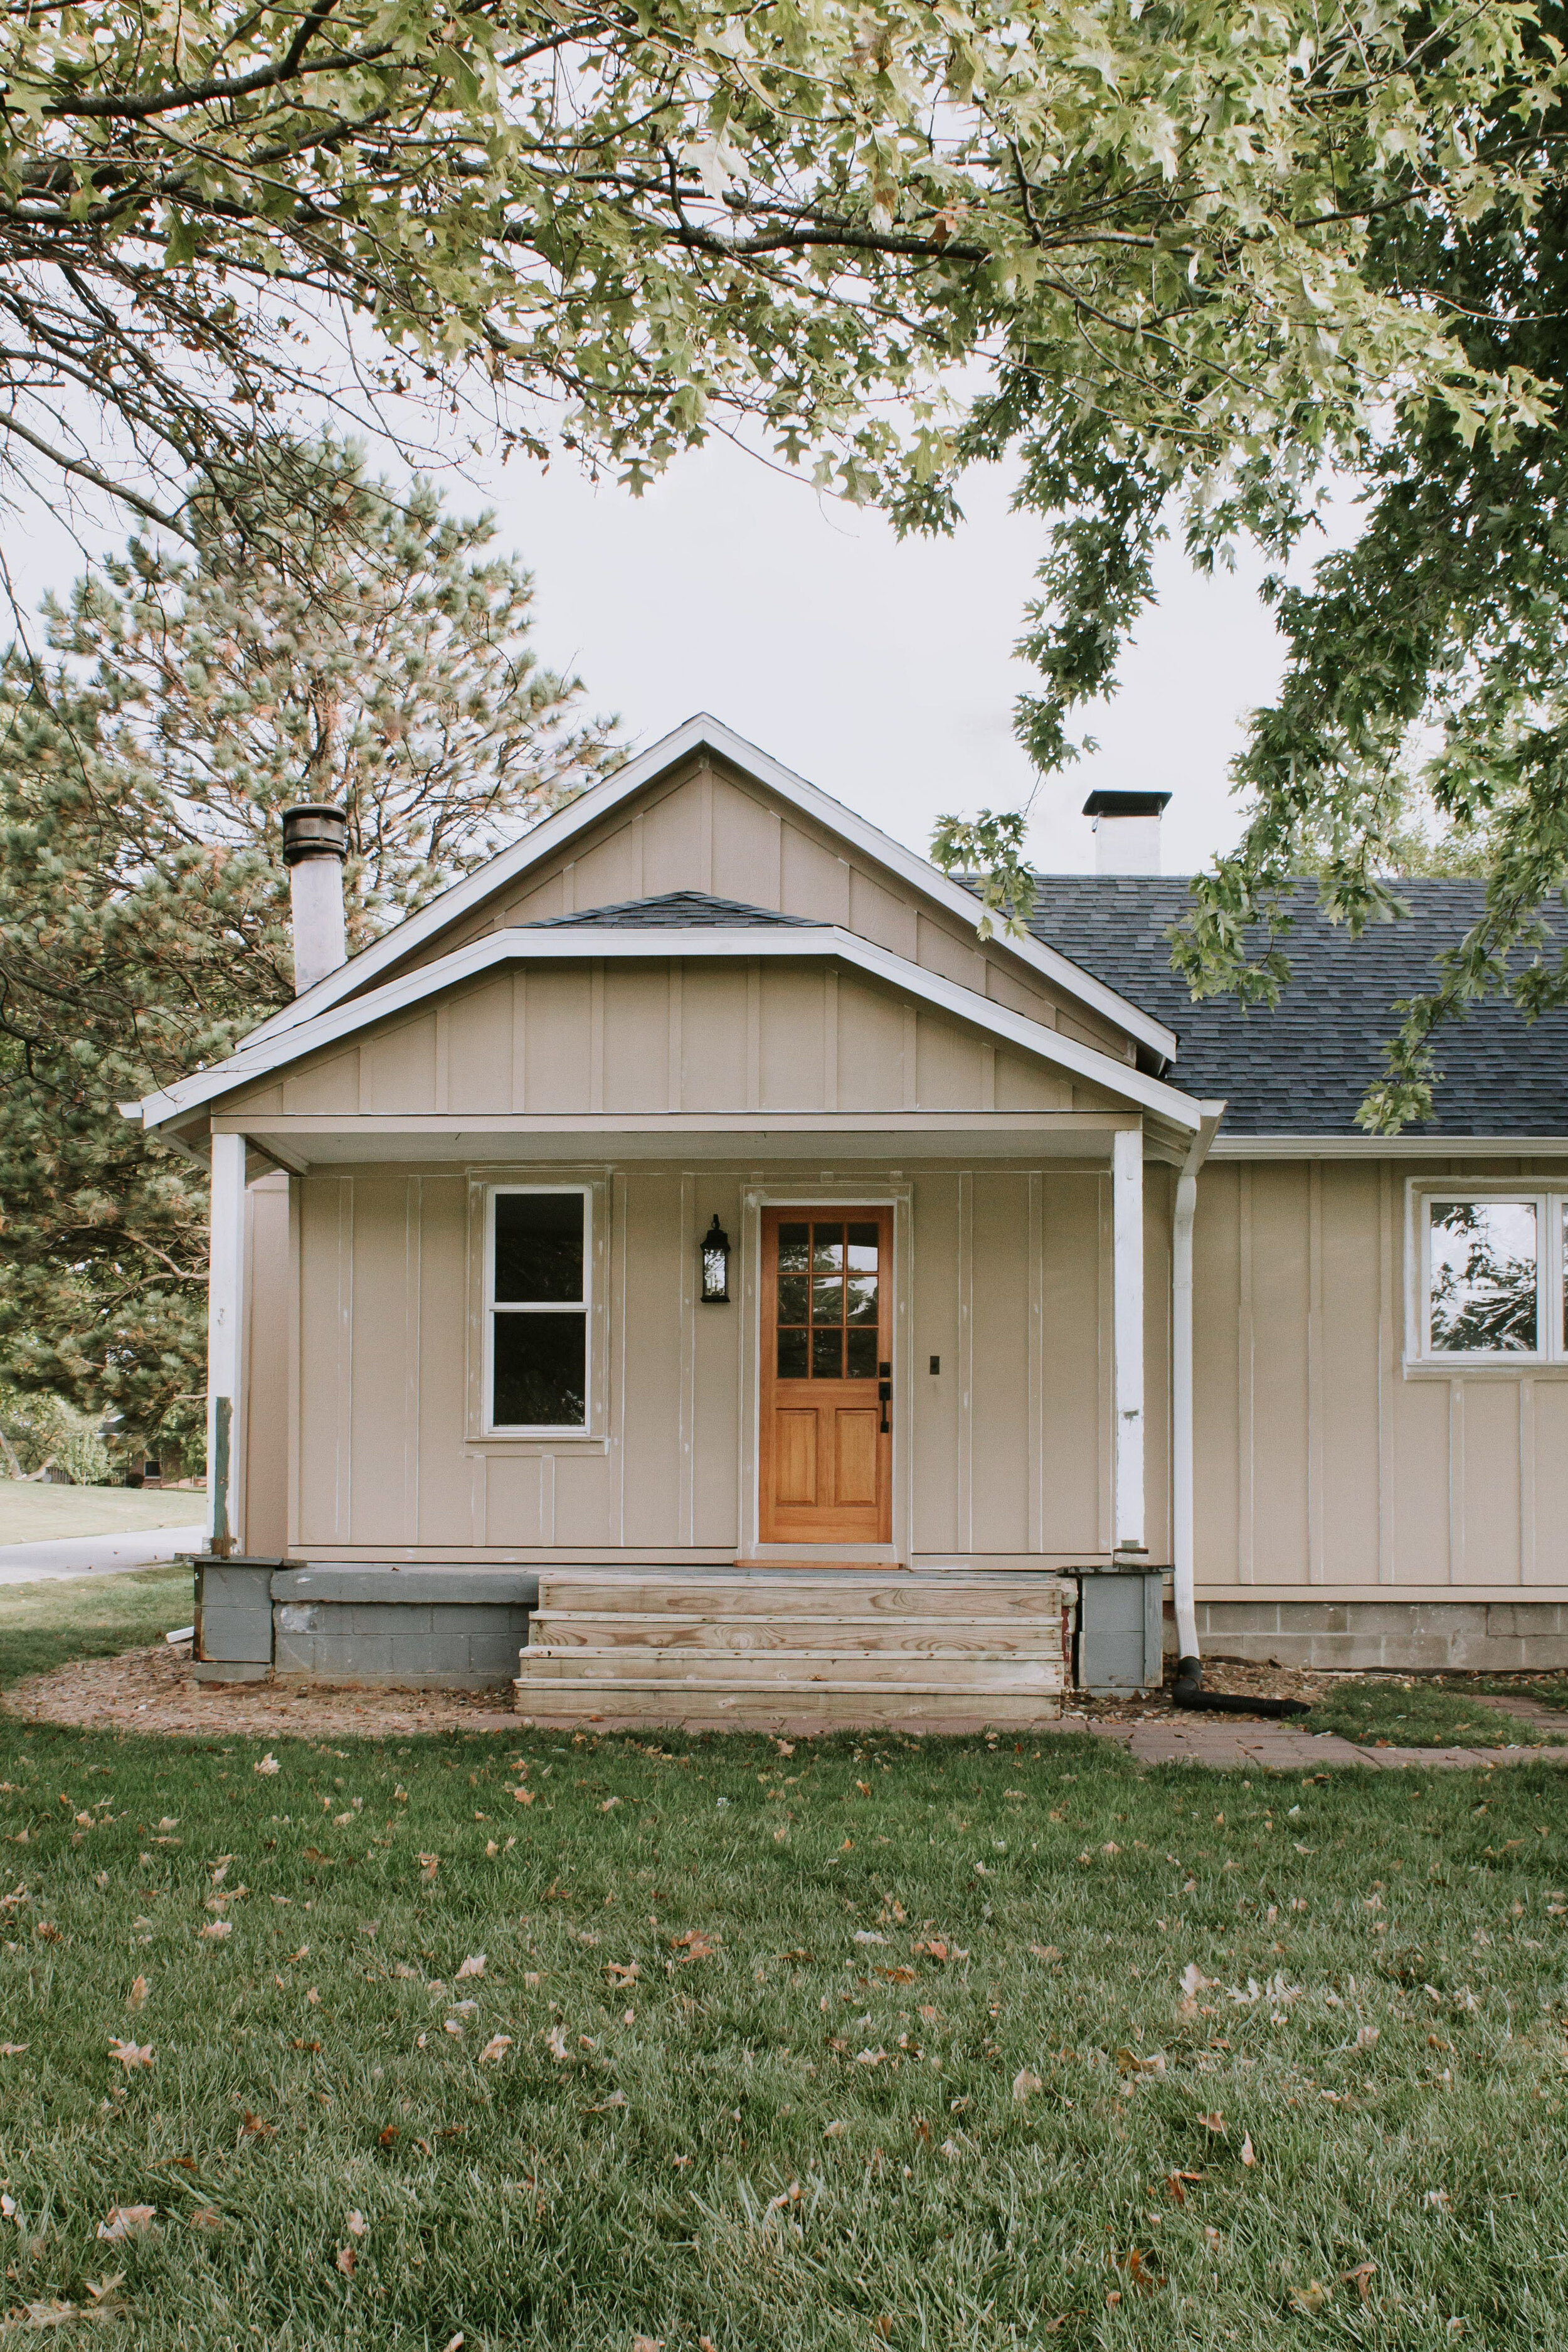
And here’s what it looks like today (pre-paint)!
Front View
Back View
Front of Garage
Back of Garage
We haven’t even painted, done any landscaping, or any work on the porch (which will all be major transformations) but it already feels like a completely different house! Feeling all the heart eye emoji’s right now!
My brother (who’s a licensed contractor in MN) was kind enough to come help us get started on the siding installation and thank goodness he did because he showed us the ropes on how to install board and batten properly! We soaked up so much information from him in the week he was here and we felt much more confident tackling the second half of our home on our own after he left!
So let’s talk specs –
Why we resided –
“The red siding doesn’t look like it’s in bad shape. Why are you replacing it?”
I get it. From far away, the photos and videos I’ve shared made it seem like our red siding was worth saving and repainting. We thought the same thing up until this year. But then we had a hail storm which damaged the whole back side of our house. That storm nudged us to do a more thorough inspection of the rest of the siding and we realized there was more in need of replacing than we initially thought. Replacing just the damaged siding would’ve cost nearly as much as simply residing the whole house altogether and it just felt like an expensive patch job for a material and style that neither of us were in love with to begin with. So….residing was the right decision for us!
The style we chose –
Honestly, picking a siding style was the easiest part for us. For a change of scenery we wanted something other than horizontal lap siding. Board and batten just seemed like a good fit for the style of our home as well as our budgets. Plus we have a lot of freedom to choose whatever paint color we want which means we can make the style of our B+B lean Tudor, modern, or cottage simply with the color we choose.
The material we chose –
Once we picked the style, we had to pick a material and brand for the siding itself. For the longest time we were set on fiber cement siding, but in a last minute turn of events we changed our minds and ordered LP SmartSide instead. We’re so glad we did!
The benefits of LP are really what swayed us. It functions like wood so it doesn’t require special tools or blades for installation. It’s lighter which also makes installation easier and it’s less prone to break thus reducing waste and frustration. All of which were unfortunate cons for fiber cement siding. Not to mention LP SmartSide is also incredibly durable with a patented “Smart Guard” protection making it resistant to water damage, hail, fungal decay, and termites.
We ordered our siding in bulk from a local lumber yard but we loved knowing that Menards (a very common hardware store here in the midwest) also carried the product in stock. So when we ran low on a couple boards, we didn’t have to special order more. We just picked up what we needed from Menards the same day.
The cons? I can think of 2. Anytime you make a cut in the engineered wood siding, you have to prime the raw edge before installing. This step can easily be forgotten, but it’s necessary to reduce the risk of it rotting or decaying. And the other con is more of a style preference. The wood grain in LP features deep grains and although I don’t mind the look of it after seeing it all installed (plus the grains will be less noticeable with dark paint), I do prefer the more subtle wood grain texture of the fiber cement siding I saw.
LP does offer a smooth texture as well which I really like! It didn’t fit with the “old cottage” vibe we want for our siding, but we did use the smooth texture on our soffits and it’s a good “modern” alternative.
If you want specifics, these are the specs of the LP siding we chose –
-
Panels – 3/8” x 4’W x 9’L (they also make 8’ and 10’ long panels too)
-
Battens (the vertical boards) – 5/8” Thick x 2.5”W and spaced 16” apart
-
Horizontal Boards – 5/8” Thick x 3.5”W
Next up – PAINT! We cannot wait! But first we gotta do a good bit of prep and pick a paint color! No big deal. Of course if you want to follow along with this project, I’ll be sharing all the details with you here on the blog and on Instagram.
Leave a Reply Cancel reply
Where behind the scenes, exclusive advice, and candid conversations are sent straight to your inbox every week.


where did you find the 2.5″ batters? Nobody in central Tx has them.
All our siding is from LP! You can see their siding products and find a dealer near you here.
Hi, how wide were the trim around the windows? And around the doors ?
Thanks,
Ed
I couldn’t find your blog post on paint- what paint color did you guys decide to go with? I love the green and I am considering it for the exterior of our home..
We chose Muddled Basil by Sherwin Williams!
Siding looks good. You would improve looks by using wide window and door trim, rather than the skinny stuff. It would be more period appropriate, especially for the board and batten style.
We like how we did it.
I agree with R. Neely.
So the sheets were hung and the battens just nailed over? Or are there seams under the battens?
Yes! The sheets are installed first and overlap at each seam. The battens are then nailed over the seams and caulked so water and moisture can’t get behind them.
What did the project cost? Would love some numbers along with your content!
We worked with insurance to cover part of the expenses, and we did most of the work ourselves with the help of my brother so our cost wouldn’t necessarily be a perfect example. But the 4×9 sheets were roughly $60 per panel and the 16 ft battens were between $10-$12 each depending on width.