I absolutely love taking awkward spaces and turning them into features that you can’t take your eyes off of (in a good way)! Two weeks ago I shared the DIY plywood accent wall that we created for our podcast recording studio and it turned a boring wall into a stunning feature. This week I’m sharing another awkward corner in our studio that we decided to highlight and turn into a beautiful faux brick chimney.
Now if this were in our home, I would probably prefer to go the more professional route by laying brick veneers. However, we’re working with rented space and a limited budget so we decided to create our faux brick chimney by going the more inexpensive (but still pretty) route. Here’s how we did it…
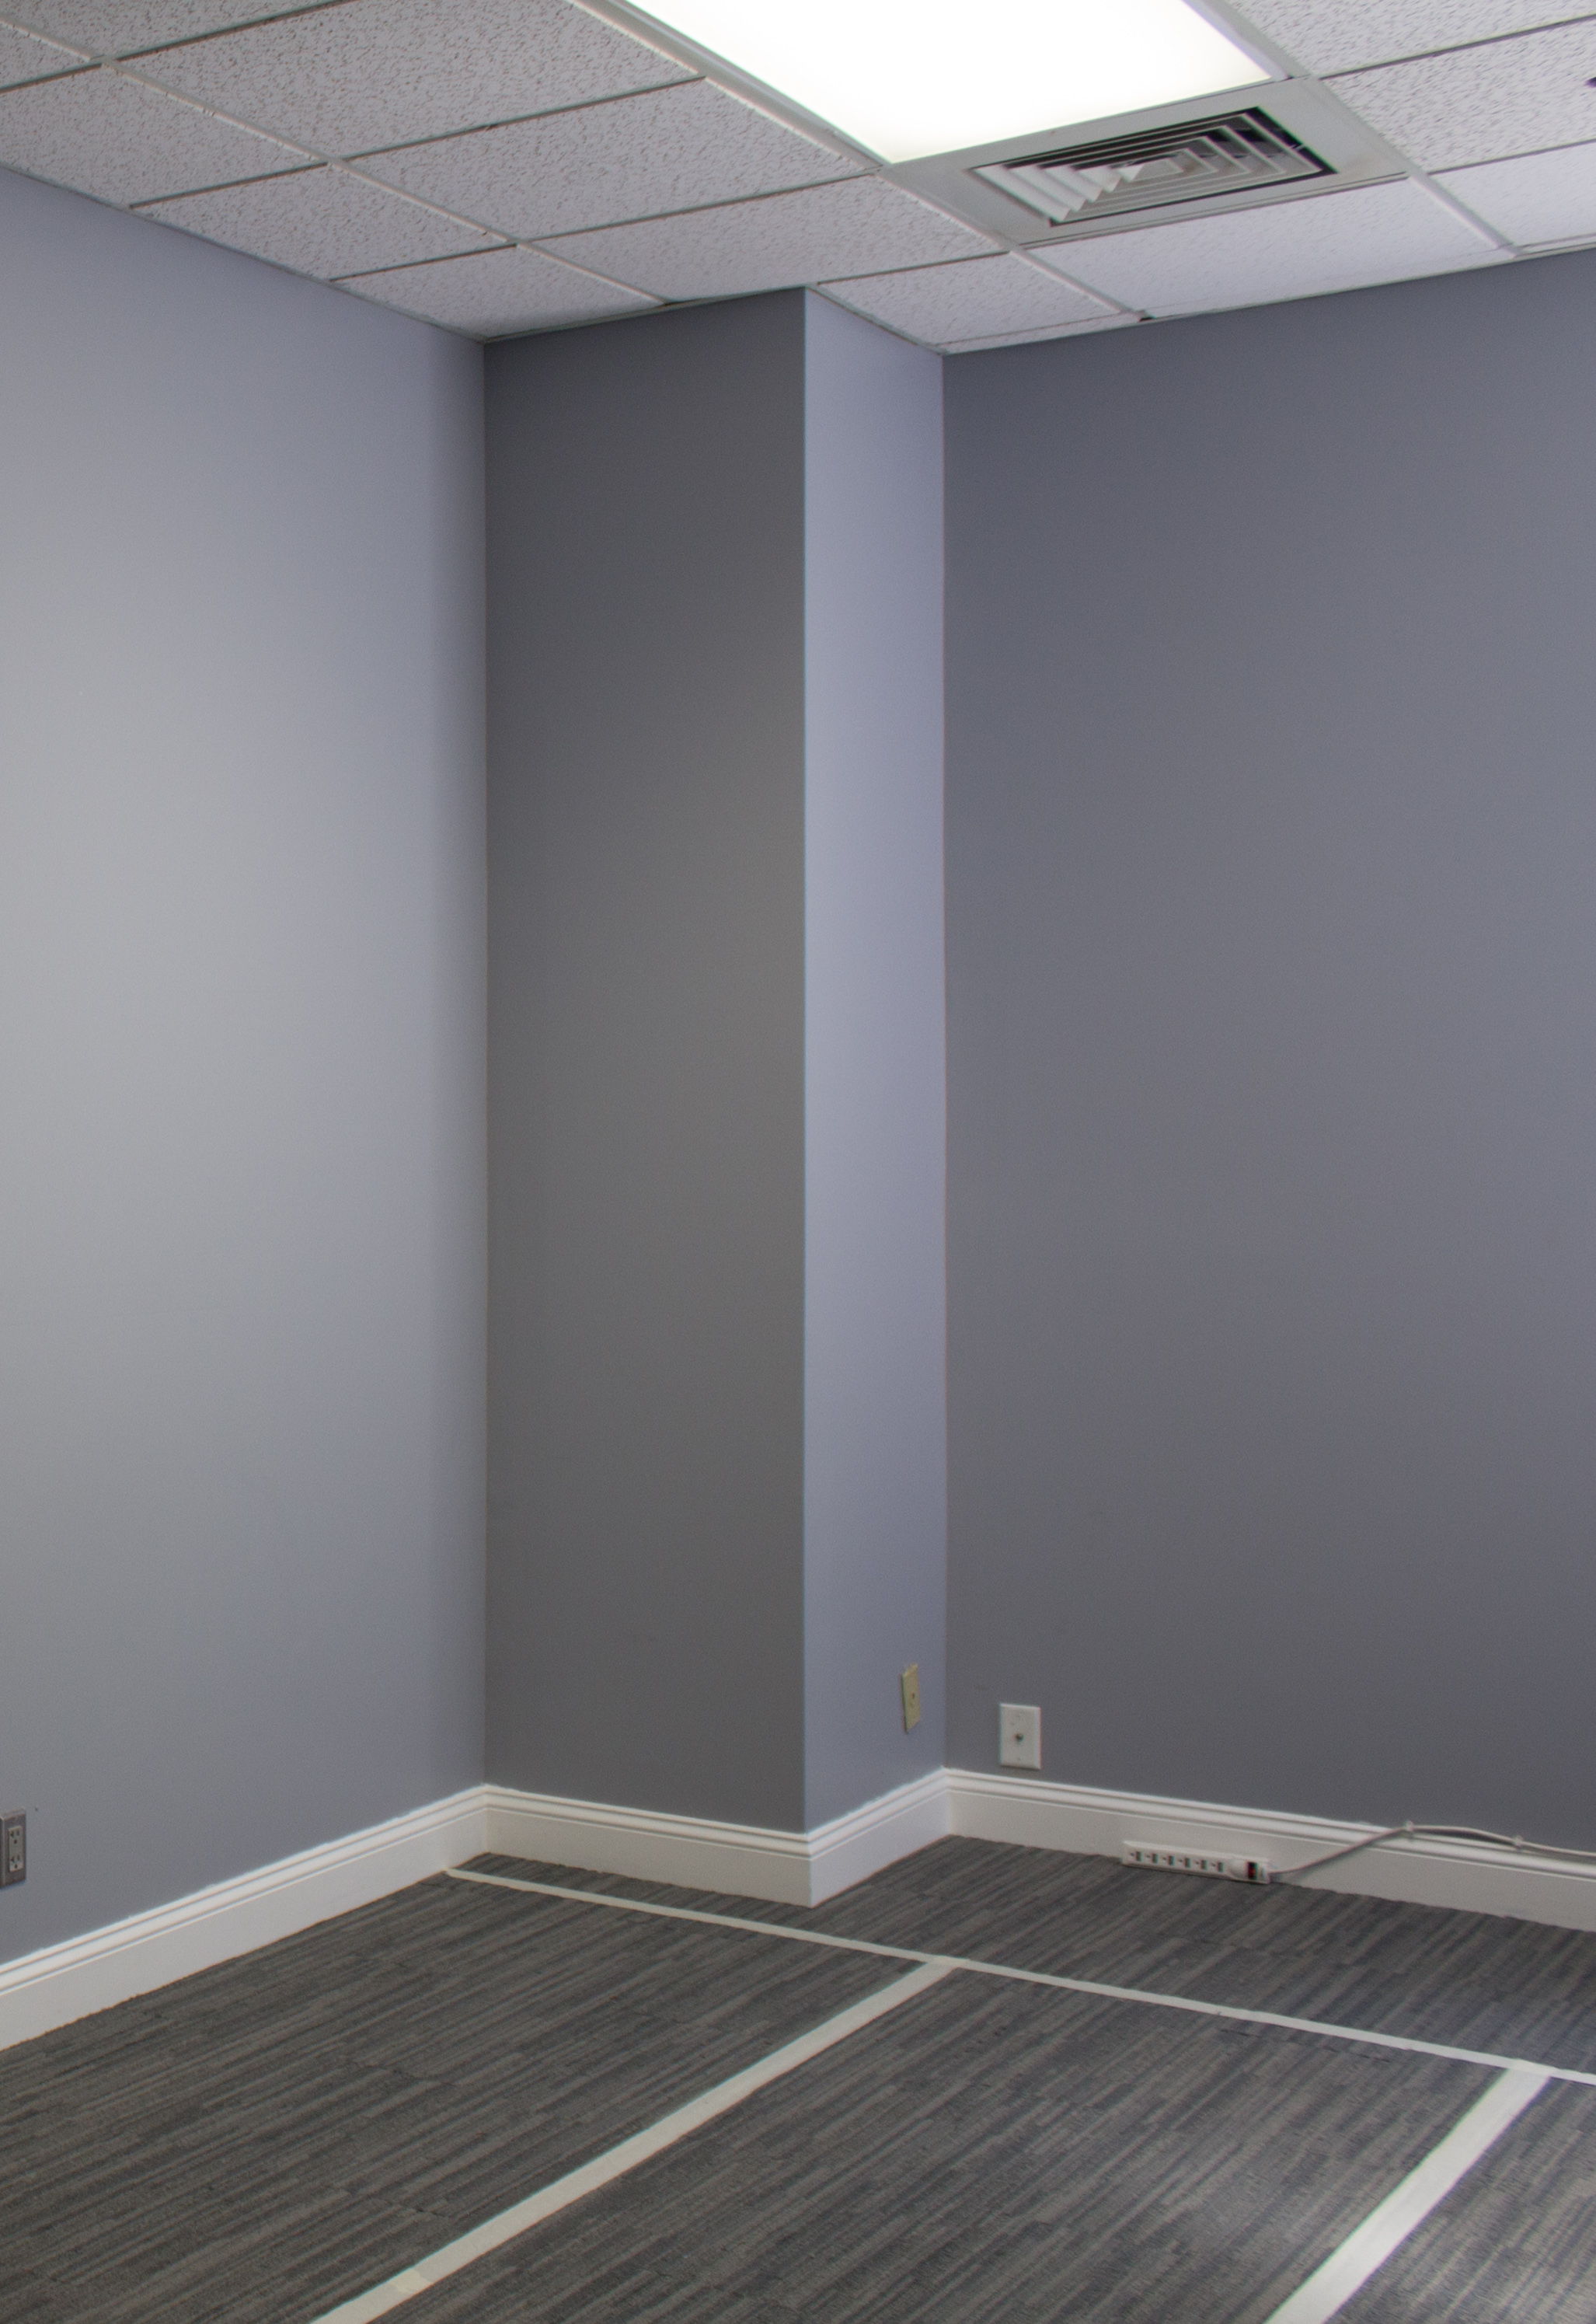
BEFORE
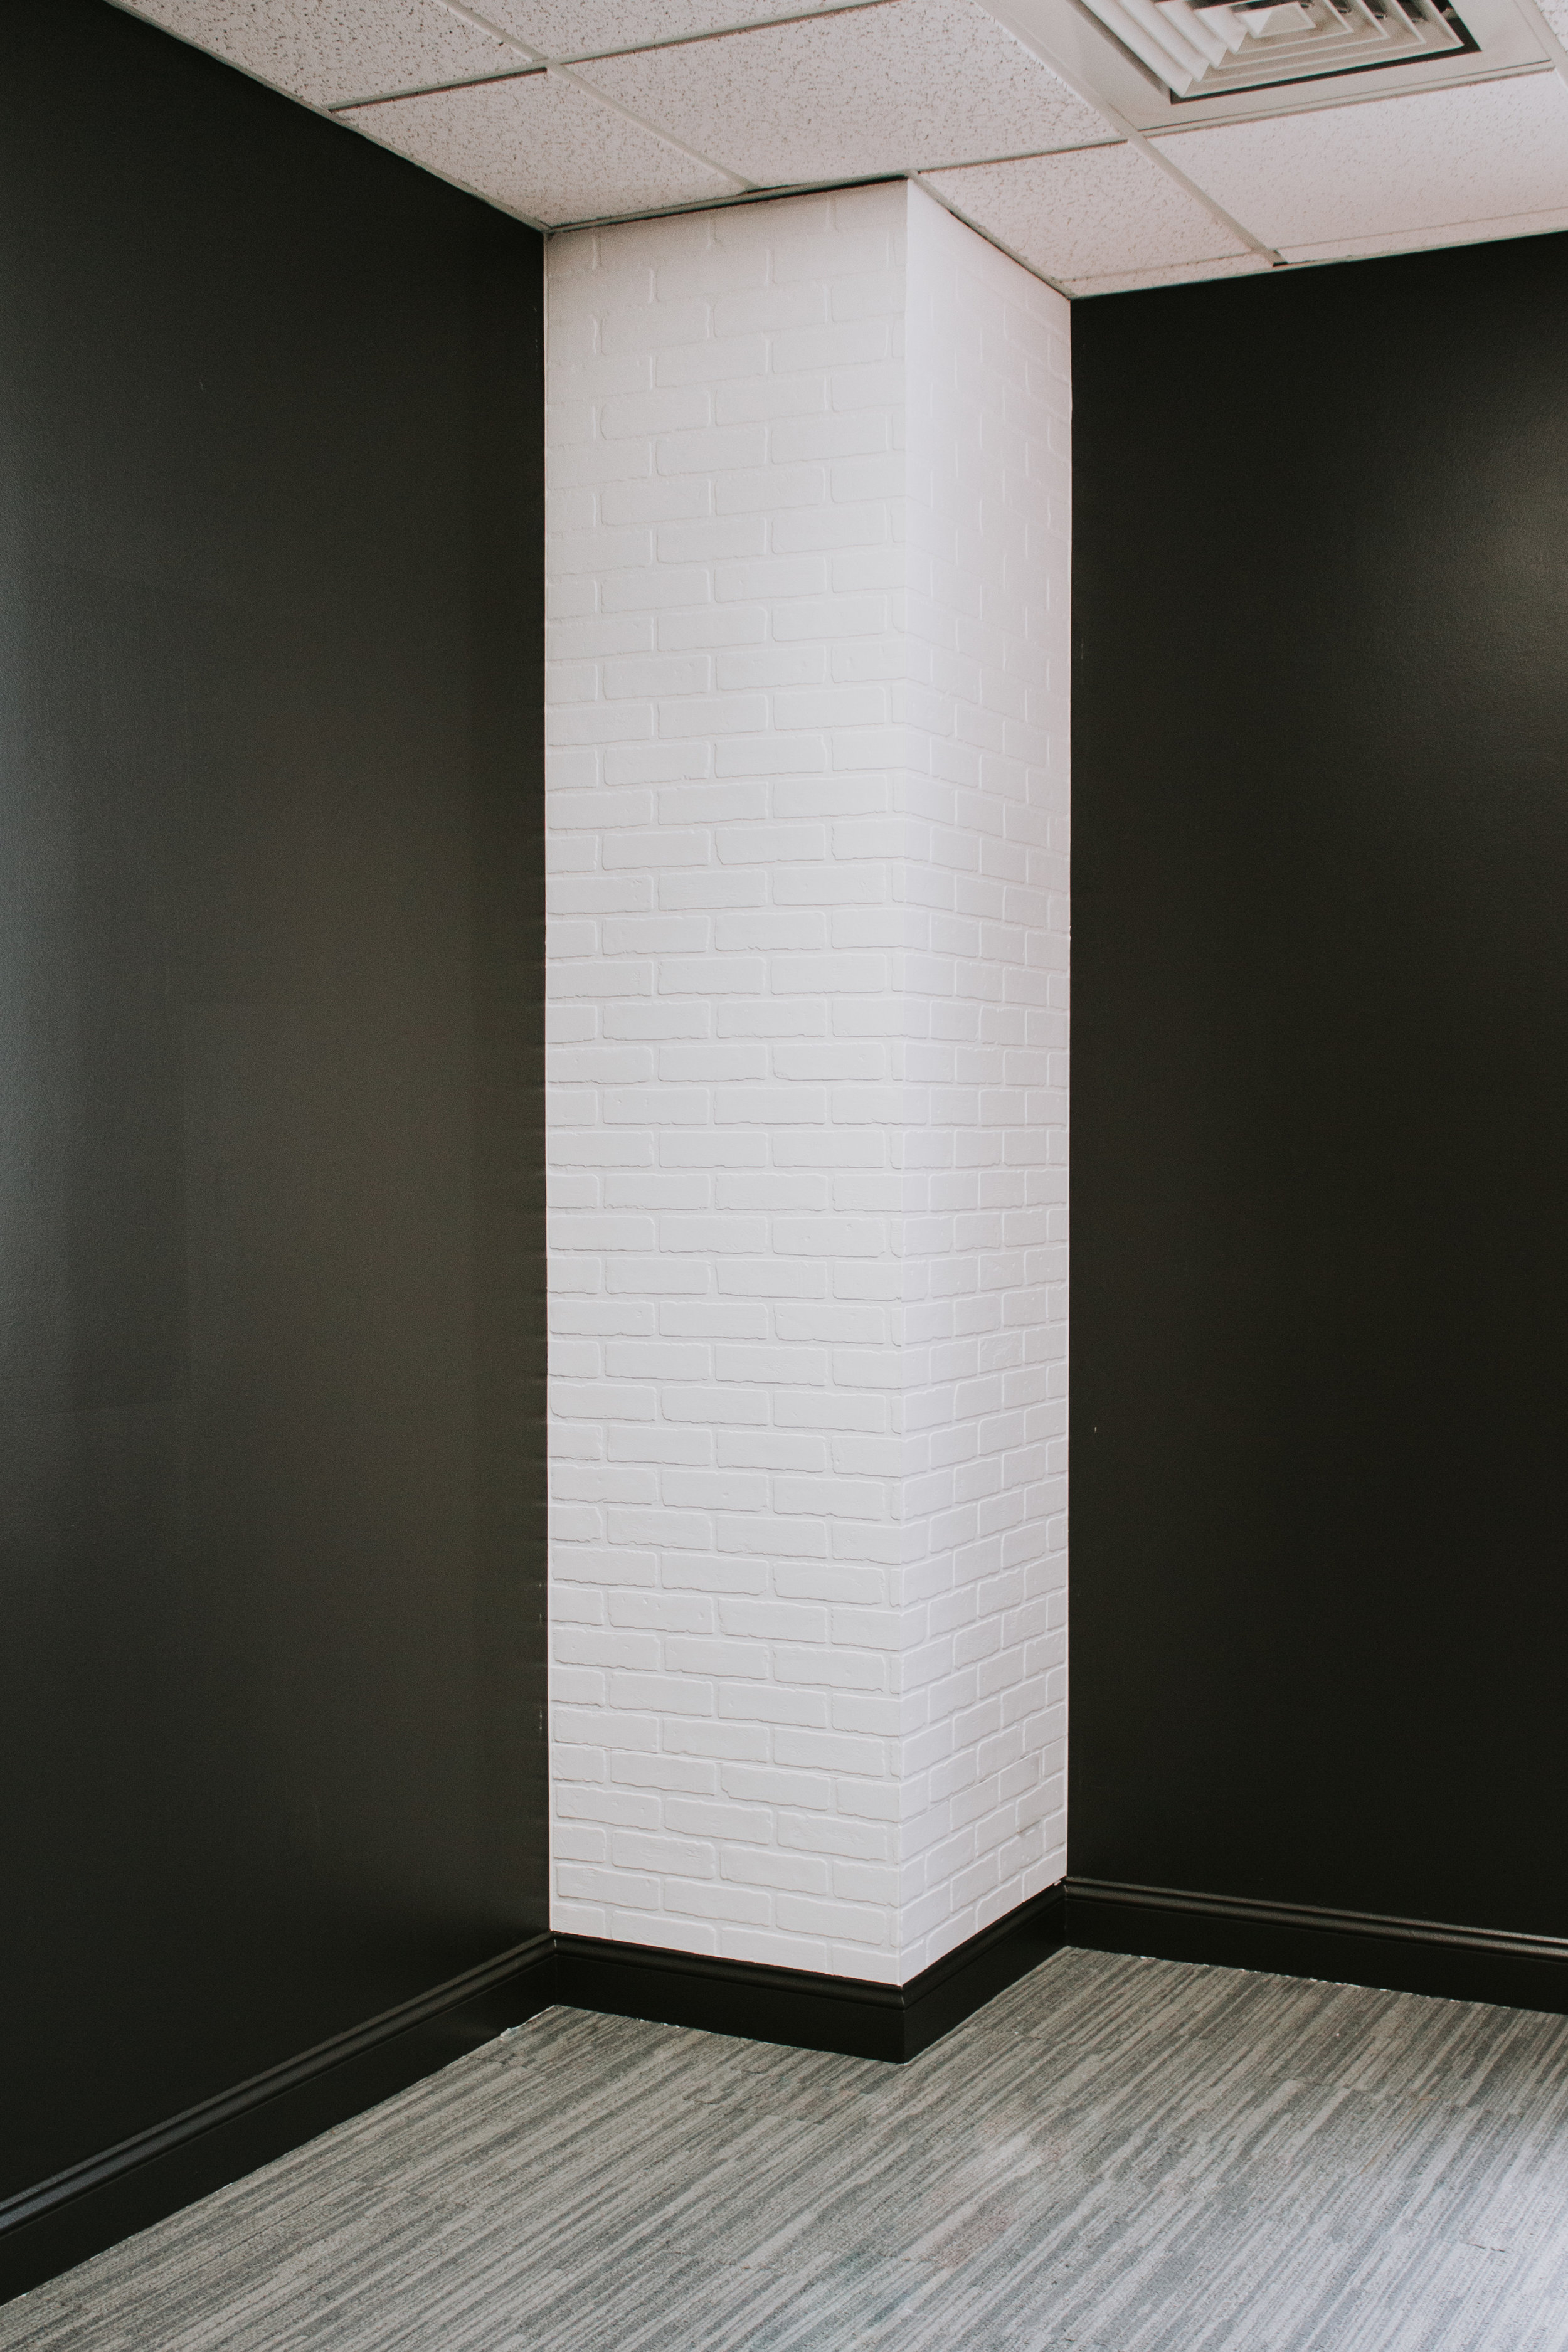
AFTER
MATERIALS NEEDED:
-
Paintable Caulking (optional)
-
Wood Filler (optional)
-
Paint
-
Painting Supplies (i.e. roller & brush)
TOOLS NEEDED:
-
Table Saw & Finish Blade
In order to create this faux brick chimney on a budget, I decided to use 4’ x 8’ faux brick panels from Menards. I’ve used these panels before to create a movable wall for a trade show I was in and it turned out great so I decided to use the same panels for this project! Normally Menards has white painted brick panels but they were sold out so we just bought the regular red brick panels.
We measured the bump out in the studio and marked those measurements on the back of our brick panels.
Now since we’re working with an outside corner, I wanted it to look as seamless as possible. In order to do that, we cut the outside edges of our panels at a 45° angle using our table saw. Cutting the outside corners at a 45° angle will create a seamless flow when the two panels butt up to one another at the corner. I recommend trying the 45° angle cuts with a scrap piece of plywood first to make sure both panels will line up perfectly on the corner.
Here’s an overhead view of what the corner should look like.
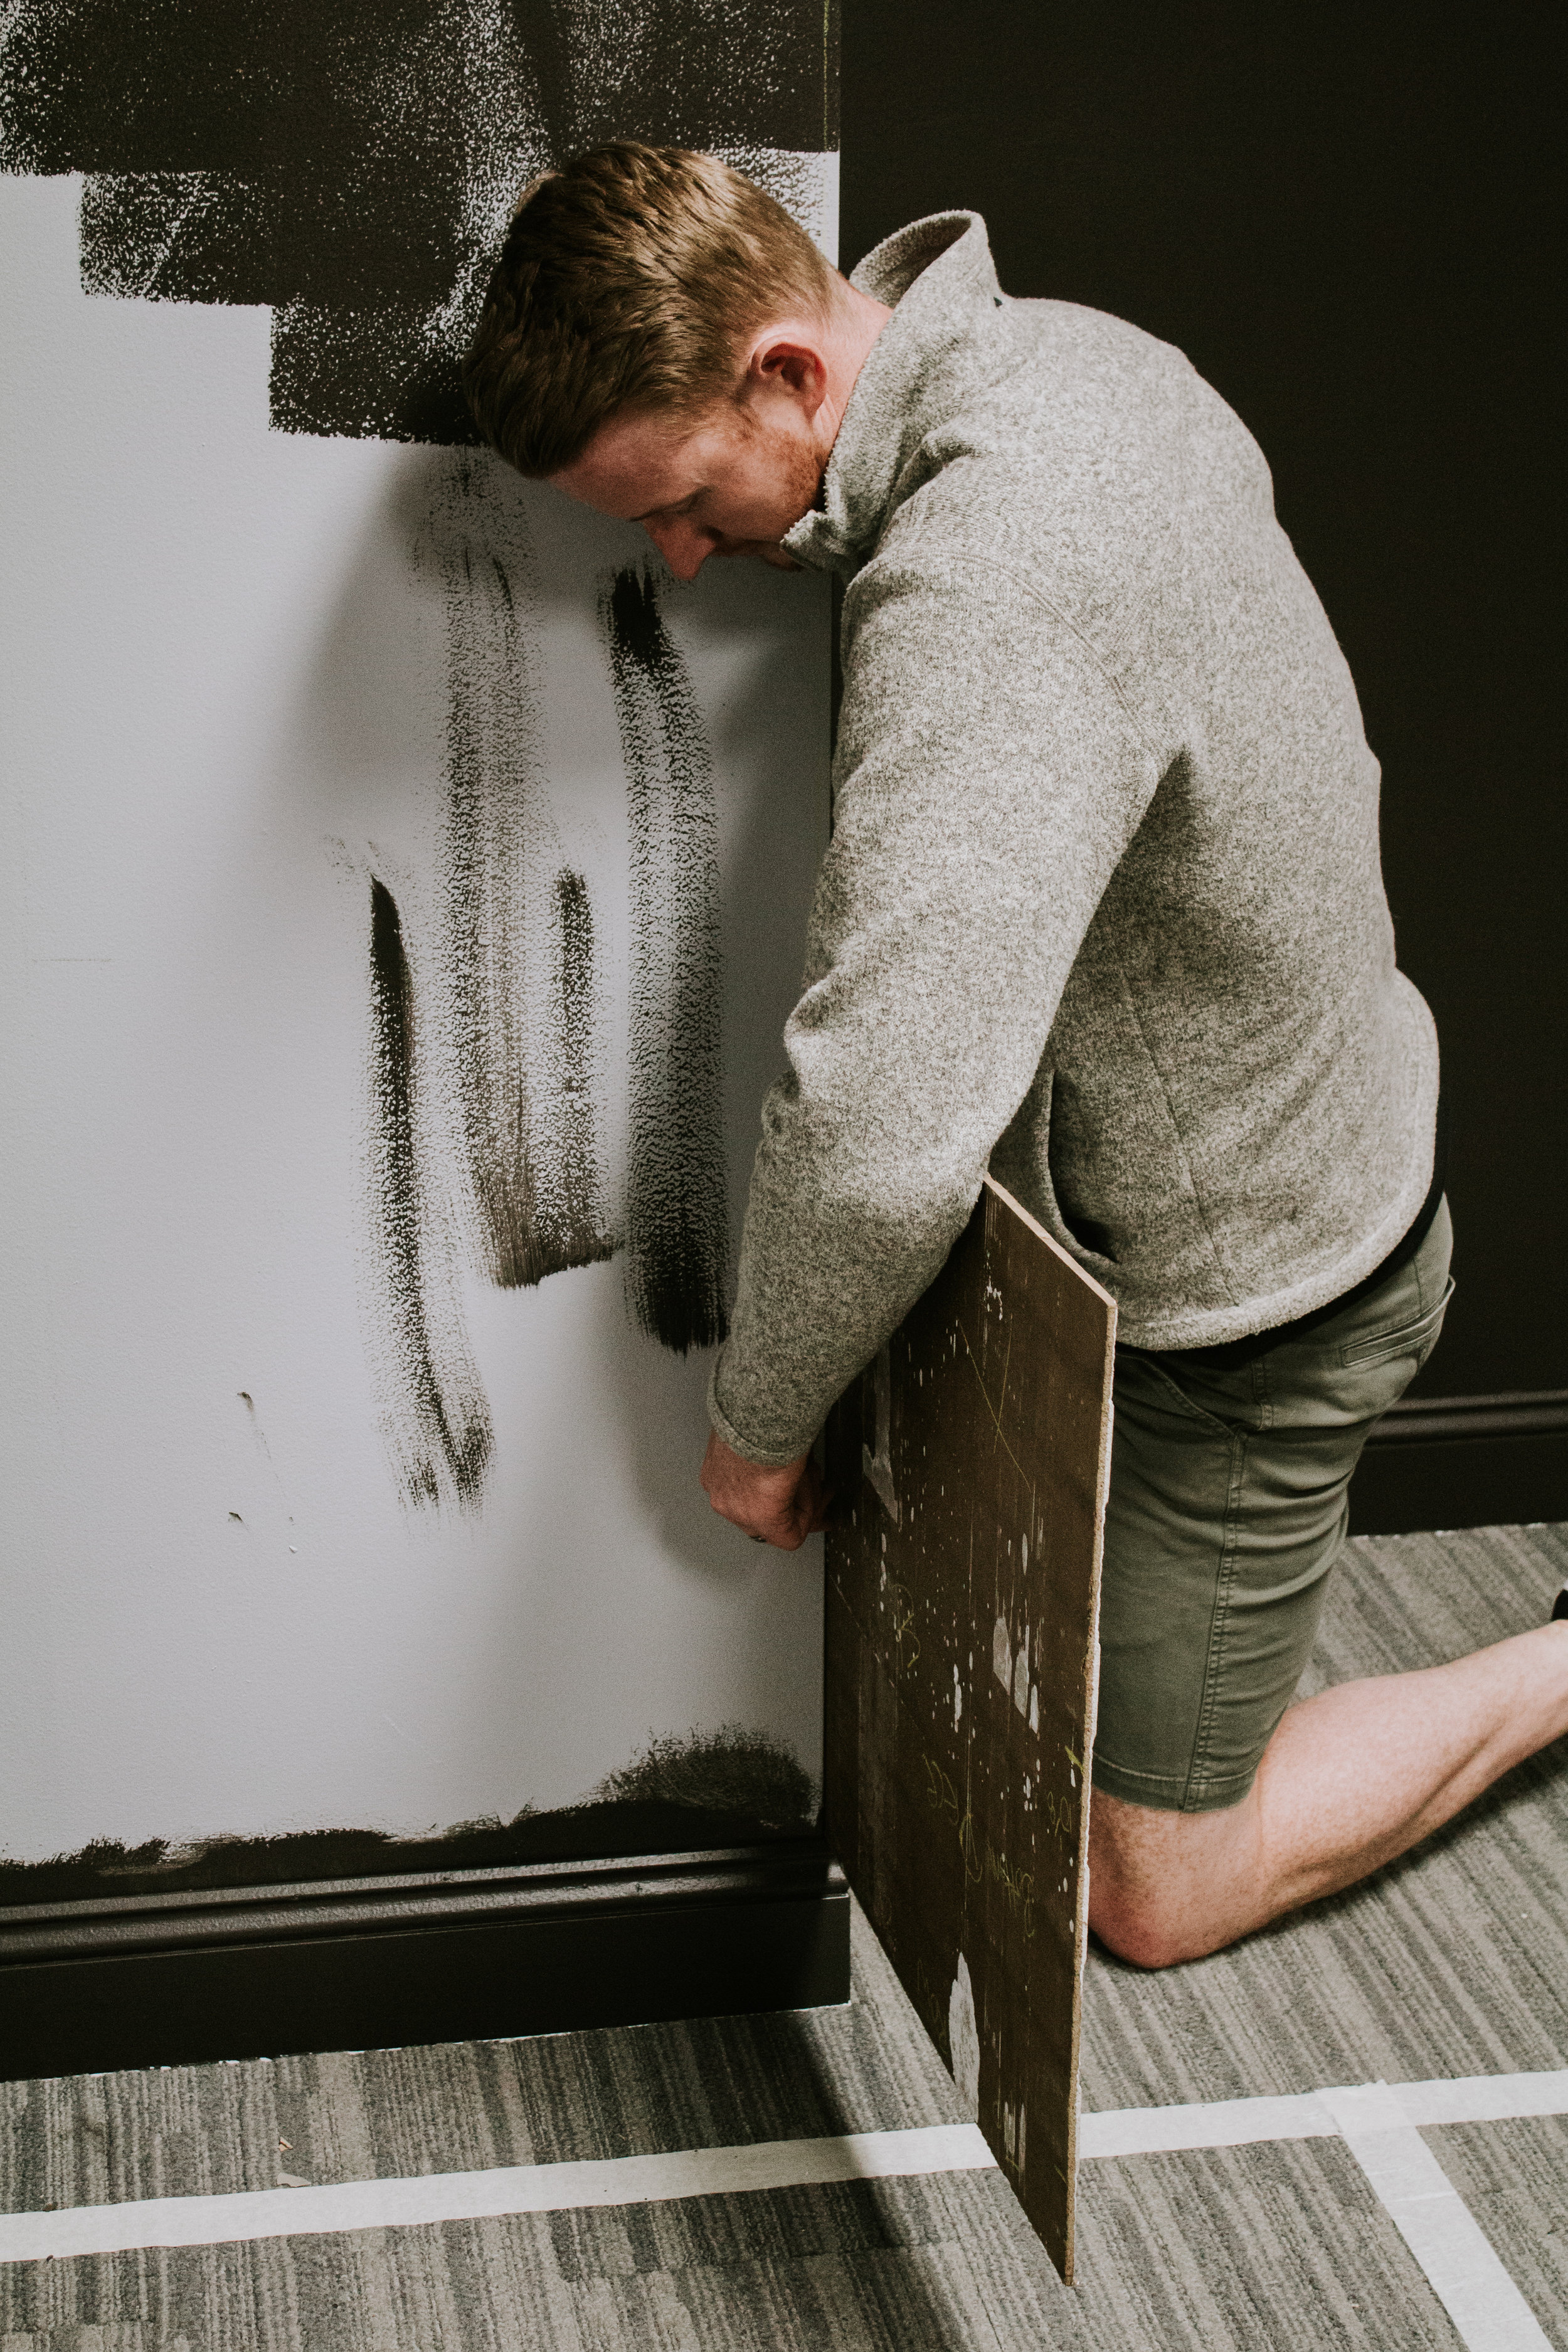
Next, we held the panels on the wall and we ensured that the bricks/mortar lines on the two panels were lined up at the outside corner.
Once we had the panels lined up properly, we started nailing them to the wall with our brad nail gun.
After nailing them on the wall, we inspected the corners and edges for gaps. If necessary, you can caulk any gaps with paintable caulking. If you notice the holes from where your brad nails are, you can also wood fill them. The brick has plenty of texture so we didn’t seem to notice the nail holes once we painted over them but it’s completely up to you what you do.
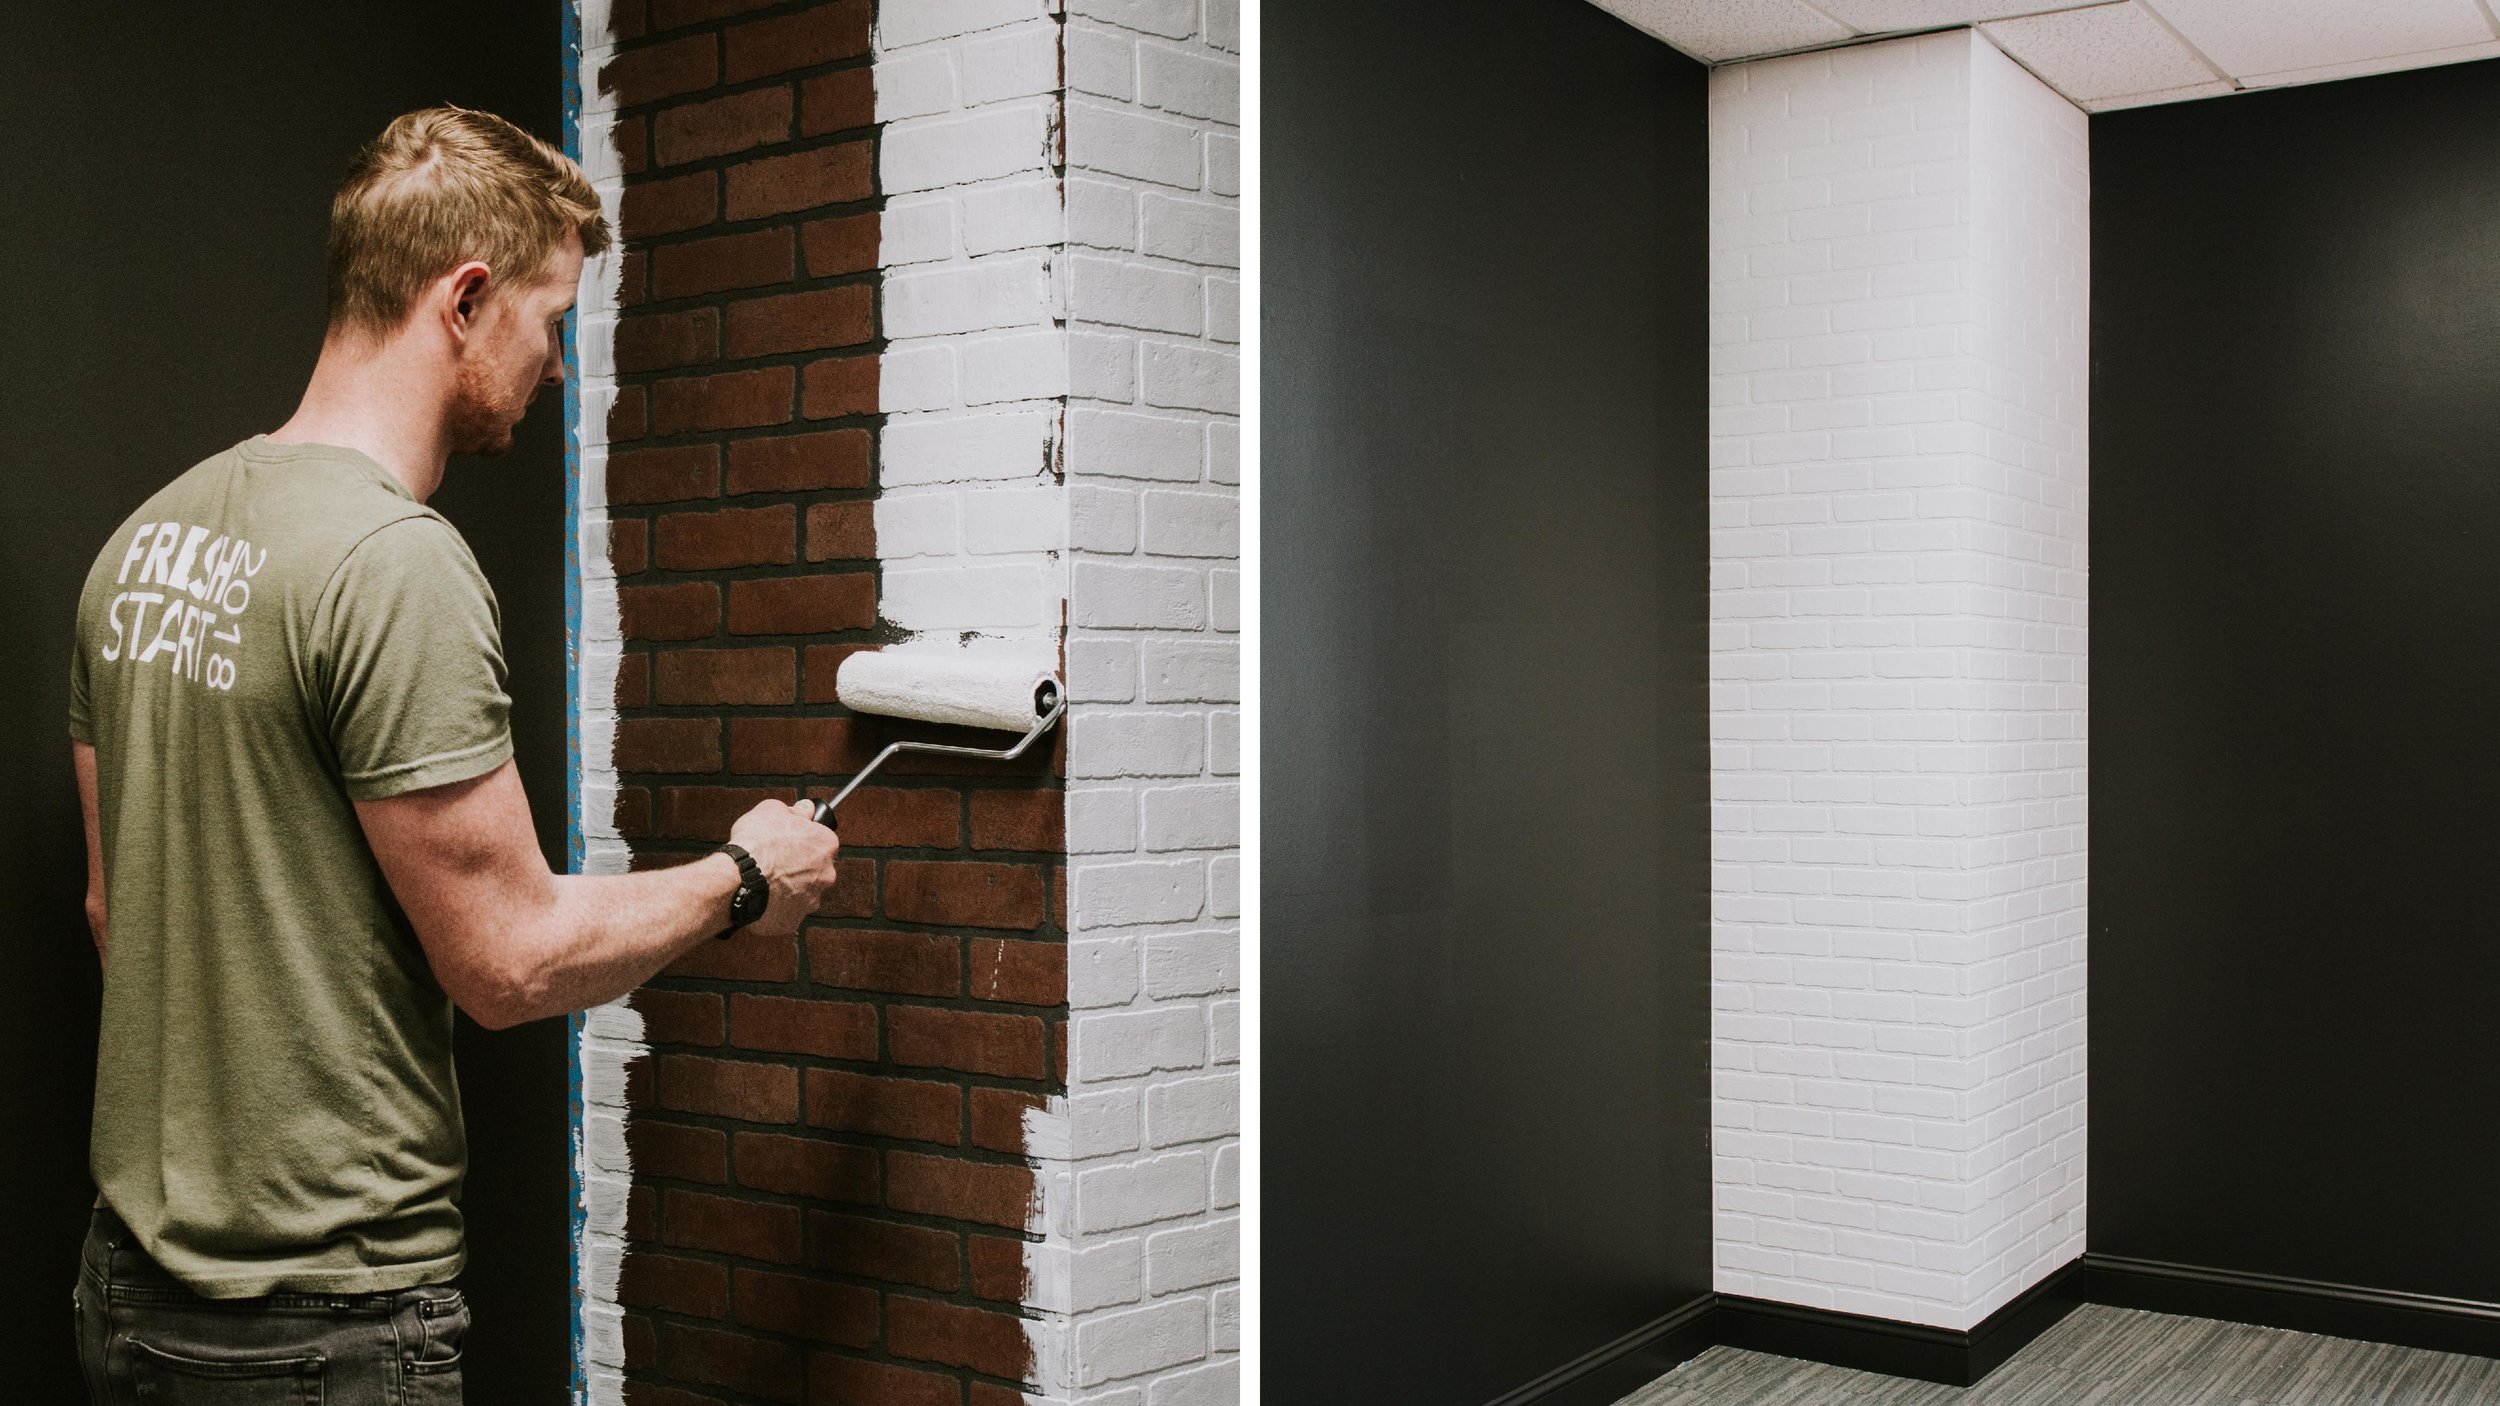
We then went over the brick with primer, let it dry, and went over it again with white paint. Depending on how well your paint covers, you may need to do several coats.
Done! This is such an inexpensive way to highlight an awkward corner and you can do it all in a weekend! Next up for us – it’s time to build the desk that will wrap around the chimney and line the whole back wall. It’s going to look stunning! In the meantime, go find an awkward bump out in your house that would look good as a faux brick chimney!
BEFORE
AFTER
Leave a Reply Cancel reply
Where behind the scenes, exclusive advice, and candid conversations are sent straight to your inbox every week.


I love this. Who would’ve thought of something so unique? Umm. You. You would’ve thought it.