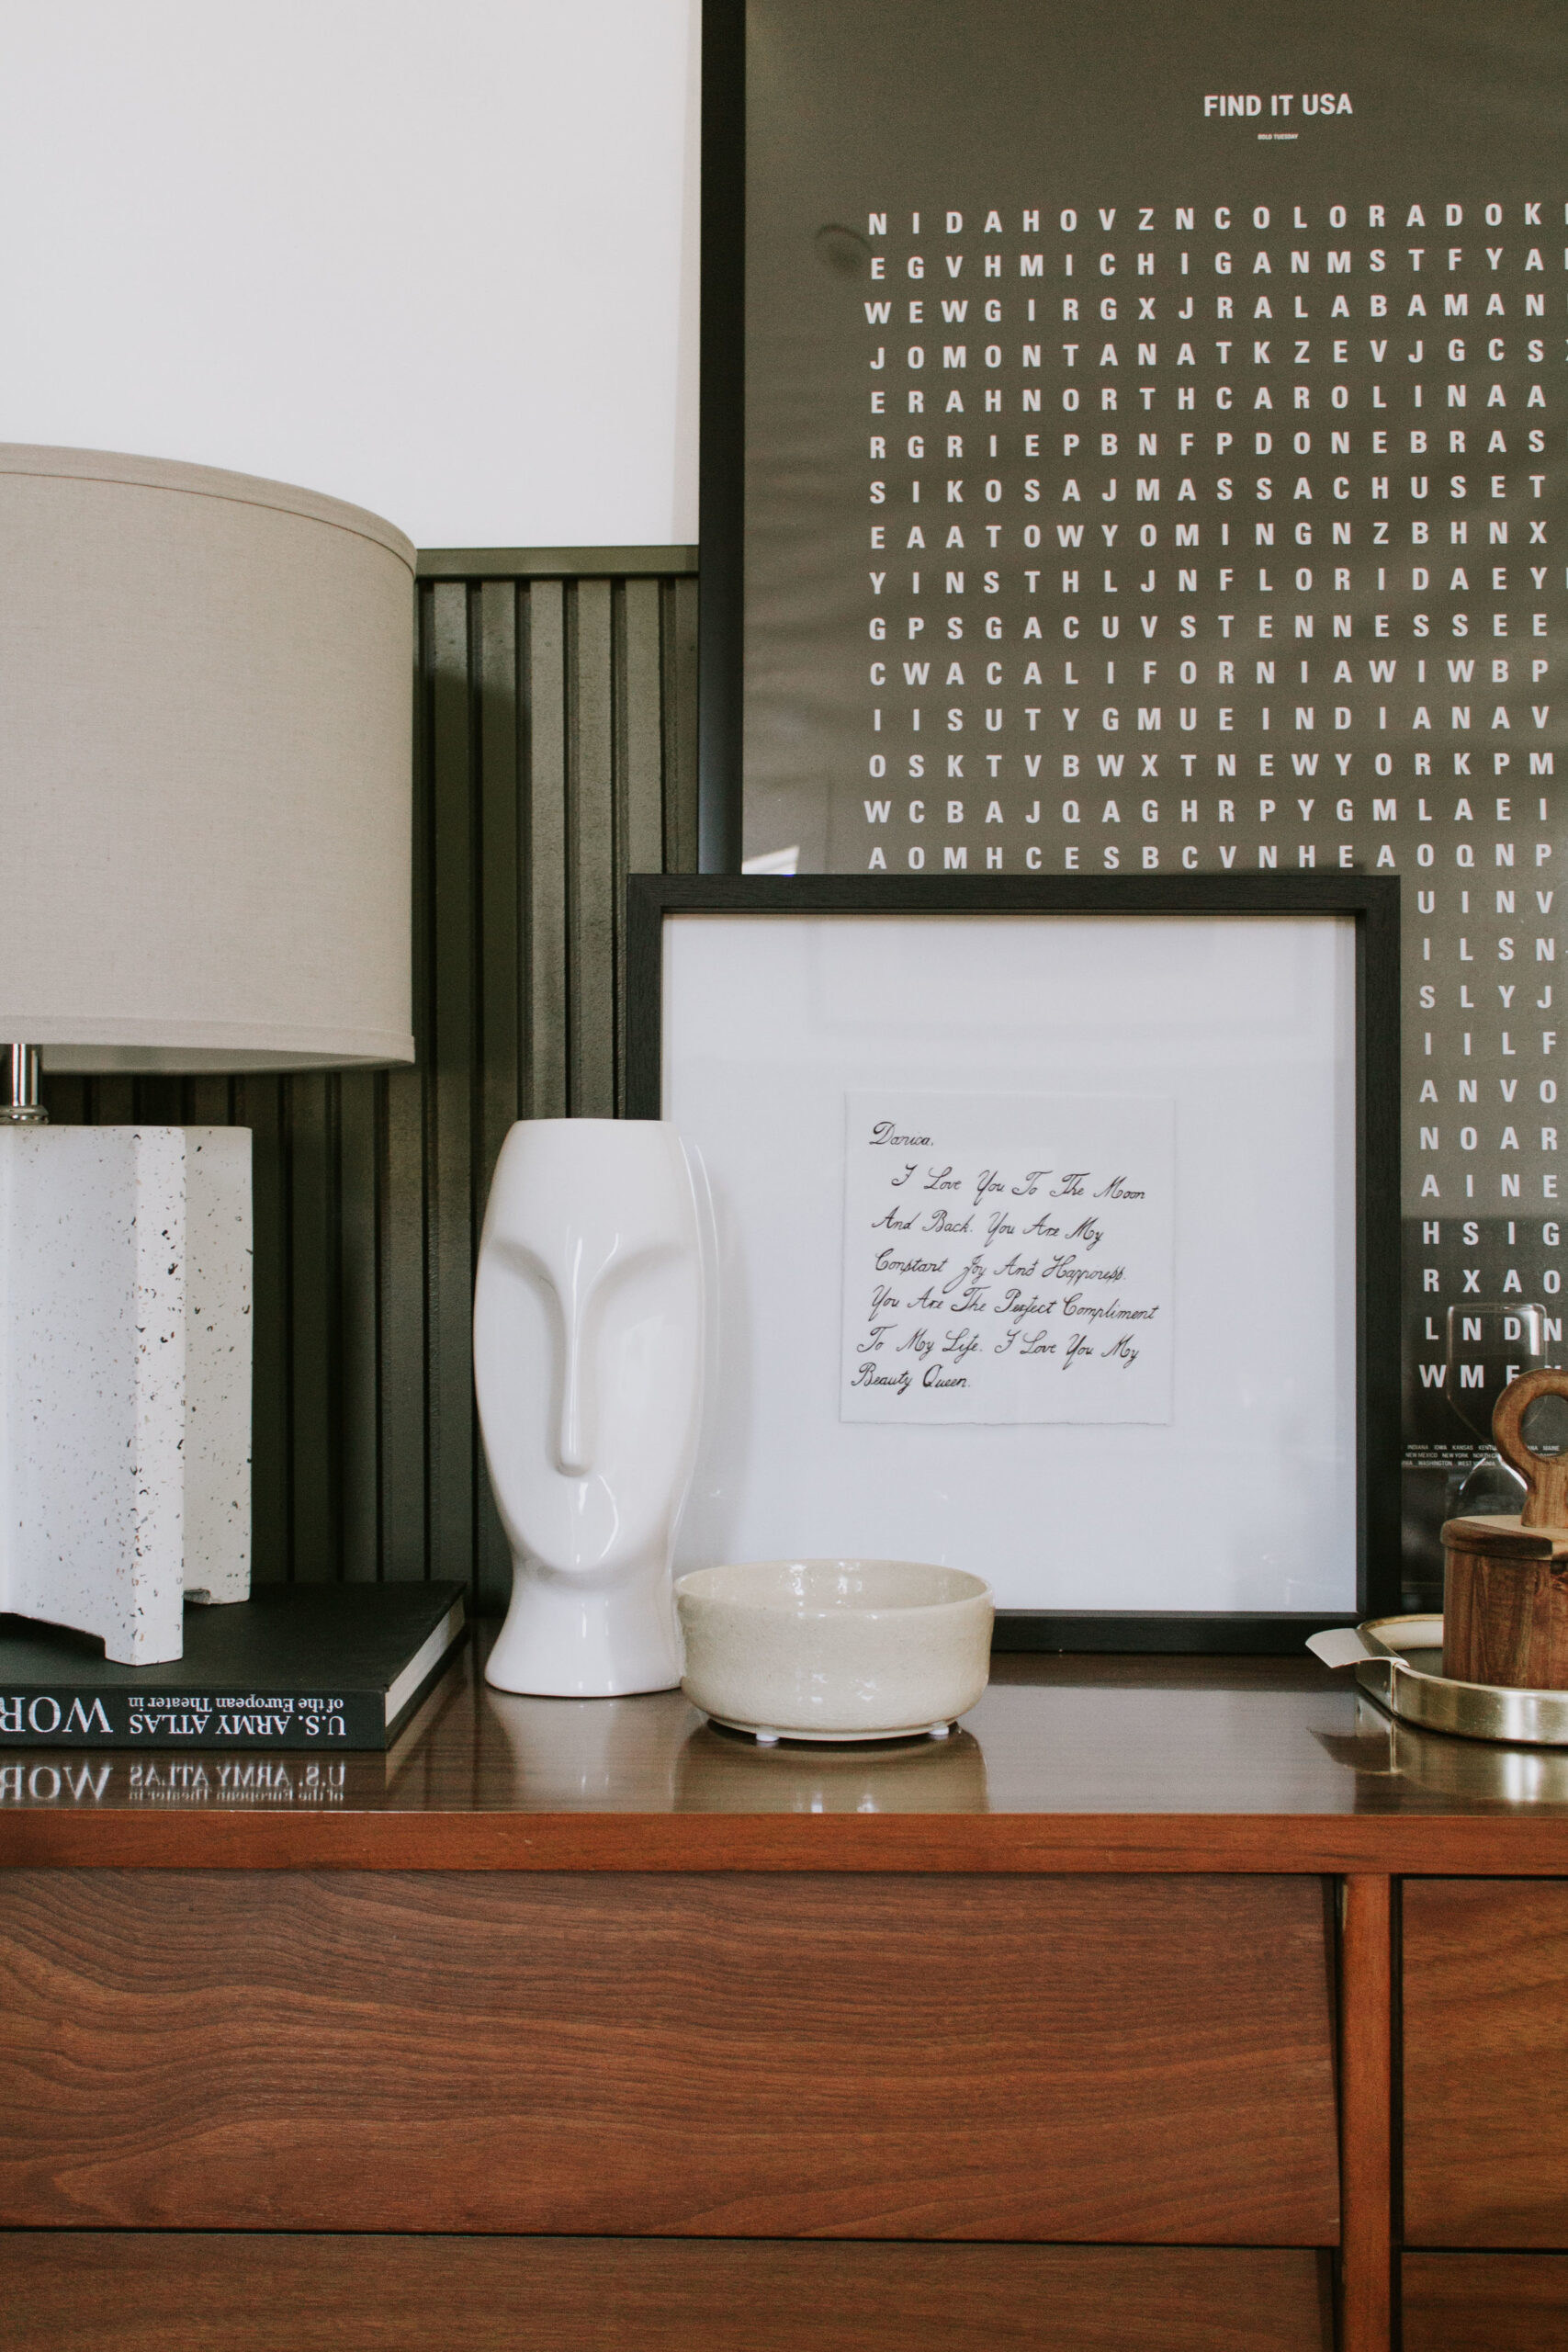
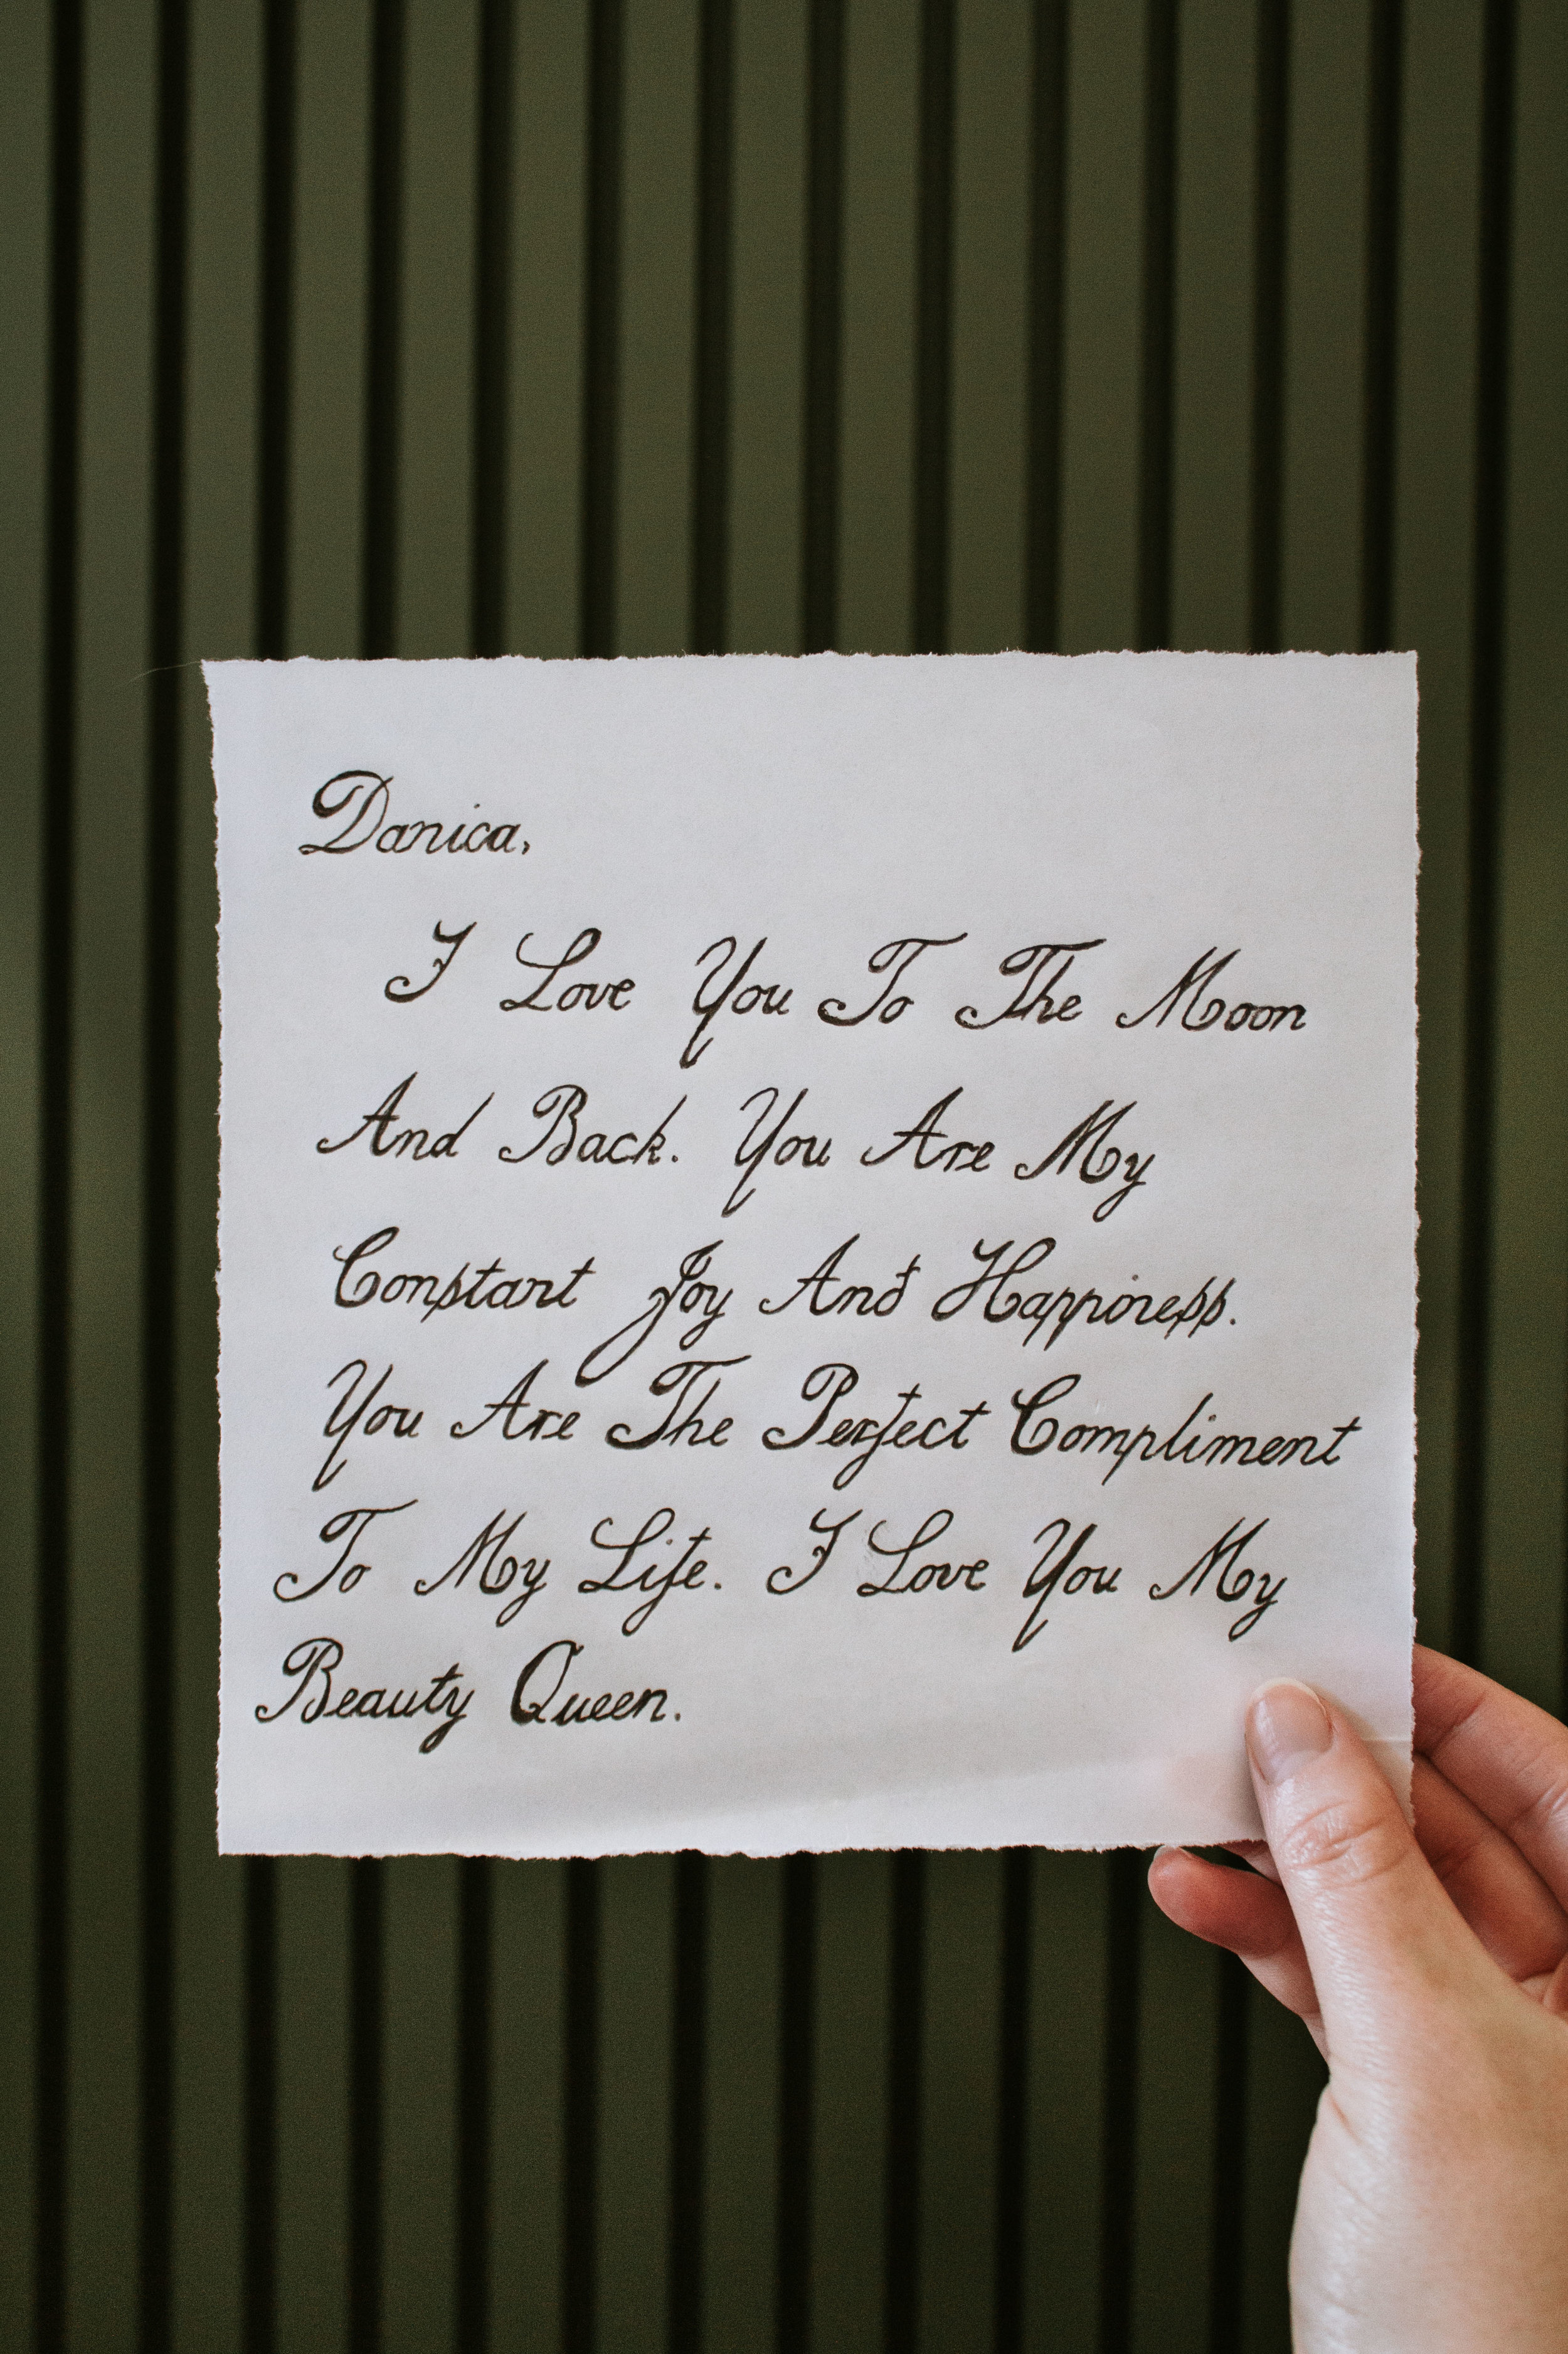
Chris wrote me this note almost 6 years ago and I have kept it ever since! It’s moved from one apartment to another and I kept it safe in our budget folder…the only place that it wouldn’t get crinkled or ruined. I kept telling Chris that I wanted to get it framed, but in true Danica fashion, I waited 6 years to do it!
Can you please give me a virtual high five for ending the unframing streak!?
I knew I wanted to place it in an oversized, square frame so there would be plenty of white space around the small note. I also knew that I wanted the note to float over the mat and showcase the torn edges that make this piece all the more perfect!
To clarify, float mounted artwork is a framing technique. It’s artwork that appears to be sitting slightly off the back mat. There a small gap between the art and the back mat which gives the illusion that the artwork is floating within the frame.
All you need to do this is –
-
Frame (Similar option here)
-
Artwork of your choice
-
White Matboard (large enough for both the back mat and behind the artwork)
-
Double Sided Tape
-
Pencil
I found my frame at Home Goods (here’s a similar frame I found online) and it has the perfect shape – square, oversized, and a minimal frame.
The frame also came with a mat that had a cutout for an 8×10″ photo. I need a solid mat without a cutout for float mounting so this will be replaced.
I placed the mat that came with the frame on a 24″x36″ matboard sheet that I purchased from Michaels and I traced around it with a pencil. Using a rotary knife, I cut along the lines. This will now become the back mat.
To create the floating effect, you’ll need to create a gap between the art and back mat. To do so, I cut out another piece of matboard that was slightly smaller than my note. This will go underneath the note and will help create a gap and the illusion of “floating” artwork. The more layers of matboard that you put under the art/note, the bigger the gap so feel free to play around with thickness until you get something you like.
For reference, I ended up using two layers between my note and the back mat. All together, I had two small mats (for behind the note), 1 large mat (for the back), and my note.
Next, I used spray adhesive to attach the note to the small mat. Then, I used double sided tape (or spray adhesive if you’d like) to attach my mat/note to the center of the large back mat. Still tracking with me?
In the end, it looked like the photo below.
I put it back in the frame and that’s it!
Float mounting works with pretty much any standard frame which means you don’t have to go out and buy a special frame – you can use one you already own! If you want your art to have an extra dramatic gap, just get a frame where the glass sits off of the back slightly. Then you’ll have more room for a bigger gap!
Where behind the scenes, exclusive advice, and candid conversations are sent straight to your inbox every week.


