In the process of designing our built in coat closet/mudroom closet, we determined that every aspect of it would need to be custom made by us. (With the exception of the Ikea Pax frames that we used for the inner frame.) That included making two inset drawers and it was our first time doing so!
I saw this easy DIY drawer tutorial that Tiffany shared on her Instagram account and saved it to use as a guide. We made a few adjustments from her original tutorial to fit our needs and as it turns out…drawers are incredibly easy to build. I promise!
Here’s how to build drawer boxes and how to turn them into inset drawers.
STEP 1: INSTALL DRAWER SLIDES FIRST
The first thing you’ll want to do is install the drawer slides. Our cabinet is about 17” deep so we purchased 16” soft close full extension slides. We positioned ours a couple inches from the bottom and leveled them before screwing them into place.
STEP 2: CUT THE SIDE BOARDS
For the drawer box, we chose to use 3/4” x 8” pine wood. You’ll need to cut two pieces of wood for the sides of the drawer. This length will be the depth of your drawer box. Because we’re building inset drawers, you’ll need to know how thick your drawer front is to determine the length of the side boards.
Measure the depth of your cabinet, subtract the thickness of your drawer front, and subtract another 1/4”-1/2” to leave a gap between the back of the cabinet and the back of the drawer. Cut two boards at this length.
Now before you place them in your cabinet to ensure they’re the right fit, grab a couple pieces of wood and place them under the slides temporarily. These prop boards will serve as a temporary solution to determine the gap between the bottom of the cabinet and the bottom of the drawer. You can do as much or as little of a gap as you want as long as your drawer isn’t sliding directly on the cabinet. Once you’ve found a thickness of wood you like, then place your side boards on the wood like in the photo above.
STEP 3: CUT THE FRONT & BACK BOARDS
Place your side boards against the drawer slides tightly (no need to screw them in yet) and measure the distance between the two. This will be the length of your front and back boards. Cut two boards at this length. They should fit snug in between the two side boards.
STEP 4: CUT OUT A CHANNEL FOR THE BOTTOM BOARD (AKA A DADO CUT)
There’s several ways to attach the bottom board to the drawer. The easiest way is to cut a sheet of plywood the same size as your drawer and glue/nail it on from the bottom. However, if the drawer will hold some weight, you may want to consider a more sturdy option.
We chose to cut grooves into the drawer for the bottom board to slide into. This will keep the drawer nice and sturdy and it’ll also be able to hold a decent amount of weight!
To do so with a regular table saw and a 10” blade, you first need to determine the thickness of your bottom board. We used 1/4” plywood. Set your table saw blade to 3/8” from the fence and raise it 3/8” high. Run all 4 boards through the table saw.
Adjust your fence ever so slightly away from the blade and run all 4 boards through the saw again. Your channel should be slightly wider now. Continue to do this until you have created a 1/4” channel and check the fit with your bottom board to ensure it’s a good fit.
STEP 5: CUT & ATTACH THE BOTTOM BOARD
For our bottom board, we chose to use 1/4” plywood. To determine what size you need to cut it down to, measure the inside width of your drawer (the same length as your front & back boards) and add 5/8” to account for the channels you just cut. Then measure the inside depth of the drawer and add 5/8”. These two measurements are the length and depth you need to cut your plywood bottom.
Slide the plywood bottom into the channels and dry fit the drawer to ensure it’s cut to the correct size. If it fits properly, glue the edges of the long boards and then nail each corner in place with 1 1/4” brad nails.
STEP 6: ATTACH THE DRAWER BOX TO THE SLIDES
Now that you have a solid drawer box, dry fit the drawer into the cabinet to ensure it fits between the slides. Be sure to leave your temporary wood in place to keep a gap between the bottom of the drawer and the cabinet below.
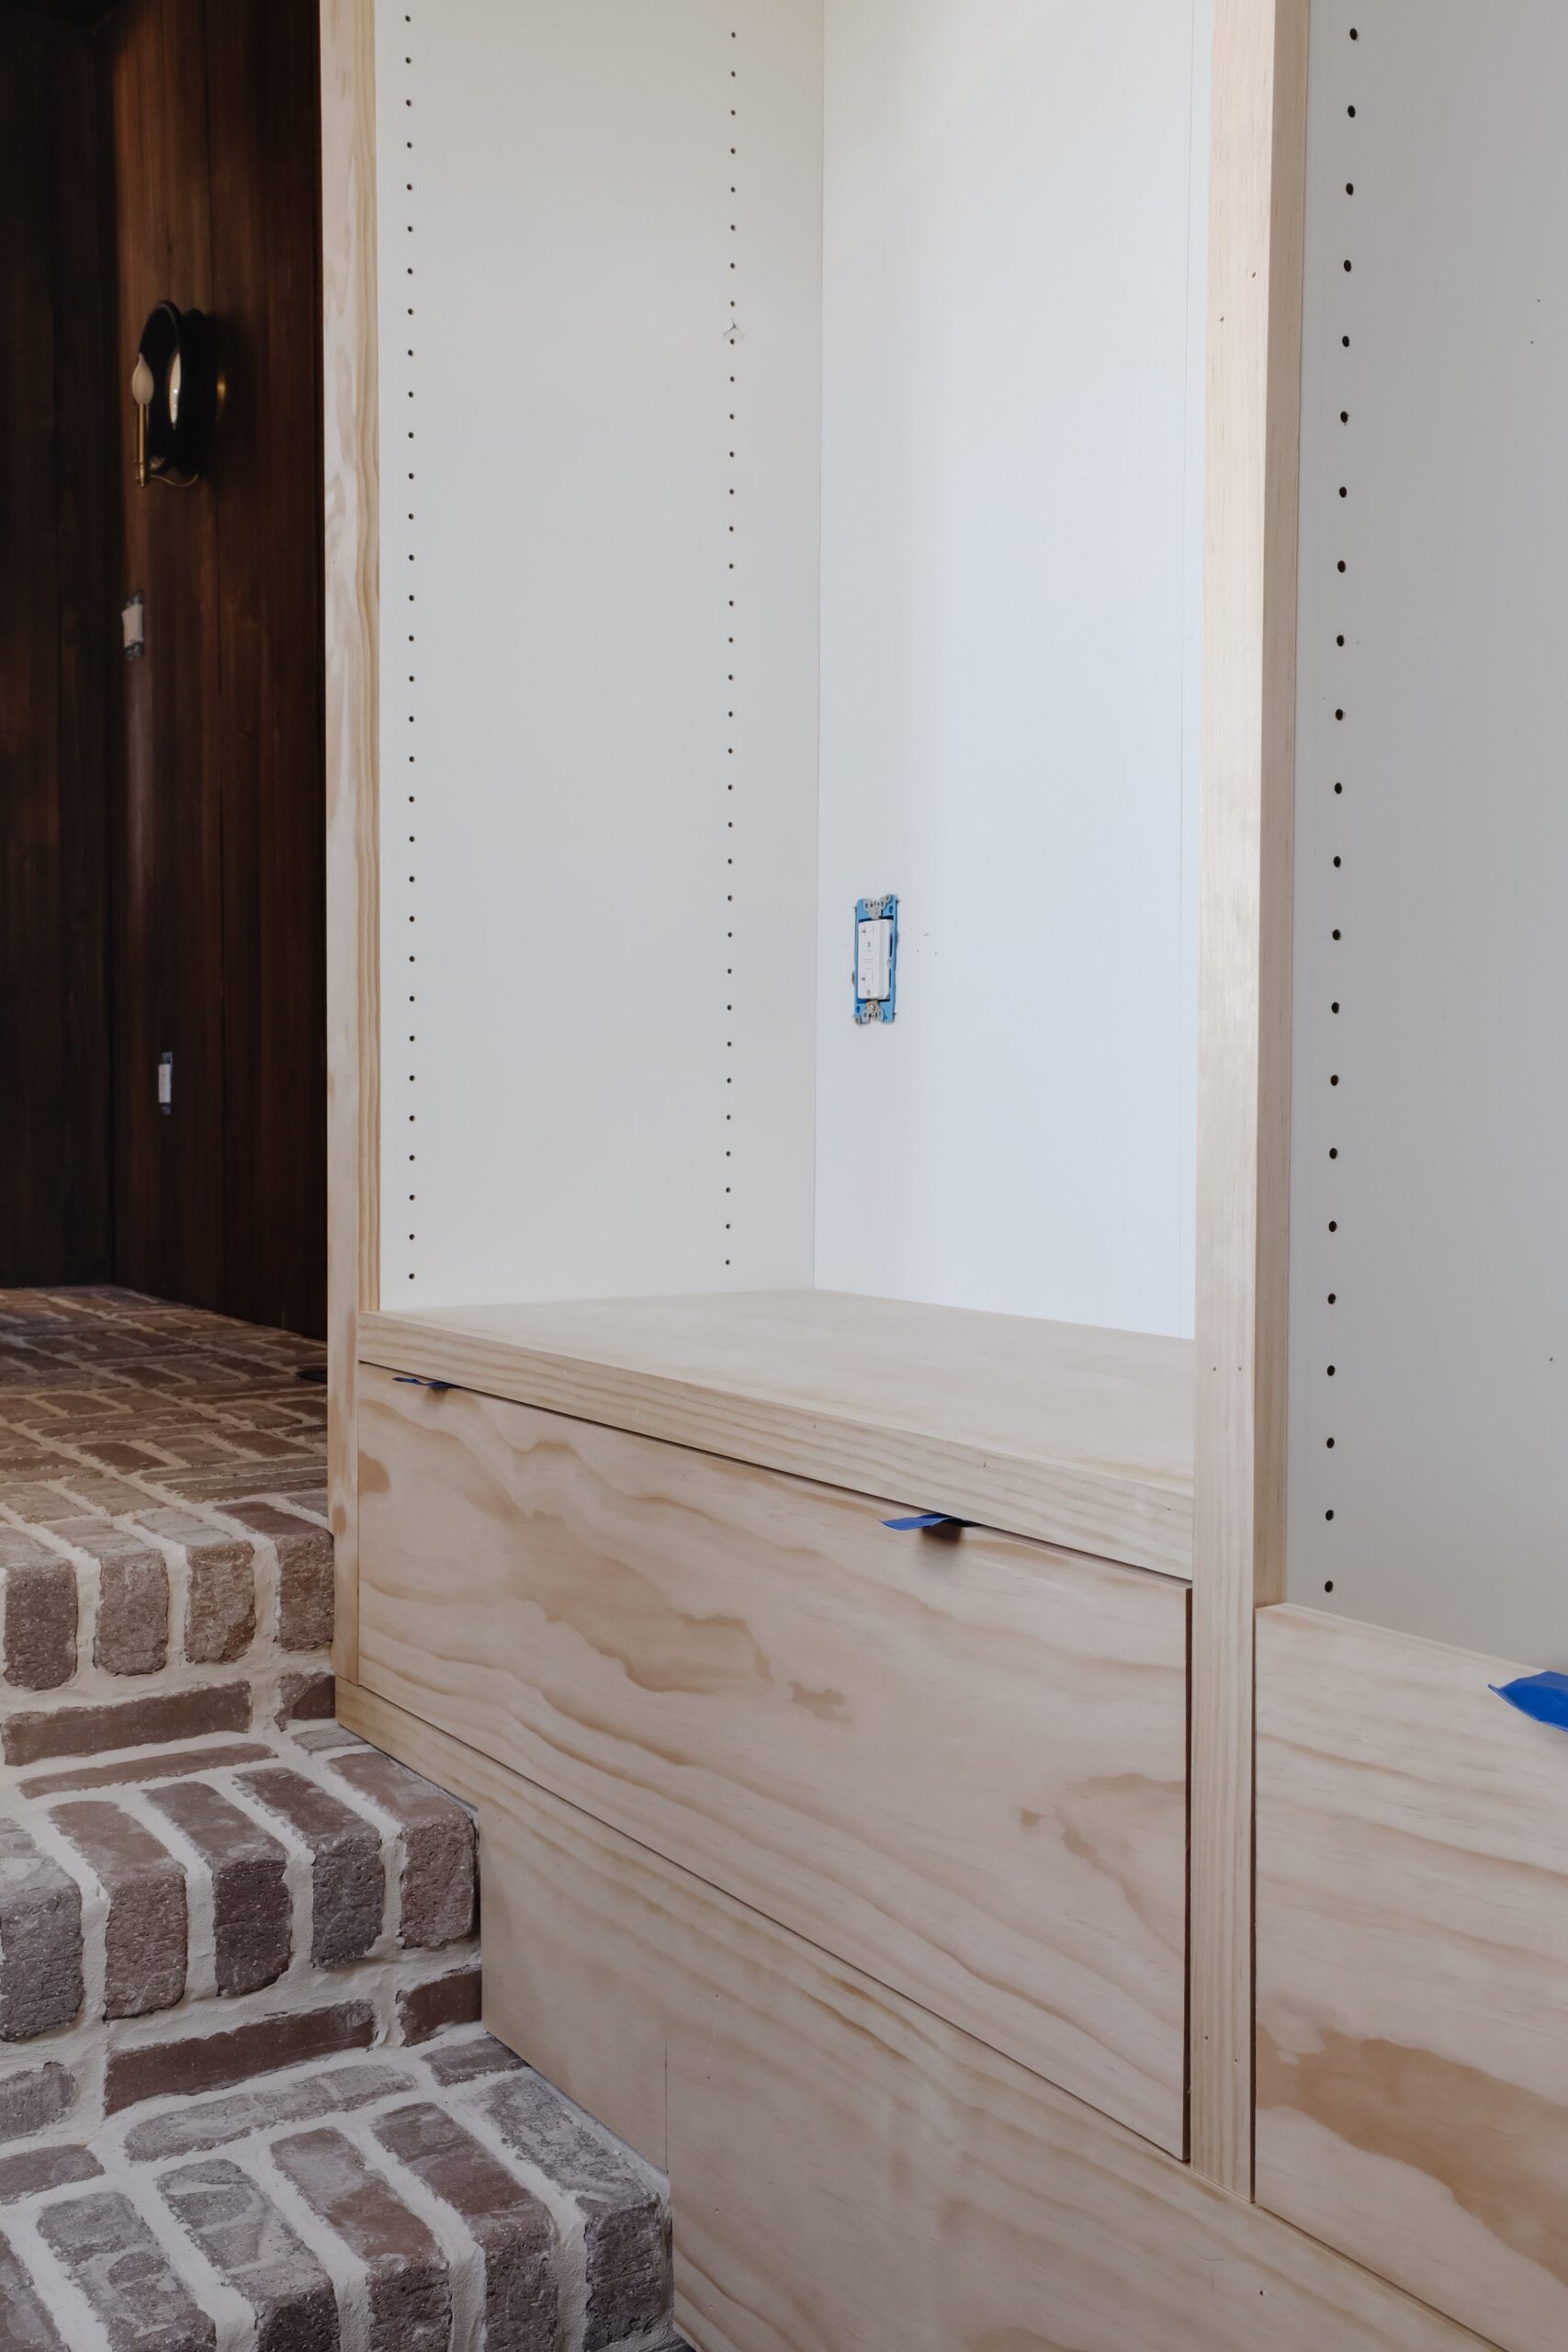
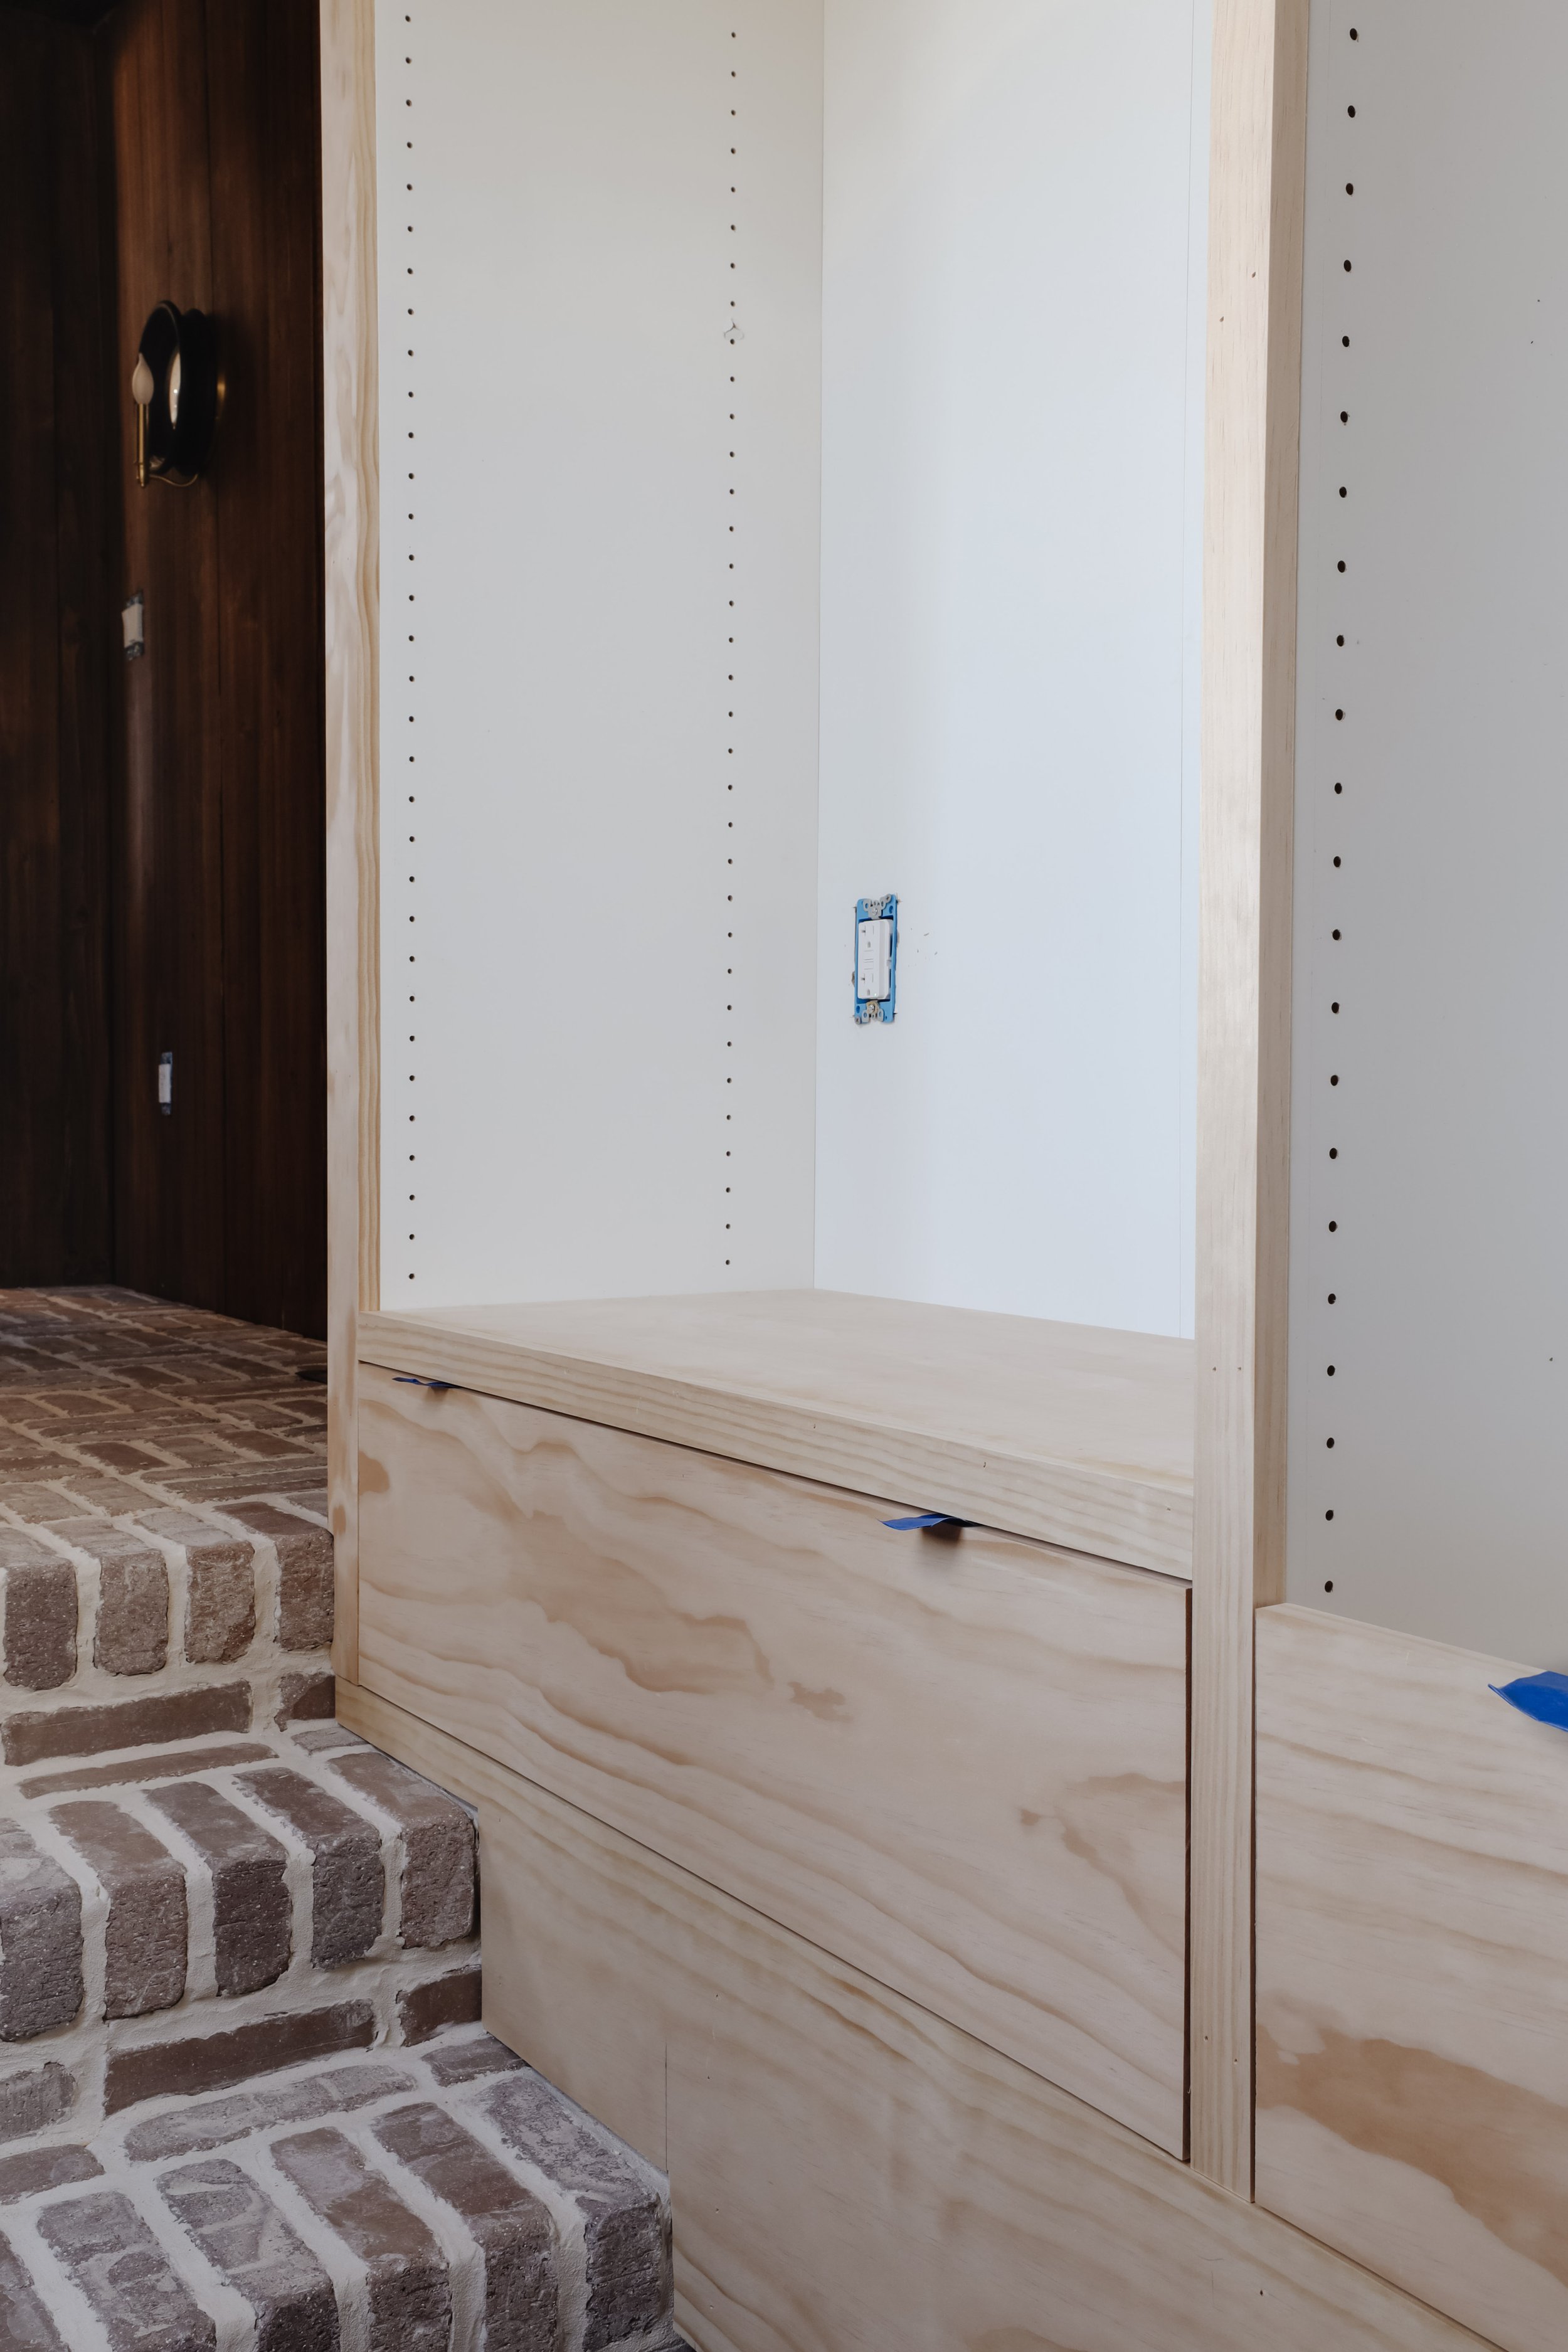
We’re building an inset drawer so if you don’t have the face frame trim on yet, your drawer should be flush with the cabinet. If your cabinet does already have face frame trim on (as shown in the image below) your drawer should be inset so that when you add your drawer front, it will be flush with the face frame.
To attach the drawer to the slides easily, dry fit the drawer box into place. Then carefully slide out the drawer with the slide partially until you see the first screw hole. Screw in the screw with a screwdriver and then continue to pull out the drawer and slide until the next screw hole is visible. Screw in that screw and do the same on the other side of the drawer.
STEP 7: ATTACH THE DRAWER FRONT
If building your drawer front from scratch, cut the board length first. To determine the length, measure the width of the opening and subtract 1/4”. (This will leave a 1/8” gap on both sides.) Then determine how high you want your drawer front to be. We chose to cut our board height down at 10” leaving an 1/8” gap on the top and bottom.
Once you have the drawer front cut to size, add wood glue to the drawer box. Position several 1/8” spacers along all sides of drawer front to ensure even spacing. Then nail the drawer front in place (with 1” brad nails) or screw it on from inside the drawer to avoid any visible nail holes on the front.
STEP 8: ADD A SHELF & FACE TRIM ABOVE DRAWER
The last step to completing your inset drawer is adding the face trim above the drawer. There are several ways to do this, and if your cabinet set up is similar to ours, you may be interested in adding a shelf above too.
To add a shelf above the drawer, cut a 3/4” sheet of plywood to the size of your cabinet interior and cut a 1×2 pine board to the same length as the plywood shelf. Glue & nail the pine board onto the front edge of the plywood as shown above. This board will cover the unsightly raw plywood edge and will also serve as the face trim above the drawer.
To attach the shelf to the cabinet, cut 2 thin wood strips at the same length as your drawer box. Your shelf will sit on these. To determine the placement of the wood strips, measure up 1 5/8” from the top of your drawer front (this includes the height of the face trim + an 1/8” gap). Then subtract 3/4” (the thickness of the plywood). This is where the top of your wood strips should be. Pop one nail in, level it out and nail the rest of it into place. Then set your shelf on top and ensure there is still an 1/8” gap between the face trim and the drawer front. Also ensure that the face trim is flush with the drawer front. If all is good, you can pop a few nails through the top of the shelf into the supports.
DONE!
SUPPLIES LIST
WOOD NEEDED:
-
3/4” pine wood
-
1/4” plywood
-
(Optional) Quality pine wood for drawer front
MATERIALS NEEDED:

Leave a Reply Cancel reply
Where behind the scenes, exclusive advice, and candid conversations are sent straight to your inbox every week.


We bought the 22" deep cabinets but cut them down to 17" to fit our space!
Hi there! I love how your built-ins turned out! I am planning my own PAX built-in, but I am curious about what depth cabinet you used for this project. Thanks!