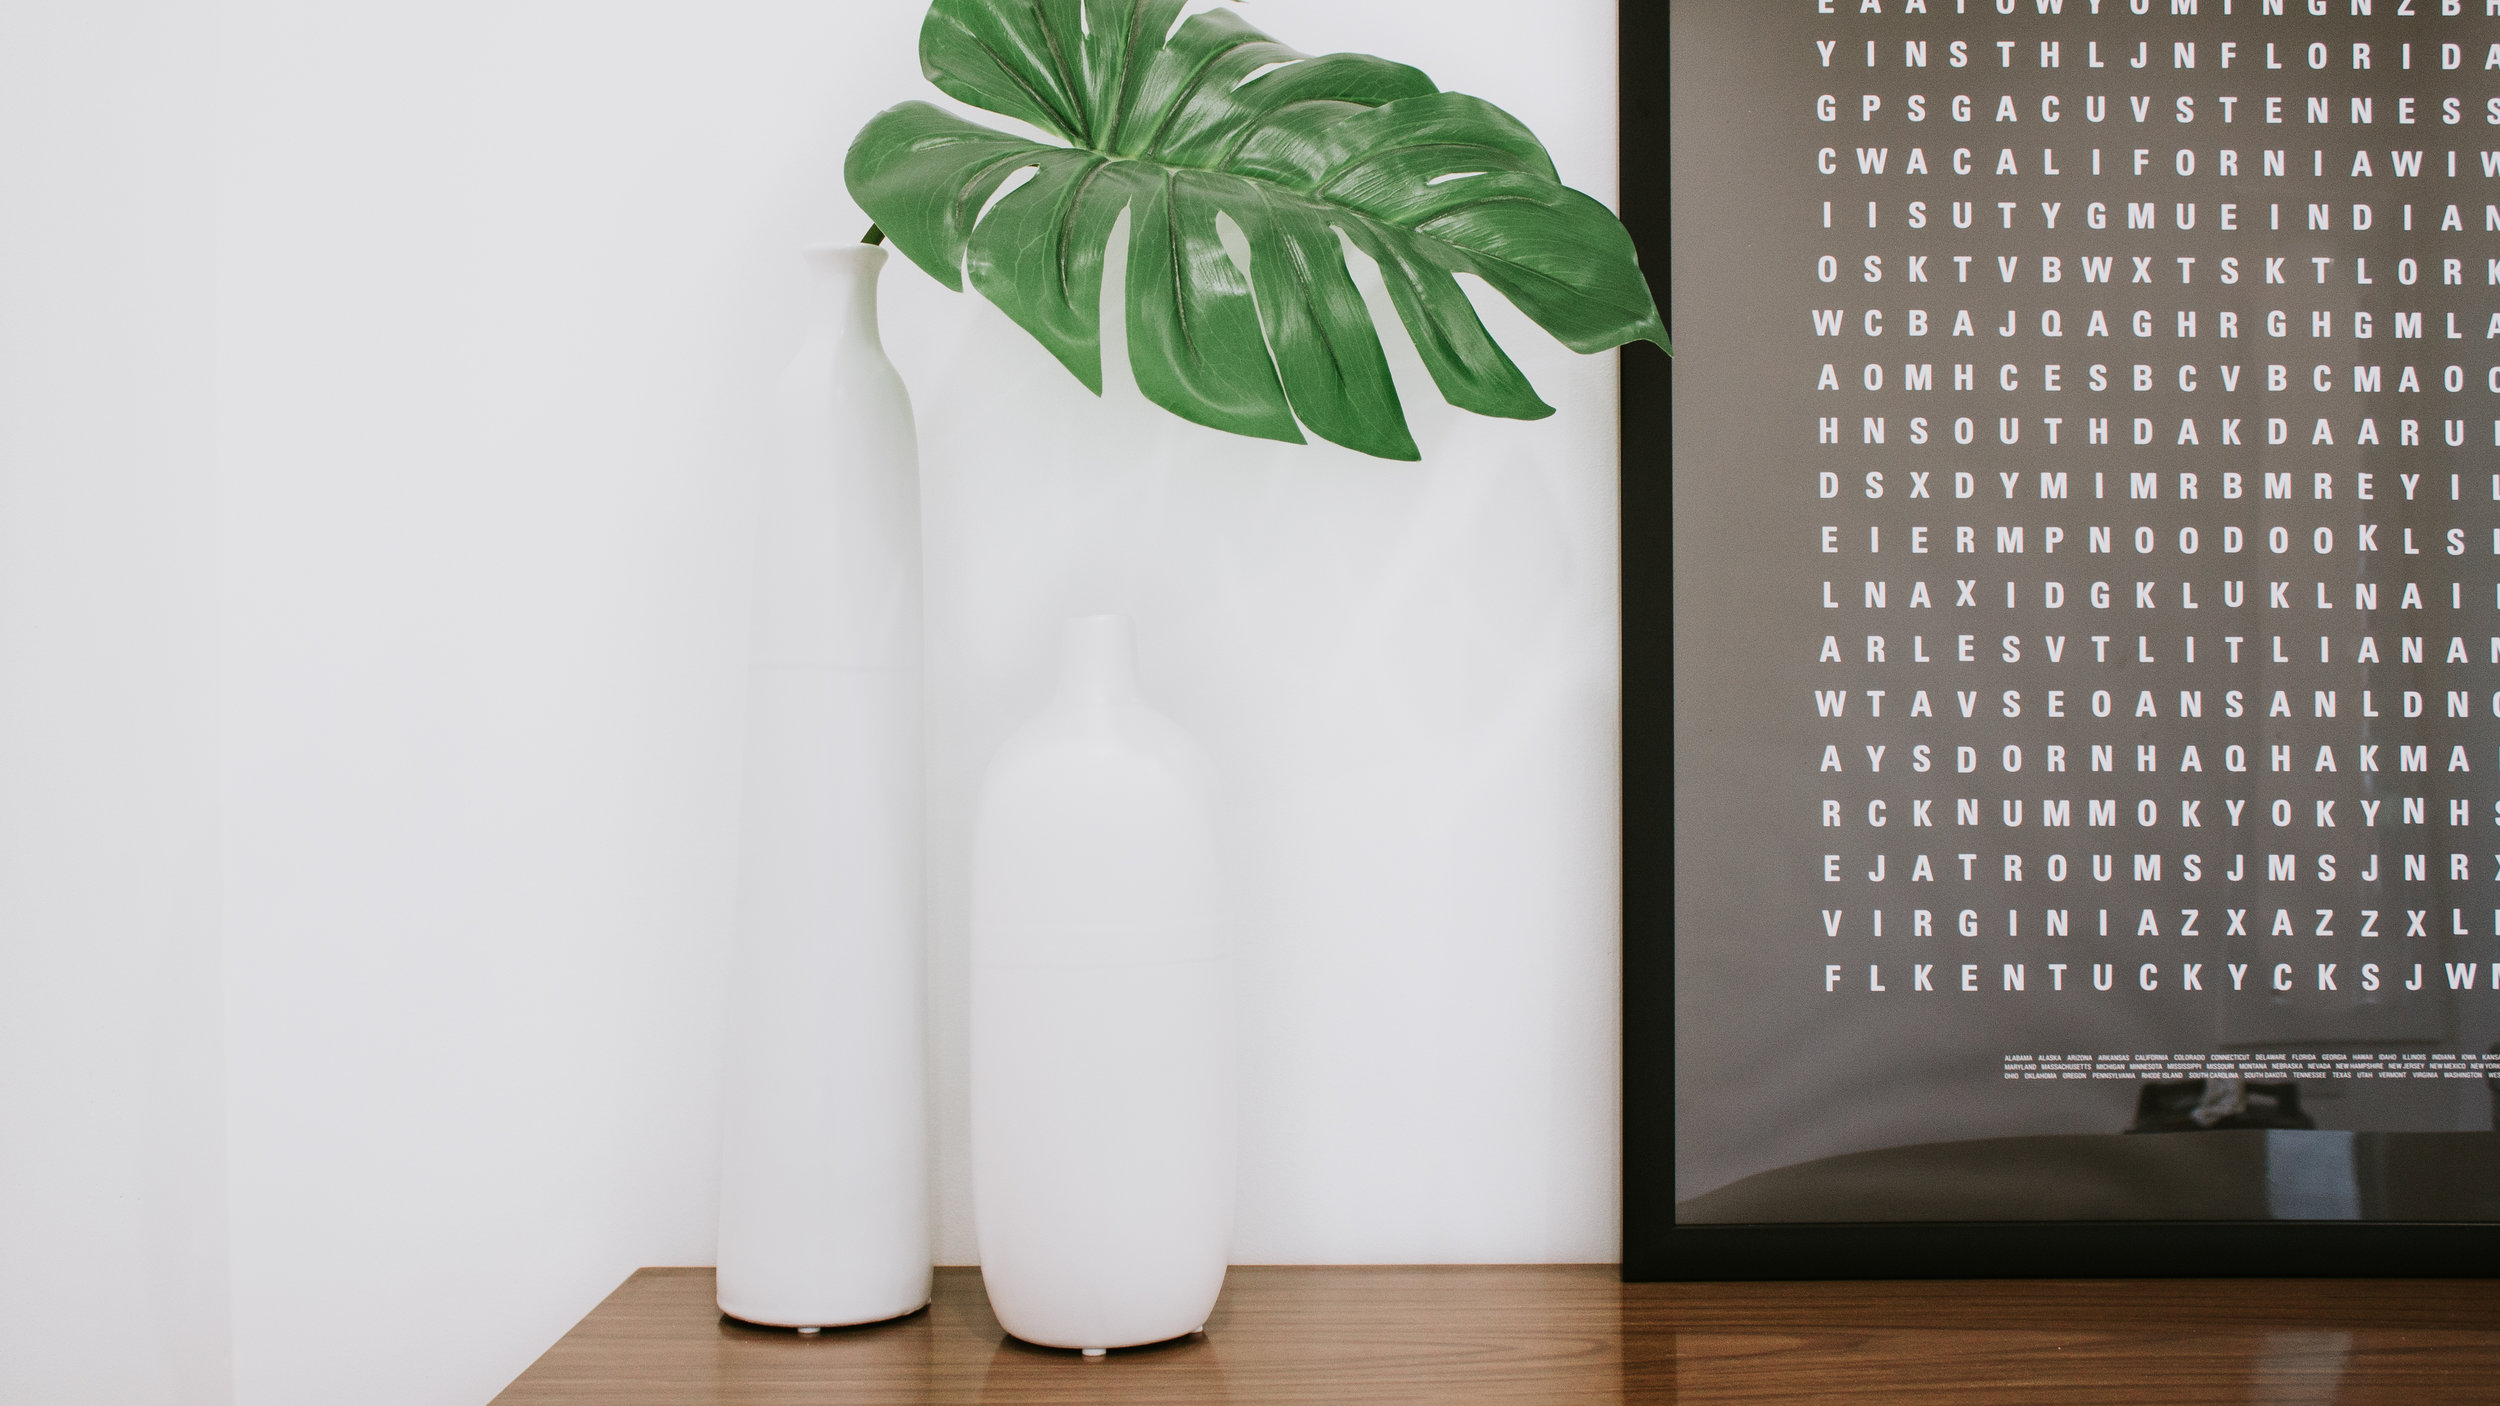
One of my absolute favorite ways to accessorize a room is with unique vases. You can find any shape you can think of and whether you stuff them with greenery or leave them bare, they stand out as a staple!
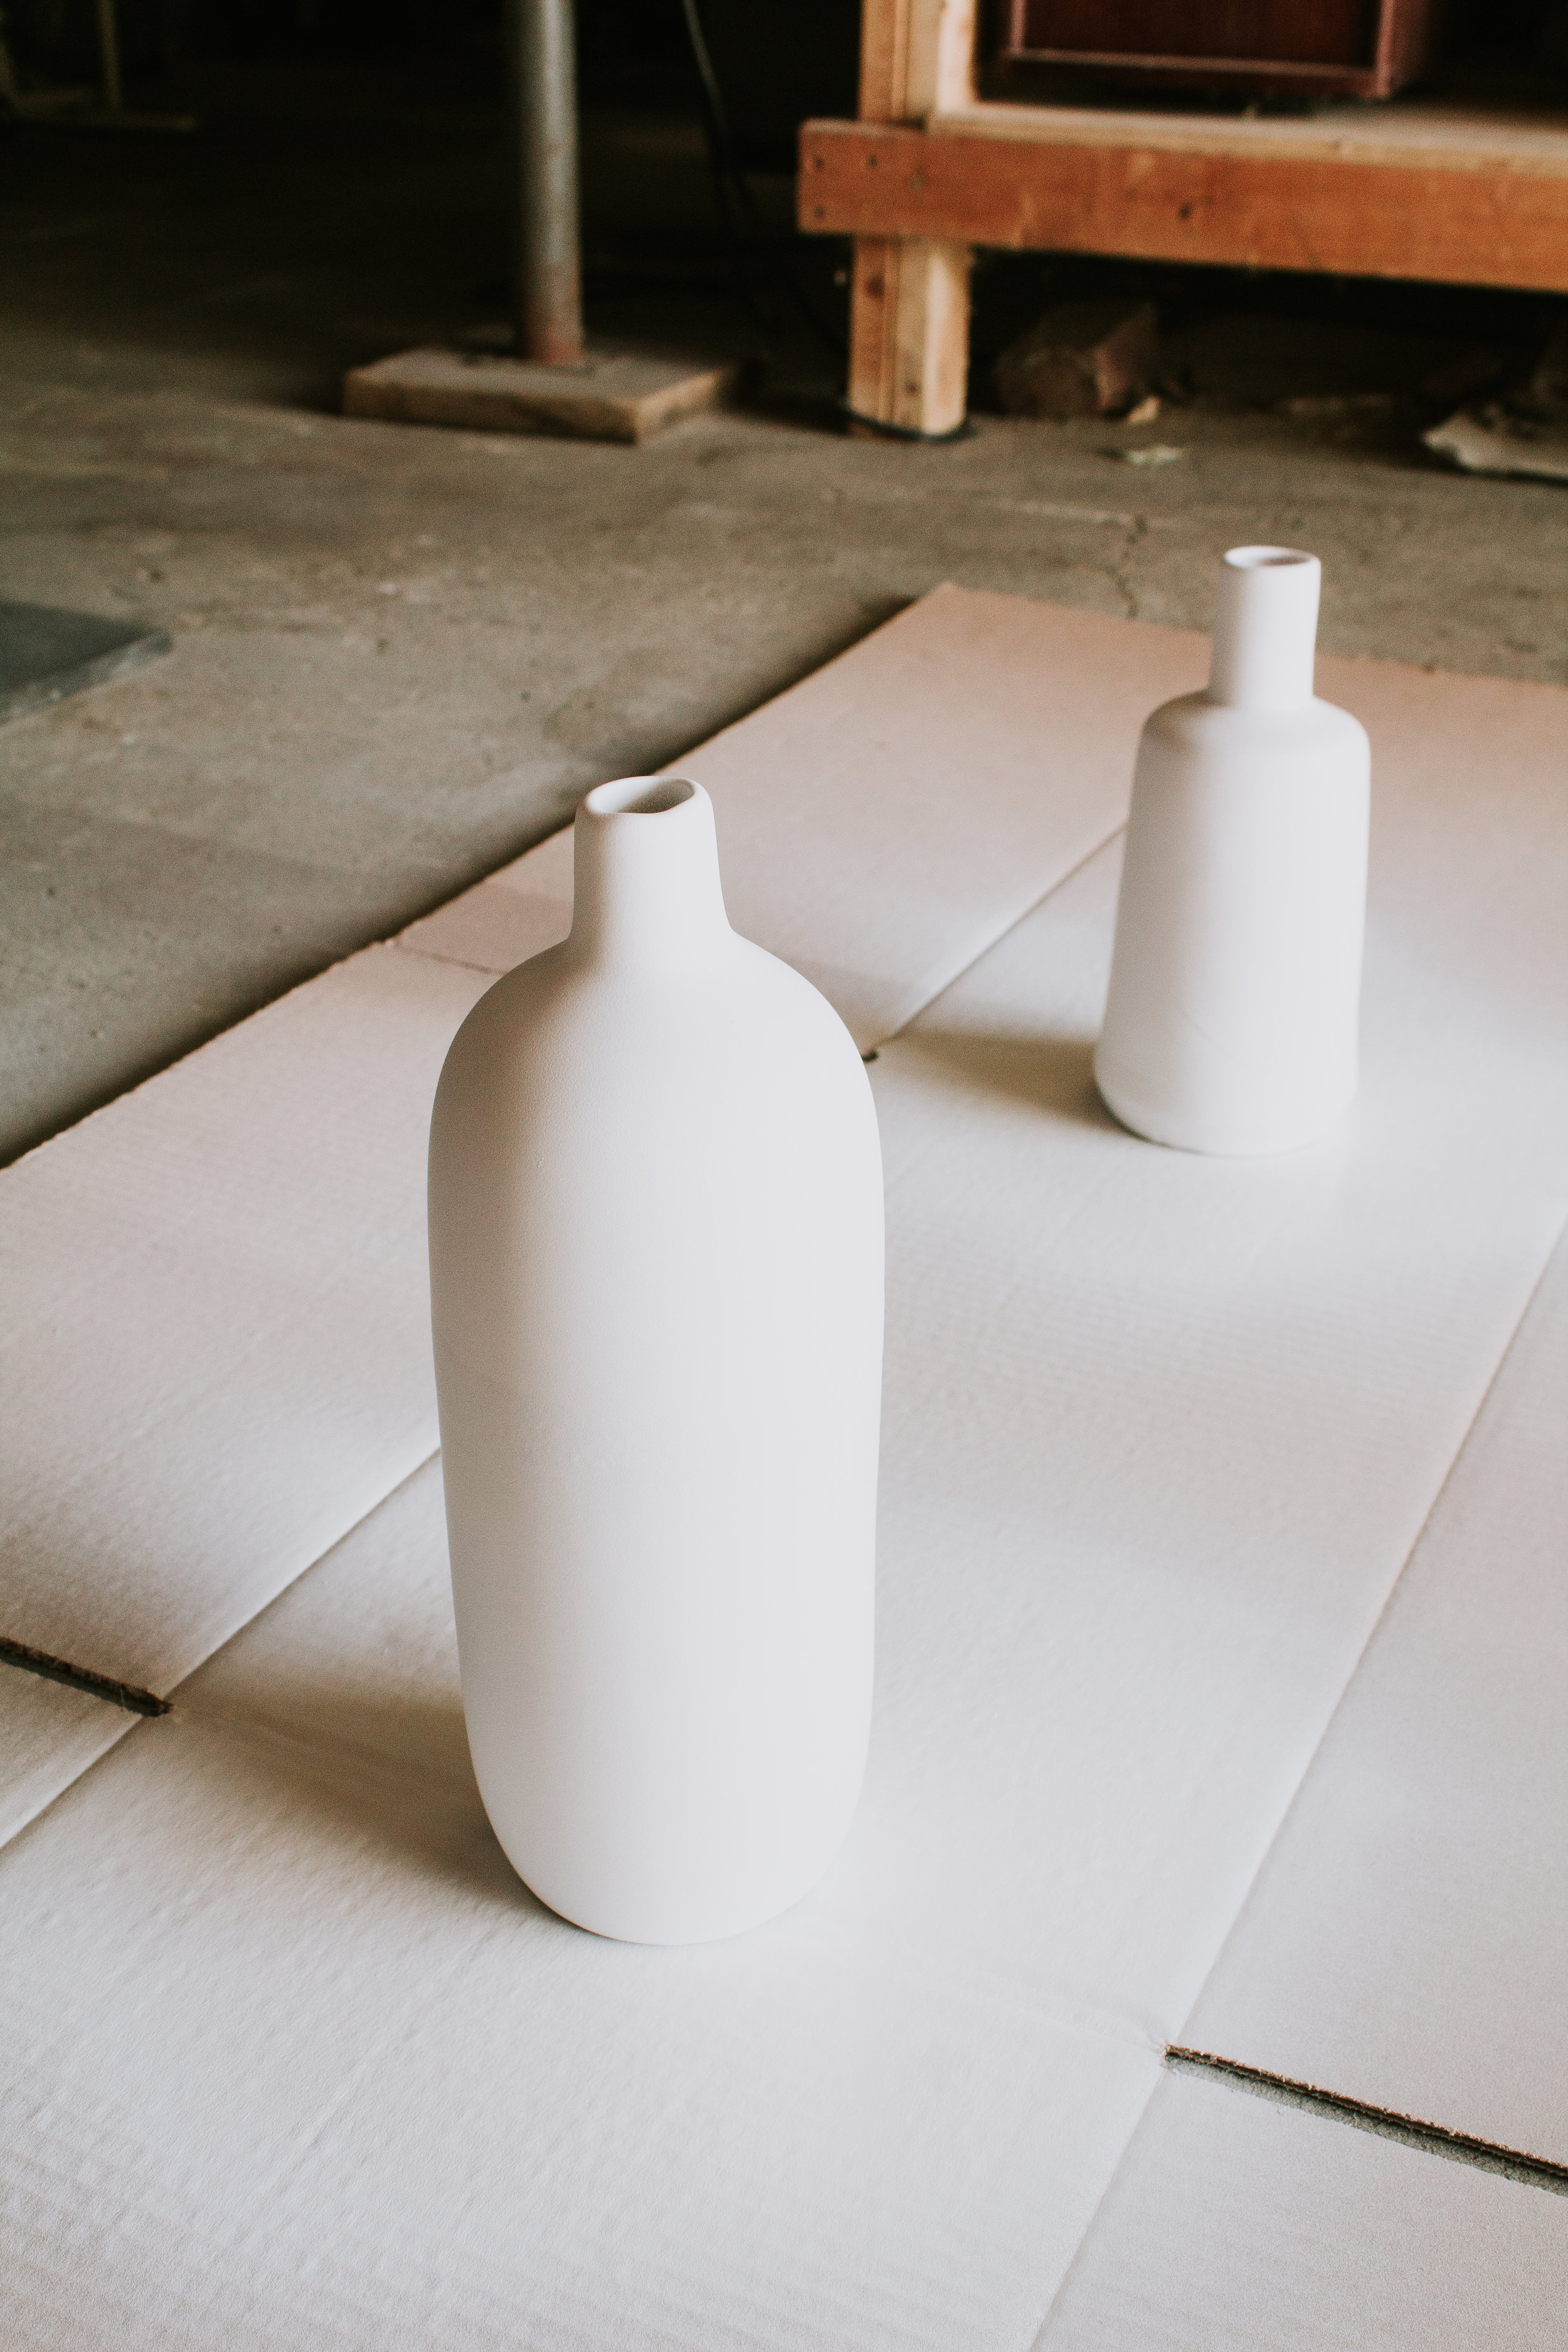
So here’s the deal, vases aren’t cheap! Especially oversized ones. I love to keep a collection of vases in storage so I can swap them out for a fresh look every once in a while. But since I’m a bargain shopper, I tend to buy most of my vases from thrift stores. Sometimes I’ll find a gold mine of a vase with a perfect shape, size, and color…but most of the time I find a uniquely shaped vase in a hideously outdated color.
I LOVE to give my outdated thrift store vases a refresh with paint and thanks to my years of practice (and my spray painting tips on how to get a smooth finish) I’ve found 3 easy ways to give these beauties a makeover!
LOOK #1 – SOLID COLOR
Before
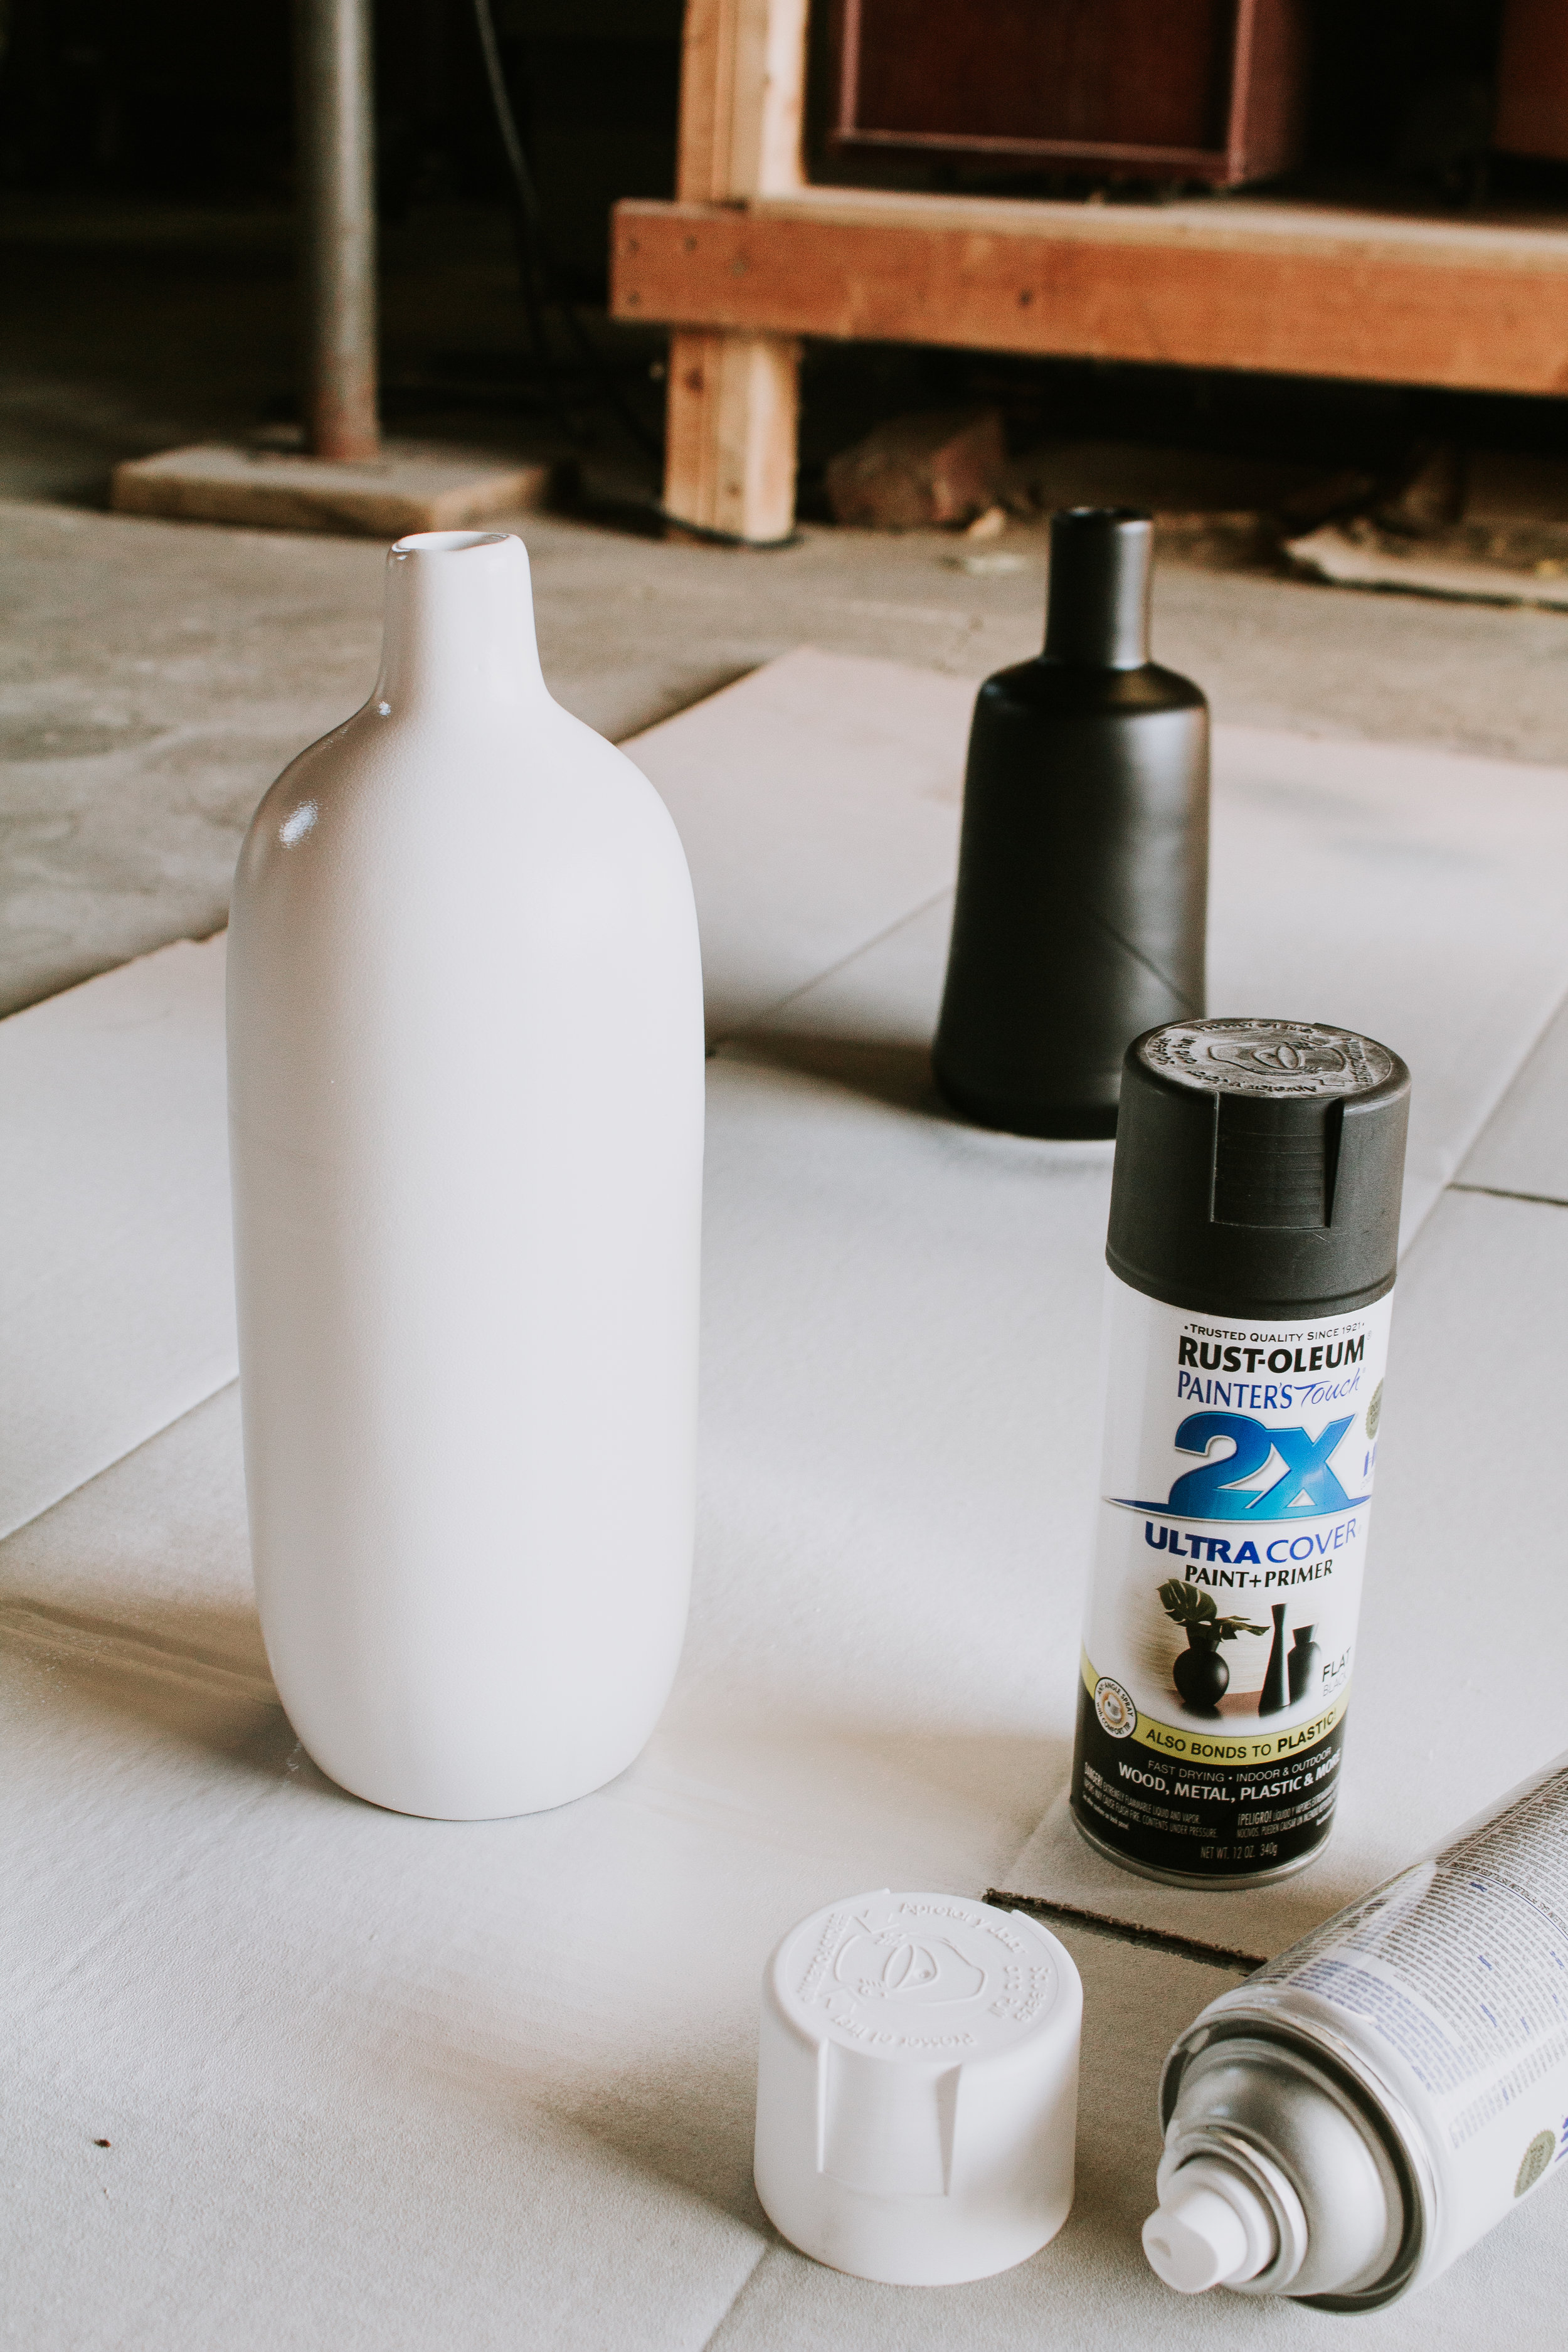
After
HERE’S WHAT YOU’LL NEED:
-
Vase
-
Rustoleum Spray Paint in the color of your choice – I used flat black + satin white
-
Fine grit sanding sponge (optional)
STEP 1 – CLEAN + PRIME
Before starting, clean your vase and let it dry completely. Once dry, apply an even coat of Zinsser spray primer over everything. This primer sticks to pretty much anything and creates a better surface for your paint to adhere to. Allow the primer to dry according to label instructions (about 30 minutes).
STEP 2 – SAND + PAINT
Once the primer is completely dry, check to see if your vase feels smooth. If it feels rough to the touch, use a fine grit sanding block and lightly sand the vase until it feels smooth. Wipe the vase clean with a dry cloth.
Using Rustoleum spray paint in the color of your choice, start painting your vase. (As you can see I chose classic colors – black & white) You may need to spray on several coats depending on the color you’ve chosen. Allow to dry completely between coats.
THE FINISHED LOOK!
After your final coat, let the paint cure for at least 24 hours before normal use.
LOOK #2 – TEXTURED SPRAY
Before
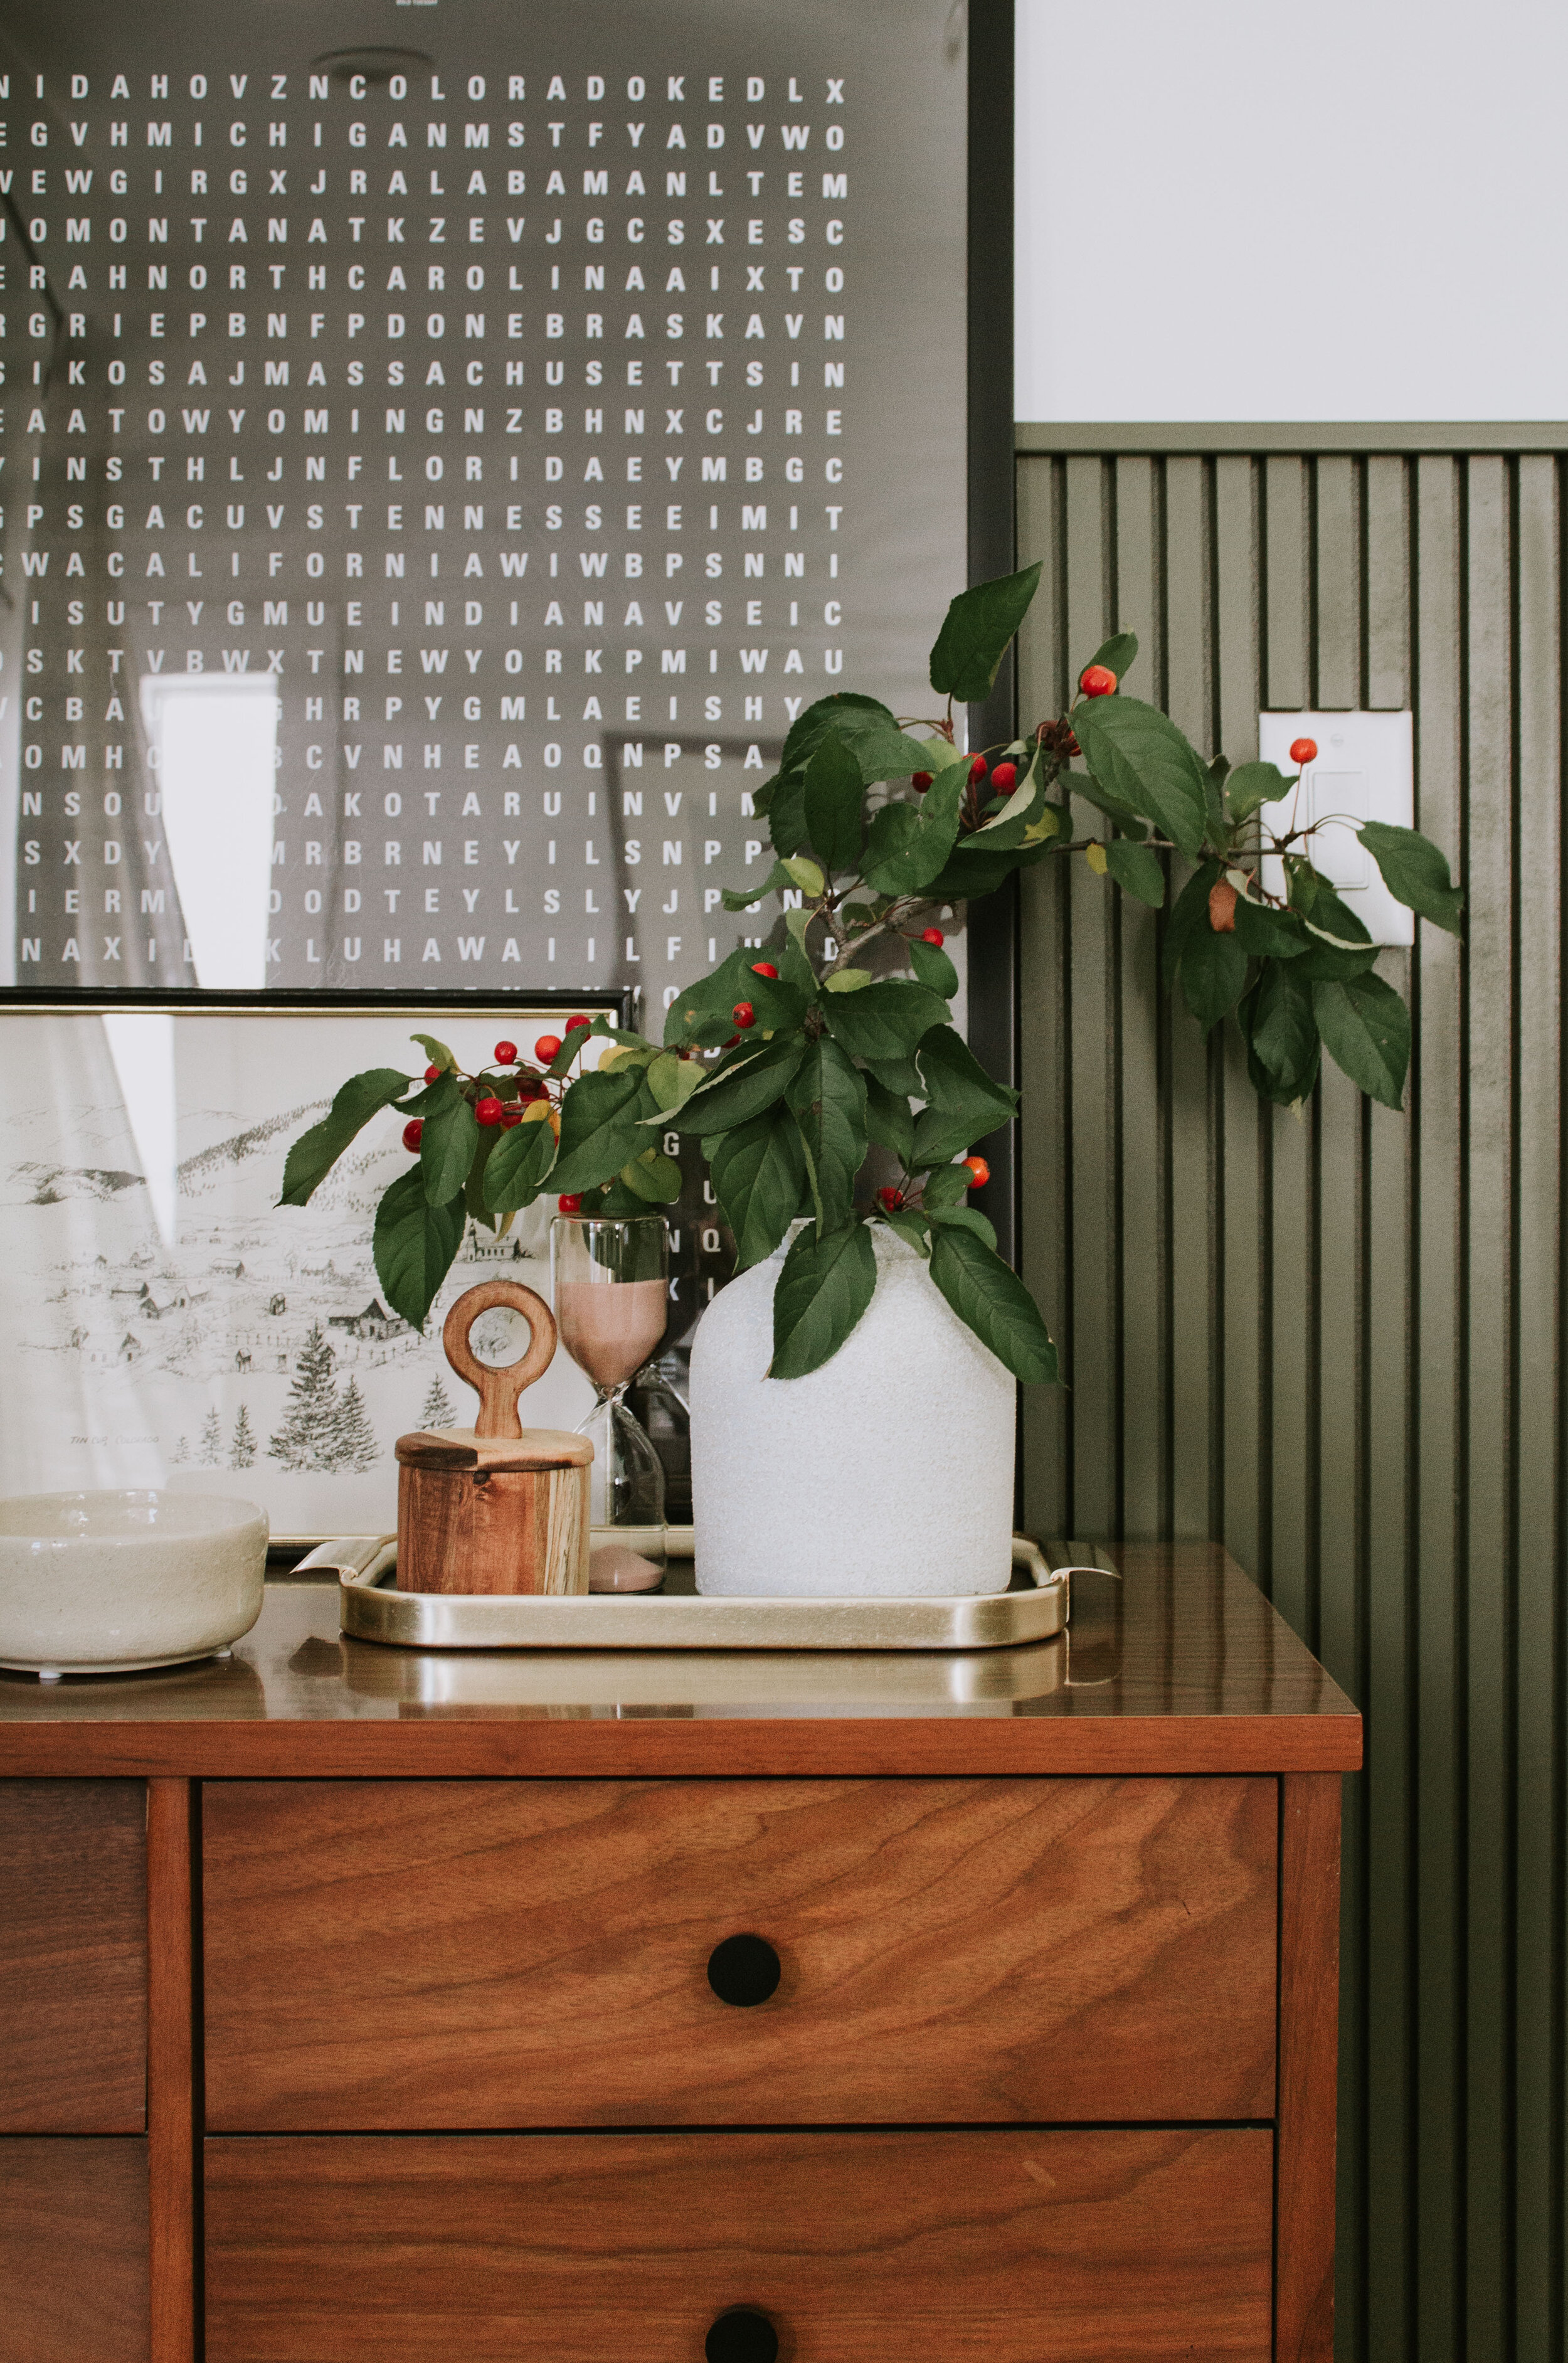
After
HERE’S WHAT YOU’LL NEED:
-
Vase
-
Rustoleum Spray Paint in the color of your choice – I used satin white
-
Fine grit sanding sponge (optional)
STEP 1 – CLEAN + PRIME
First, clean the vase. Then spray an even finish of Zinsser Spray Primer over the entire vase.
STEP 2 – SAND + PAINT
If the vase feels rough to the touch, give it a light sanding with a 220 grit sanding sponge and wipe it clean with a dry cloth. Then, spray your primary paint color. The textured finish (which you’ll apply in the next step) does have a slight beige color to it, but the base color that you spray now will show through. i.e. pick a base color that you want to be the primary color. In my case, I used satin white.
STEP 3 – SPRAY ON THE TEXTURE
Once the paint is completely dry, spray on the textured finish. You can apply as much or as little as you want until you get your desired texture. Note: this stuff takes a long time to dry. I let it sit without touching it for at least 24 hours.
LOOK #3 – SPECKLED BEIGE
I wish I had a photo of this vase before I painted it…it was a hot pick goddess!
HERE’S WHAT YOU’LL NEED:
-
Vase
-
Fine grit sanding sponge (optional)
STEP 1 – CLEAN + PRIME
Clean the vase thoroughly. Then, spray an even coat of Zinsser Spray Primer over the entire vase.
STEP 2 – SAND + PAINT
If the vase feels rough to the touch, give it a light sanding with a 220 grit sanding sponge and wipe it clean with a dry cloth. Then, spray the speckled paint. Apply an even coat over the entire vase and continue spraying until you reach the level of speckle that you want. The final color will be light beige with a subtle black speckle – it’s a beaut!
I’d love to see how you update your outdated vases! Share your before and after pictures with me on Instagram @nadine_stay.
Leave a Reply Cancel reply
Where behind the scenes, exclusive advice, and candid conversations are sent straight to your inbox every week.





Yet, another clever, creative and cool project. Heading to my goodwill to pick up more vases!
Yay! Have fun! 🙂