Let me paint a picture for you…you want to paint a stripe on the wall so you stick the painter’s tape on just how you want it. You paint the wall a beautiful color but when you pull off the painter’s tape you notice that the paint bled underneath the tape! NOO! I hate when this happens! What’s the point of using painter’s tape if it’s not really going to do its job?
I have a solution that stops paint from bleeding underneath the tape and will get you a clean, crisp line every time!
I’m going to be demonstrating my tip on a piece of plywood but this trick can be used on any surface (wall, trim, furniture, etc) that you need a clean painted line.
STEP 1 – PAINT YOUR BASE COAT
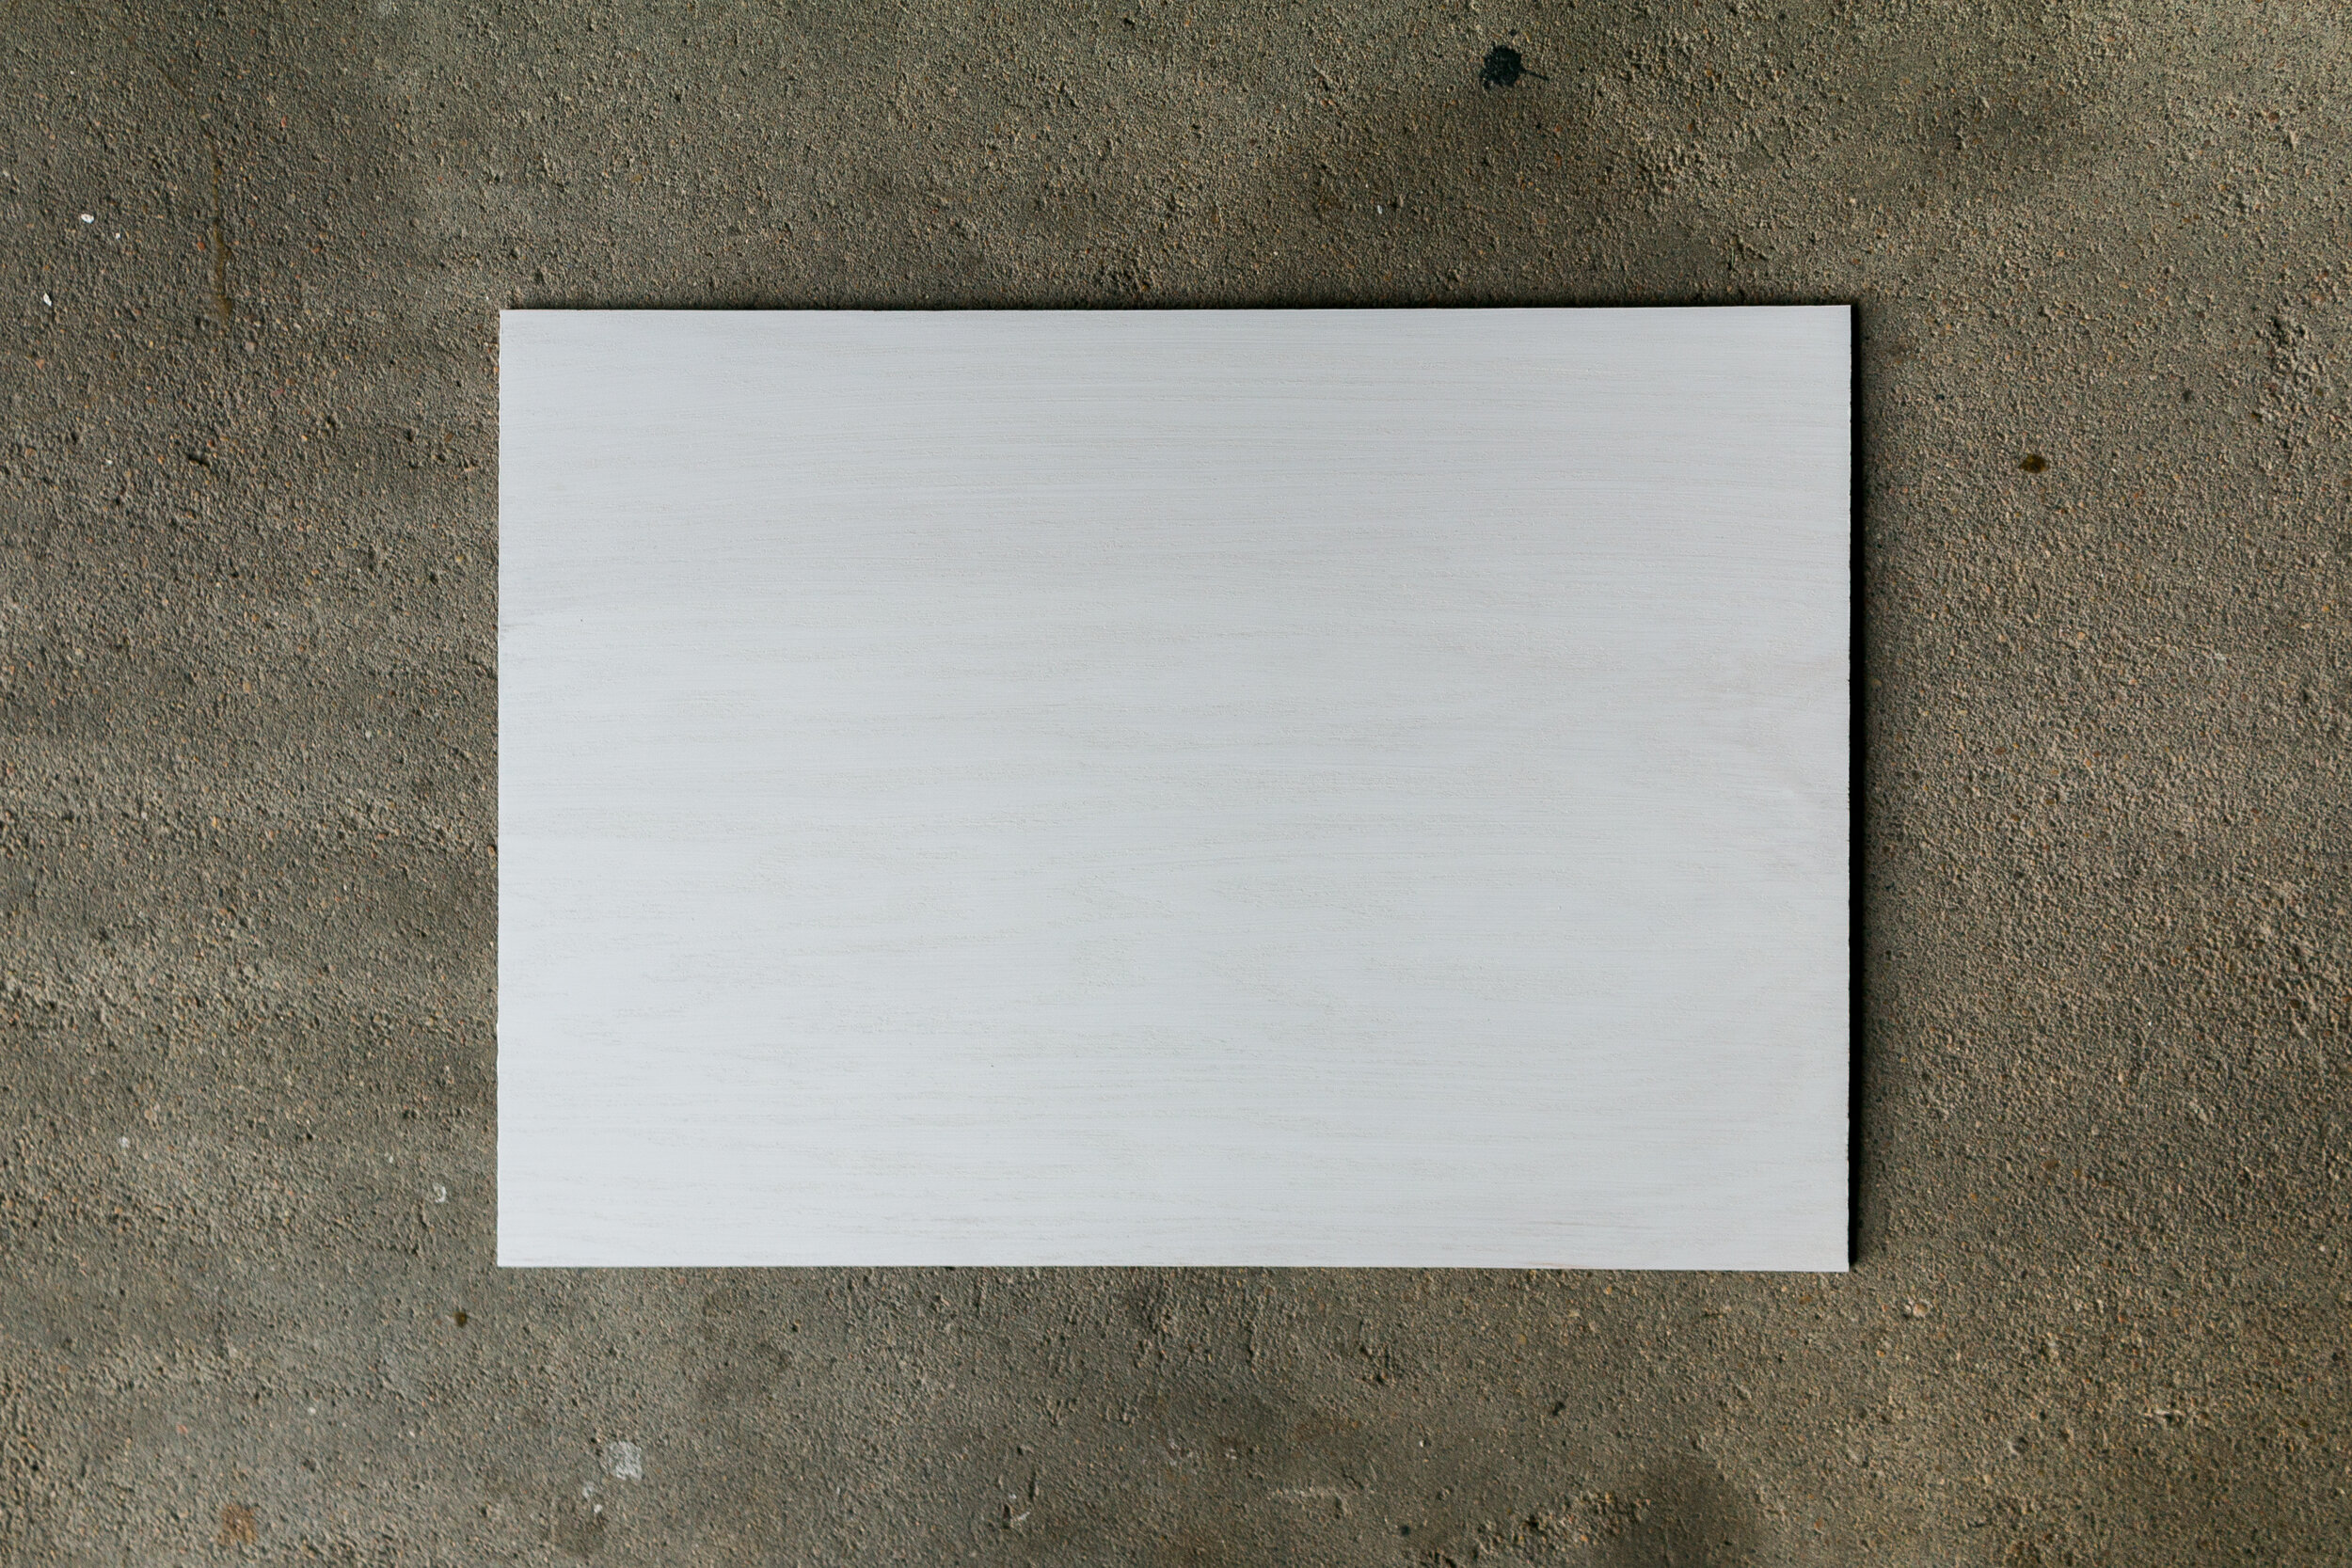
Before sticking on your painter’s tape, you need to paint your base coat color. In my case, I painted a white base coat and I’ll be adding a black coat over top later.
If you want to use the existing color on your wall (i.e. your wall is already the exact color you want for the base coat), there’s no need to paint the base coat again. Just find the exact color that you used on the wall and set it aside for step #3.
STEP 2 – APPLY PAINTER’S TAPE
Stick on the painter’s tape in whatever pattern you choose. I’m just doing a simple stripe.
STEP 3 – PAINT OVER THE EDGES OF THE TAPE WITH YOUR BASE COAT COLOR
Grab the same color that you used for your base coat in step #1 and brush or roll a layer of paint over the edges of the tape. This will create a seal between the tape and the base coat ensuring that your next paint color won’t bleed underneath the tape. (Most people don’t do this step which almost always results in imperfect lines)
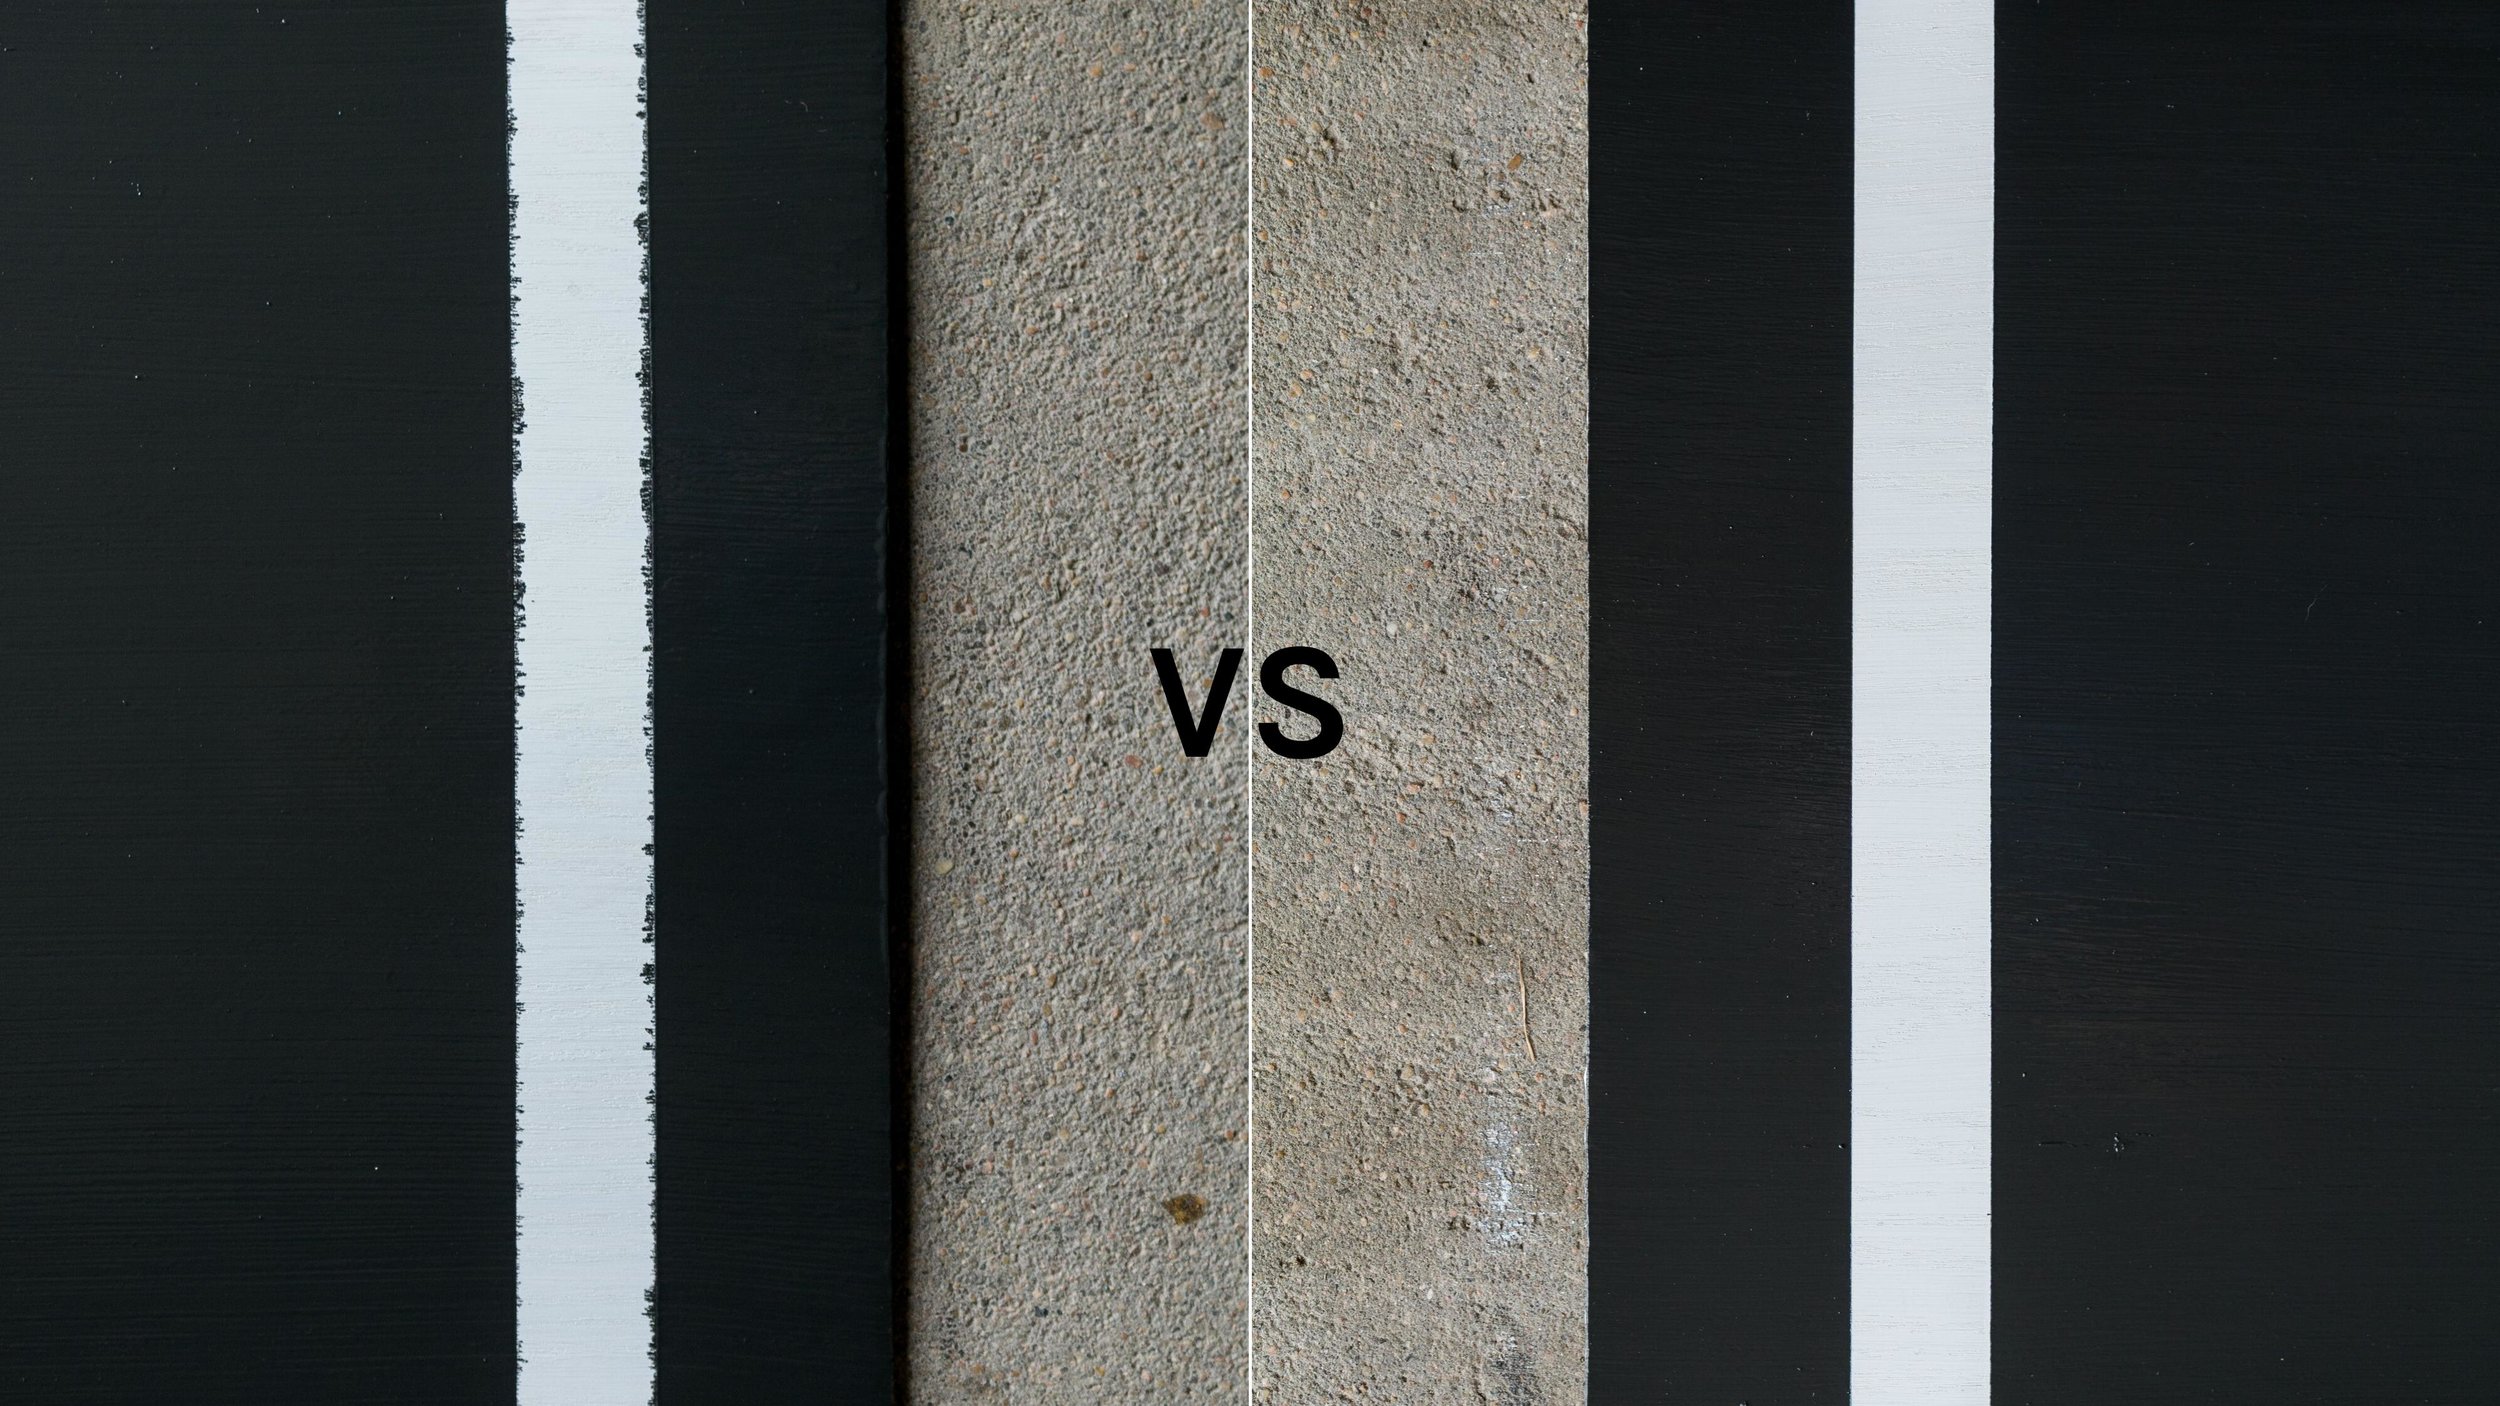
In my case, I painted white over the edges of the tape. For this demonstration, I didn’t brush a coat of paint over the right tape to show you the difference it makes later on!
STEP 4 – PAINT YOUR SECOND COLOR
Now you can paint your second paint color. Apply several coats if necessary.
STEP 5 – PEEL OFF THE TAPE
It’s best if you peel off the tape while the paint is still wet, but I understand that’s not always possible if you paint more than one coat. Once you’ve finished painting, you can then peel off the painter’s tape!
Now let’s take a look at the difference –
The photo above is how it looks when you follow the instructions I gave…
And this is what it looks like when you don’t brush your base coat over the edges of the tape.
Major difference isn’t it? This hack has saved me from many headaches and I always do the extra step to avoid cleaning up my lines later on.
I hope this was helpful and saves you some stress in your painting projects!
Leave a Reply Cancel reply
Where behind the scenes, exclusive advice, and candid conversations are sent straight to your inbox every week.


This is gold, i am a perfectionist and find myself staring at the imperfections between my walls and ceilings from my previous paint jobs. Looking forward to using this tip, thank you!
As a fellow perfectionist, I understand your struggle. ha! This will do wonders for you!
Thank you! I am painting a large door hanger and and my first stripe bled through my painters’s tape so I searched the internet and found your article. Needless to say it works. Thanks so much for your help.
So glad! Love to hear it!
Hi.. I want to paint wood blocks . . But I don’t want to add any base color..I mean I need bare wood to peak through the paint lines.. how should I protect the paint to bleed??? Plz reply
I’d try this – tape the blocks, then apply a coat of clear Polycrylic over the tape edge, and then paint. Hopefully that works for you!
This is awesome! And, what if you’re not painting a project, but a wall, and you’re using the painters tape to protect a second surface?
It’ll work for that too! Good luck with your project! 🙂
How long did you let the paint dry after you painted over the painters tape before you progressed to your stripe color?
I just wait a couple hours until the paint is fully dry!
A perfect line for the painting. This was my problem with my previous painting. Thanks for sharing such tips. Really helpful.
So glad it was helpful to you! 🙂
Please help! How do I clean up my lines because I didn’t do that very important step 🤦🏽♀️
Ok so I didn’t brush the base coat so my finished look isn’t perfect. Do you have a way to fix that??
Hi Shay! If you have the time and patience, you can go back over your lines free hand and clean them up with a small brush. Otherwise, starting fresh just where your paint bled and repainting/taping will fix the issue.
I’m working on a kind of abstract piece to surprise my wife with a piece of art to decorate our home with. We had our <a href="https://www.fabulousfloorscharleston.com/hardwood-floor-resurfacing-in-wildwood-sc/">hardwood floor resurfaced</a> this last summer and ever since then, she’s been wanting to decorate with more and more art pieces. I thought it would be cool to get one thing done by hand but I had trouble with paint bleeding. I hope your tips prove effective and helpful.
I’m working on a car model project and I need to create black stripes on it. My first attempt resulted in horrible bleeding which led me to google a solution, which led me to your page.I can’t wait to give this a try.
So glad you found your way here…it’ll work like a charm!
This is good to know! I paint barn quilts and this will save me a ton of time in touch ups! Thank you!
Oh good! I’m so glad it’ll help you!! 🙂
Great to know!
Would you use non latex paint for this? Could you have the reverse effect between the base coat and what is on the tape?
I believe you can use any type of paint for this technique. Could you clarify what you mean by reverse effect?
When you cover the tape with the base coat, how long do you wait before applying the cover coat? Do you let it dry completely?
Hi Mark! Yes, I let the paint dry completely before applying my top coat.
Mind. Blown. I didn’t know this. Came across this post while researching using painters tape to make patterns in my wall but have been hesitant to take on the project due to the bleeding. This has been immensely helpful. Thanks!
Oh I’m so glad this has helped you! It’s such a time saver!!