How We Installed Vertical Planks On Our Bedroom Walls (& The Difference Between Shiplap, Tongue & Groove, & Nickel Gap)
·


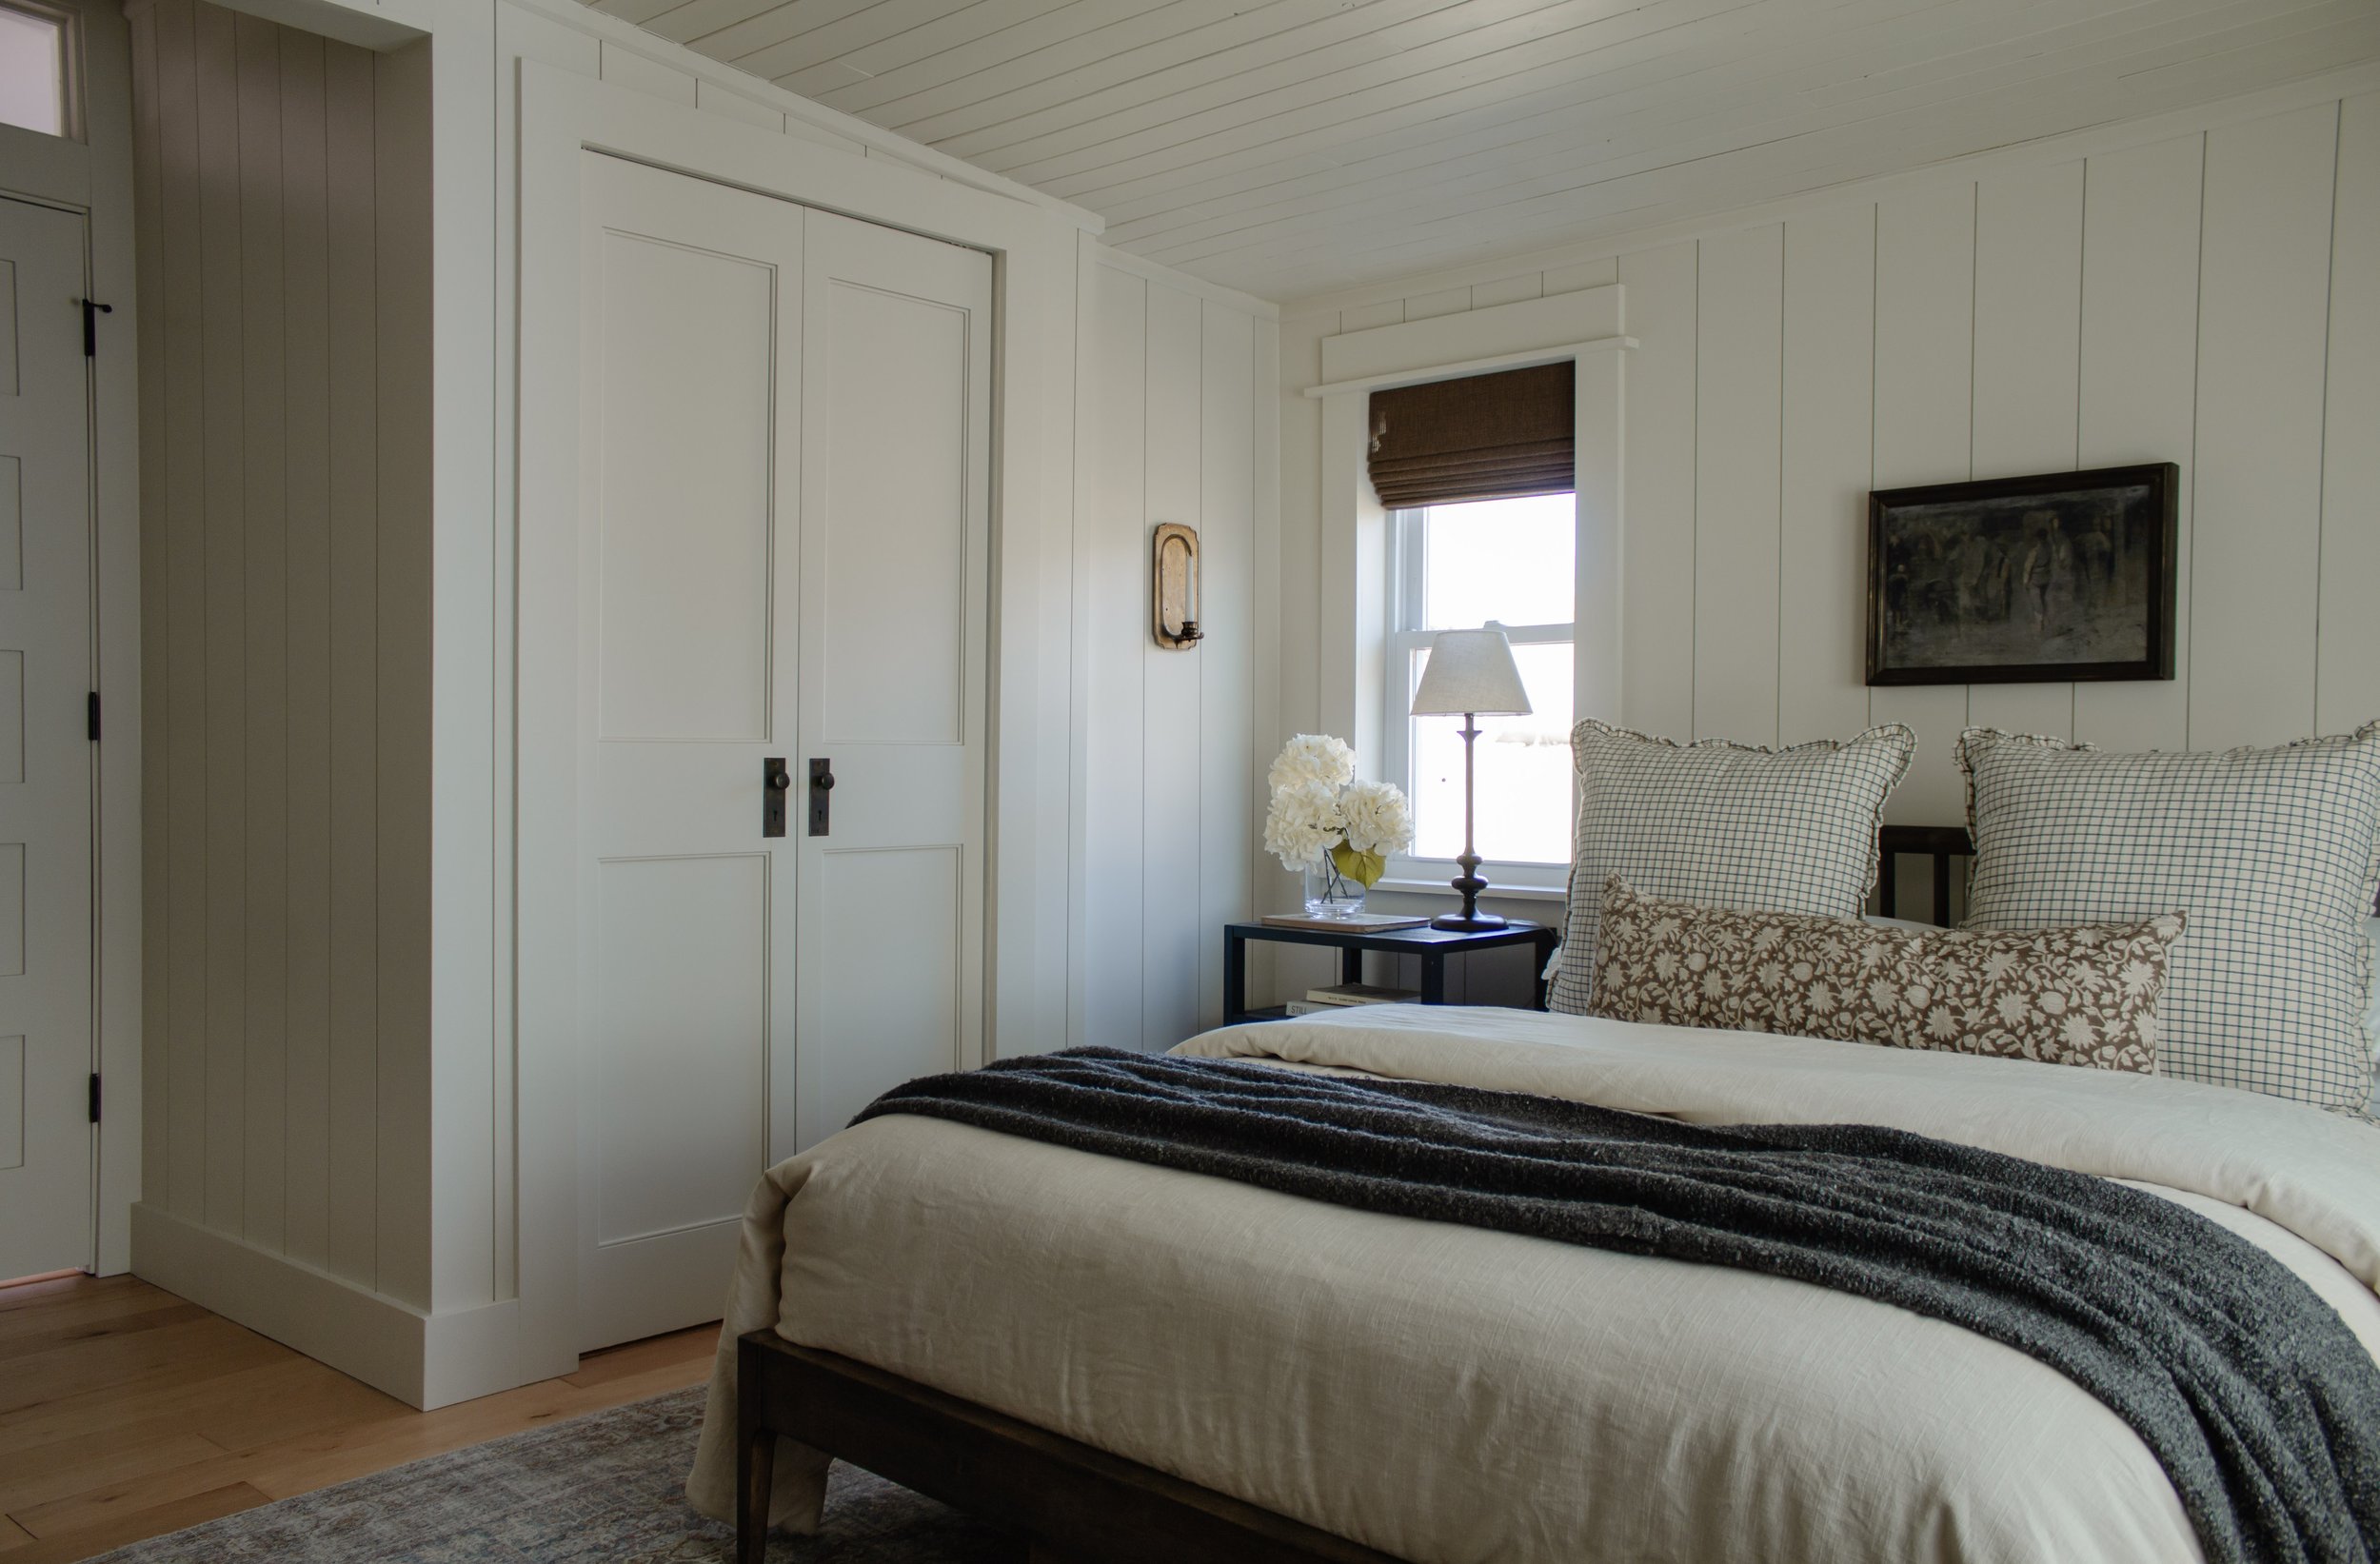
After receiving some questions about the wall planks in our bedroom, I realized a “how to” with links might be the best way to relay all the information! If you missed it, I shared a full reveal of our bedroom a couple weeks ago and last week I shared a tutorial for the wood planks we installed on our ceiling! Today though, I want to focus on the nickel gap tongue and groove planks we installed on the walls.
To clear the air, I know there’s some confusion on what’s considered shiplap vs tongue and groove vs nickel gap and I want to dive into that quickly.

PREP
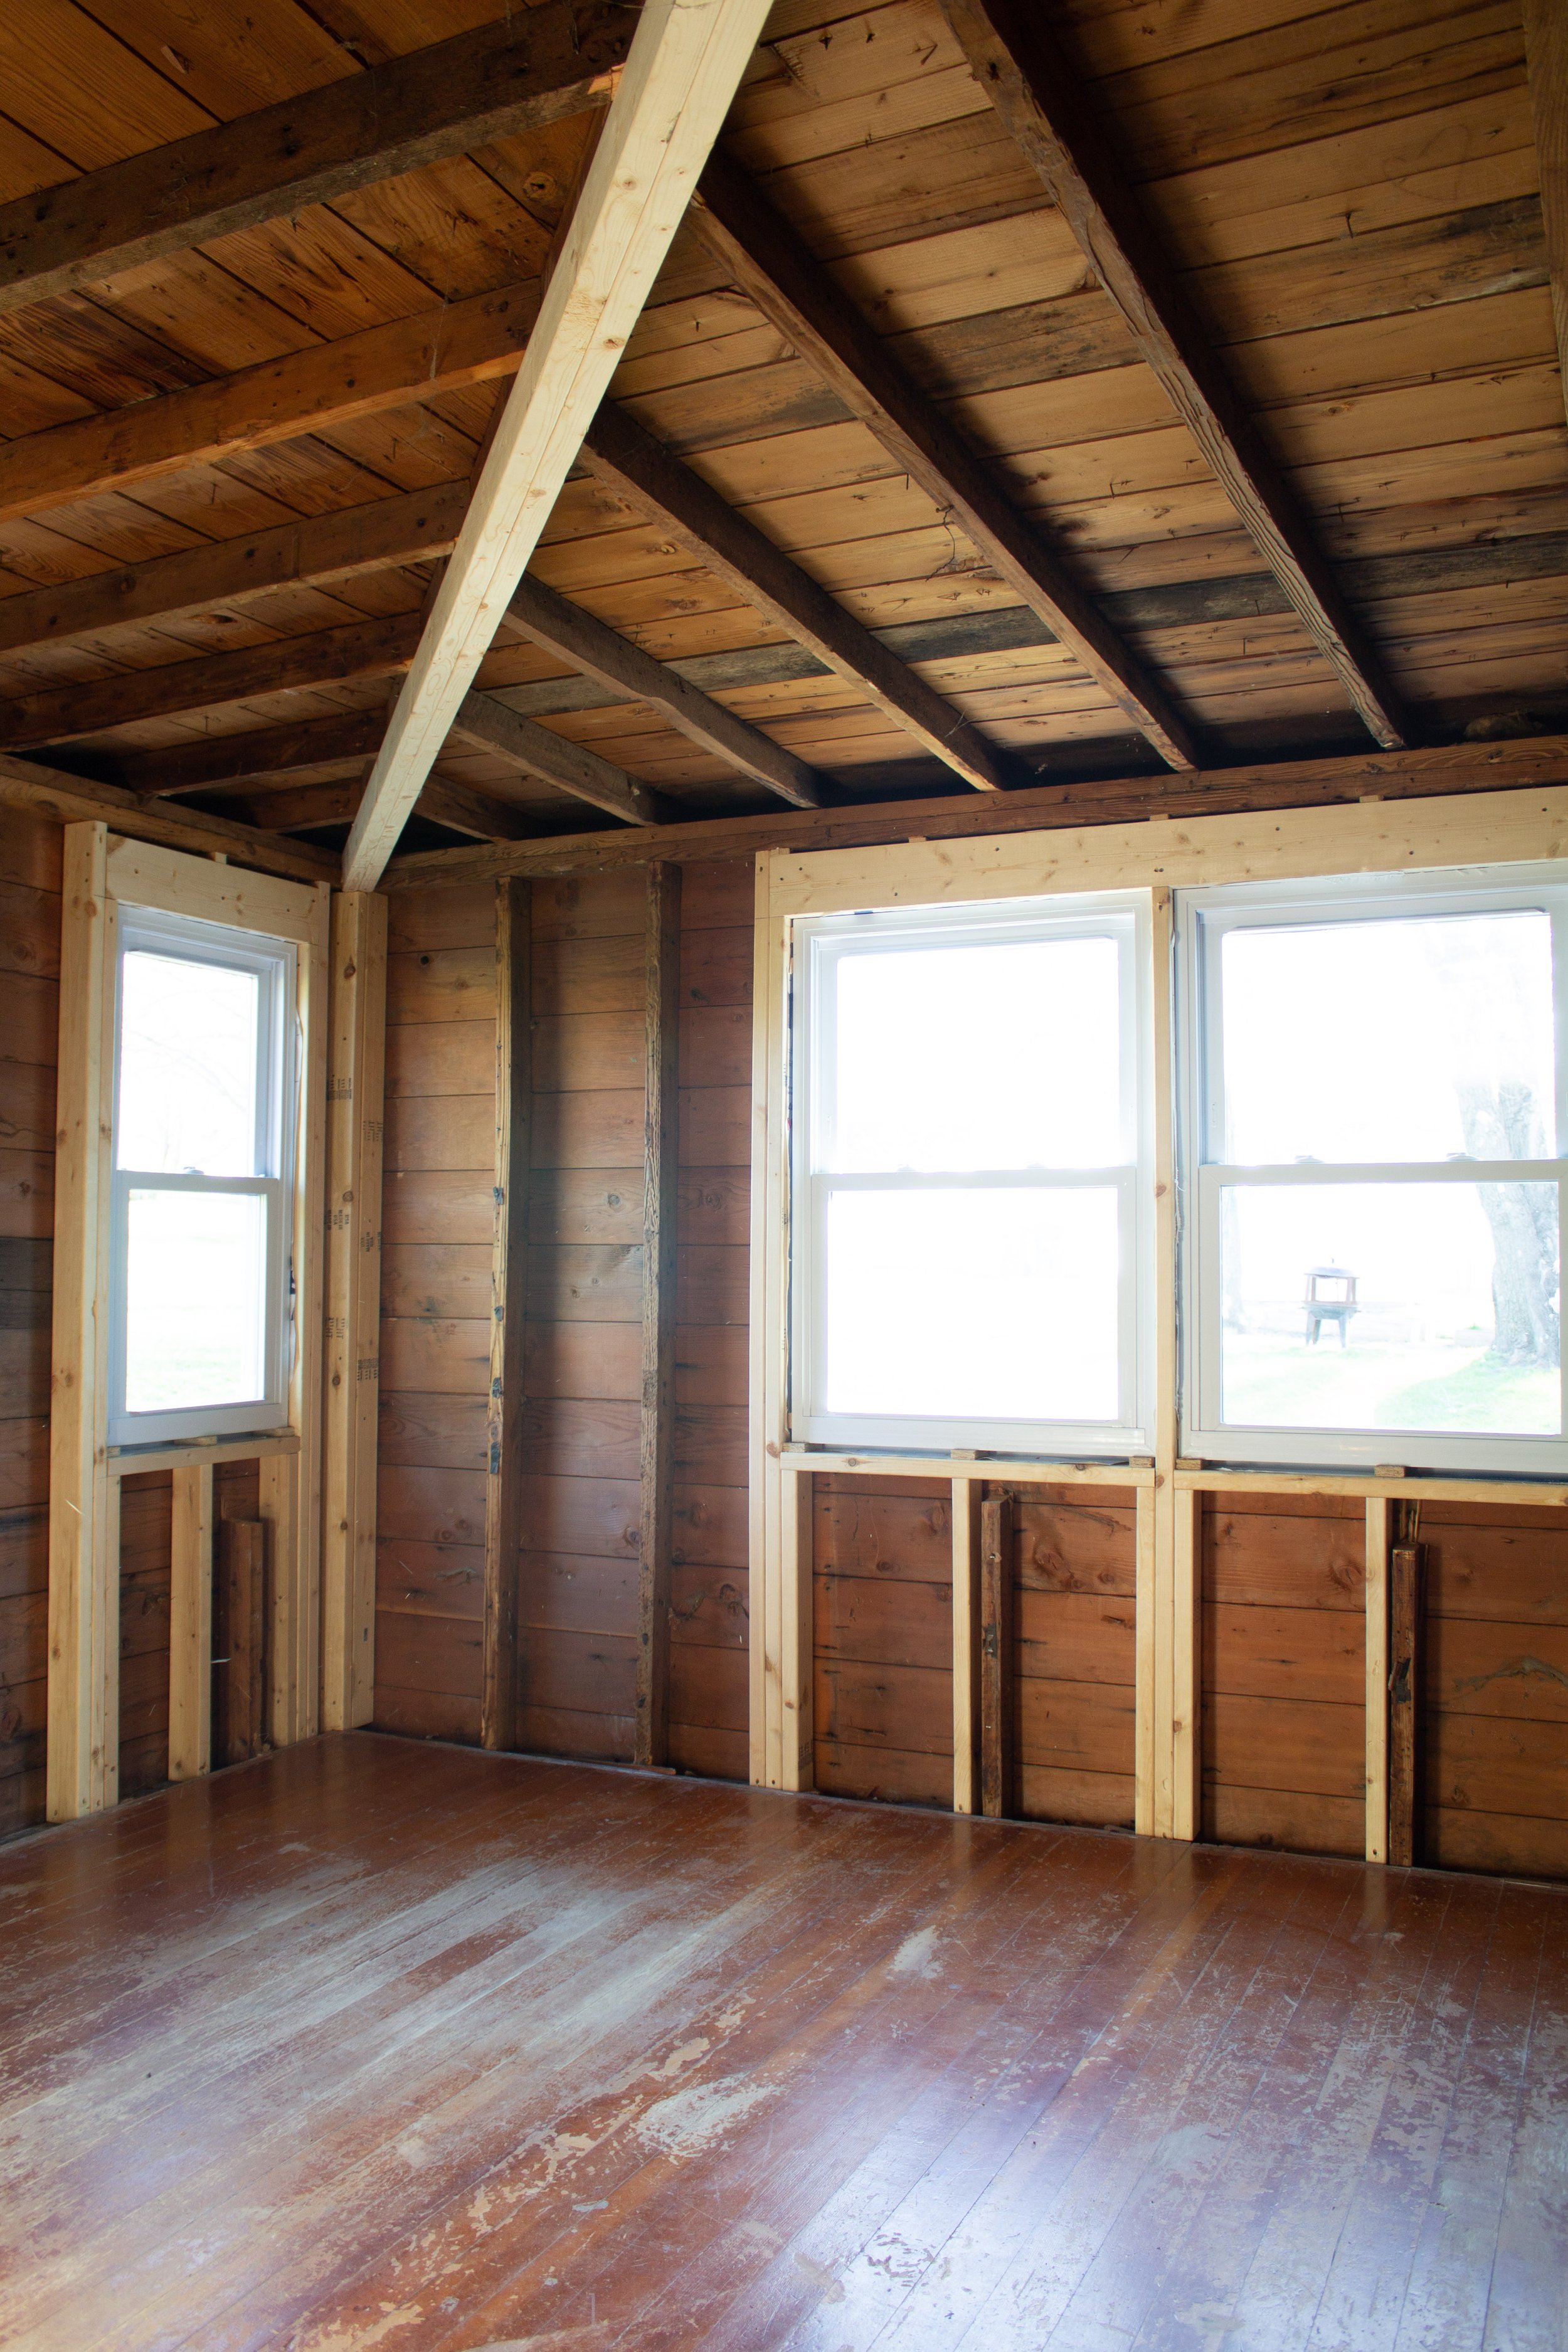
After demoing our entire room, we were starting with a blank slate. To reduce material waste and maximize space, we installed the planks directly to the studs….well kind of. Because we were installing our planks vertically, there was nothing to nail to in between the studs. To fix this, we nailed 1×2” furring strips on the walls to give us something to nail the planks to. We installed them horizontally in 4 different rows – top, bottom, and two in the middle. We also added strips around the windows to keep the nailing surface flush. Mind you, the layout doesn’t have to be perfect because they’re not visible, just spaced somewhat evenly.
MATERIAL
We landed on these 1×8” MDF nickel gap tongue and groove planks. (Actual dimension is 7” wide.) The wide width in combination with the smooth finish contrasts so beautifully against our skinny wood ceiling planks!
SPACING
The planks are nickel gap so they self spaced between boards. But in terms of centering the boards on the wall, I wanted to make sure that the boards lined up evenly on every wall and that we didn’t end up with tiny slivers in the corners. To do so, we addressed one wall at a time starting from the center of the wall. 9/10, one of two layouts gave us optimal symmetry and spacing in the corners.
-
A seam was in the center of the wall with two planks on either side.
(To determine spacing, find the center of the wall and make a mark. Then make marks every 7”.) -
The middle of a plank was centered on the wall.
(To determine spacing, find the center of the wall and make two marks – 3 1/2” to the left of center and 3 1/2” to the right. From there, make marks every 7”.)
If layout #1 resulted in skinny corner pieces, we shifted to layout #2 (or vise versa) and 9/10 that solved our problem.
INSTALLATION
NOW we’re ready to start planking. Installation was surprisingly pretty quick! Again, we started in the center and worked our way to the corners. We measured, cut, and nailed each piece onto the furring strips using a brad nail gun and 2” nails.
Because we planned on adding crown moulding and baseboards, we didn’t have to be so exact with where our boards lined up at the top and bottom. In fact, to account for the house shifting, it’s recommended that you leave a gap on both ends. Nails at the top and bottom got covered up by trim, but we popped a couple nails in between and we used wood filler to clean those up.
As for baseboards and crown moulding, we cut our own baseboards using MDF sheets and installed them piece by piece. Our crown moulding is 1×2” pine boards that I routed on one end to soften the transition. A simple primitive look that feels very appropriate for the style of this room.
PAINTING
The MDF planks come primed so they were ready for paint as soon as we had the rest of the room primed and ready. The paint color is a custom mix we made at Home Depot and it’s a creamy dream. Not white, not beige, just perfectly in between!
Dresser DIY | Artwork | Antique Mirror DIY | Lamp DIY
GOOD TO KNOW
I hammered a tiny nail in the wall temporary to hang art and when I pulled it out it left a small bubble around the hole. I wanted a perfect finish with no imperfections so I found that command strips were the best way to hang art on MDF boards without leaving any imperfections.
Any questions I didn’t address? Drop them in the comments below and I’ll answer them!
Leave a Reply Cancel reply
Where behind the scenes, exclusive advice, and candid conversations are sent straight to your inbox every week.


Hi! Not sure if you’re still addressing comments, but we’re about to tackle a similar project. Trying to decide how to approach dealing with casing at windows and doors. Did you run shiplap the whole way and then put casing on top of it? Or did you have shiplap terminate into casing? Your room looks amazing! Hope you’re still enjoying it!
Hi Sarah! We installed the planks first and then installed window & door casing overtop. That made installation easier overall for us!
Wait Danica not Nadine sorry!
Hi Nadine- do you have any information on how you mitered the corner edges like the ones in your opening before your door? (Hope that makes sense.) Also amazed that your interior corner pictured is so even it looks like one plank just inverted itself into the corner.
Hi Heather! Gosh, thank you so much! It took some perfectionism to get those corners smooth. 🙂 We didn’t actually miter the outside corners, just dry fit the plank, ran a pencil down the back side of the plank where it overhung, and cut them to be perfectly flush with the edge. If you did want to miter the edges though, running it through a table saw would probably be your best bet.
Hi Danica! New to your blog, but loving everything I see! I’ve always thought that MDF boards needed to go over sheetrock for walls, assuming the MDF boards were, too thin/easily damaged. Do you find that the walls feel substantial enough and not sort of hollow? So curious to know, as we’re looking to do a similar look for a bathroom remodel.
They’re definitely substantial! Our boards are 3/4" thick and don’t bend/break easily so we haven’t had any issue with that!
Love this so much! Do you know how tall your ceilings are? Thanks!
Thank you Emma! The ceiling slopes from about 6’5" to 7’5" at the highest point.
Hi! Love everything you do & new to your blog. Wondering if you sell your presets or can share which ones you use? Your photos are beautiful and you have such a good eye for capturing details !
Hi Cynthia! Thank you so much!! I use the Gigi Lennon preset pack and tweak the settings to my liking. Here’s a link to her preset – https://andiahedo.com/shop/p/5mdcg2dsst80kskijyqm75m80ws122
In the email which contained the link to this blog, you wrote about a window you turned into a door and the steps you made yourself. I’m loving the color you selected for the door. Can I get that from you? It’s rich and lovely.
Thank you!
Hi Kallie! I lost the original paint swatch, but I believe Tricorn Black by Sherwin Williams is nearly identical!
Just wondering why someone would choose ship lap or T&G or nickel gap over the other? Is there a benefit of choosing one over the other? Thanks!
For interior applications, the end result often looks the same so in my opinion I don’t see a reason to choose one over the other. Shiplap was historically used for exterior applications and the rabbet joint kept water from getting behind the product. But in today’s most frequent interior uses, it’s just a matter of installation preference.
Would you share your hD paint formula with us, and which brand?It looks lovely!Thanks!
Hi Susan! I used Behr Marquee paint and I shared a screenshot of the color code in this blog post – https://nadinestay.com/blog/all-the-colors-in-our-house