Design by Pencil & Paper
Artwork by Kayce Hughes
Photography by Lauren Bradshaw
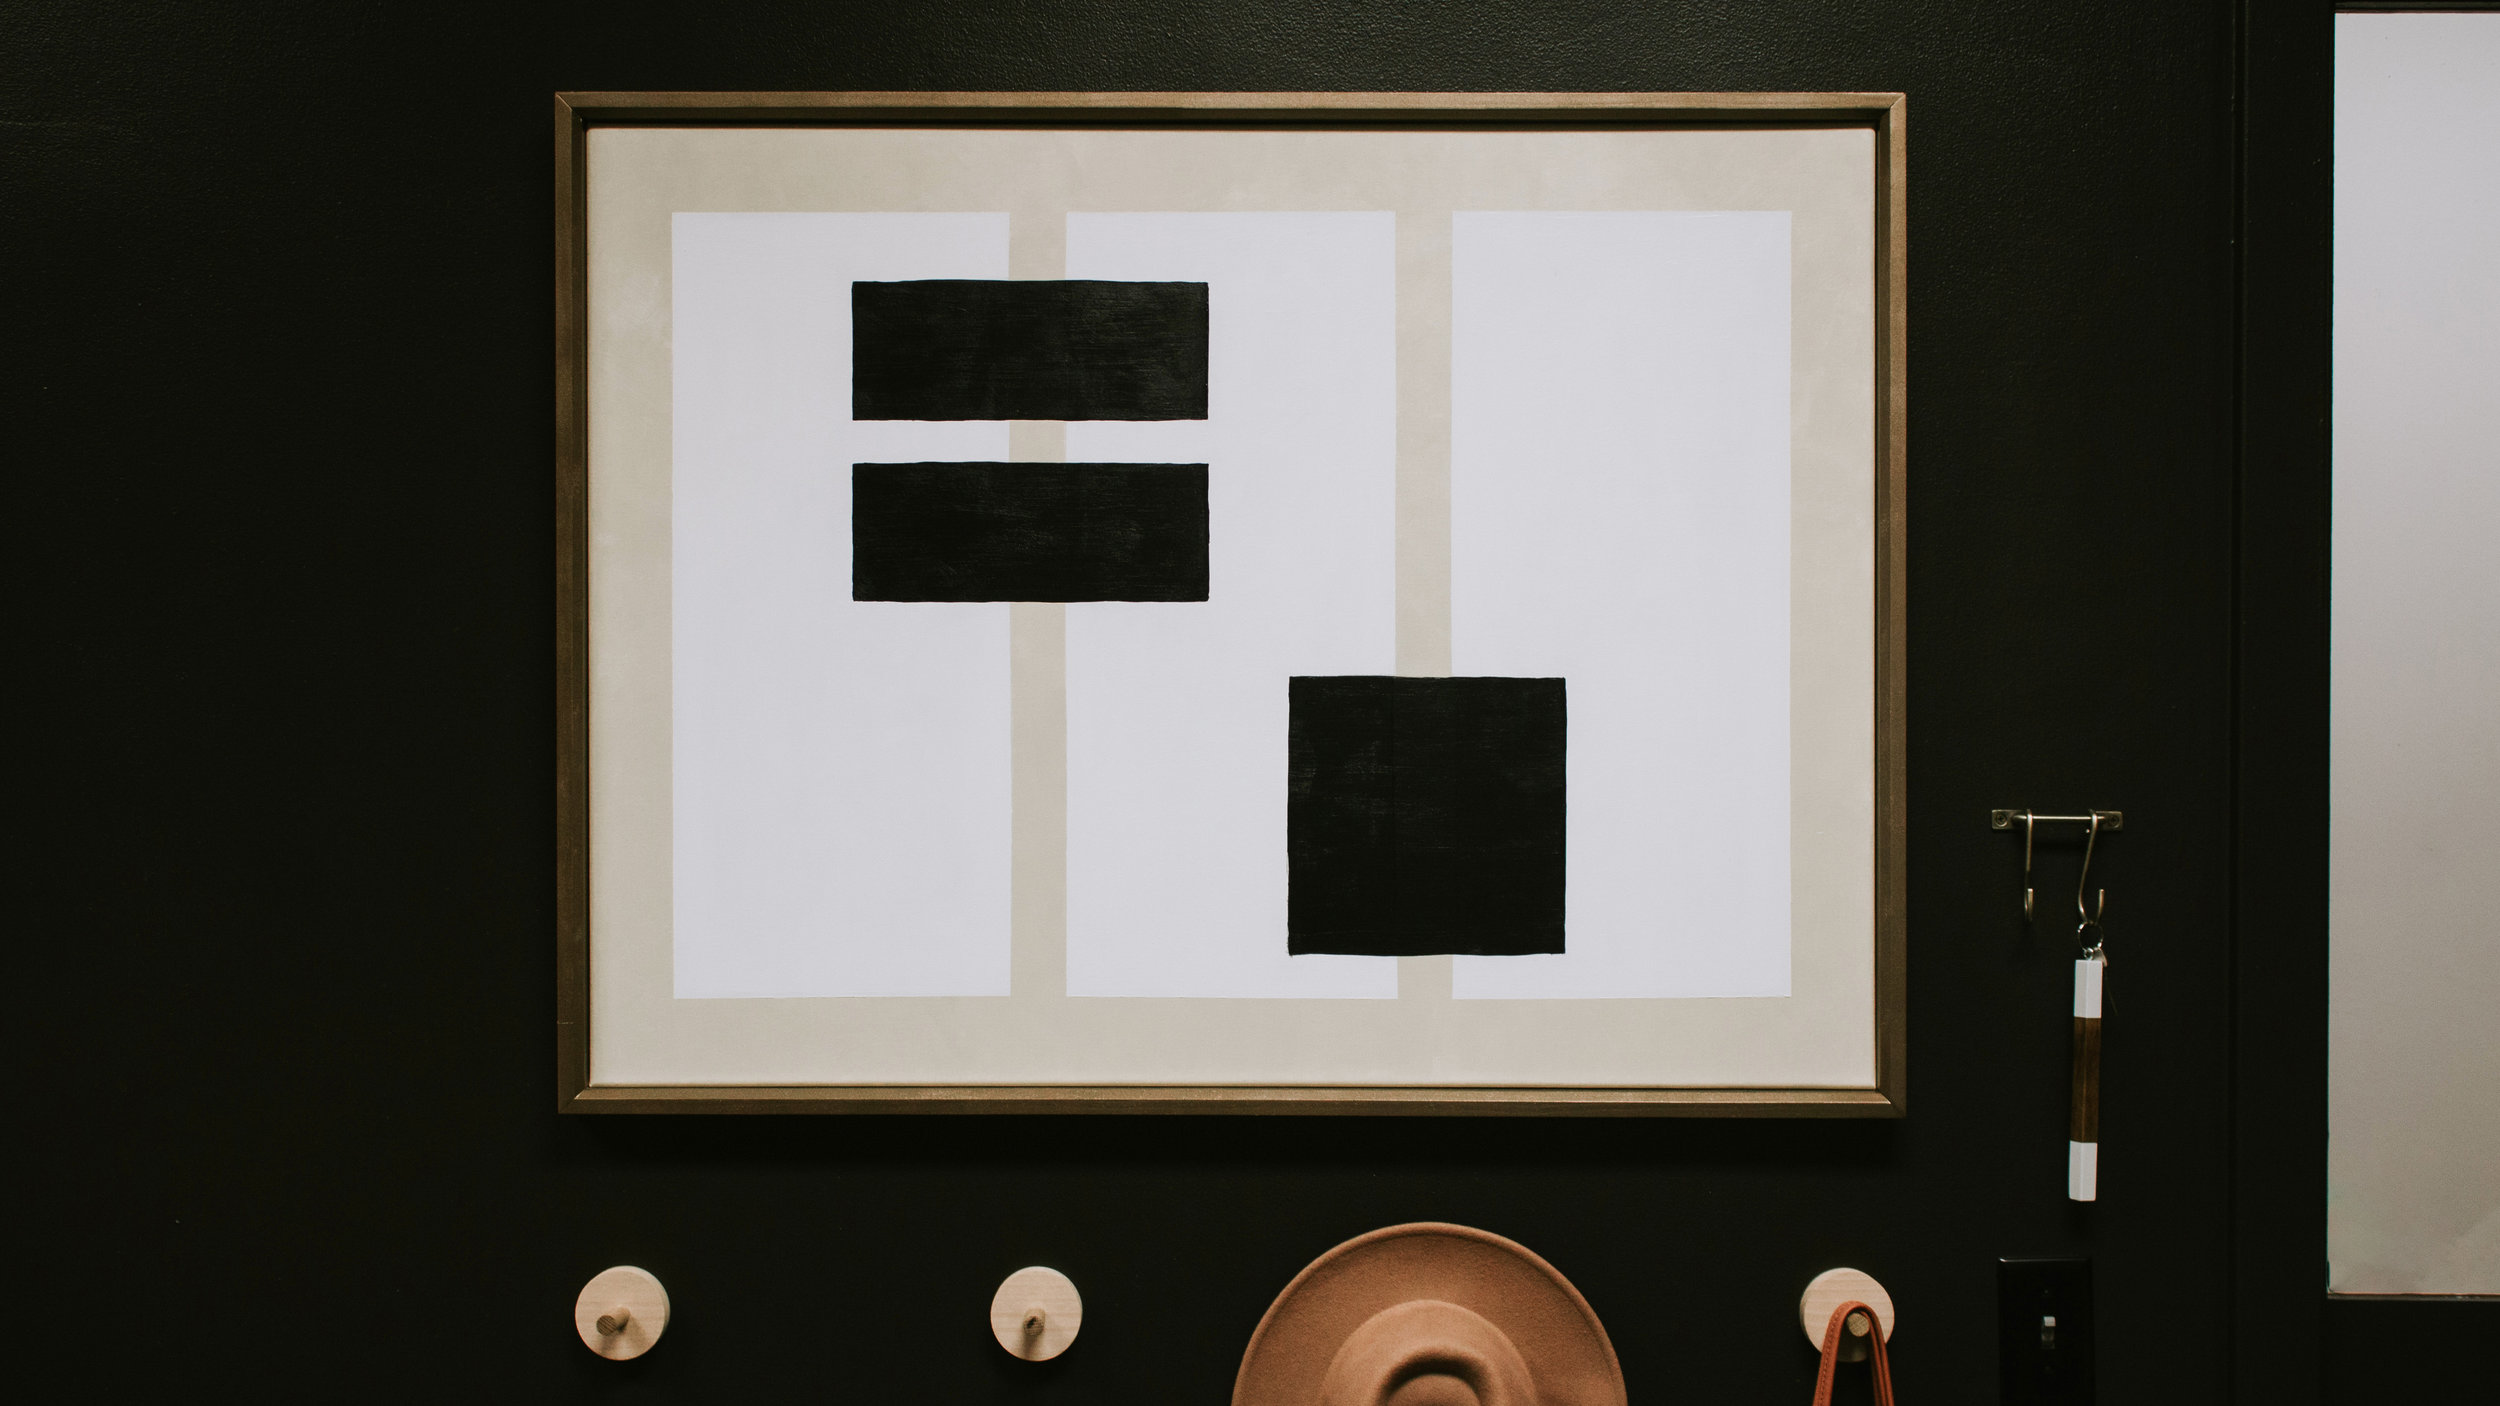
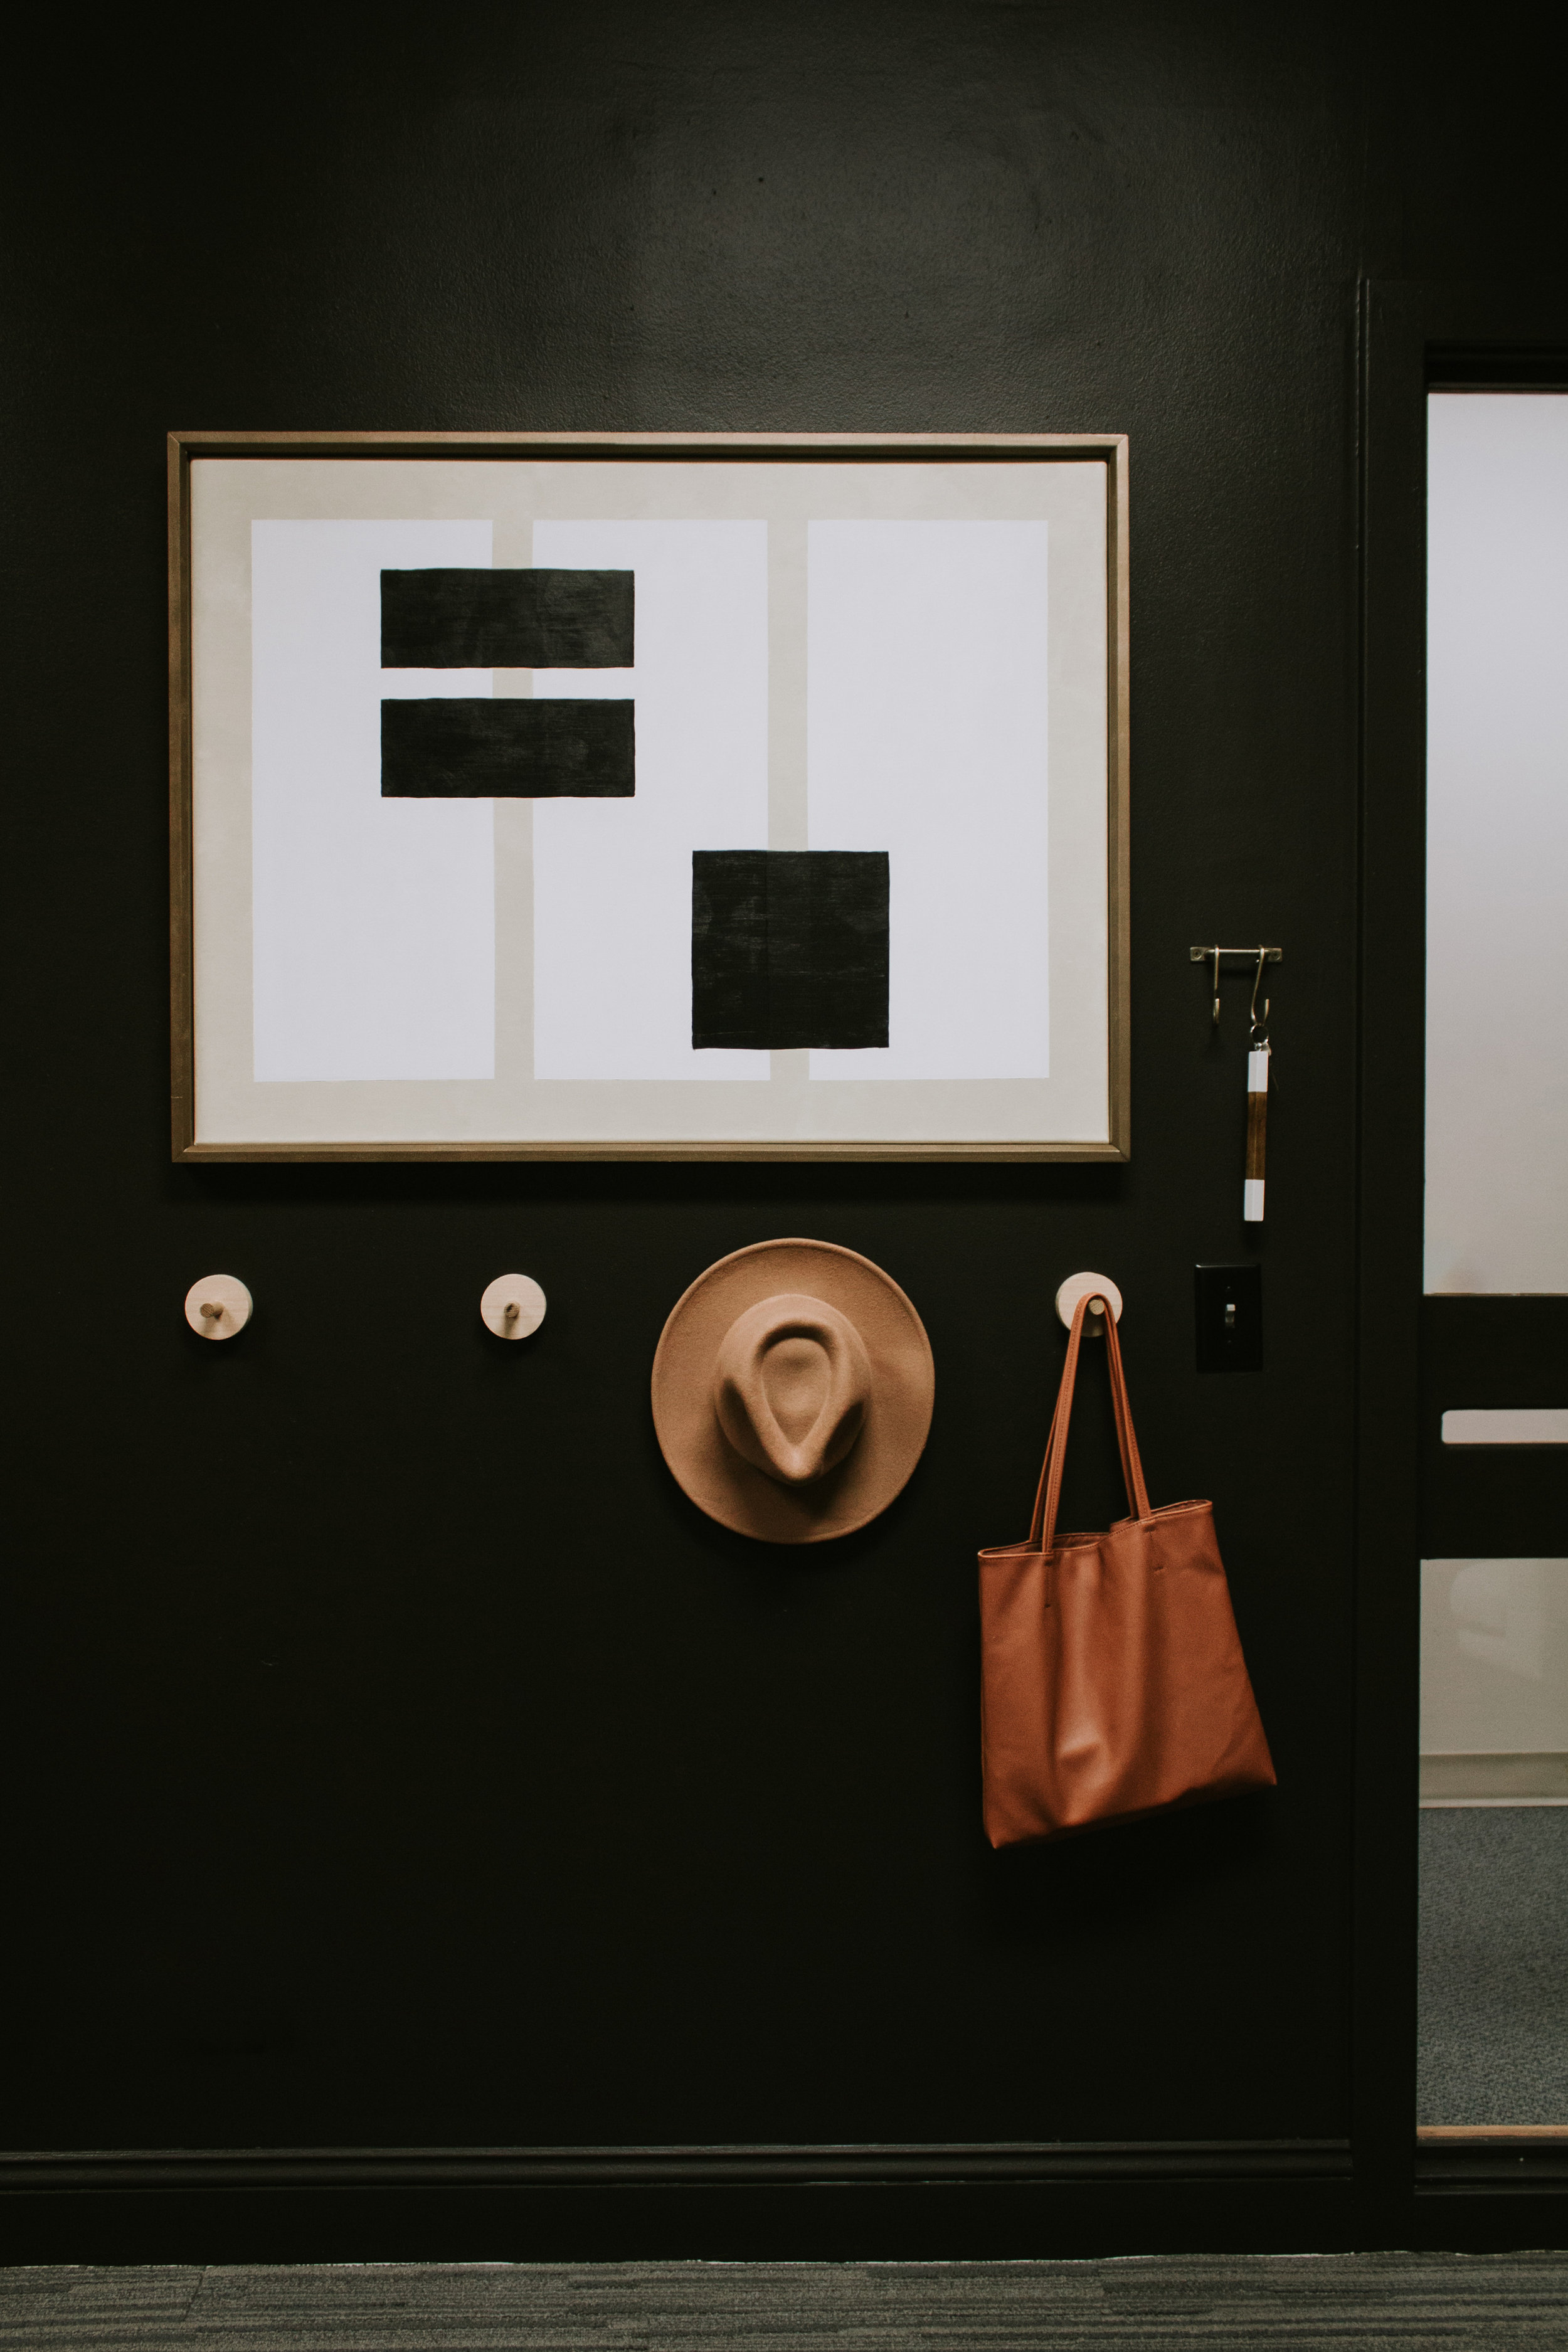
Several months ago I stumbled upon the photo above on Pinterest and it stopped my scroll! That artwork, the muted colors, the modern/art deco aesthetic…it was speaking to me so I took a screenshot and saved it to my phone. Then 4 weeks ago I realized that I needed a piece of artwork for our podcast studio and this photo instantly popped into my head.
Like I said, I only had a screenshot on my phone of this photo so I searched Pinterest high and low to find the original photo and hopefully the artist!! I didn’t have any luck so I decided to try my hand at painting it myself!
Side note: I eventually found the photo and original artist (Kayce Hughes) on Pinterest after I made my DIY version. Figures! 🙂
So here’s my DIY version of the artwork I found on Pinterest!
Although my DIY version is not nearly as killer as the original, I am still super happy with the outcome. Especially since this was my first time using acrylic paint on canvas!
Here’s how I did it –
MATERIALS:
-
Canvas – I used a 30×40″ canvas.
-
Acrylic Paint in the Colors –
-
Paint Brushes –
-
Paint Palette – Or in my case, an extra paint tray liner that I found in the basement.
-
Pencil
-
T-Square – Or ruler
So the first thing I did was find the right blend and ratio of colors to get the light taupe/cream color for the base. Turns out mixing paint is harder than I thought it would be since I had several failed attempts ending with pink, yellow, and gold. But alas I found the ratio I was looking for – 1:1 of titanium white and unbleached titanium.
I painted several thin layers of paint over the entire canvas (including the edges) using my 2″ brush.
Next, I mapped out where I wanted the three vertical rectangles to be. I spaced them evenly on the canvas and I outlined the rectangles with a t-square and pencil. (NOTE: I learned the hard way that white acrylic paint doesn’t cover pencil marks easily so go easy with the pencil lines.)
I then filled in the rectangles with titanium white paint. I should note that I originally just free-handed the rectangle edges with paint but later cleaned up the lines because I wasn’t feeling the messy look.
Once the paint was dry I moved onto the third and last layer of paint – the black shapes. Instead of eyeballing where I wanted the black squares to go, I found black paper in our house and cut them to the size I wanted. I then arranged them on the canvas until I was happy and outlined each one with pencil.
Last step…you guessed it…I filled in the outlined shapes with black paint!
To finish the look I ended up making my own frame, painted it antique brass and considered my project complete! Not gonna lie…for my first attempt at using acrylic paint on canvas, I’m not mad about the outcome!
Leave a Reply Cancel reply
Where behind the scenes, exclusive advice, and candid conversations are sent straight to your inbox every week.


A very creative artwork. ever thought about doing a posting on how to frame prints and canvases? For those os us who are clueless.
I love this! Why do you say : Not gonna lie…for my first attempt at using acrylic paint on canvas, I’m not mad about the outcome!” If you are saying you don’t like it as much as you expected, what is it you’re not crazy about?
Can you explain how you made the frame? Love the art! Great job! Thank you.
Can I bother you by asking the measurements of your white rectangles?? I’m attempting to recreate this and can’t seem to settle on the appropriate size to make them! Thanks ☺️
Mine are approximately 10.5"W x 24"T!
Thank you so much for this post! I was struggling to find just the right piece for our home and stumbled across this on Pinterest. I’m not much of an artist but thanks to you I was able to make our own version of this painting. We love it!
I’m so glad you were able to make the perfect piece for your home! 🙂
I’m so happy I stumbled upon this post. It’s been a nightmare trying to find the right artwork at even a semi-decent price.
Maybe a DIY painting is just what you need! 🙂
Love this! Thanks for sharing. I’m going to tackle this too
Yay! Good Luck! 🙂
Nice! How did you make the frame?
I shared a similar DIY frame in this post – nadinestay.com/blog/diy-modern-frame-and-artwork