Our Flagstone Path Is Done! (All The Details On How We Installed It)
·

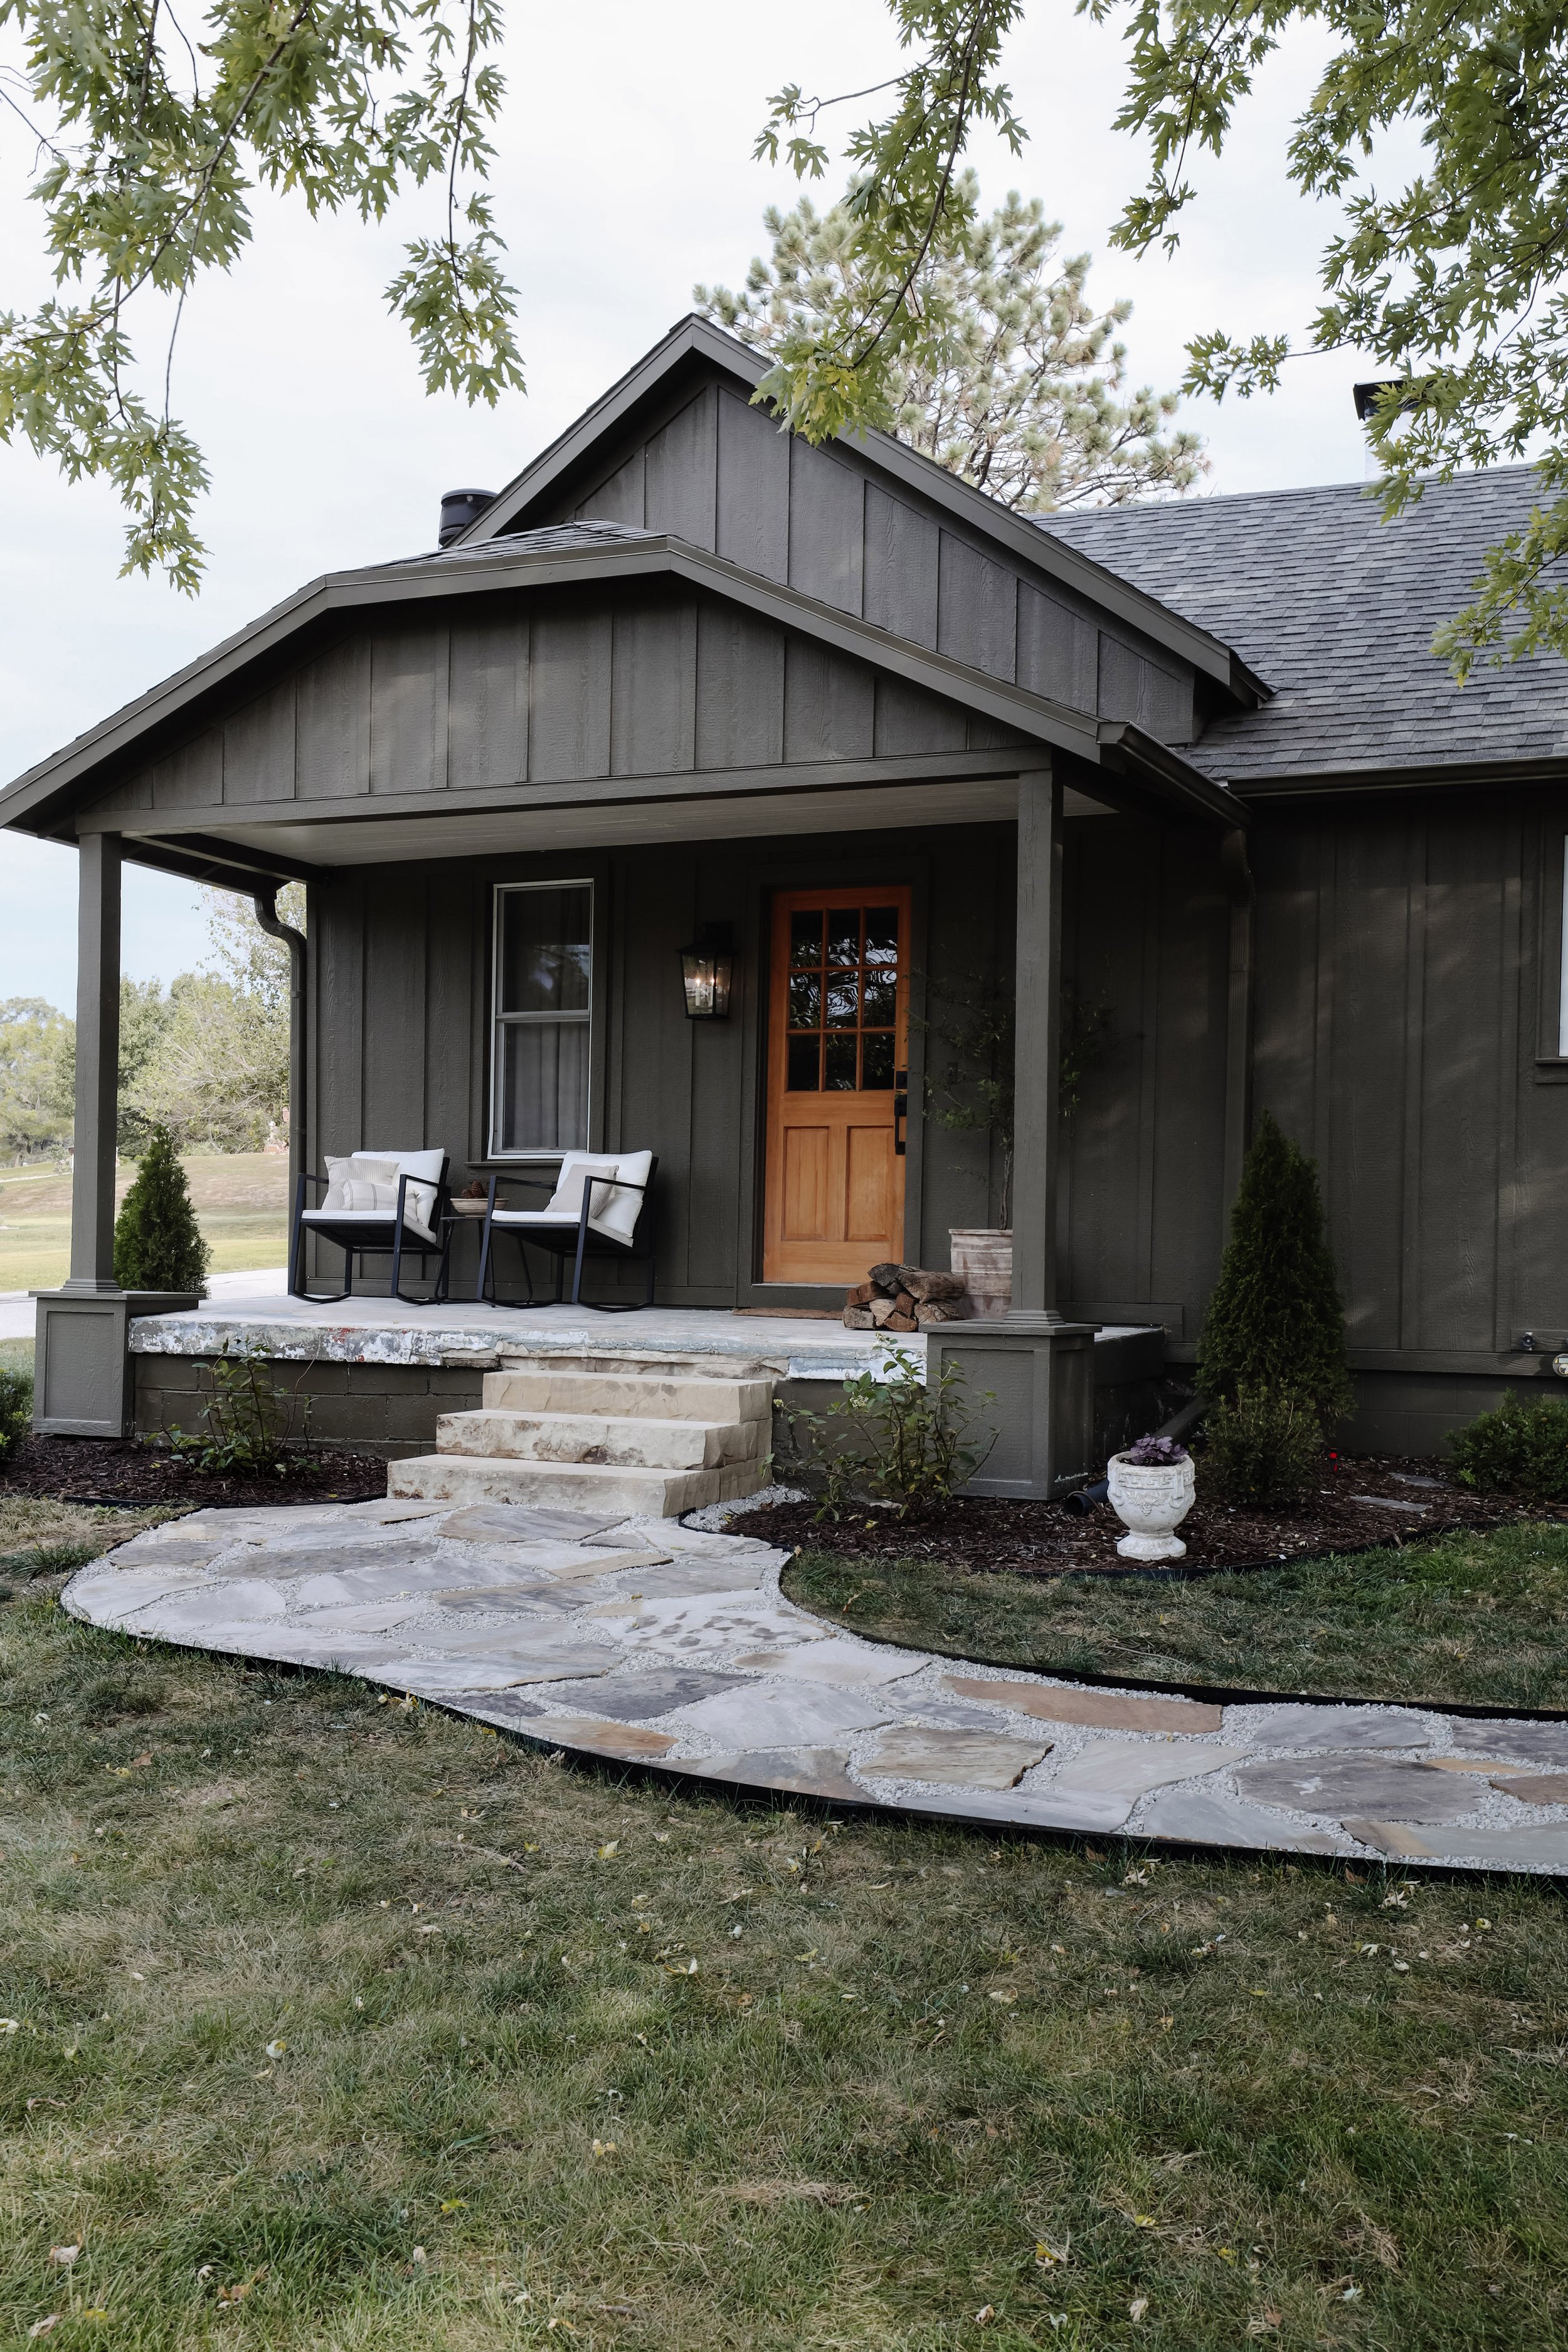
We checked the first project off our Porch Makeover To Do List and it feels so good – the flagstone path! I can’t even express how much we love it. We had a small little red paver path previously that we’ve been itching to replace ever since we did the landscaping up front. And while the red path sort of disappeared amongst the other prettier things, we weren’t prepared for how much the new path would stand out…in a good way!
The Path Before
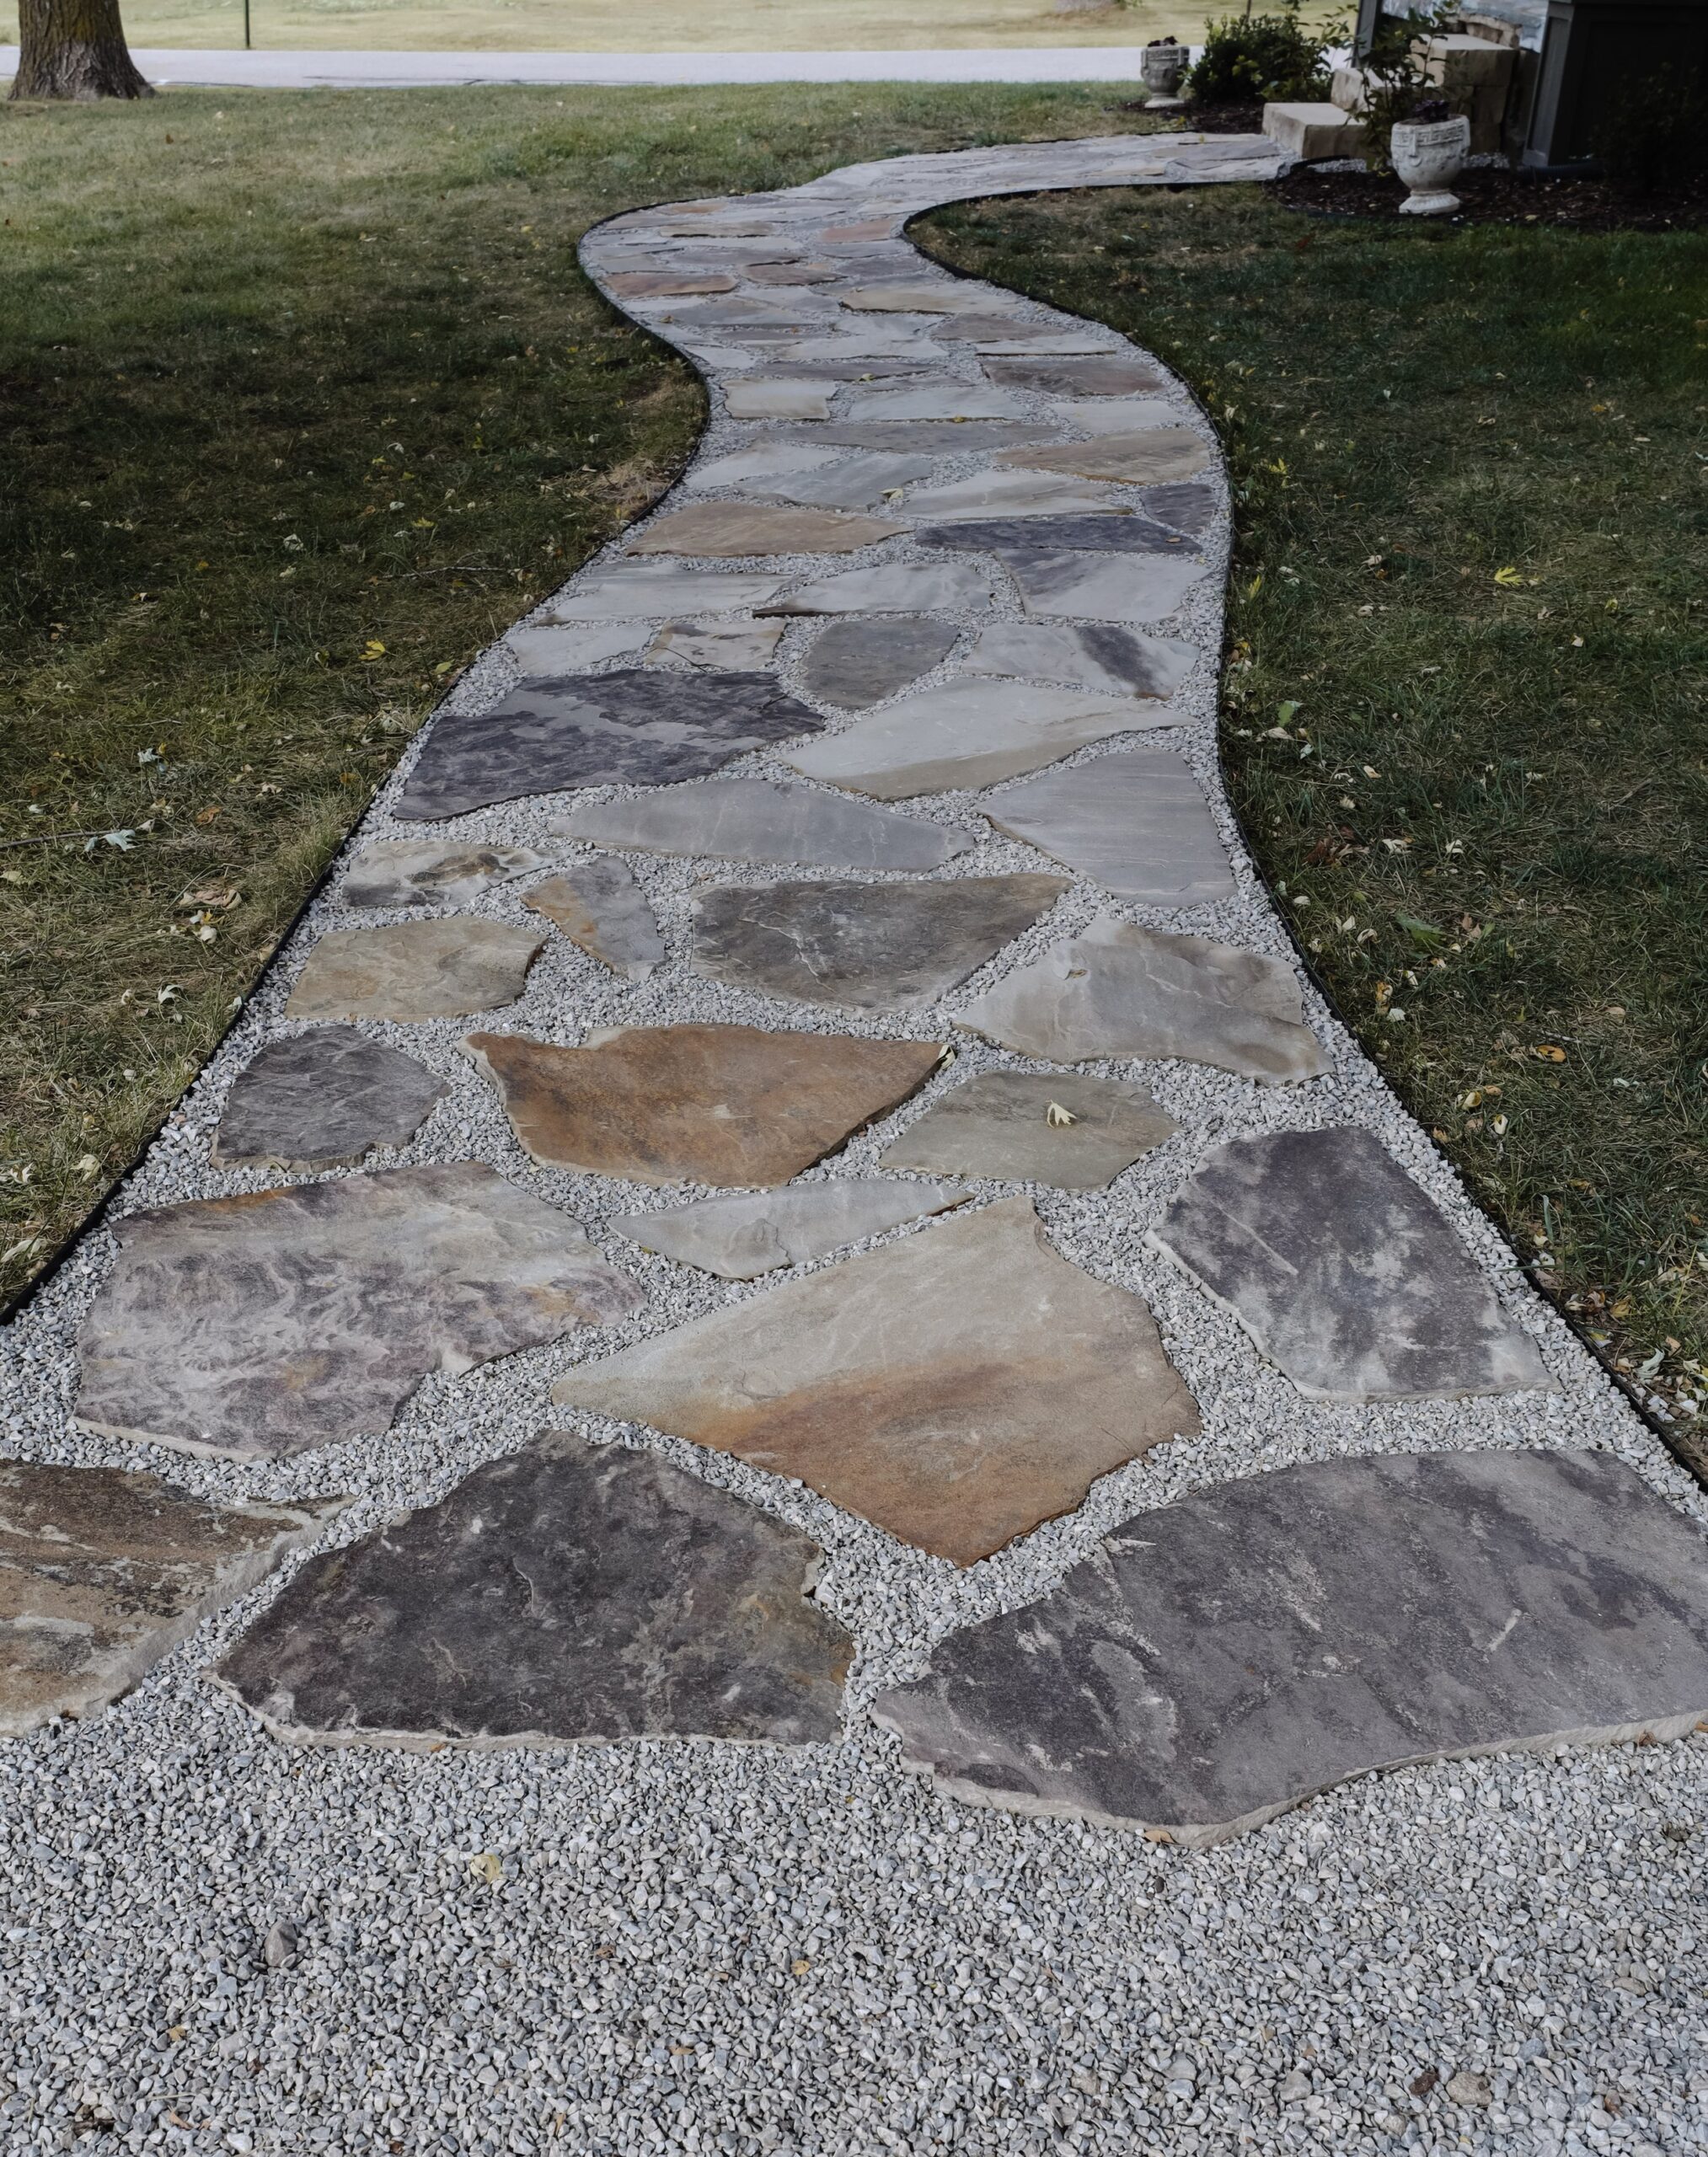
The New Flagstone Path
While the previous path was linear and ridged, we were keen on the new path having a more organic shape. With the natural, imperfect edges of flagstone, it made the most sense to create a whimsical path.
We chose Foxglove flagstone with limestone chips as the filler. Foxglove flagstones vary in color from dark blue to tan to orange to a combination of all three. No stone is the same which I actually quite love. The limestone chips are a perfect compliment to the various colored flagstones and are quite fitting with our gravel driveway.
With this project complete, we’re ready to tackle the porch floor and build a railing. If you were confused by the chippy painted porch floor, that’s just temporary! Those projects are happening this month so stay tuned. In the meantime, if you’re curious how we installed our flagstone path, I’ve got a tutorial for you below –
We started by laying out the shape of the path with steel edging. This edging was surprisingly easy to curve and manipulate which was helpful in creating our winding path. It also won’t warp from the sun or break easily like many plastic edging does.
The edging comes with stakes that slip into grooves on the edging itself to hold it in place. Initially we just hammered the stakes in partially while deciding on the shape of the path.
Thankfully we had a path here previously that we removed so a lot of the grass was already out from that, but a few spots remained where we needed to dig out the grass.
Digging out the grass allowed us to make our flagstone path more level with the ground and it helps reduce grass growing through the rocks after installation.
After the grass was out, we hammered the edging and stakes into the ground to be as level with the ground as possible. We used a 2×4 and hammer to avoid chipping the powder coated finish off the edging.
With the edging hammered into place, we went back over the dirt and leveled it out where we removed the grass. A metal rake did the job!
To reduce weeds, we laid max weed control landscape fabric within the path. We left plenty of overlap and staked the edges down.
There are several ways to install a flagstone path and several materials you can use for the base/filler. We chose limestone chips as both the base and filler.
Limestone chips have a blueish-gray coloring which paired well with our flagstone. It was also a fairly budget friendly option.
Chris shoveled it into the path and I raked it to an even thickness throughout.
To ensure that the rock base isn’t loose, we rented a plate compactor from Home Depot to tamp the rock down. A few passes is all that was needed.
Finally, the fun part! We had a whole palette of flagstone to pick from and we did our best to mix large pieces with smaller pieces in between.
In order to save a little money on the path, we spaced the flagstones about 6” apart. But I still wanted the flagstones to look connected and intentional…not just a few scattered flagstones. In order to achieve that, we made sure that the shapes fit together as best as possible. If there was a curve on one flagstone, the one next to it matched it’s curvature.
It was also really helpful to lay out a bunch of pieces in the grass to pick from as we went along. We often laid 5 or 6 pieces, took a step back, adjusted some, replaced others, and rotated a few until we got a look that felt natural and balanced.
This part was so fun!
As we went along, we also leveled the flagstones as much as possible by pushing them into the rock base, or adding more rocks underneath. There were only a few that needed adjustments.
Again, there are a lot of ways you can fill in the gaps between flagstone, but because we spaced ours around 6” apart, our best option was small rocks. We used the same limestone chips that we used for our base and we brushed it into all the cracks and crevices.
As soon we poured the limestone chips between the flagstone, I knew we needed to glue them in place because the scattered pebbles on the flagstone was going to drive me crazy!
I purchased this mulch and pea gravel glue which is clear and after 2 coats, it should last up to a year.
It’s quite simple to apply. First I cleaned off all the flagstones and made sure the chips were how I wanted them. Then I used a pump sprayer to apply the glue onto the chips, ensuring I got an even coat over everything. (It was inevitable that I got some glue on the edges of the flagstone too.) I let it dry for 24 hours and then I applied a second coat. 24 hours after the second coat, the chips won’t budge!
(NOTE: I did notice that the edges of the flagstone, where I got some glue on them, have a slight sheen in certain lights. It doesn’t bother me, but if this is a concern to you, I’d cover the flagstones before gluing.)
And that is all it takes to lay a flagstone path! It took us about 3 weeks to complete it (working only some weeknights and weekends) so all-in-all, I’d consider this a fairly easy project! Sure, it required a good bit of manual labor, but these days, any project that only takes a month start to finish is an easy project in my eyes.
Leave a Reply Cancel reply
Where behind the scenes, exclusive advice, and candid conversations are sent straight to your inbox every week.


Hi, I like the flagstone colors. Do you know the name or did you get two different colors to create the contrast?
Hi Laura, this flagstone is called Foxglove and it naturally has that much variation in it!
Hello, how wide is this pathway? I can’t tell if it is 3 or 4 ft wide. I’d like to do something similar and am debating on width.
Hi Savanna, I believe it is 3 feet wide!
Could you use pea gravel instead of limestone chips? It looks great, just curious if limestone chips are best?
I would ask a local landscape company! Ours recommended limestone chips given the distance between our flagstones, but an expert would be able to help you out with that! 🙂