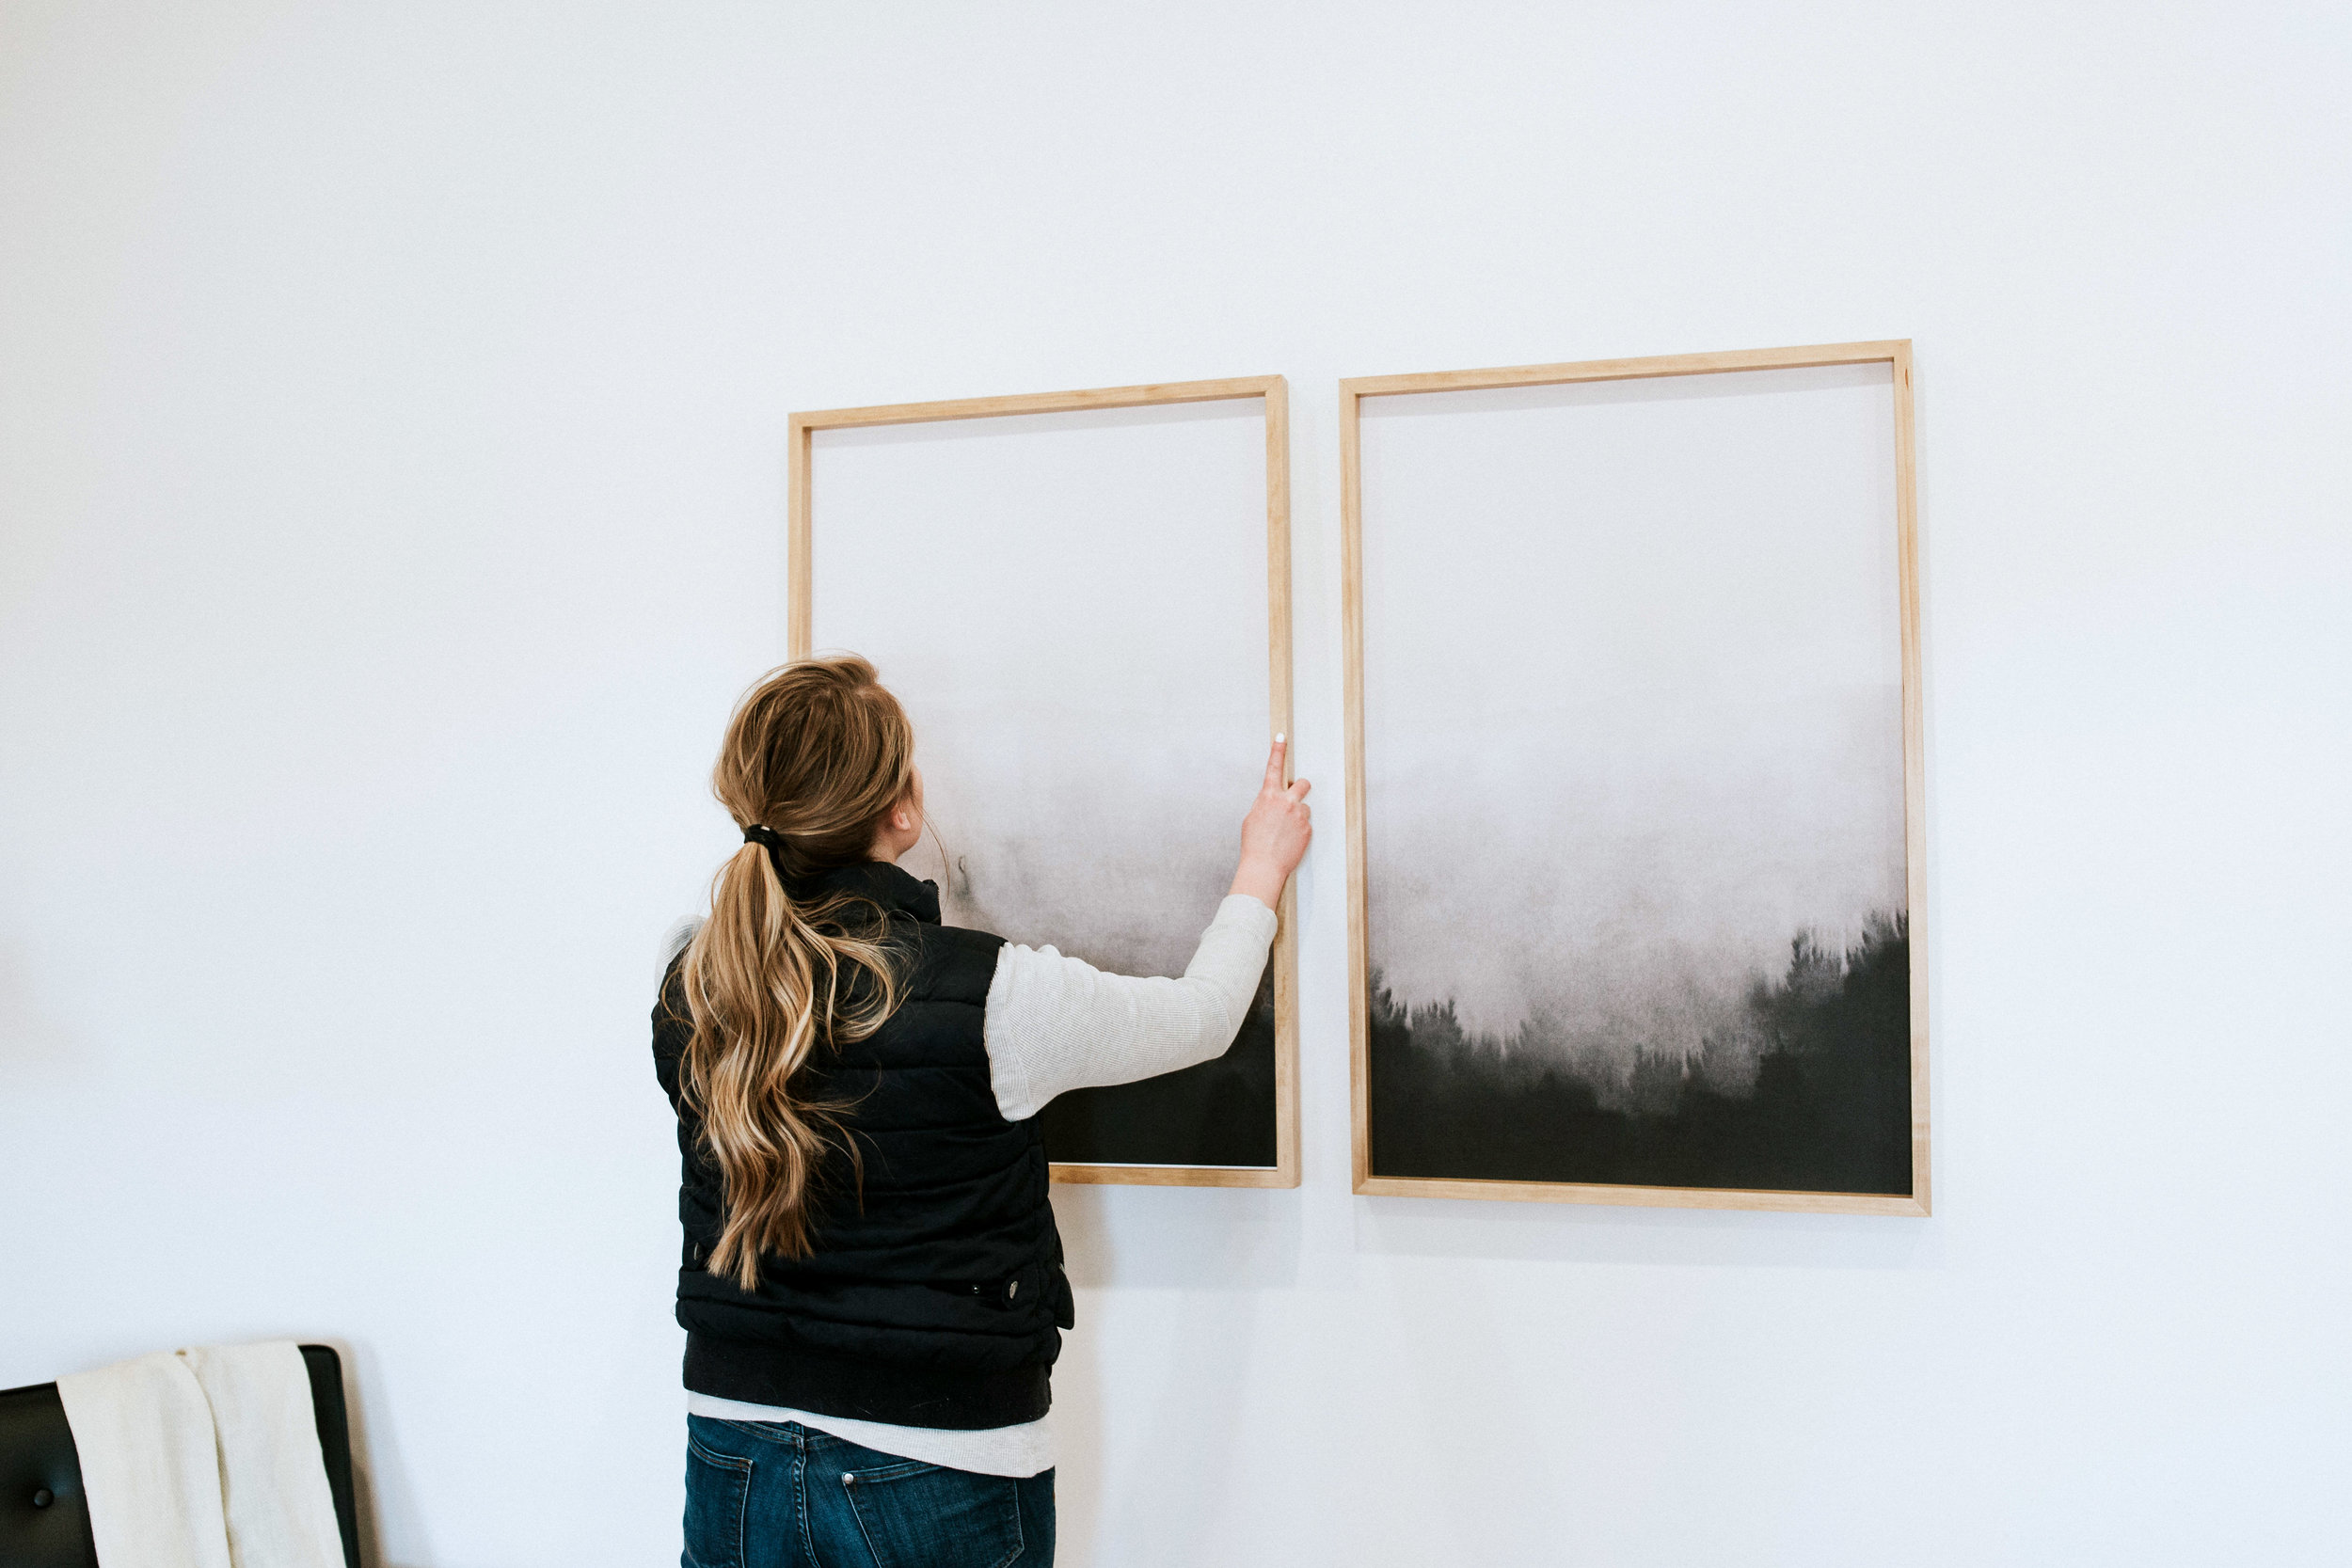
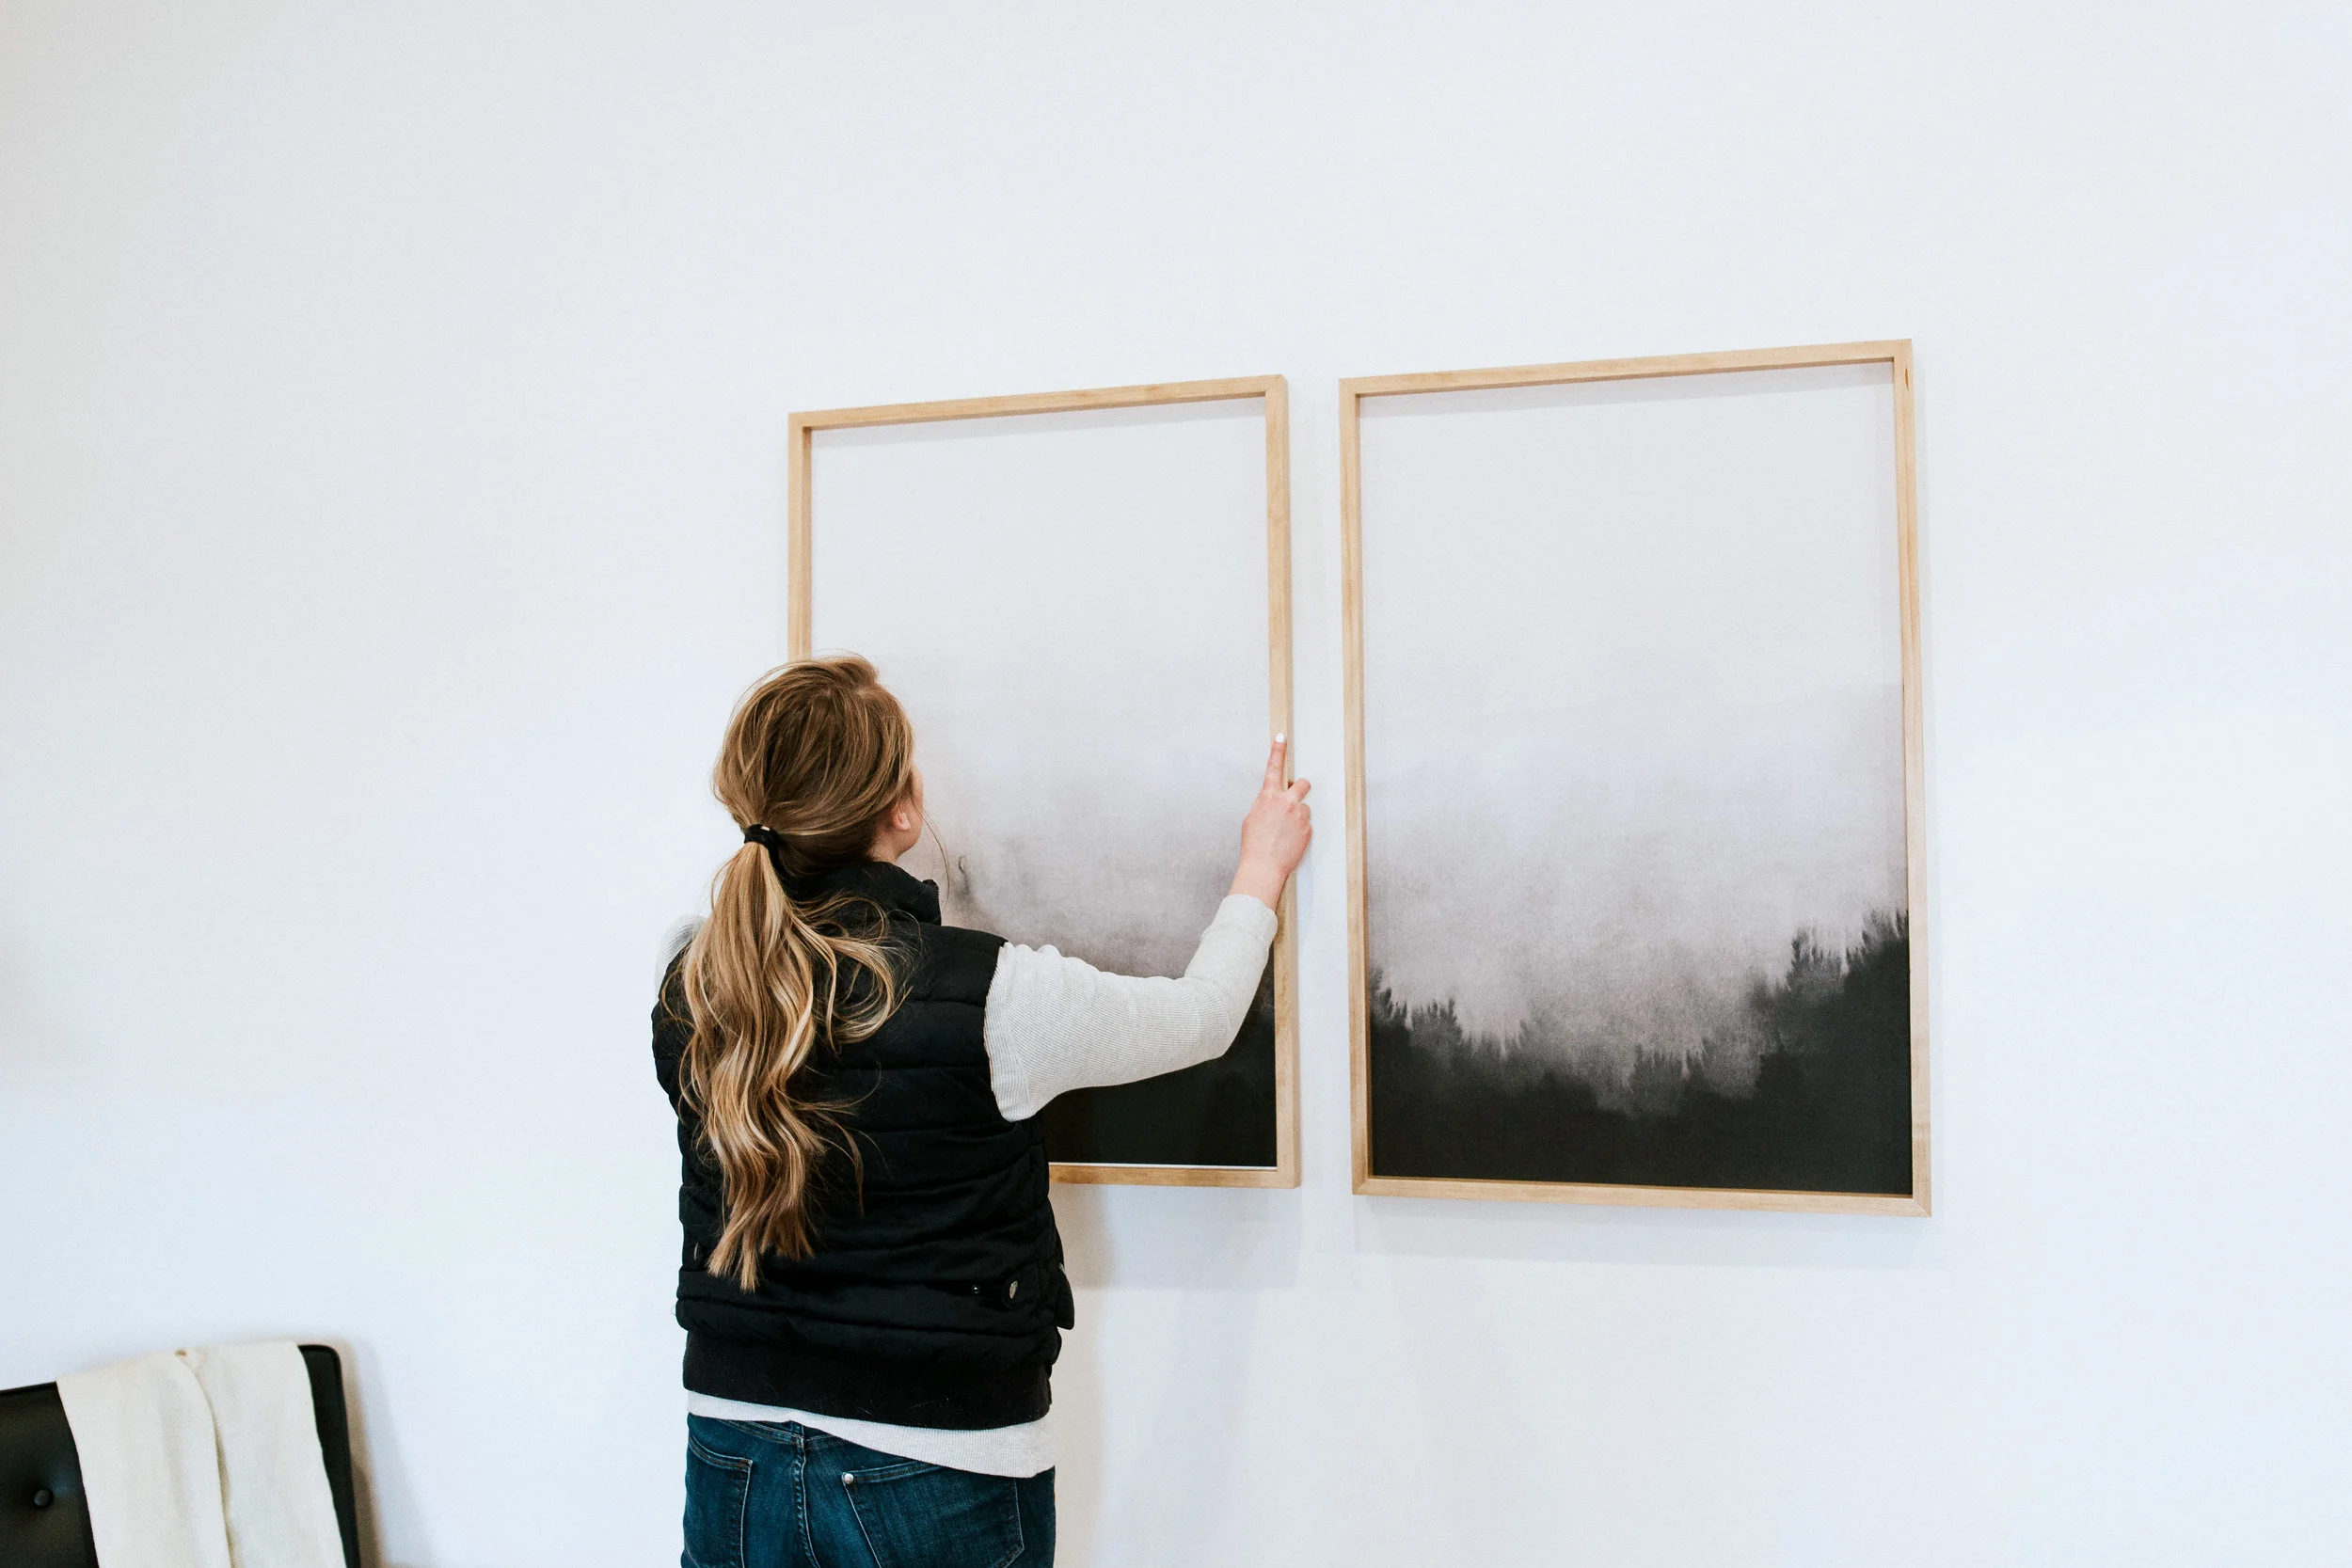
A few weeks ago I told you all about these beautiful artwork prints that we ordered and printed ourselves. They turned out incredible and if you want to know my trick to getting SUPER cheap large scale artwork prints, I highly recommend you check out this post here.
As promised, today I’m going to show you step by step instructions on how to make my modern frames, the stain color I chose, my favorite wood top coat, and the best way to attach your artwork to the frames! Basically, at the end of this you’ll be able to re-create this exact look in your home!
Woofta! There’s a lot of information coming at ya so let’s get started!
.
Below are all the materials you’ll need to make one 24″ x 36″ frame + artwork. Adjust the wood, foam board, and artwork accordingly if you choose to make multiple frames or make them at a different size!
MATERIALS NEEDED
FOR FRAME:
MATERIALS NEEDED
FOR ARTWORK:
-
24 x 36″ artwork print – we chose these
-
40″ x 60″ foam board – cut to size
-
you can get two 24″x36″ foam boards out of it
-
-
Old credit card
TOOLS NEEDED:
MAKE YOUR FRAME
STEP 1 – CREATE A 90 DEGREE CUTOUT
The first thing to do is rip a 90 degree cutout in your wood so you have a ledge for your artwork to sit on. We use a table saw to get a clean cut but you can also do this with a router if you feel more comfortable with that.
Take your wood and cut out a chunk exactly 3/8″ x 3/8″ creating an L shape like in the picture below.
STEP 2 – CUT YOUR BOARDS
Next up, cut your wood to the size you need. Below is your cut list if you’re making a 24″ x 36″ frame like mine. Cut two boards for each size – totaling 4 boards.
I choose to do mitered corners to give it a more professional look. To create mitered corners, adjust your miter saw to cut at a 45 degree angle as shown in the image below. Mark your cut line on the wood with a speed square and make your cuts. I always cut a little ways away from the line and keep cutting a tiny bit off until I reach my line to ensure I don’t cut off too much all at once.
Your corners should look like the image below once you’ve finished cutting all your wood.
STEP 3 – SAND
Give your wood a good sanding with a power sander and 220 grit sandpaper. If you don’t have a power sander, use a fine sanding block.
STEP 4 – GLUE & NAIL
Here comes the fun part – using a nail gun! (My favorite tool by far!) Put a dab of wood glue on the end of your boards and line them up with the correct adjoining board. You should be nailing one 24″ board and one 36″ board together to start – NOT two boards of the same size. Make sure the corners are tight and put 3 nails in the corners. Be conscious where you’re nailing so that the nails don’t pop out of any finished edges. (P.S. DON’T put your fingers near the nail gun…that’s a bad habit of mine and I’ve definitely come close to nailing my own finger.) Nail all four corners.
STEP 5 – WOOD FILL & LET DRY
Once your corners are nailed and secure, fill in the holes with wood filler. Then let it sit and dry. I like to give the wood filler at least 15 minutes to dry and the glue needs several hours to fully dry. Sometimes I even let it sit overnight.
After you’ve let the frame dry completely, go back and sand the corners where your wood filler is to eliminate any excess filler.
STEP 6 – STAIN
You definitely don’t have to stain your wood if you like that natural color. I chose a stain color that gives the wood just a touch of color but still stays light and natural – Minwax in the color Puritan Pine. Grab some gloves and an old t-shirt and start staining! Once complete, let it dry for at least 8 hours.
STEP 7 – APPLY POLYCRYLIC
I use Minwax Polycrylic in the matte finish. Grab a foam brush and start applying a thin layer on your frame.
Here’s a little tip: in order to avoid your poly from dripping while drying, I like to poly in sections. When the frame is upright like in the image above, I apply poly on the top and bottom boards only (the sides facing up) so there aren’t any wet surfaces on the side. You’ll have to rotate the frame each time you’re ready to apply another coat but your surface will dry so much smoother when it dries flat.
Poly all 4 sides and the face of the frame once and let it dry for several hours in between each coat. Once each side has one coat, give it a gentle sanding with your fine foam sanding block and apply a second coat of poly on each side. Sand each side and apply your third and final coat of poly on each side of the frame.
Now the frame is complete! Onto the artwork!
PREP YOUR ARTWORK
STEP 1 – GLUE ARTWORK ONTO FOAM BOARD
Assuming you already have an artwork print in hand, the first thing to do is to glue it onto a foam board. If you don’t have artwork already, check out how I found and printed mine here. (P.S. I printed my artwork for under $4.50 so you definitely need to see how I did that here.) If you like the artwork we chose, you can purchase them here.
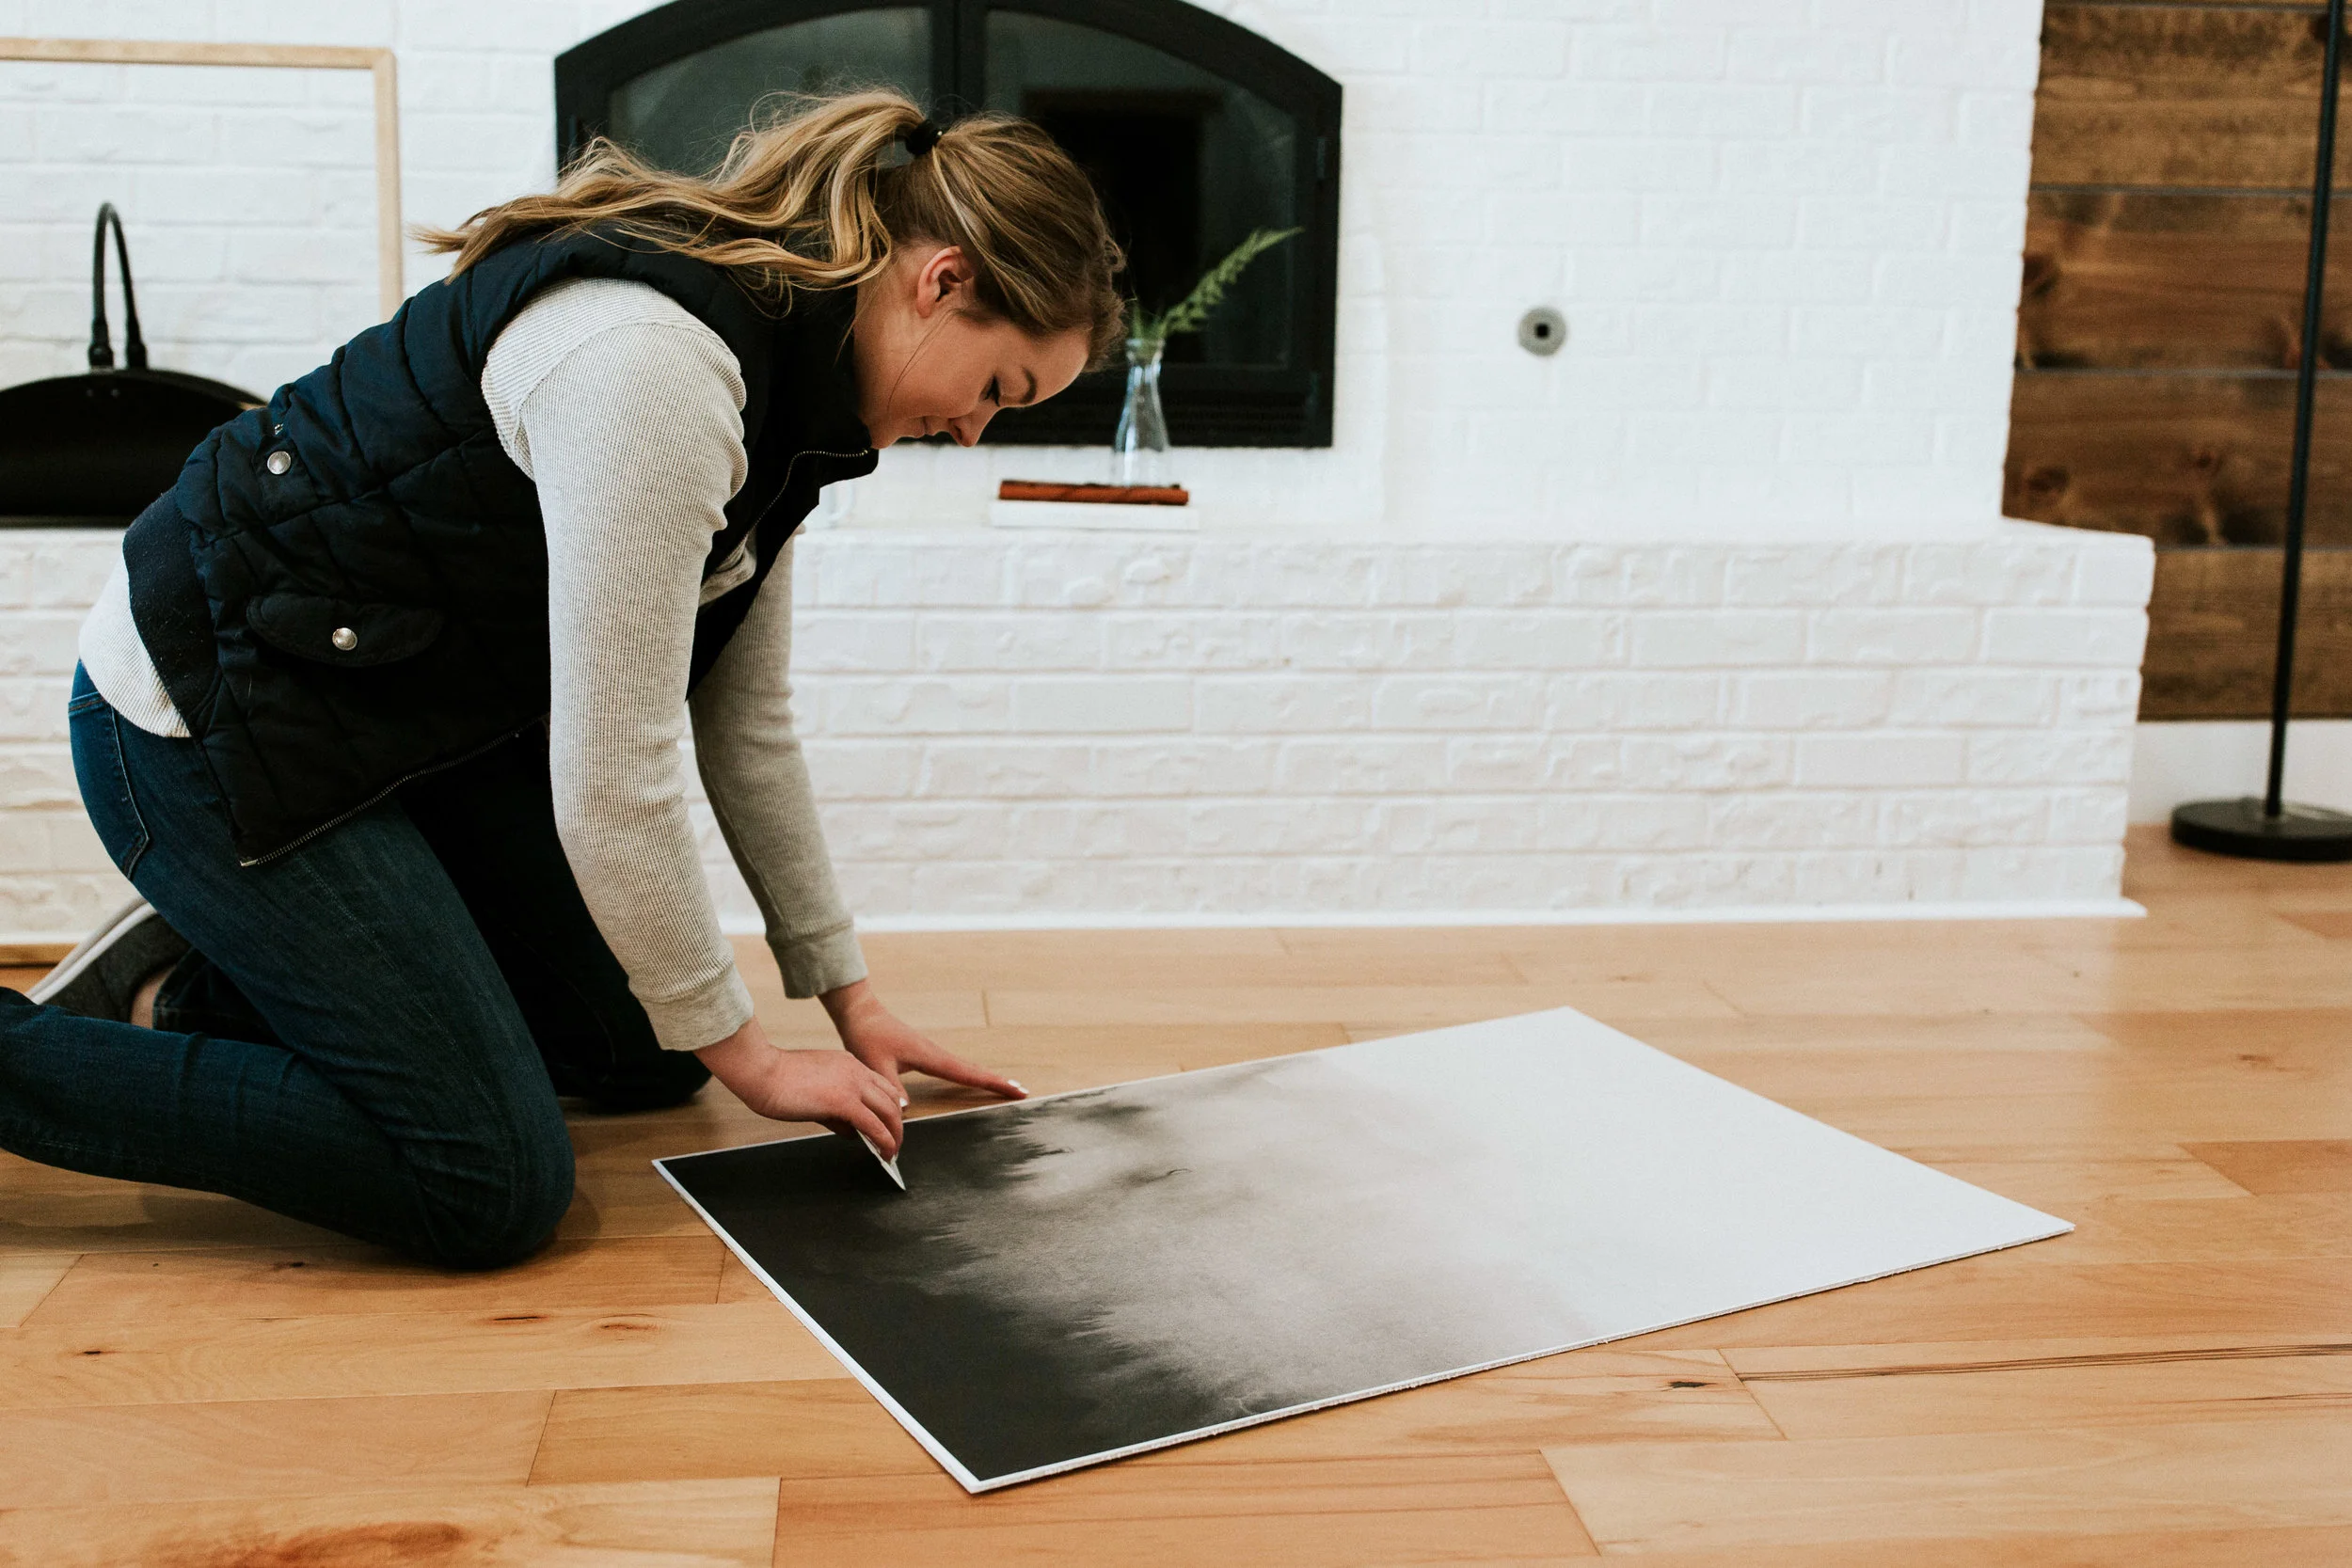
Cut the foam board to the size of your artwork – 24″ x 36″. You may want to double check that your foam board will actually fit in your new frame. Once cut, it’s time to glue the print onto the board using spray glue. This process can be a bit tricky so work carefully.
Lay your print on your foam board and put something with weight across the middle section to keep it from moving (a piece of wood or a book). Gently lift up one end and spray your glue. Slowly let down the print and smooth out any bubbles. Take an old credit card or something similar and gently wipe over the print to once again smooth out any bubbles. Repeat these steps with the other side.
Tip: Do this in an area where you don’t mind glue getting everywhere…this stuff floats and sticks to everything!!!
STEP 2 – PUT ARTWORK IN FRAME
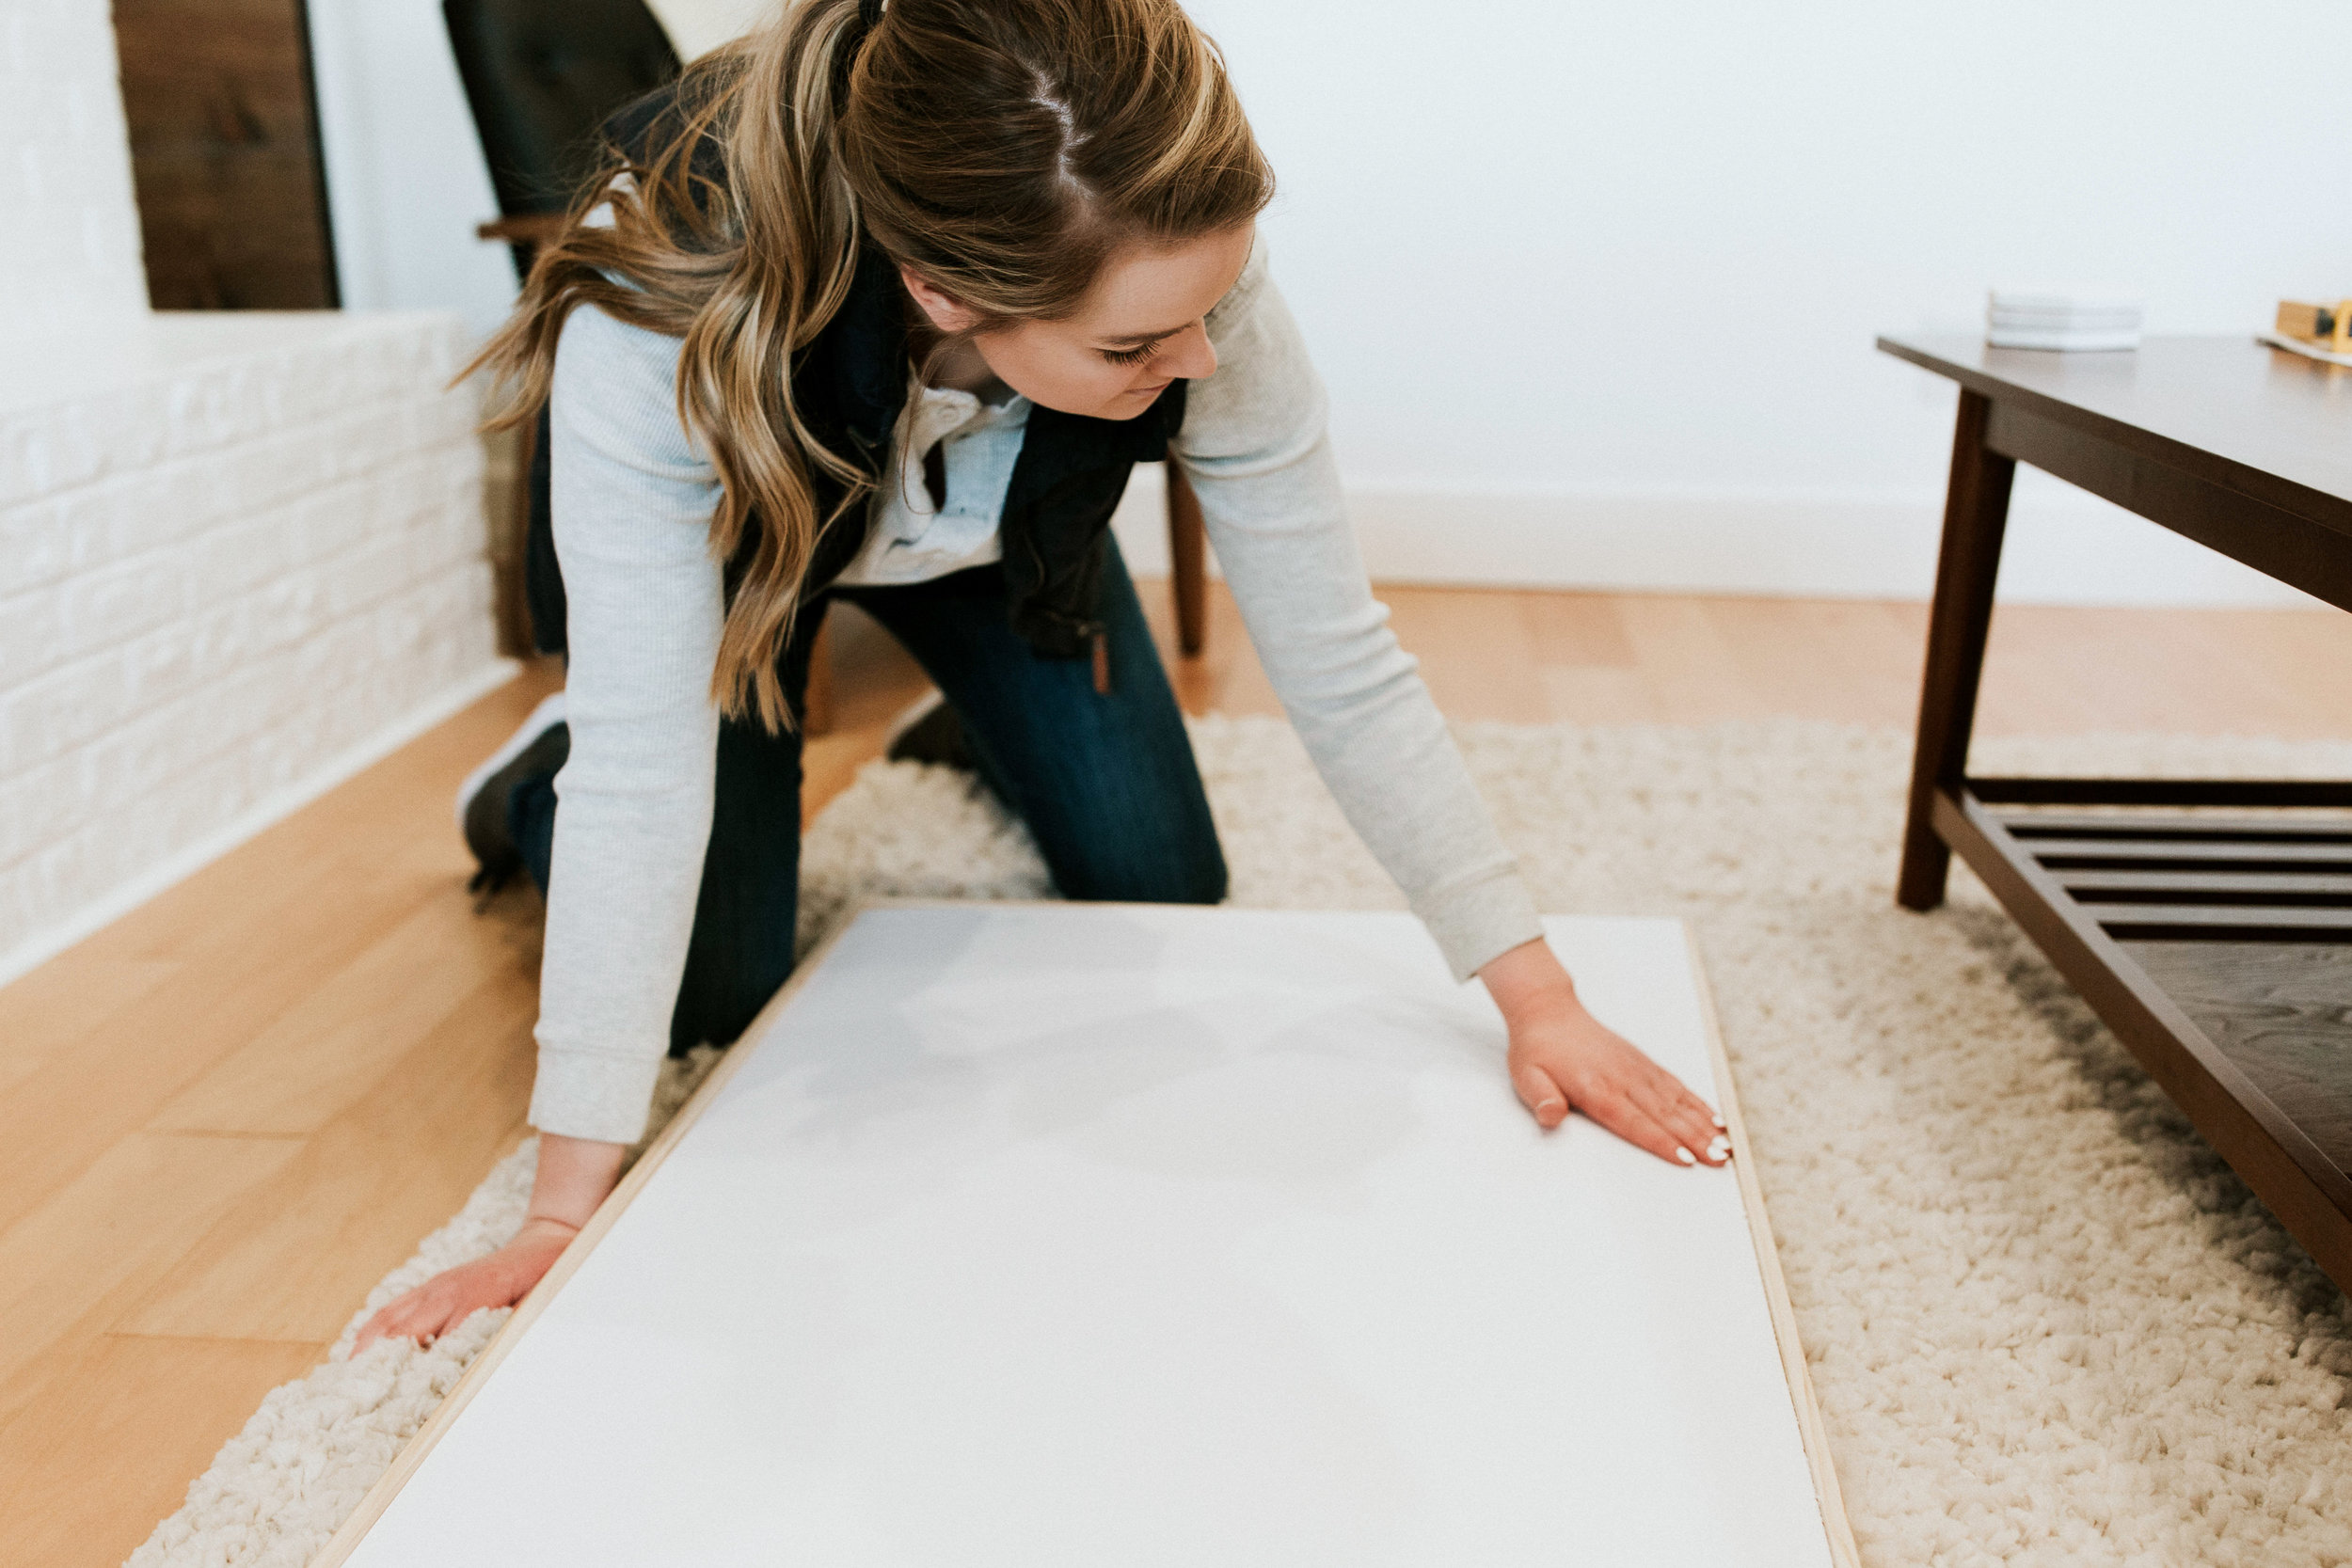
Carefully place your artwork into your frame and use your pointer gun to hold the artwork in place. I do 3-4 pointers on each side.
STEP 3 – HANG & ENJOY
Use two small nails for your artwork to rest on. Hang that beauty up and give yourself a pat on the back!
Ready to tackle this project? I’d love to answer any questions you have along the way!
Where behind the scenes, exclusive advice, and candid conversations are sent straight to your inbox every week.
