On April 1, 2019 we signed the lease on our basic office space that will soon serve as a podcast recording studio. As soon as we got the keys, we started envisioning the look and feel that we wanted this room to have. First and foremost, we need it to be a functional space with plenty of room for a desk and all our podcast equipment. But beyond that, we want it to feel comfortable so that we can say what’s on their hearts and have conversations in a relaxed setting. The more we feel at home, the more likely we are to relax, settle in, and have real, free-flowing conversations.
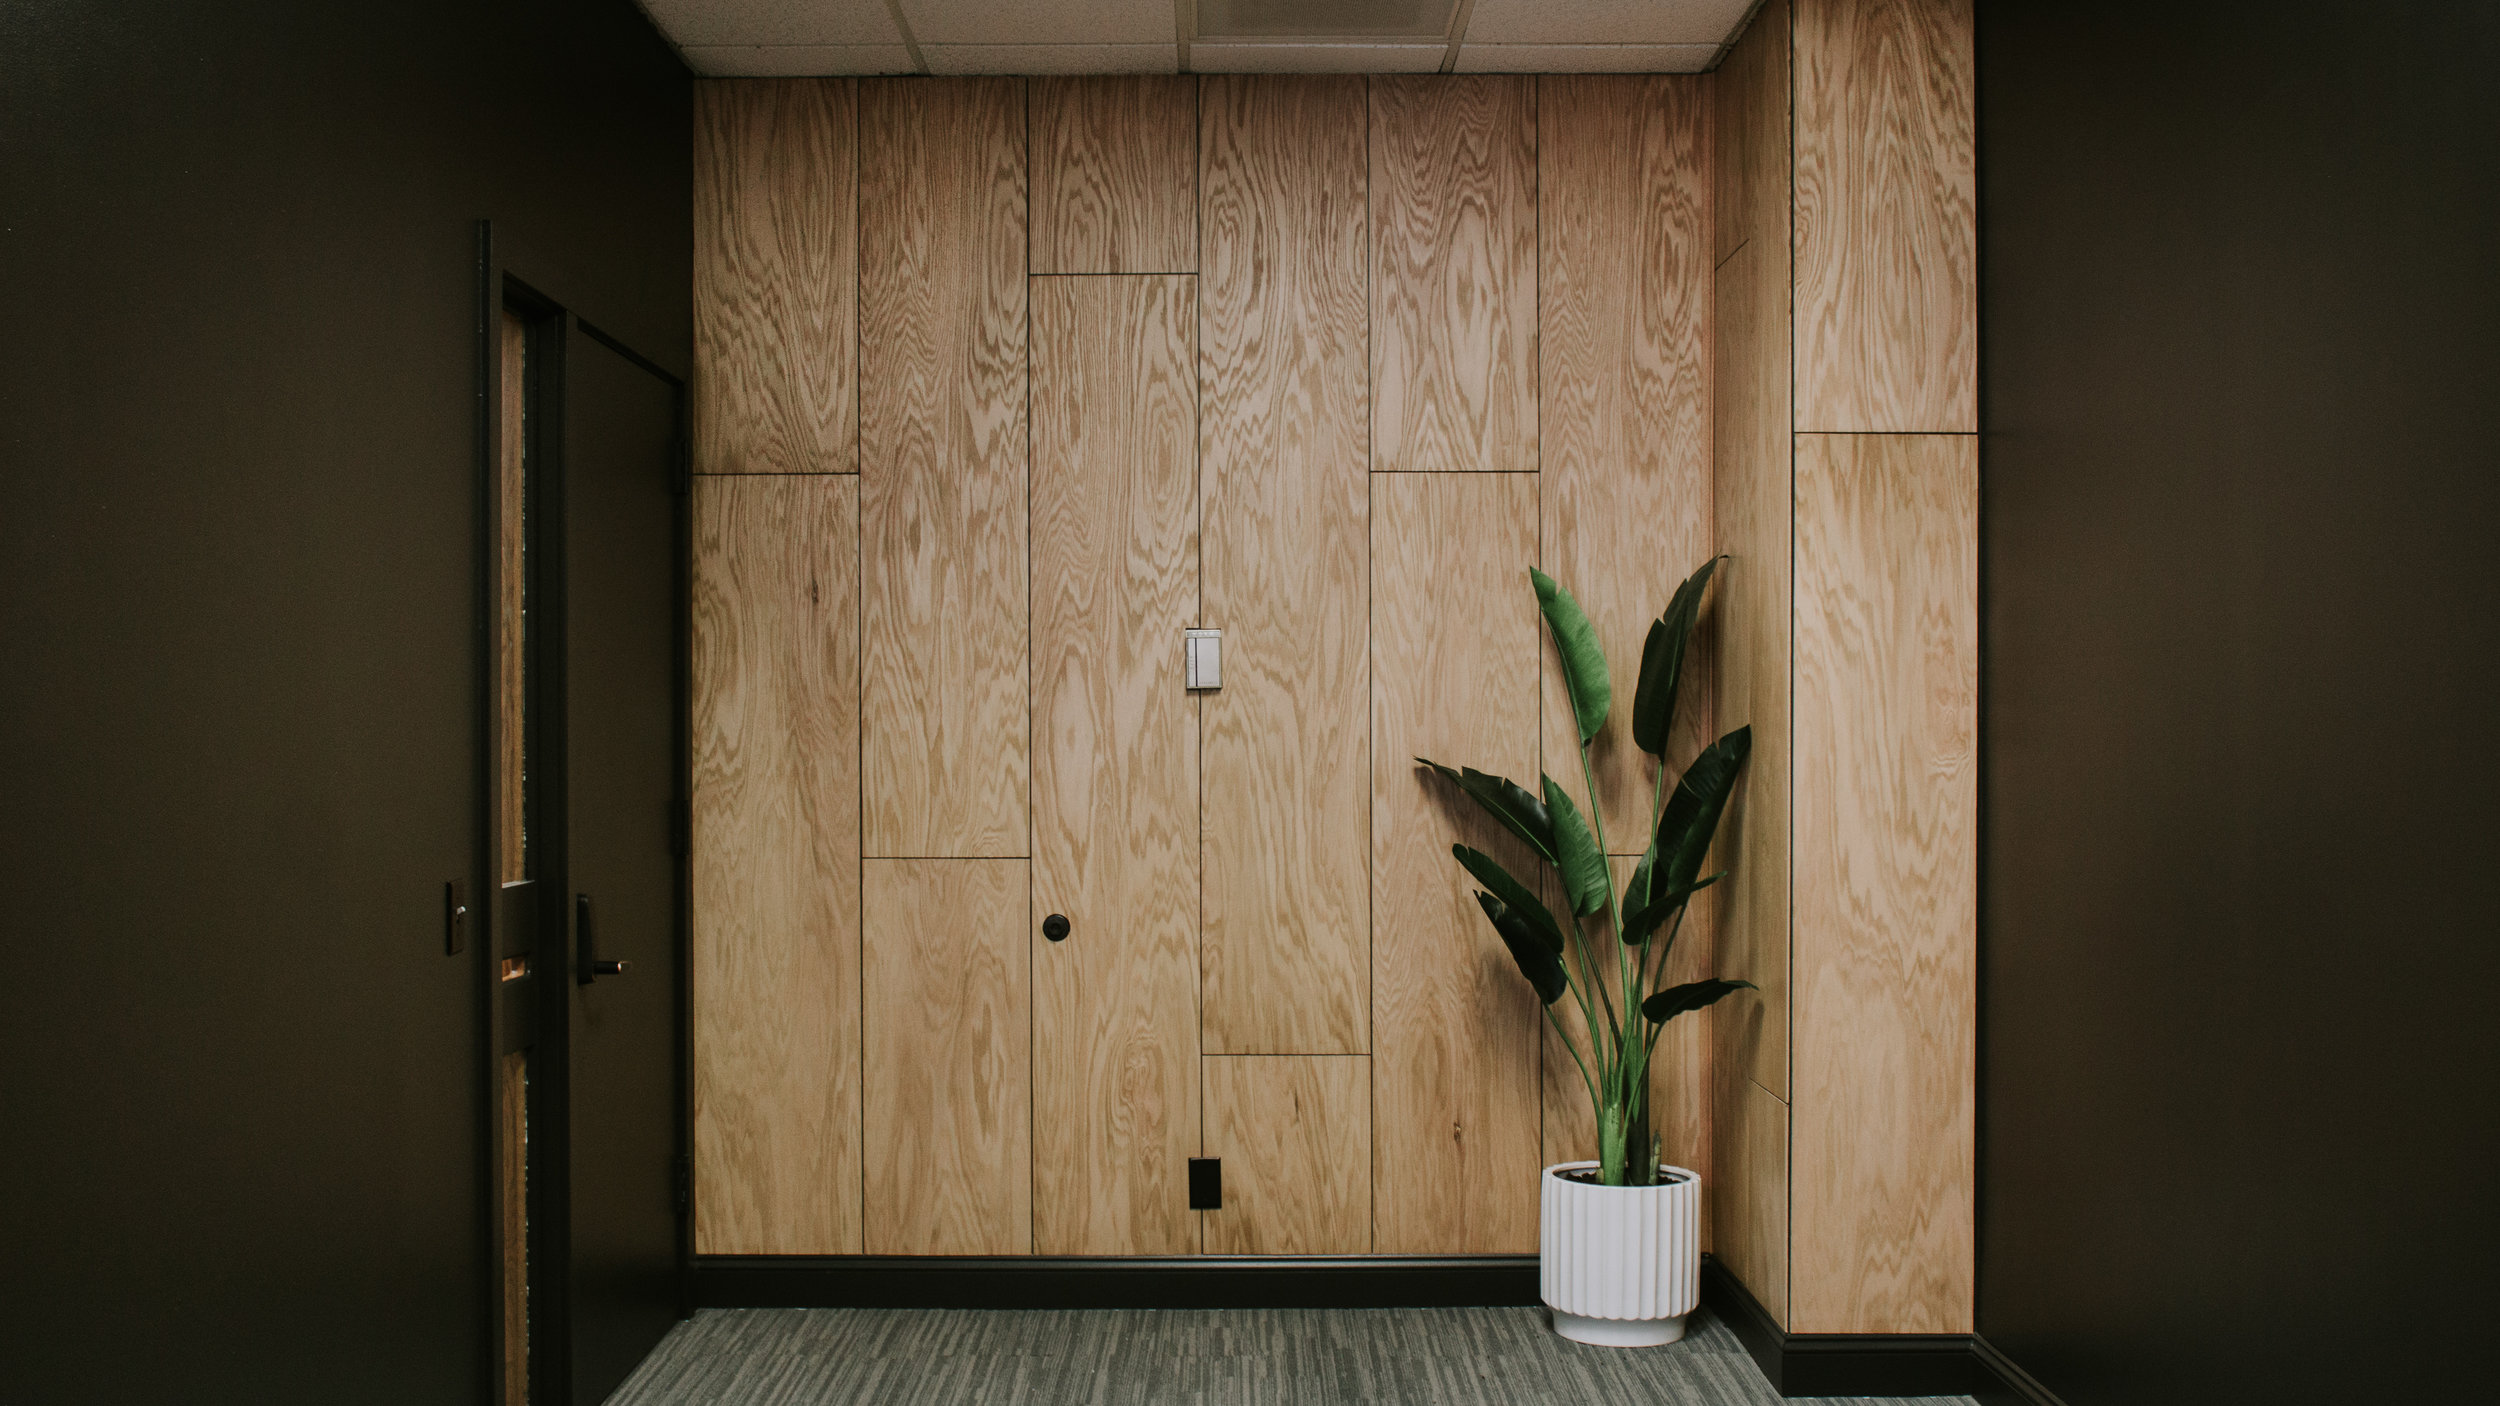
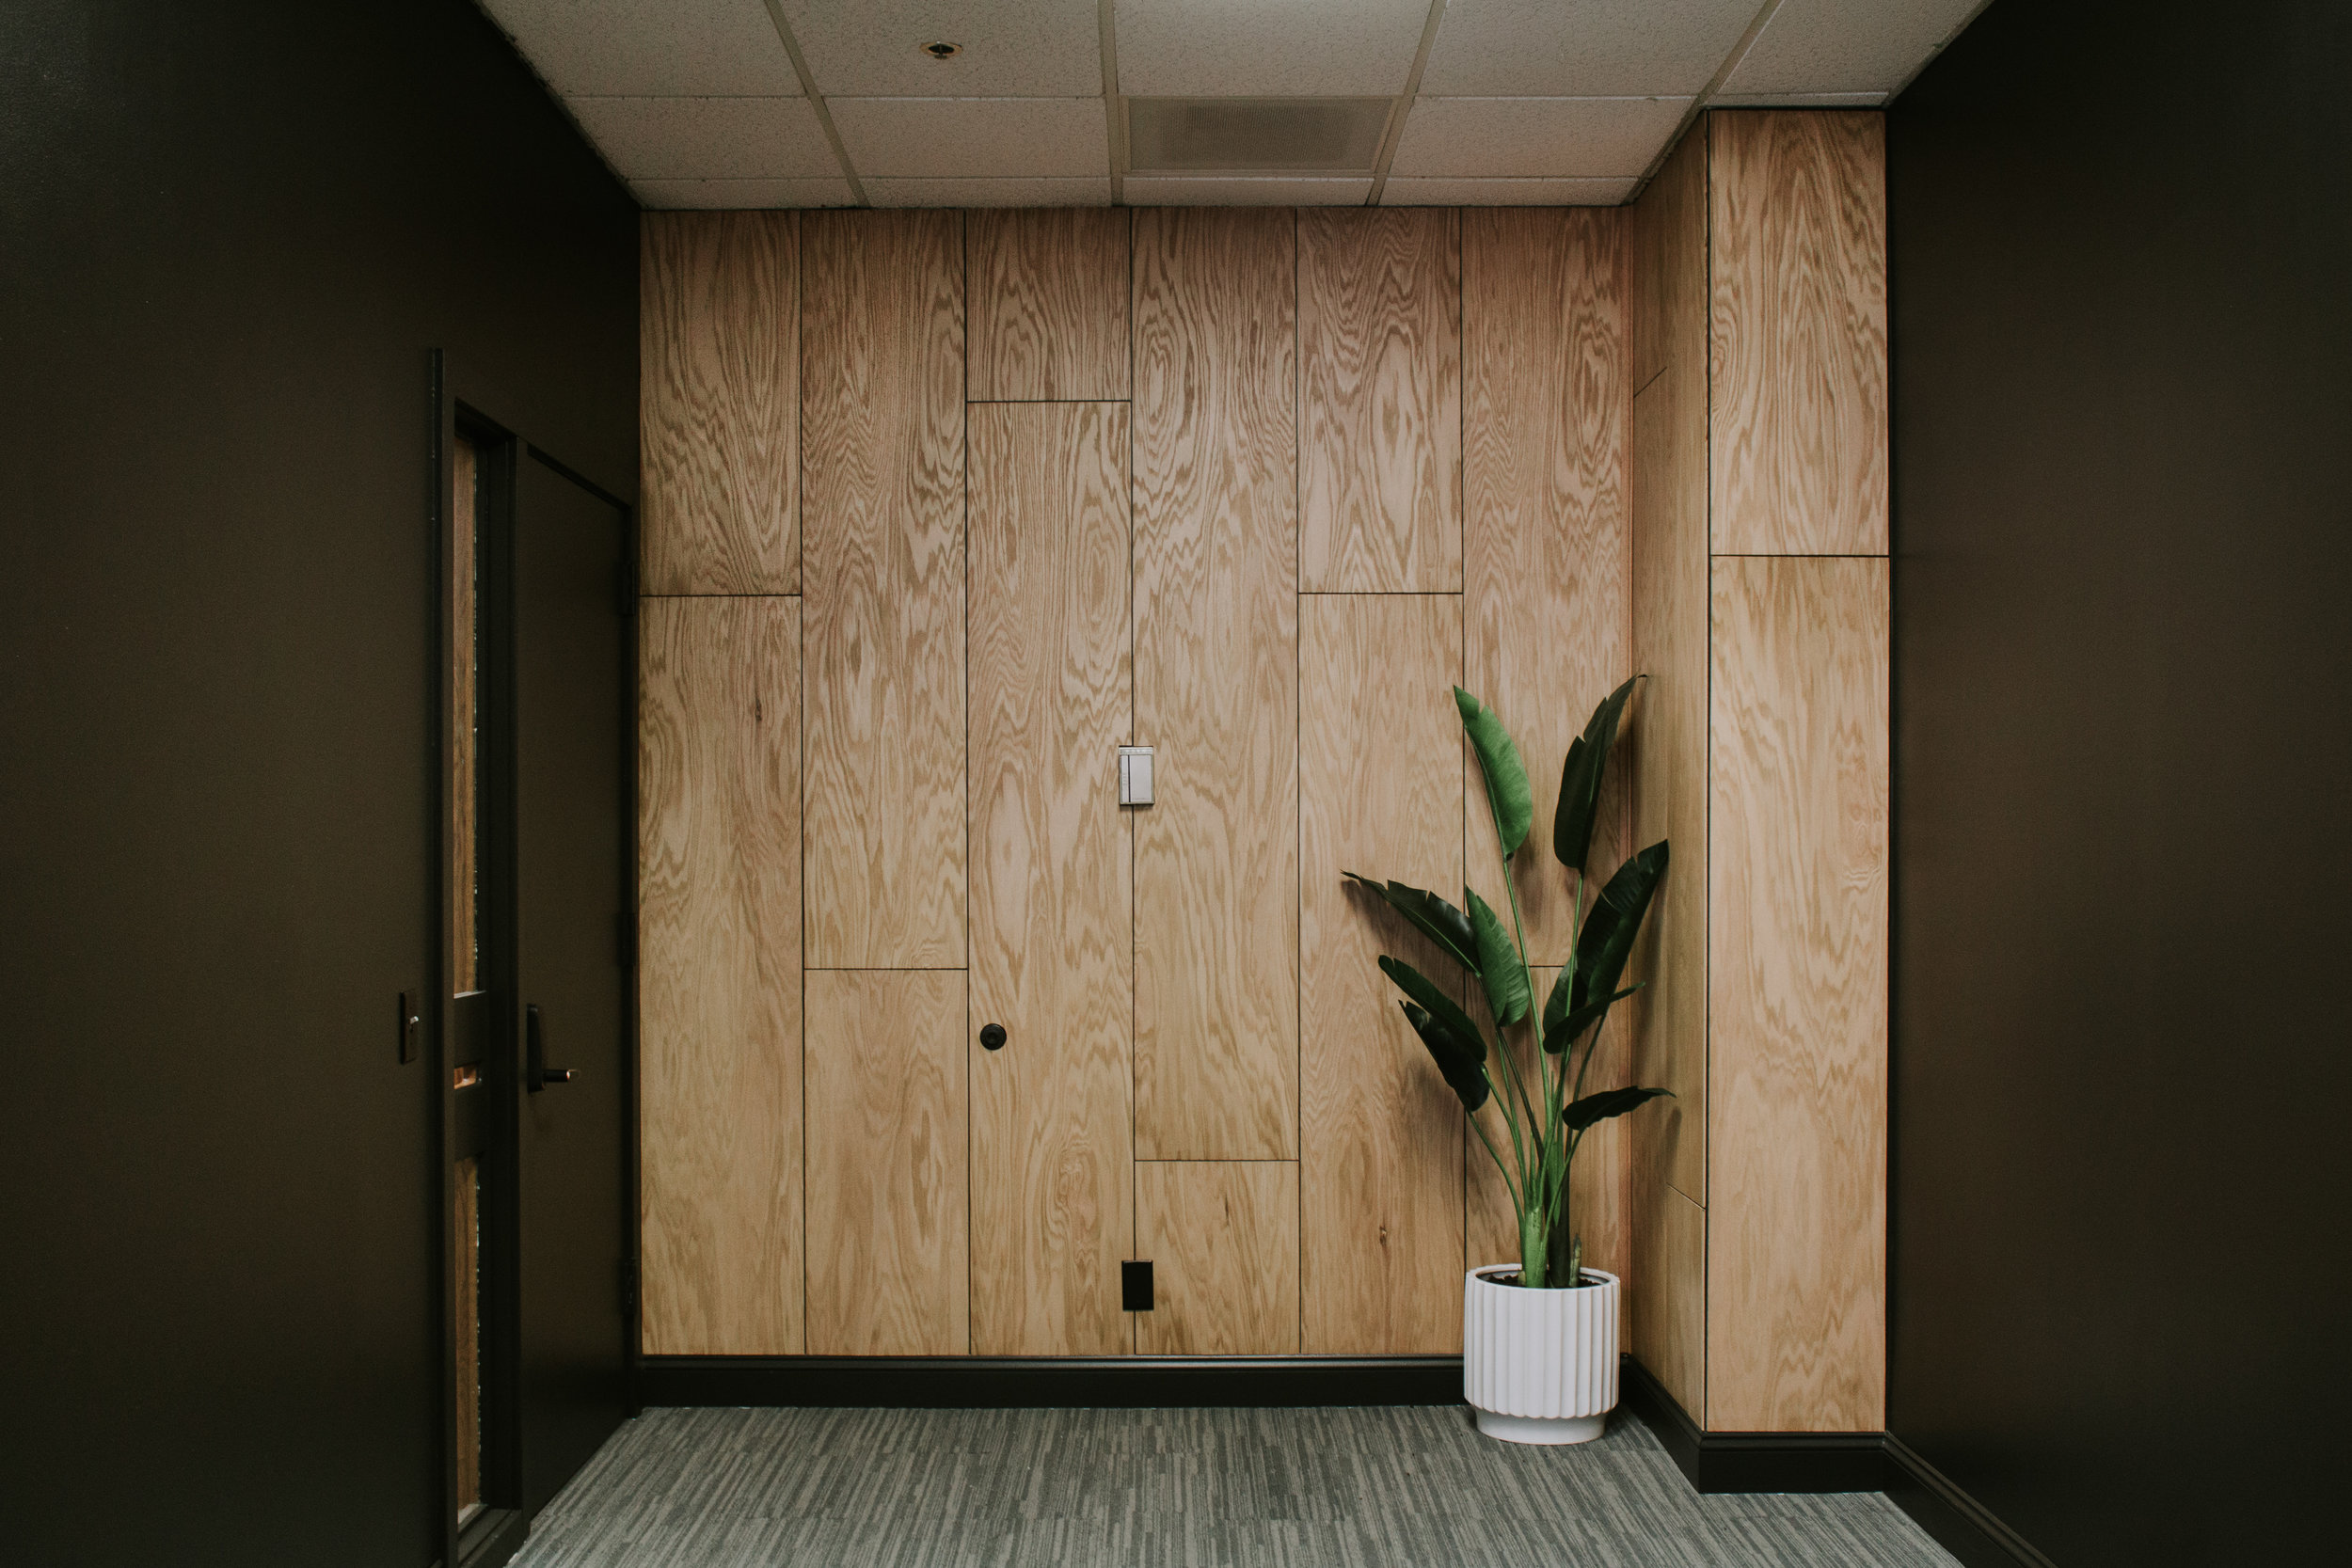
Chris made the suggestion that we paint the room black and I was fully on board! From there, I decided to create a statement wood wall. I knew we would have a heavy wood desk on one end of the room, so I needed to balance the visual weight of the room by creating a wood feature wall on the other end of the room. With a little brainstorming I designed a staggered oak wood paneling wall featuring beautiful wood grains in a unique layout.
If you love this look as much as I do, here’s how we made it:
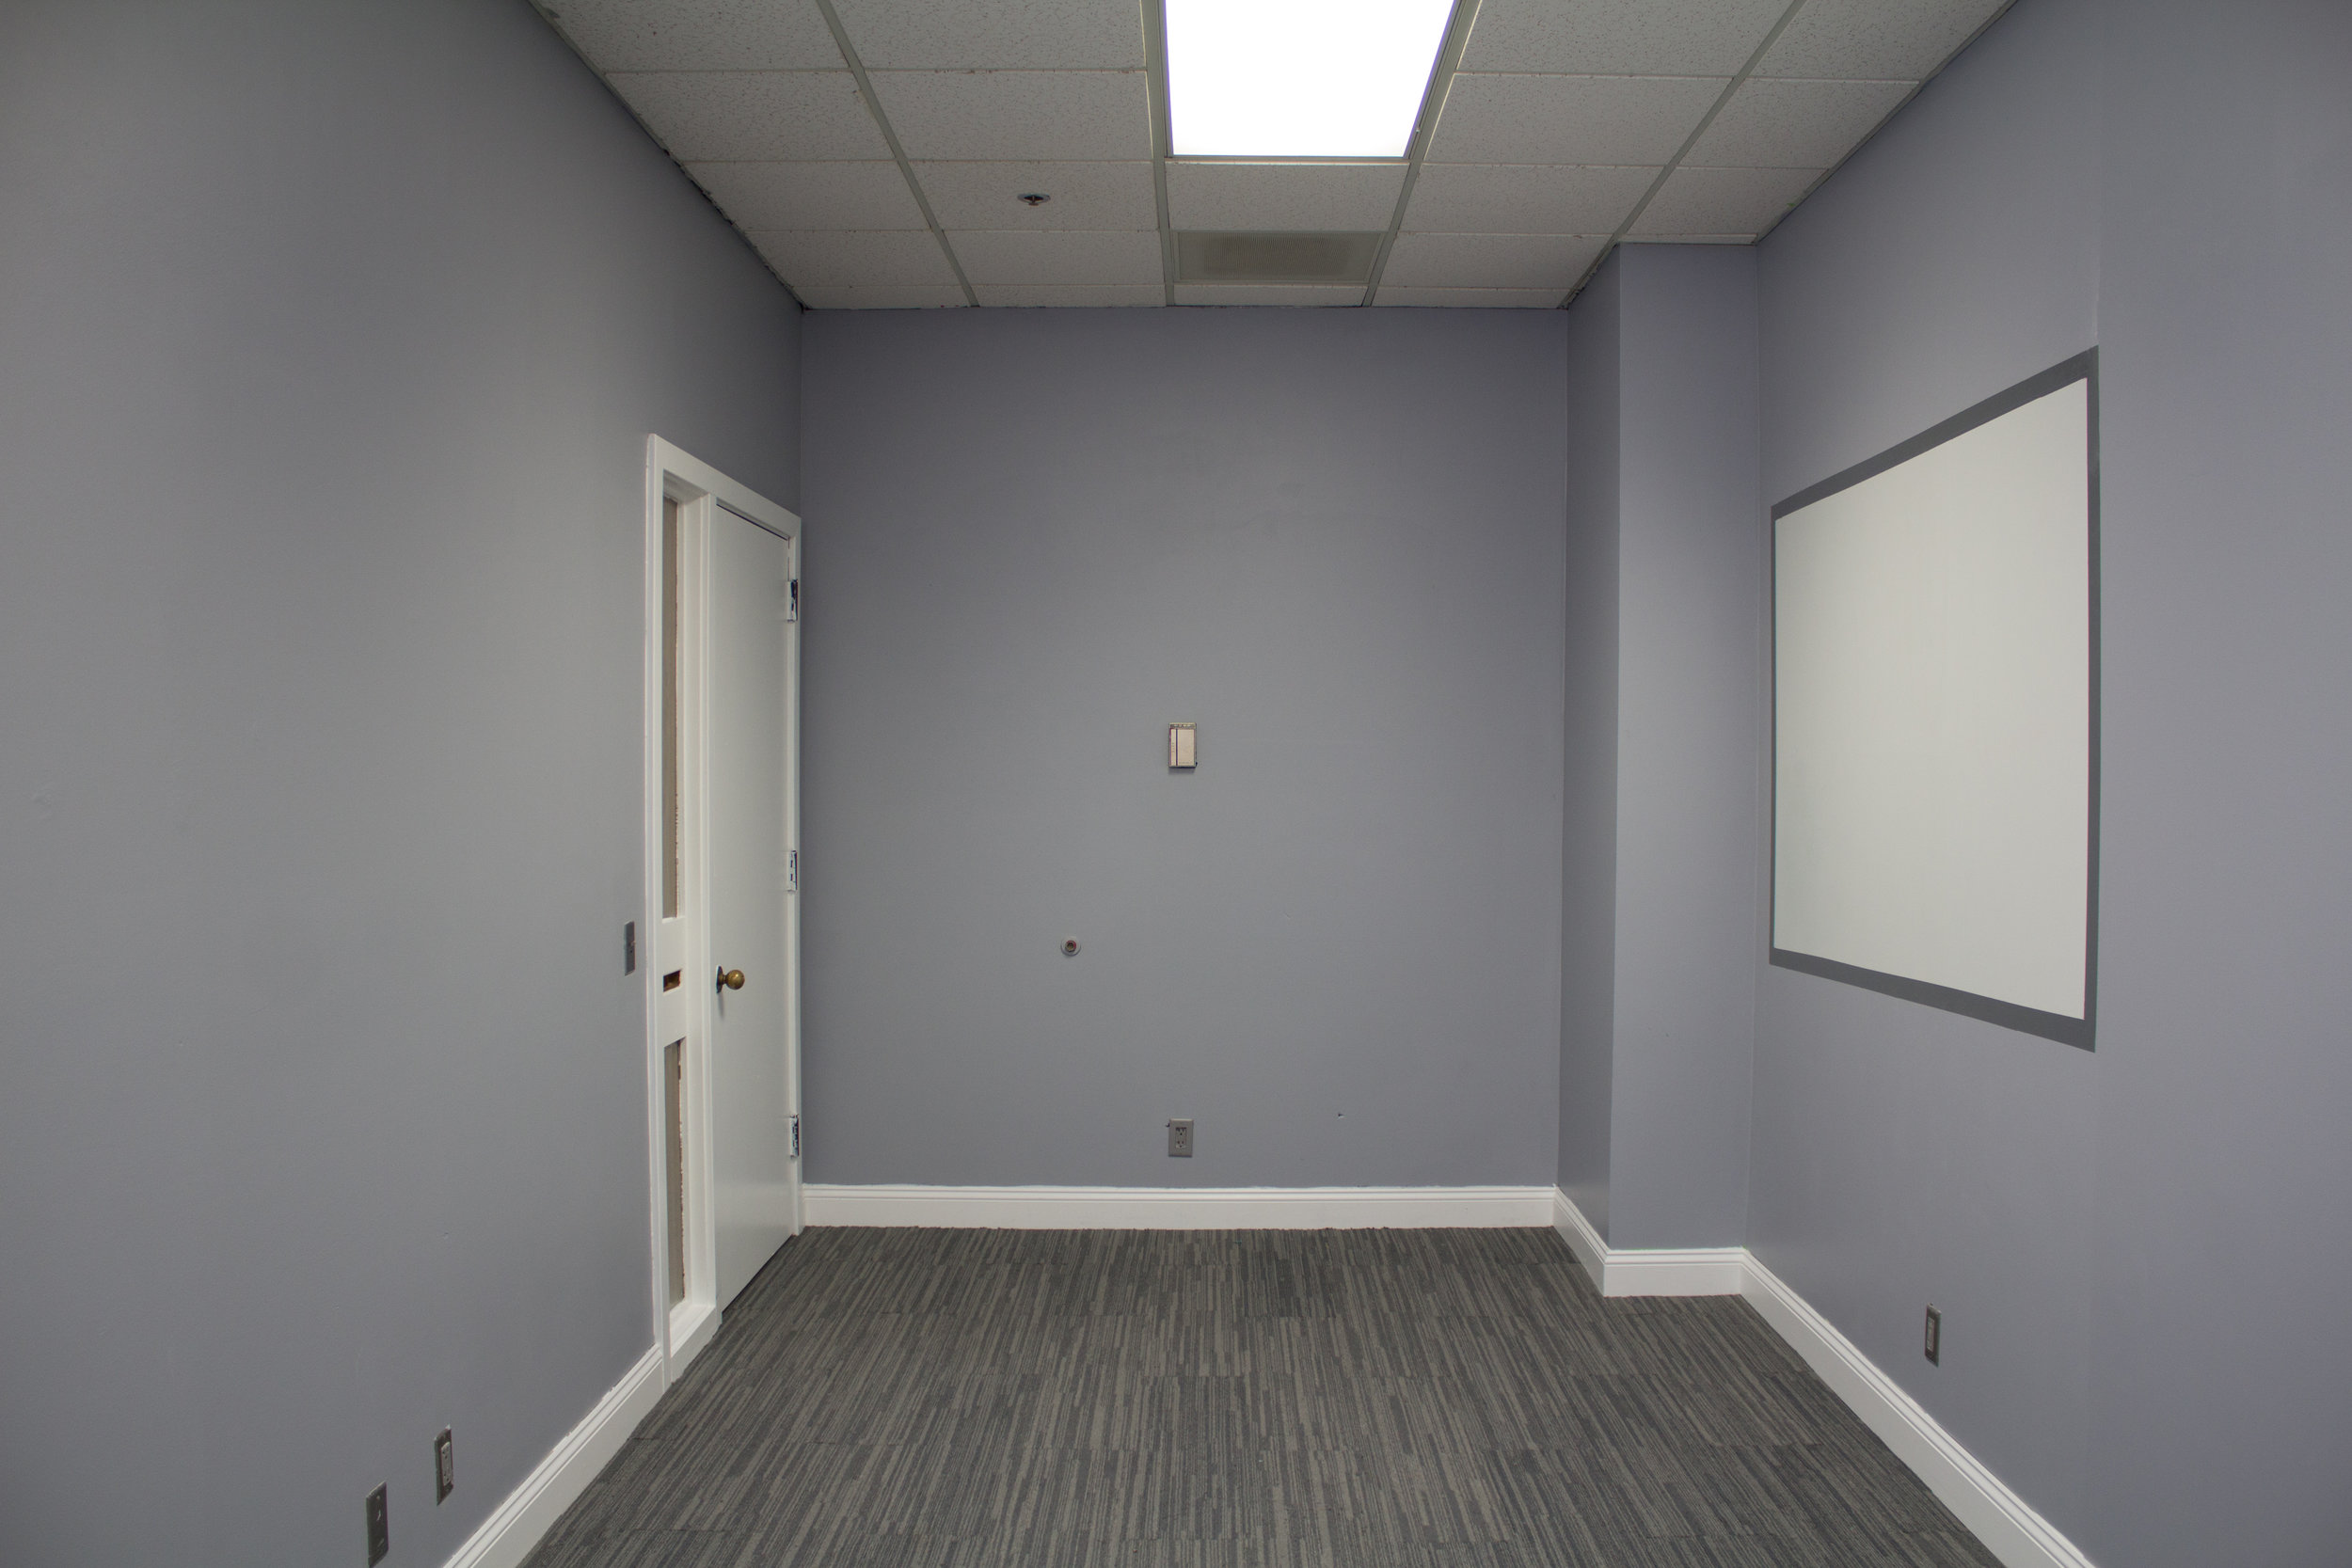
BEFORE
AFTER
TOOLS NEEDED:
-
Table Saw with a Finish Blade
STEP 1 – MEASURE & PLAN
The first thing you need to do is measure your wall to figure out the desired width of your wood planks. I printed off a picture of the room and sketched the wood planks on the wall like I envisioned them in my head. I knew I wanted approximately 6 planks side by side on the main wall with a 1/8″ gap between each plank.
I’m about to throw a lot of math at you so bear with me for a second. This is how we figured out the width for each wood plank:
With 6 panels side by side, we counted the number of vertical 1/8″ gaps that we would have between each panel (in our case we have 5 plus 2 in each corner…so 7 total). We multiplied 7 x 1/8″ = 7/8″. Then we took the width of the wall (in our case 94″) minus 7/8″ (the gaps). Then we took that number and divided it by the number of panels I wanted side by side (in our case 6 on the main wall) and that new number is the width we needed for each panel (in our case that brought us to 15.52″ so we just rounded down to 15.5″).
THE MATH
Width of wall (94″) – total width of all vertical gaps (7/8″) = X (93 1/8″)
X (93 1/8″) ÷ number of planks side by side (6) = width of each plank (15.5″)
Did that make any sense or am I just talking to myself at this point?
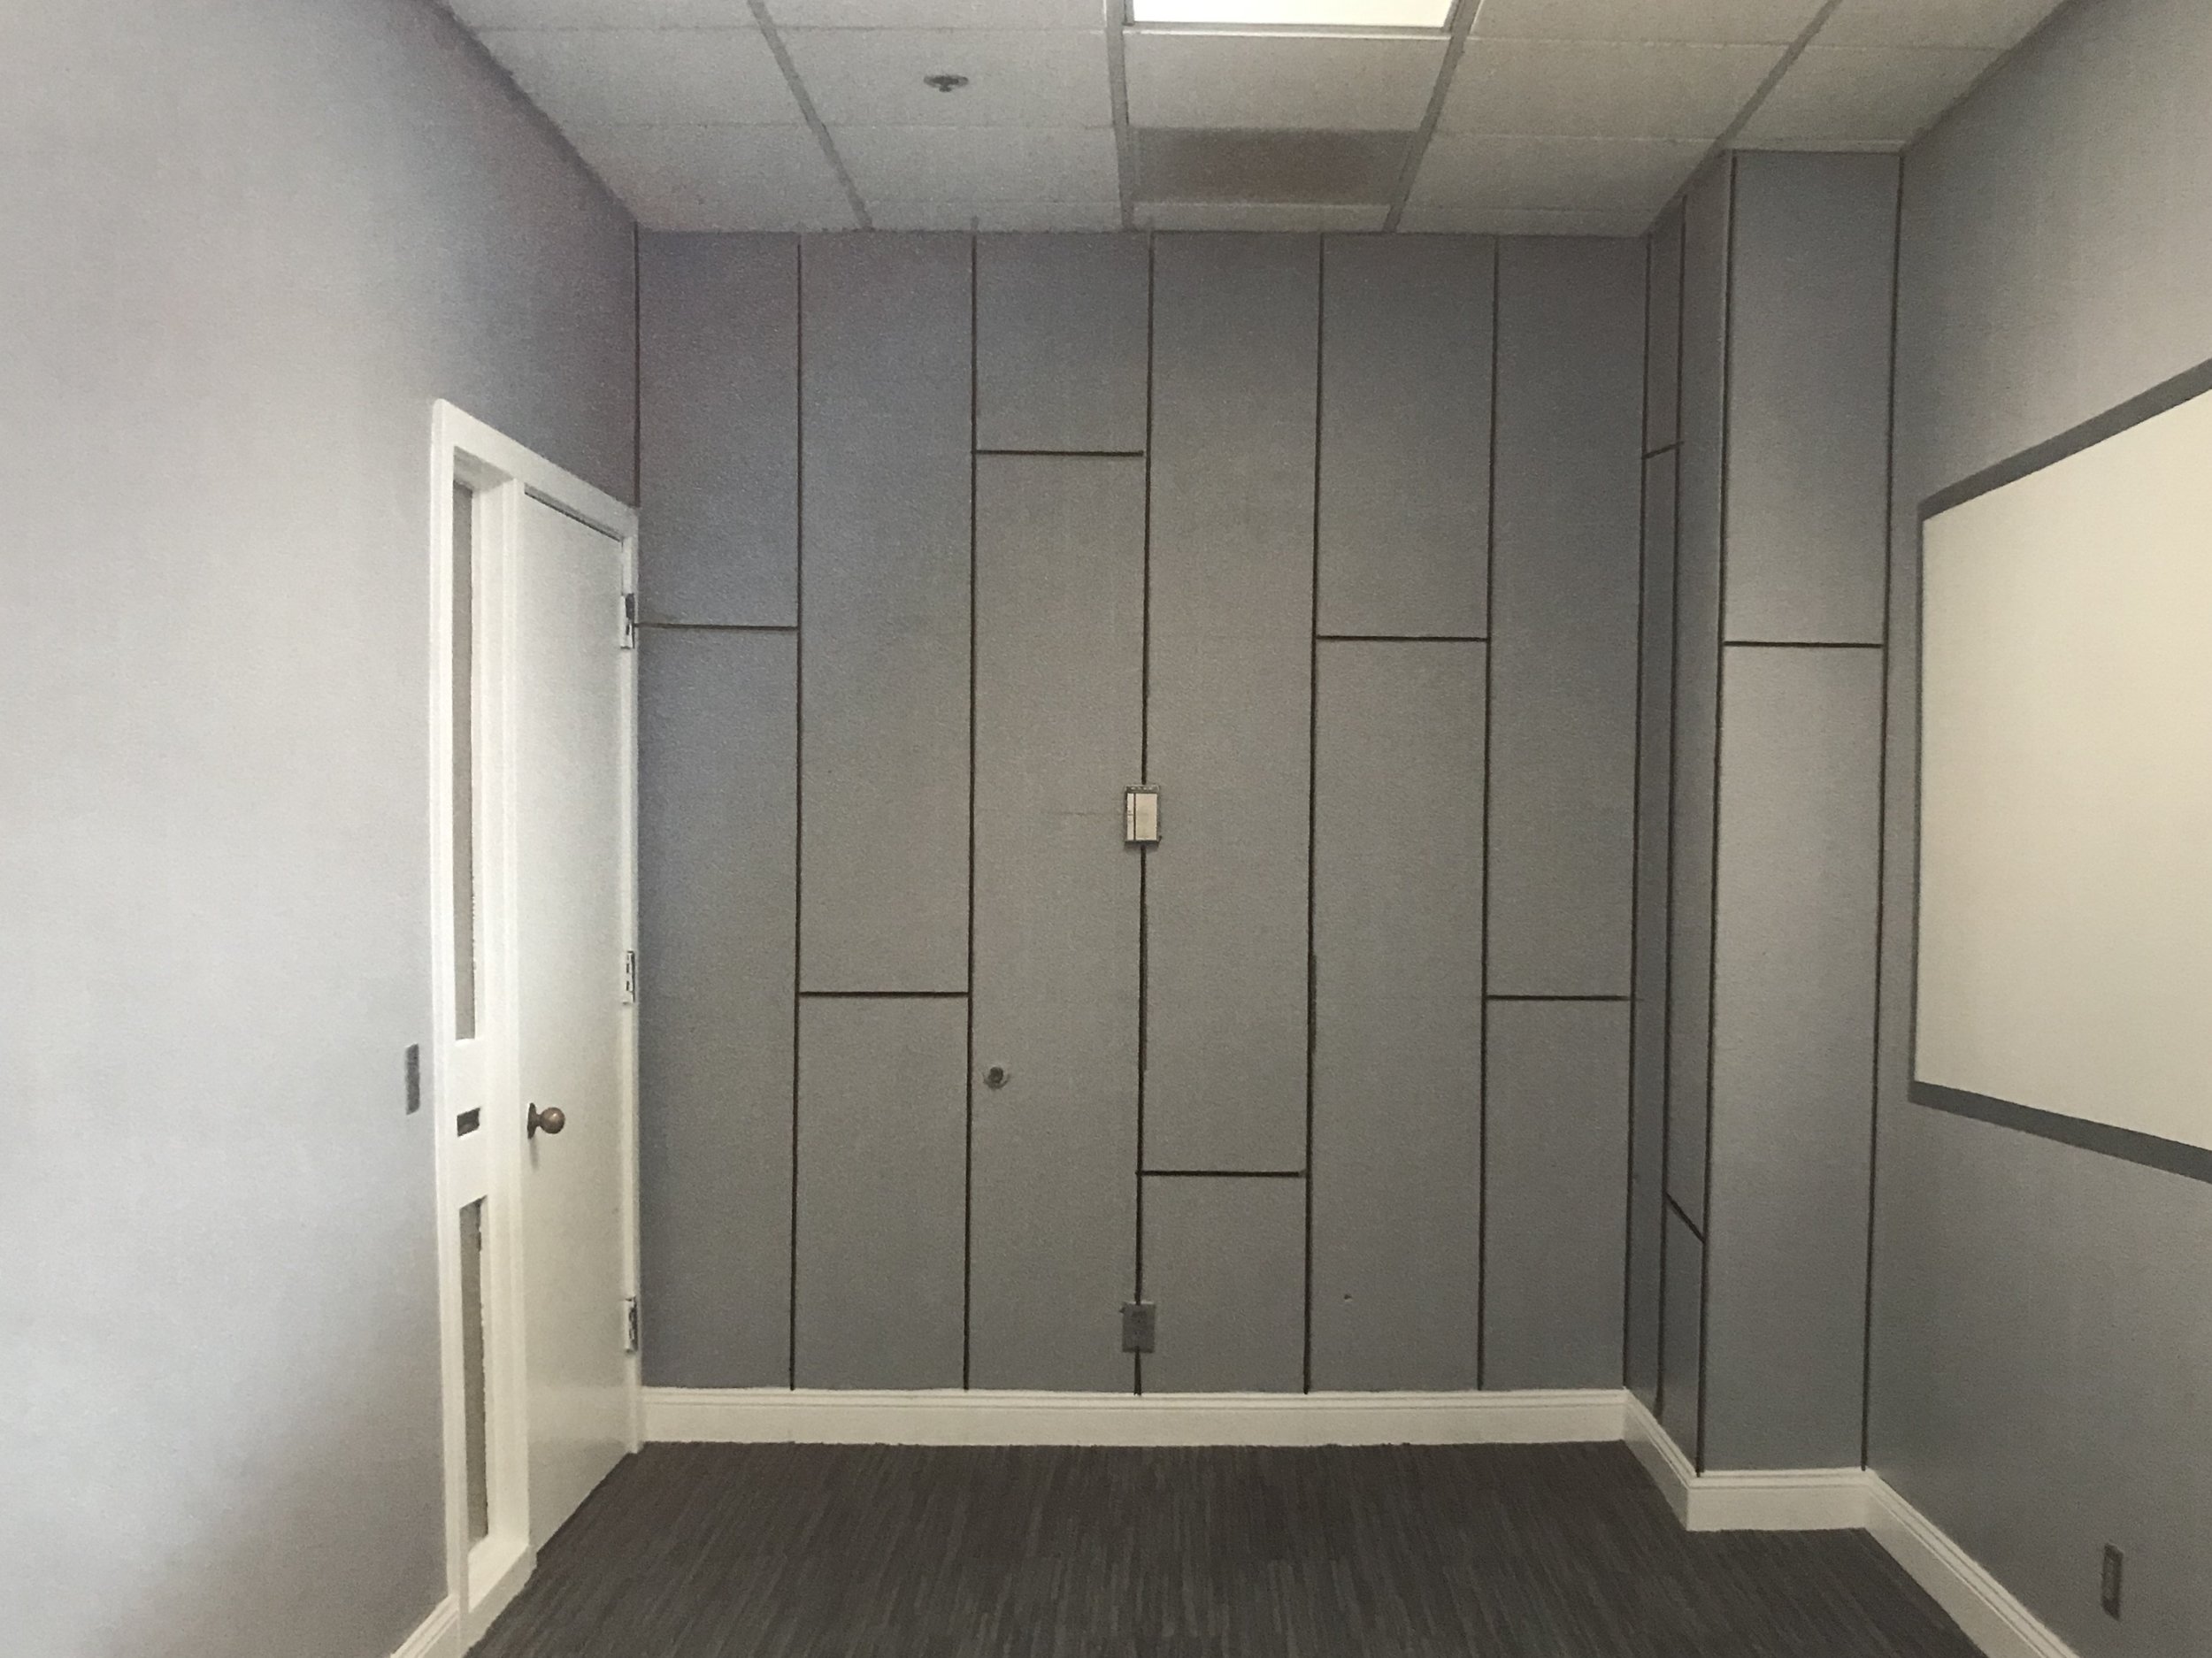
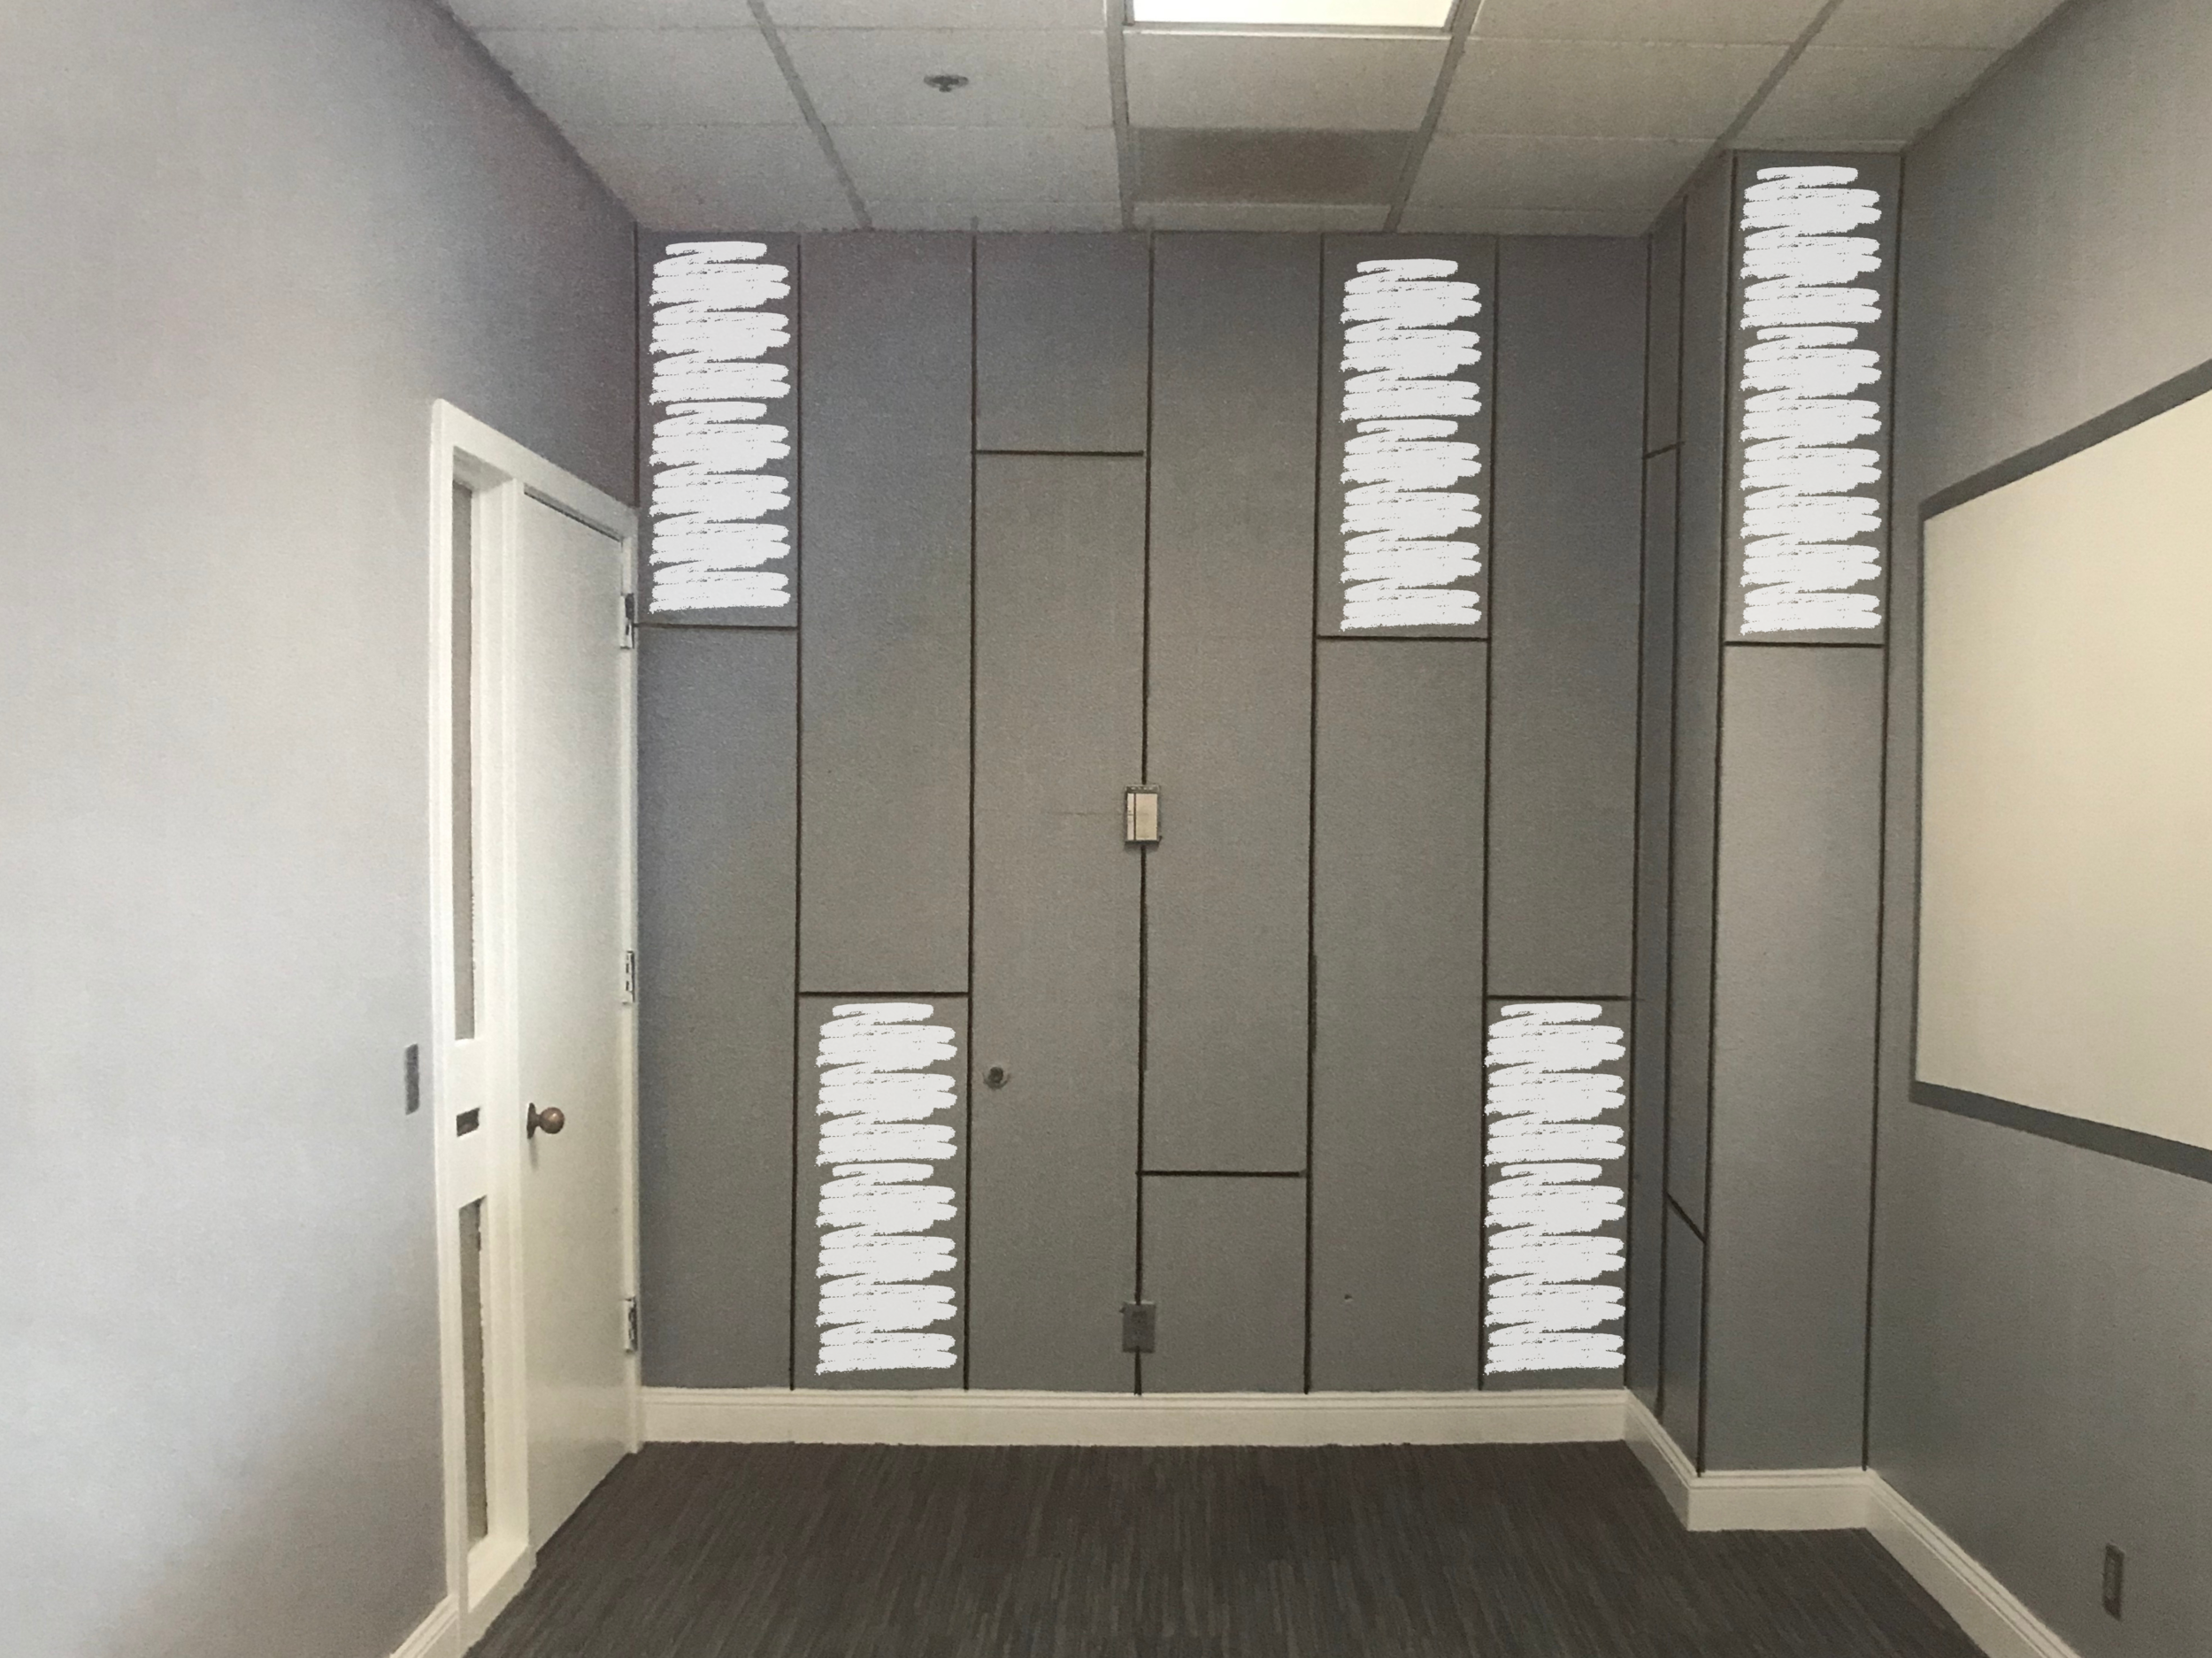
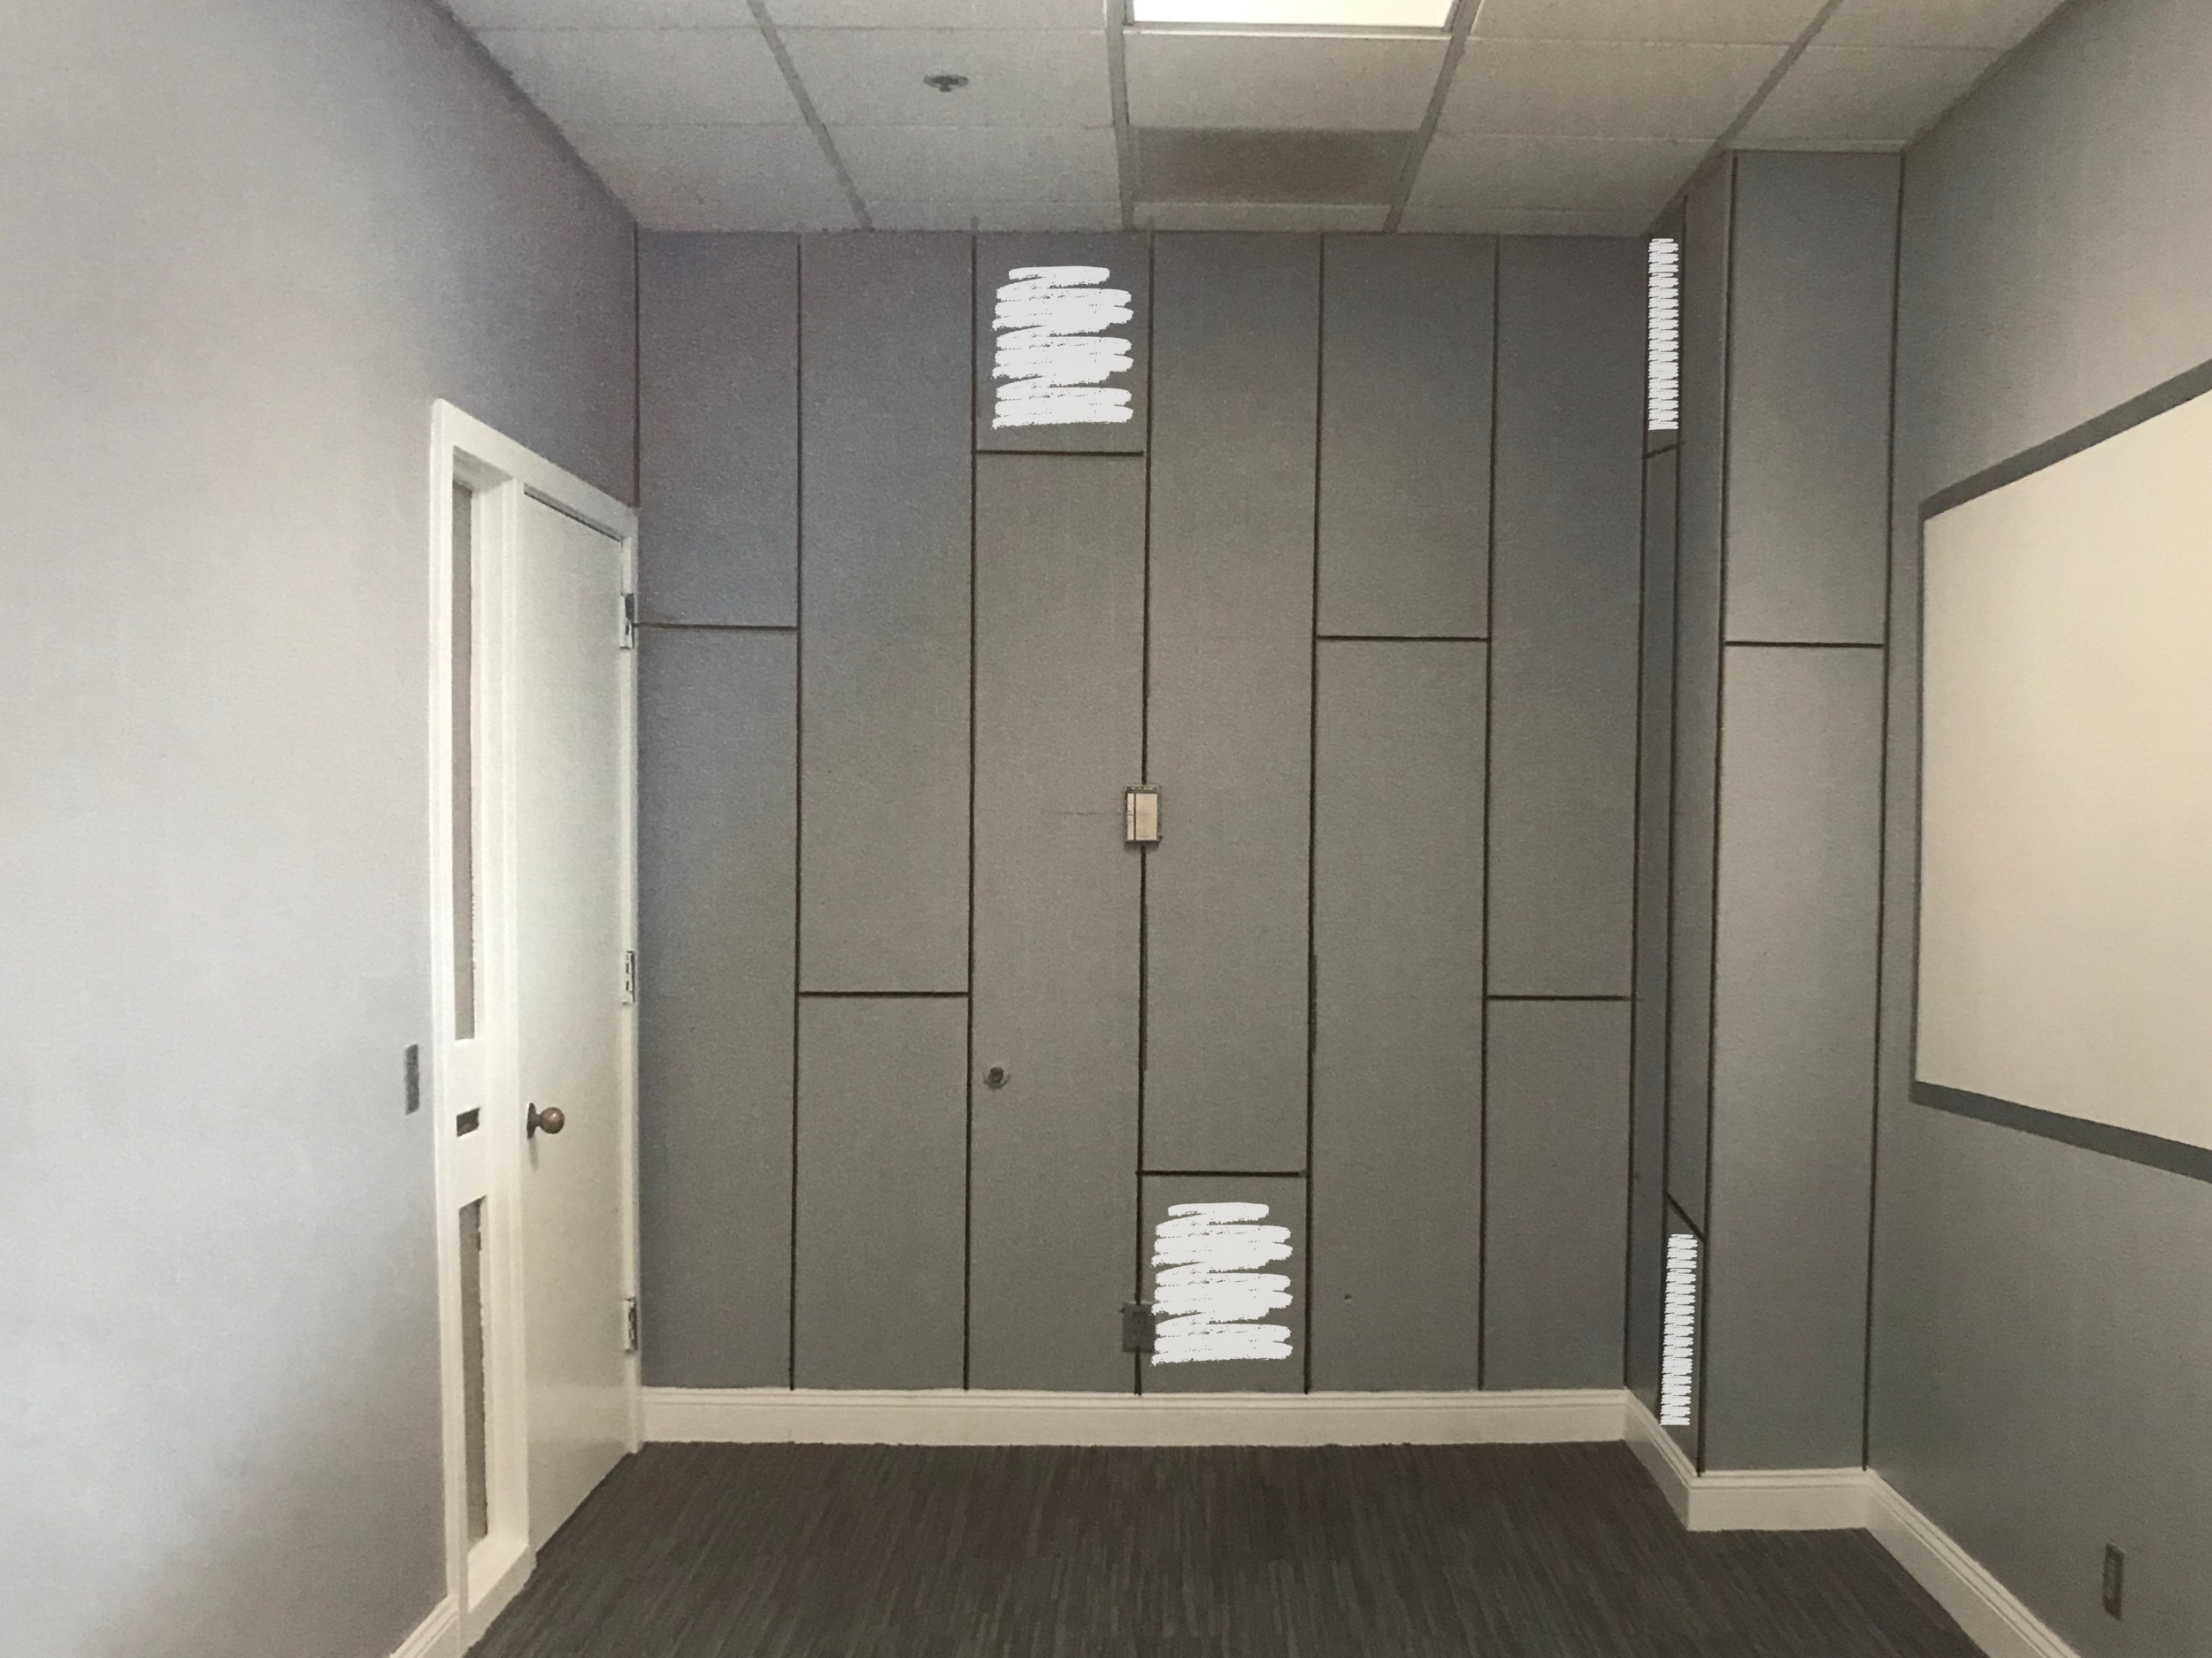
Once we figured out the width, I decided on the height of each panel. I didn’t want it to look too symmetrical and I tried to avoid stair stepping so I ended up using 4 different heights to create a staggered look.
5 panels that are each approx 36″ tall
5 panels that are each 72″ tall
4 panels that are each approx 18″ tall
4 panels that are each approx 90″ tall
All together, I calculated that we needed four 4’x8’ sheets of 1/4″ thick oak plywood. And with that, we completed the math portion of this project. Anyone else’s brain tired yet? Just me?? Ok cool…
STEP 2 – CUT 4′ x 8′ PLYWOOD SHEETS INTO STRIPS
To start, we cut all four plywood sheets length wise to the width we decided on. In our case we cut them at 15.5″ wide and got 3 panels out of each 4’x8’ sheet.
STEP 3 – CUT THE STRIPS INTO SECTIONS
Next, we cut each panel strip into the sections. Using the heights that I calculated previously, we cut each section down to the right length.
TIP: Use painter’s tape when cutting your plywood into sections to keep your wood from splintering. Your cuts will look more professional and clean.
In the end, we had 4 groups of panels separated by height as shown in the image below.
STEP 4 – NAIL PANELS ONTO THE WALL
As you can see we painted the walls & trim black before putting the panels up. Love the bold color choice!
Now, this is the fun part – using your brad nailer, an air compressor, and 18 gauge brad nails, nail the panels onto the wall starting from the center of the wall and working out towards the corners. Be sure to include that 1/8″ gap between each panel.
TIP: Find a piece of wood or an object that is 1/8″ thick to use as a spacer. Then you can be sure you’re getting the distance right every time!
STEP 5 – WOOD FILL THE HOLES
Using a putty knife, fill in each hole with wood filler and allow them to dry.
STEP 5 – SAND & APPLY POLYCRYLIC
Using a fine grit sanding block, give the panels a good sanding (especially over the wood filler spots) before applying the finish.
Once smooth, apply an even coat of Polycrylic with a foam brush. You’ll want to keep an eye out for drips since the finish is pretty liquidy at first. (Liquidy is totally a word right?)
Let it dry for at least 2 hours and then give it another good sanding with the sanding block. Wipe it clean and apply a second coat of Poly. You could repeat this step and apply a third coat but I decided to only apply 2 coats since the plywood won’t get a lot of wear on the wall.
DONE!
We are so happy with how this plywood accent wall turned out and we can’t wait to finish the look with artwork, tapestries, decor, and more!
UPDATE: We have since finished the studio space and shared the full reveal! Check it out here.
Leave a Reply Cancel reply
DO YOU WANT
The Inside Scoop
Where behind the scenes, exclusive advice, and candid conversations are sent straight to your inbox every week.




Hi
Looks very sharp !!
Question in relation to a new build i am doing – how would you get on if you wanted to paint the ply say a grey shade. I am thinking to pant the framing black in the areas that are needed. Then hang the ply in the sizes / pattern that you wish. But then how to paint he ply ? I guess you would need to tape the black framing ( so know the tape width in advance ) and then paint the ply edges and front.
Alternatively we could paint the taped off ply edges in black as well before hanging and then tape off the all of the black before filling nail holes, sanding and then spraying the ply fronts……..
What do you reckon ? 🙂
We’re doing a few full rooms with plywood.. Could you put finish on before putting on the wall?
Definitely! That’d be a much easier route if you plan on using a brad nailer to attach it to the wall.
I enjooyed reading this
Beautiful,,how much,and is it soundproof
How can i stick plywood on concrete wall?
I haven’t done this myself but perhaps liquid nails would work if you plan on the plywood being permanent?
What plywood are you using? what thicknesS?
We used 1/4" thick oak plywood. I linked everything we used at the top of this post!
I love this transformation! Thank you for all the detailed steps 🙂 My one question though is where the air compressor comes in? I’ve never used one before and can’t tell what part of the process it’s necessary for. Thanks!
Hi Clare! The air compressor is necessary to use the brad nail gun. 🙂
ah ha! Thanks so much for letting me know 🙂