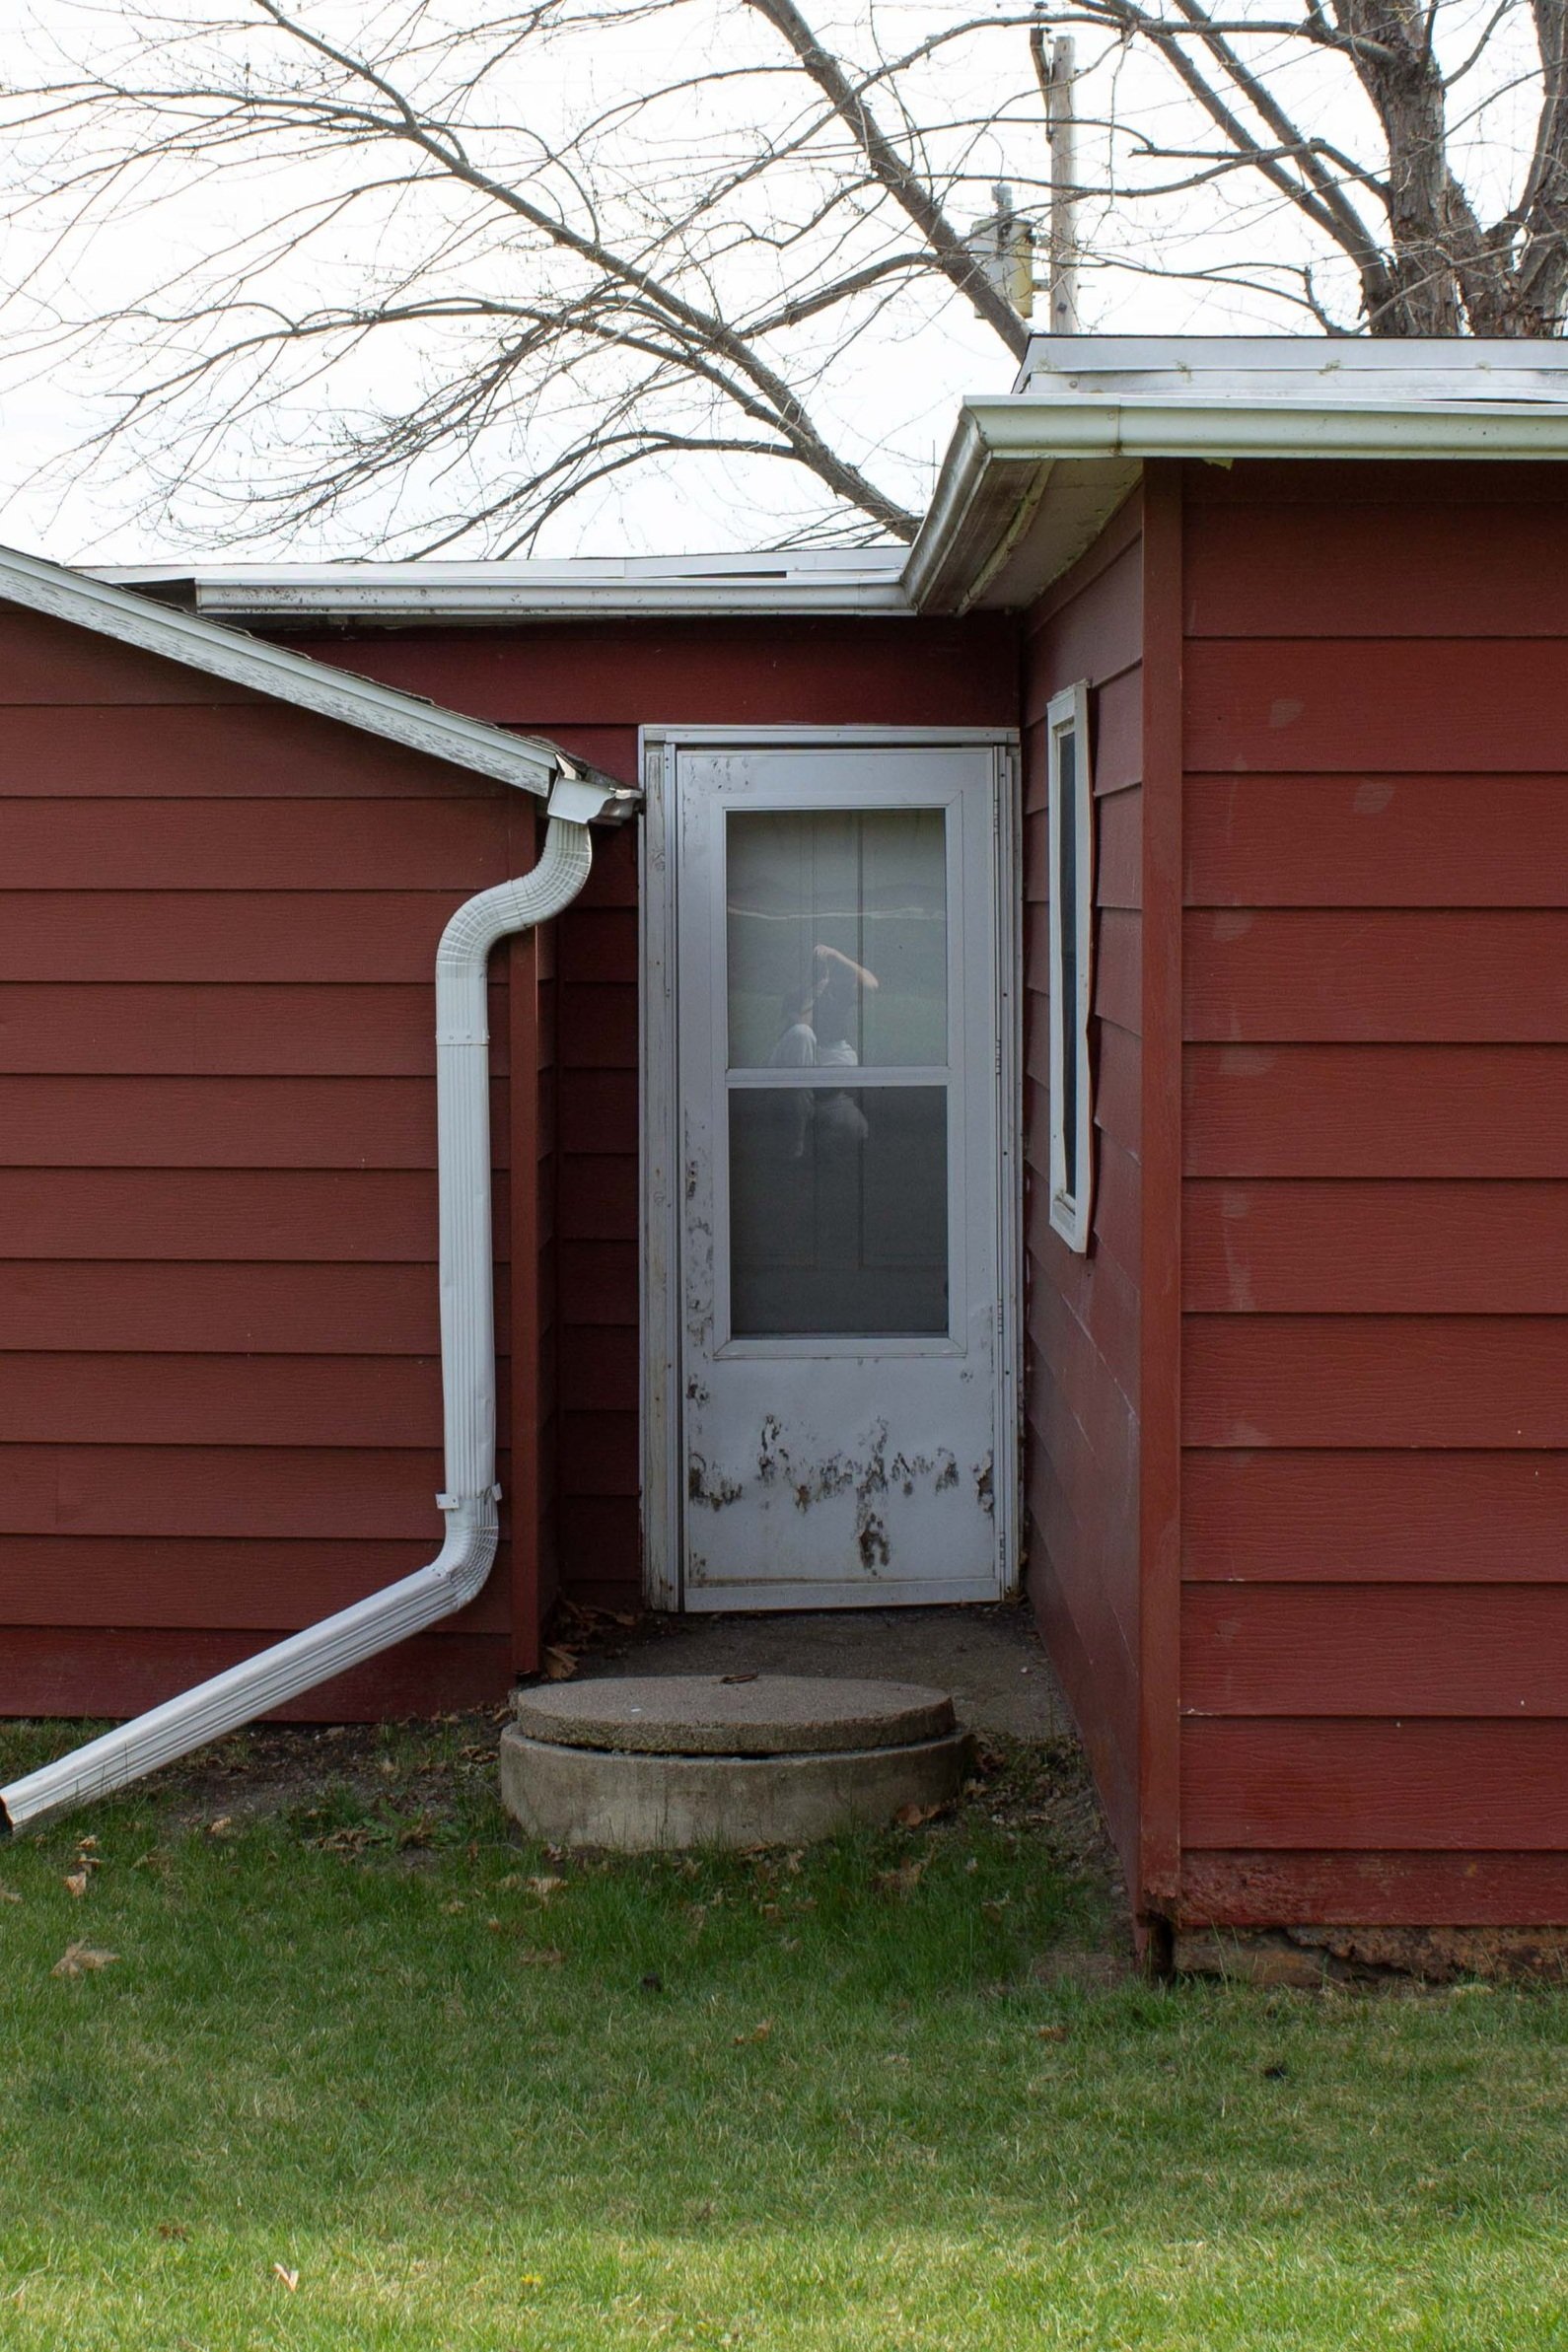
Before, Before
Also Before
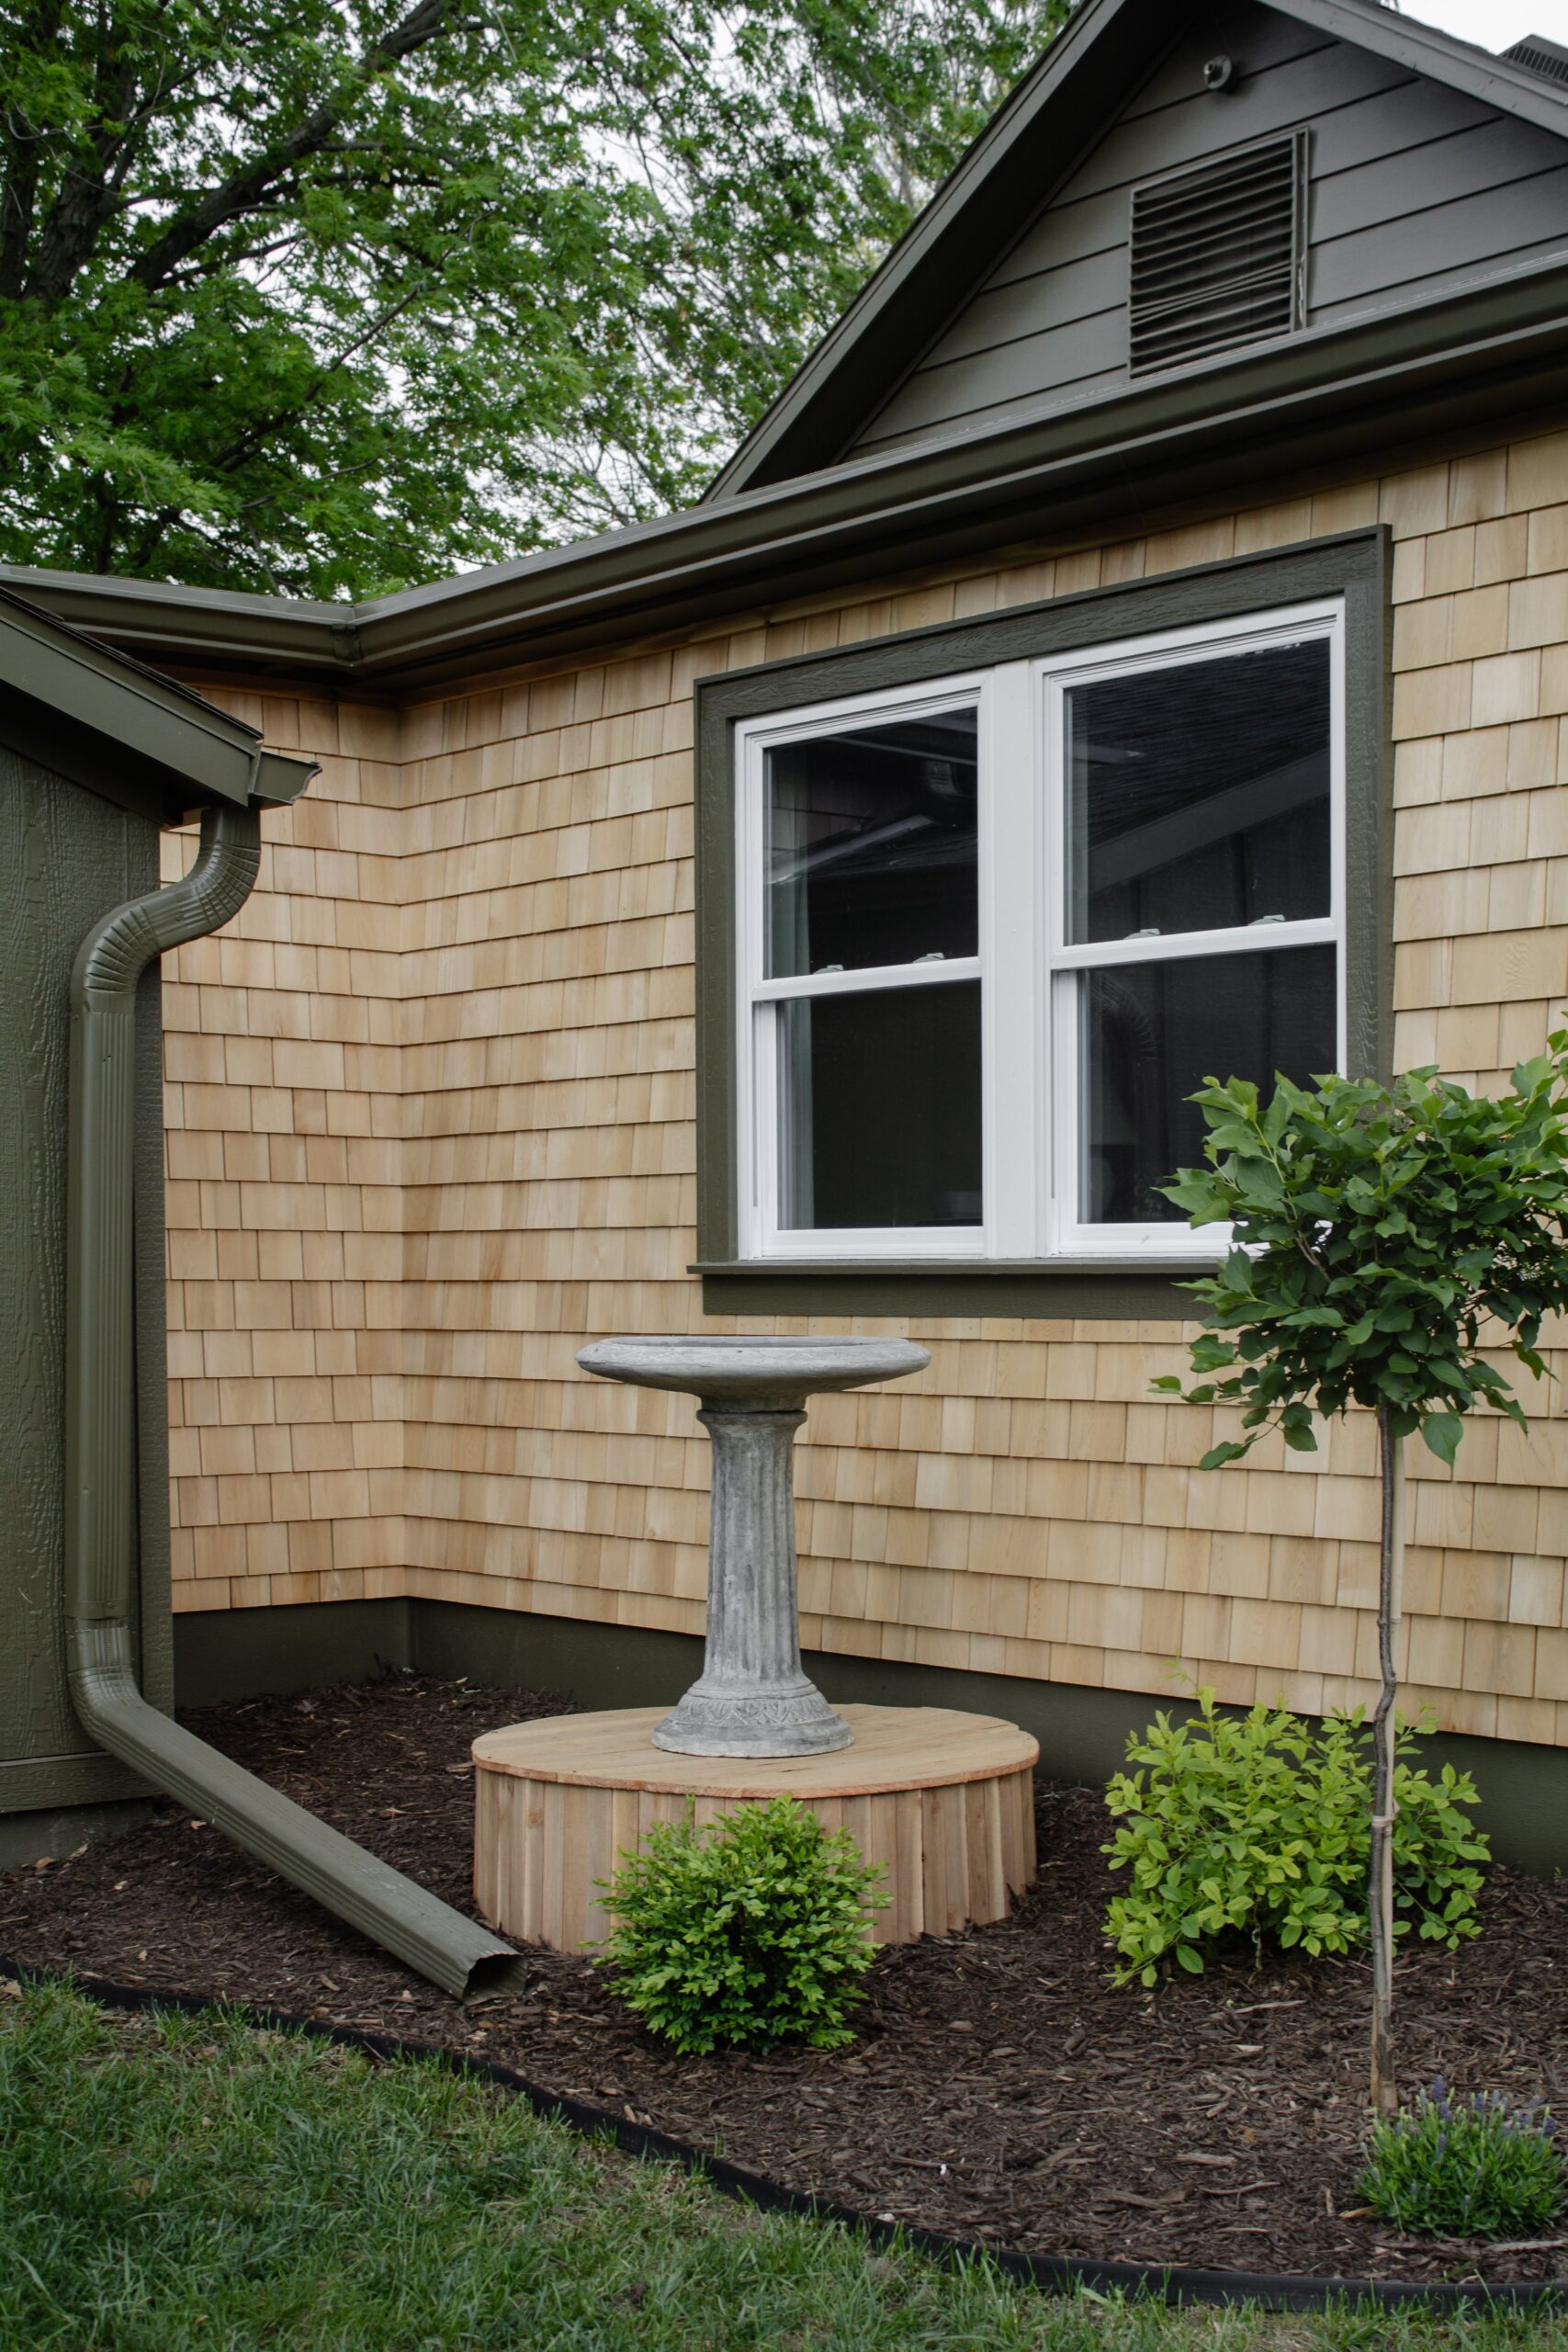
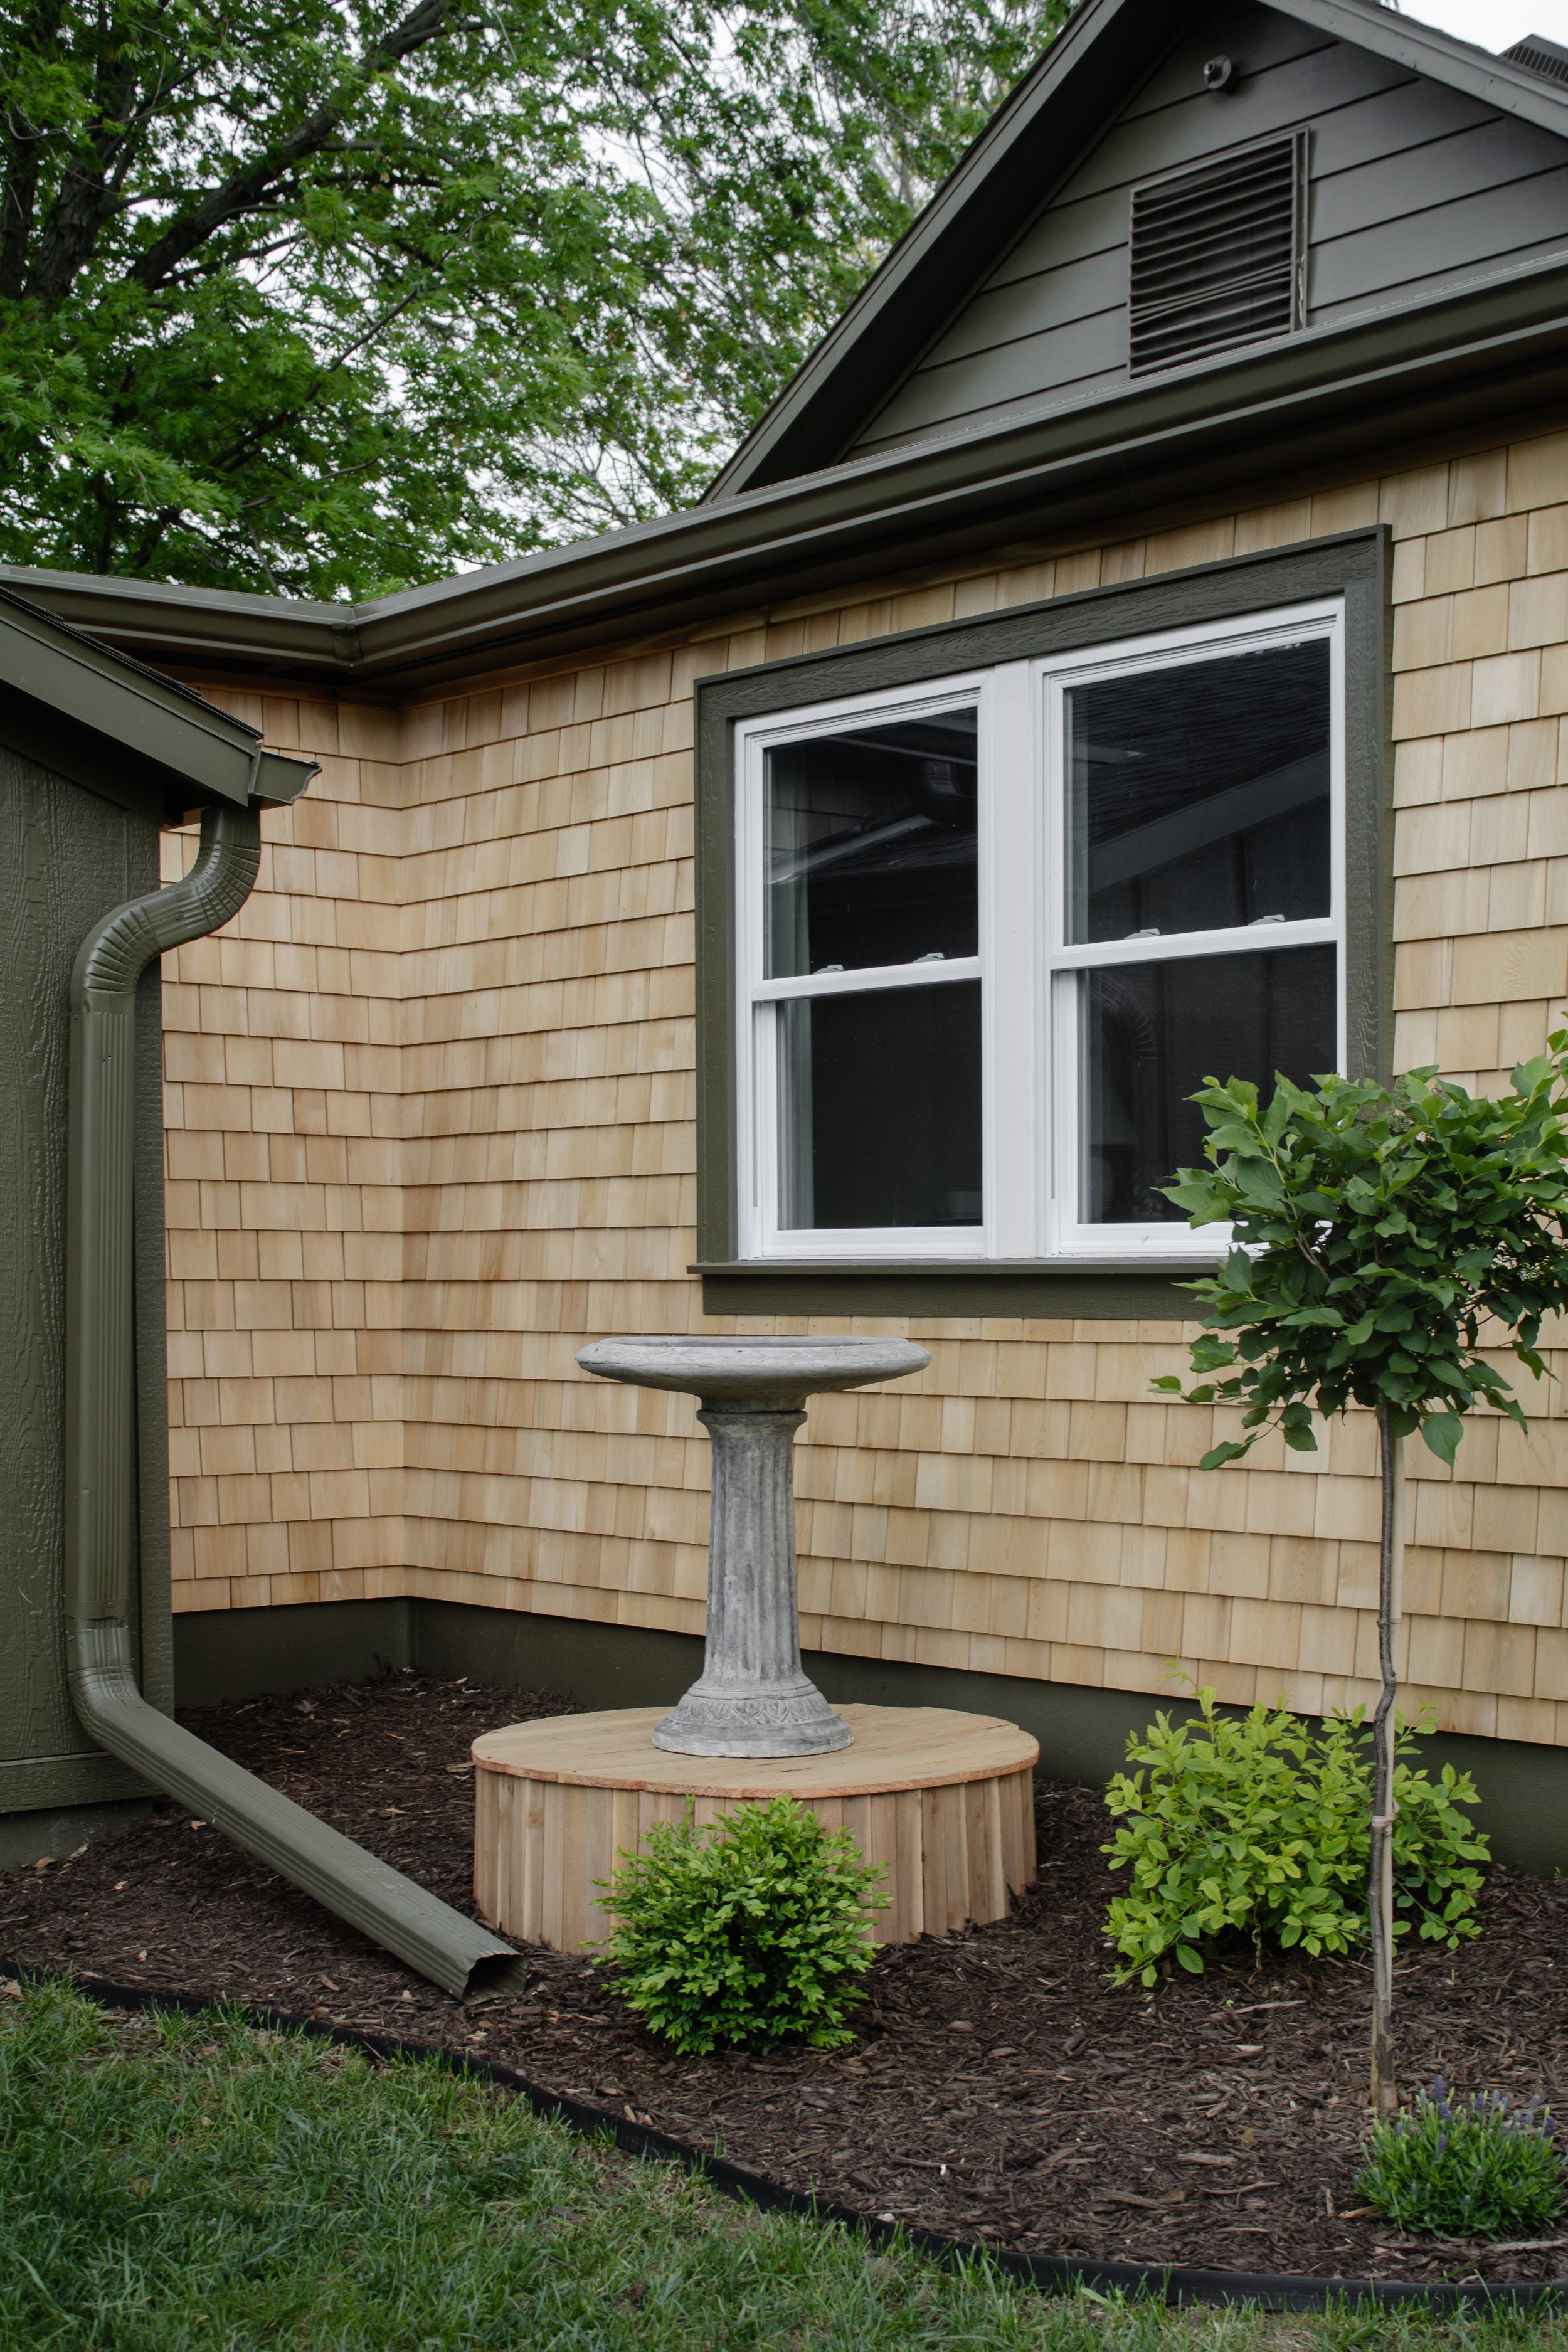
After
We have an unused well in our backyard and it’s always been an eyesore. Previously it sat in the path of what used to be our back door. But once we closed that entrance off, added landscaping, and resided this portion of our house (posted a full reveal last week btw), it now sits directly in the middle of our new landscaping.
I wasn’t planning on sharing how we disguise the well, but when I mentioned it on Instagram I was so surprised by how many people who also have wells they want to hide. So a tutorial you shall receive!
(If you want to watch a tutorial for this instead, click here.)
THE LID
I used 5.5” x 6’ cedar fence boards for this project. A much more cost efficient route than regular cedar lumber.
I measured the width of the well and added a couple inches to account for the wood slat sides and an overhang. That brought mine to roughly 38” round.
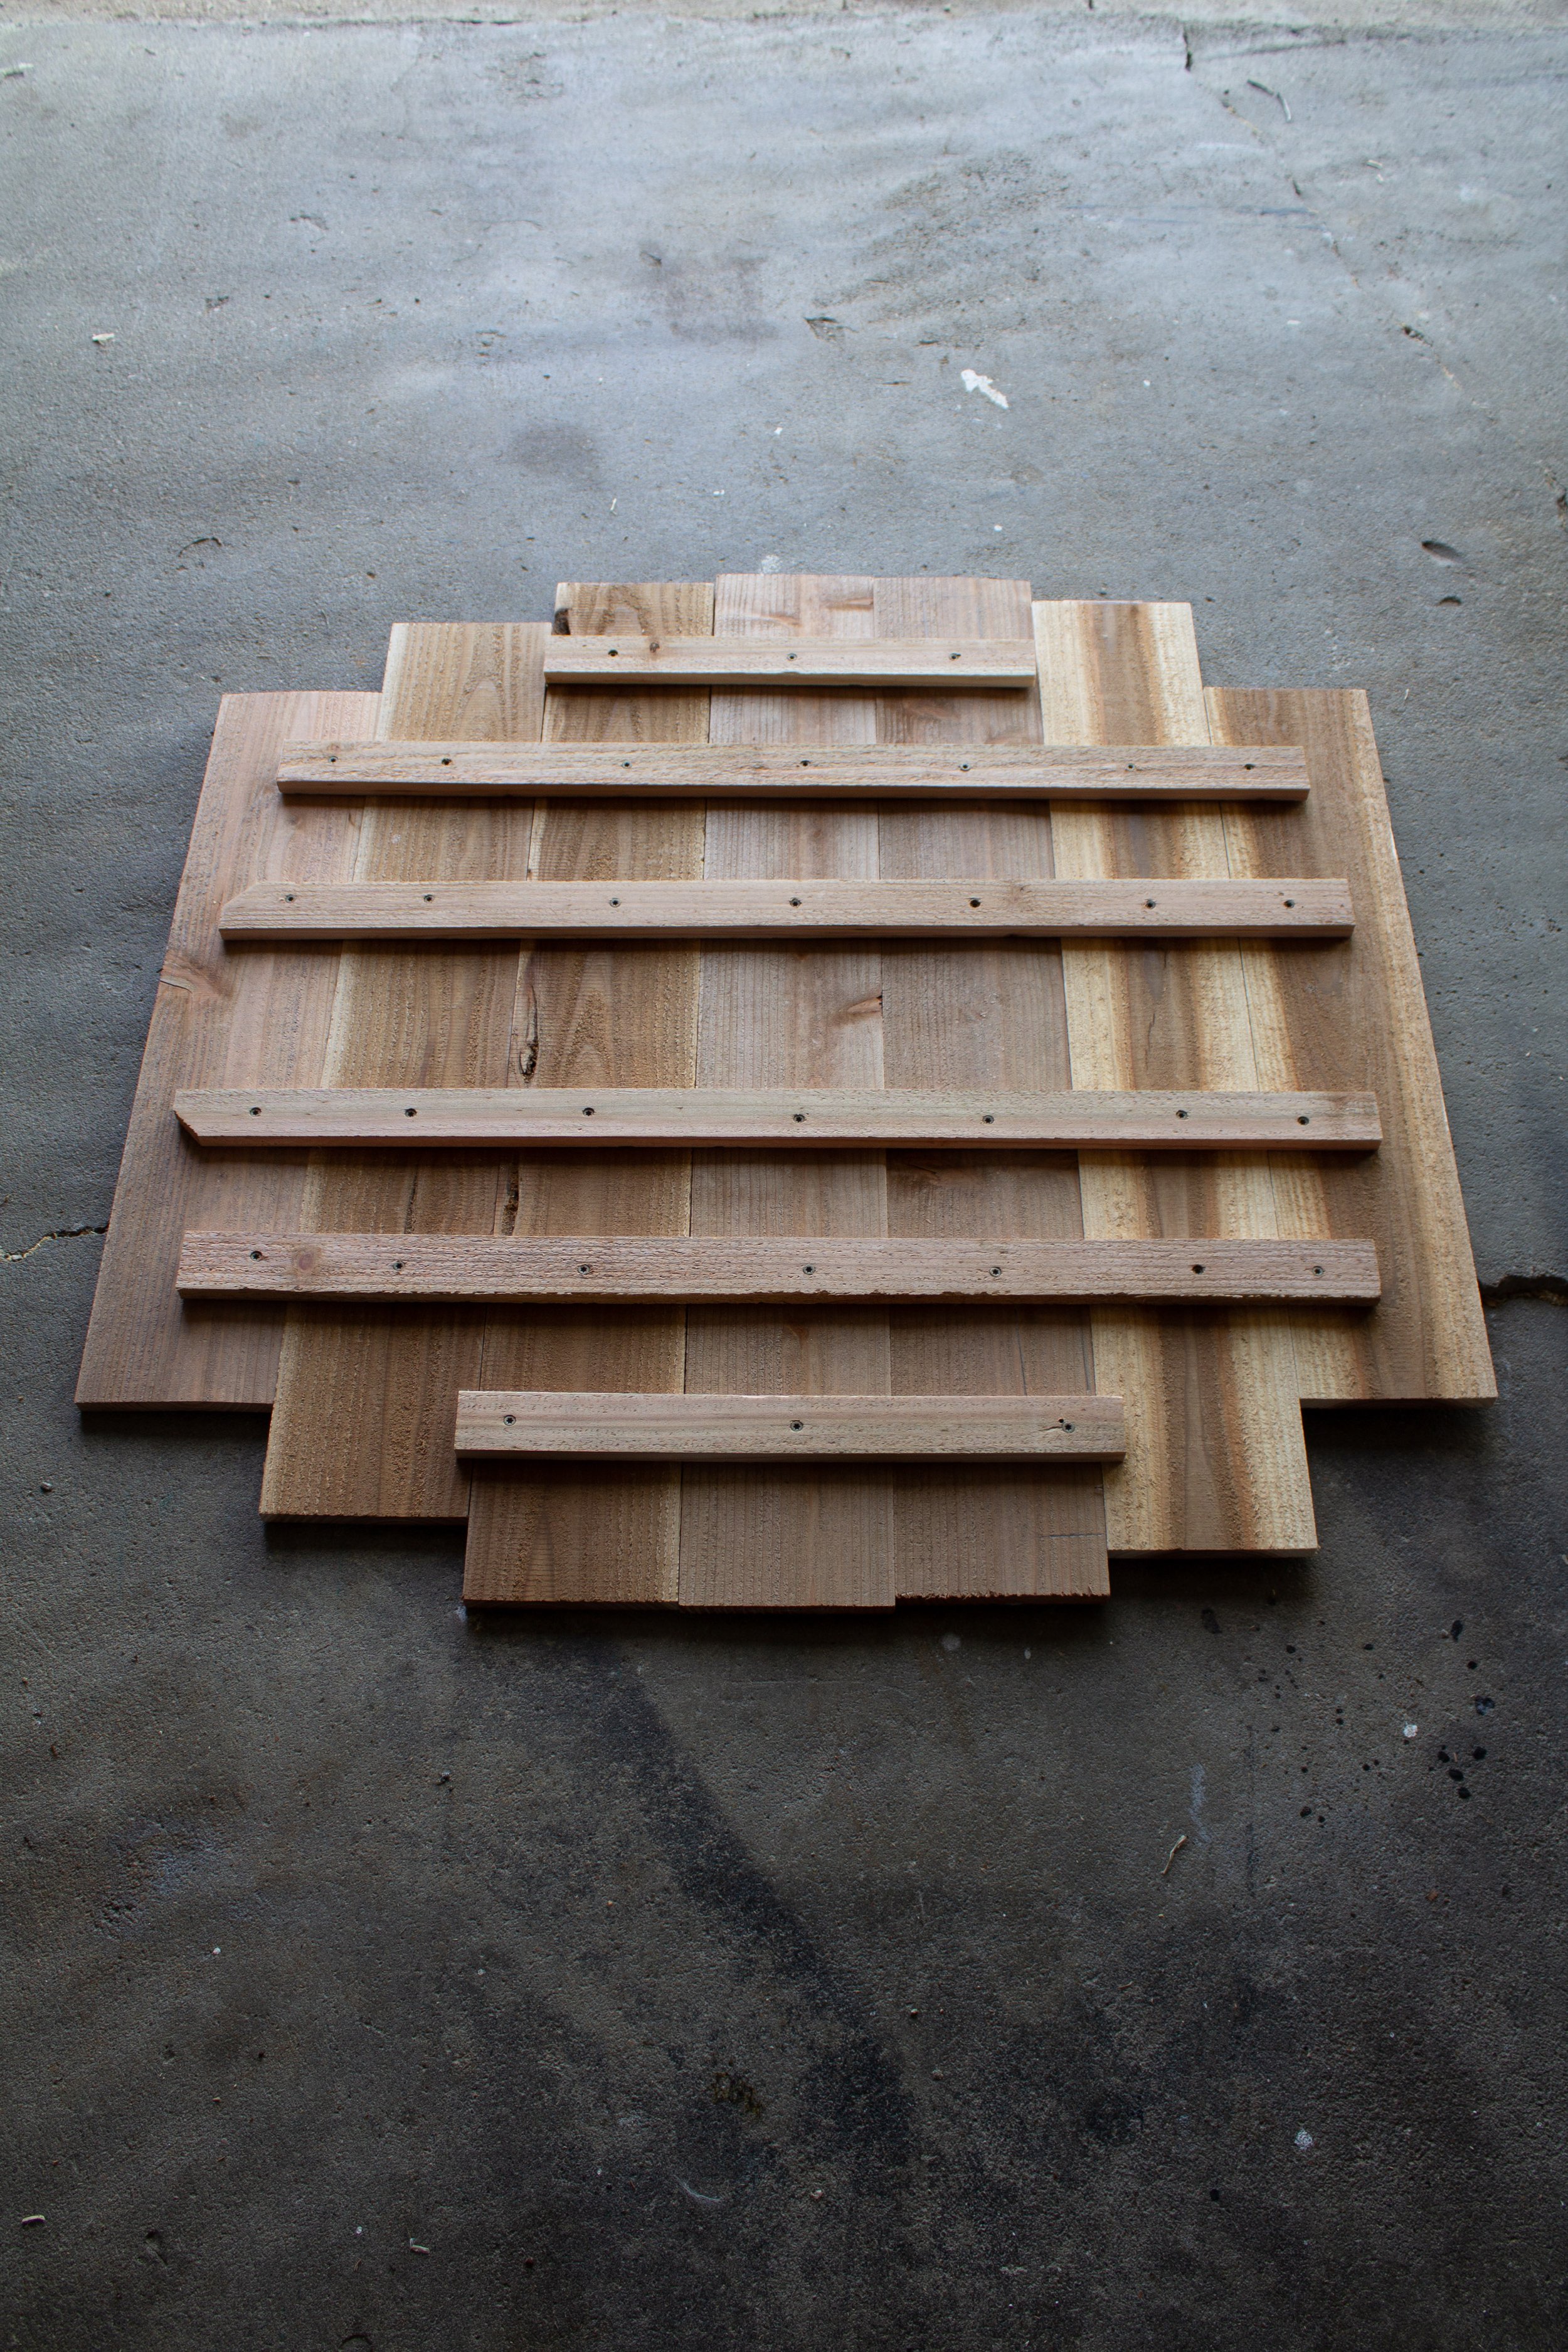
I cut 7 boards measuring in length from 38” (the center boards) to 33” (the side boards) and I ensured that the square was 38” long and wide at all points. If you want to make it easier on yourself, just cut all the boards at one length making a perfect square.
Then I flipped the boards upside down and added cross supports on the back side using 1.5” cedar wood strips. You’ll need lots of exterior screws to secure each board to the supports.
Once the boards were secured, I flipped it right side up and marked a 38” circle. (Your circle may be bigger or smaller depending on the size of your well.)
To do this, I found the center of the square and put a small screw in the center. Using some leftover yarn and a pencil, I made my own version of a compass pencil. I wrapped the yarn around the screw and pencil and tied it tight when the pencil reached the edge of my board – which was also the width of a 38” circle.
I cut out my circle using a jig saw and it turned out pretty good. But don’t worry if it’s not perfect, mine isn’t either.
THE BASE
For the base I chose to use vertical wood slats so that I could follow the curve of the well. I ripped down my 5.5” wide cedar fence boards into 3rds using my table saw, leaving me with roughly 1.75” x 6ft slats. And I cut those into a variety of lengths since our well sits on unlevel ground.
This next part took me about 2 hours to come up with a plan and I’m sure there’s a better way to do it, but this is how I attached the slats –
I wanted the cover to be removable in case we/future homeowners ever want to access the well. So starting from the back side, I cut a slat to the length I needed (long enough to slip under the cover and sit on the dirt). Then, I drilled a hole through the side of the slat and slipped an outdoor string through the hole. Then, I popped a couple of brad nails into the slat through the top of the cover. I repeated that until all the slats were on and I tied the string tight in the back. The nails secure the top of the slats from moving around, and the string (once tied tight) should keep the bottom of the slats from bowing in and out.
TIP: Cut your string MUCH longer than the circumfrence of the well to ensure you don’t run short. Also, wrap a piece of tape around the end of the string (the side that you’ll run through each slat) and use a small pin or needle to push the string through.
Like I mentioned above, once I got all the slats on, I tied the string in the back to secure it.
And that’s all! I plan on leaving the wood natural so that it’ll gray with time…just like our cedar shingles. No well eyesore anymore and now we get to watch birds out the window..win win!
Leave a Reply Cancel reply
Where behind the scenes, exclusive advice, and candid conversations are sent straight to your inbox every week.




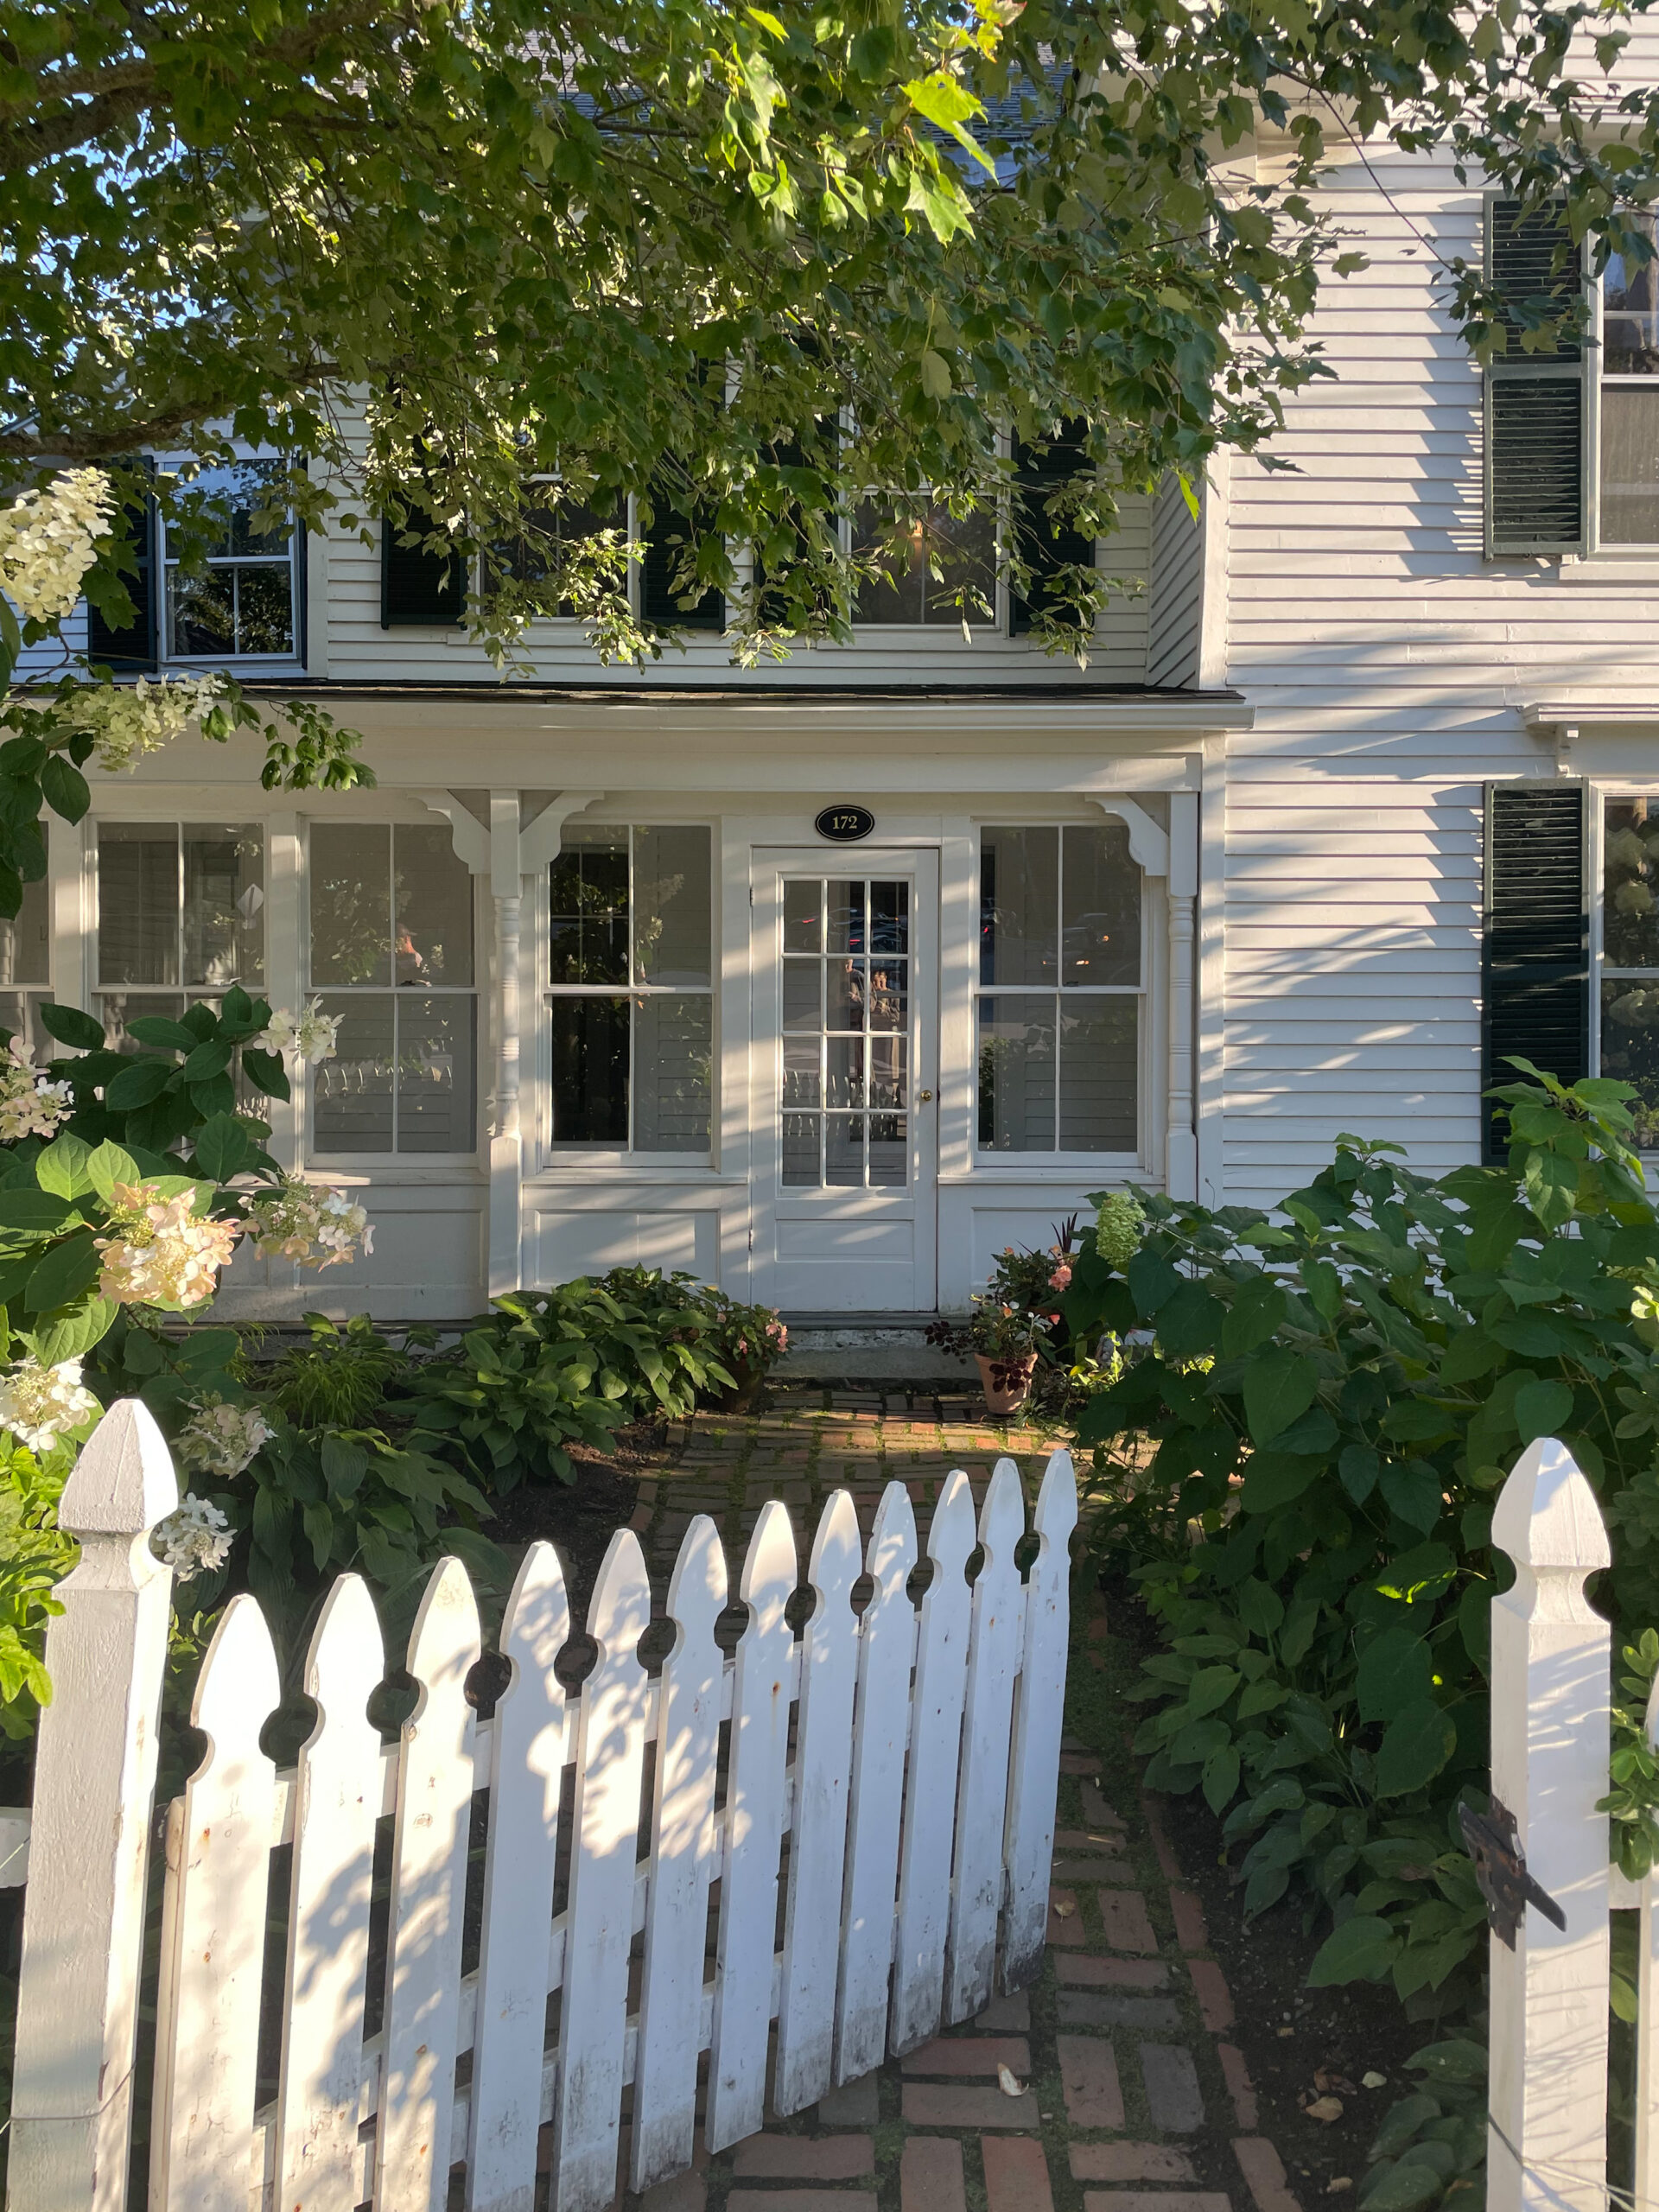
What is the exterior color of the house?
It’s called Muddled Basil by Sherwin Williams!
This is so good!!! It looks like it was always a pretty spot in your yard now! Love it! 💗
🙂 Thank you Jessica!!
This looks so good!! — your landscaping and your well cover! Very well done!!!
🙂 Thank you thank you!!