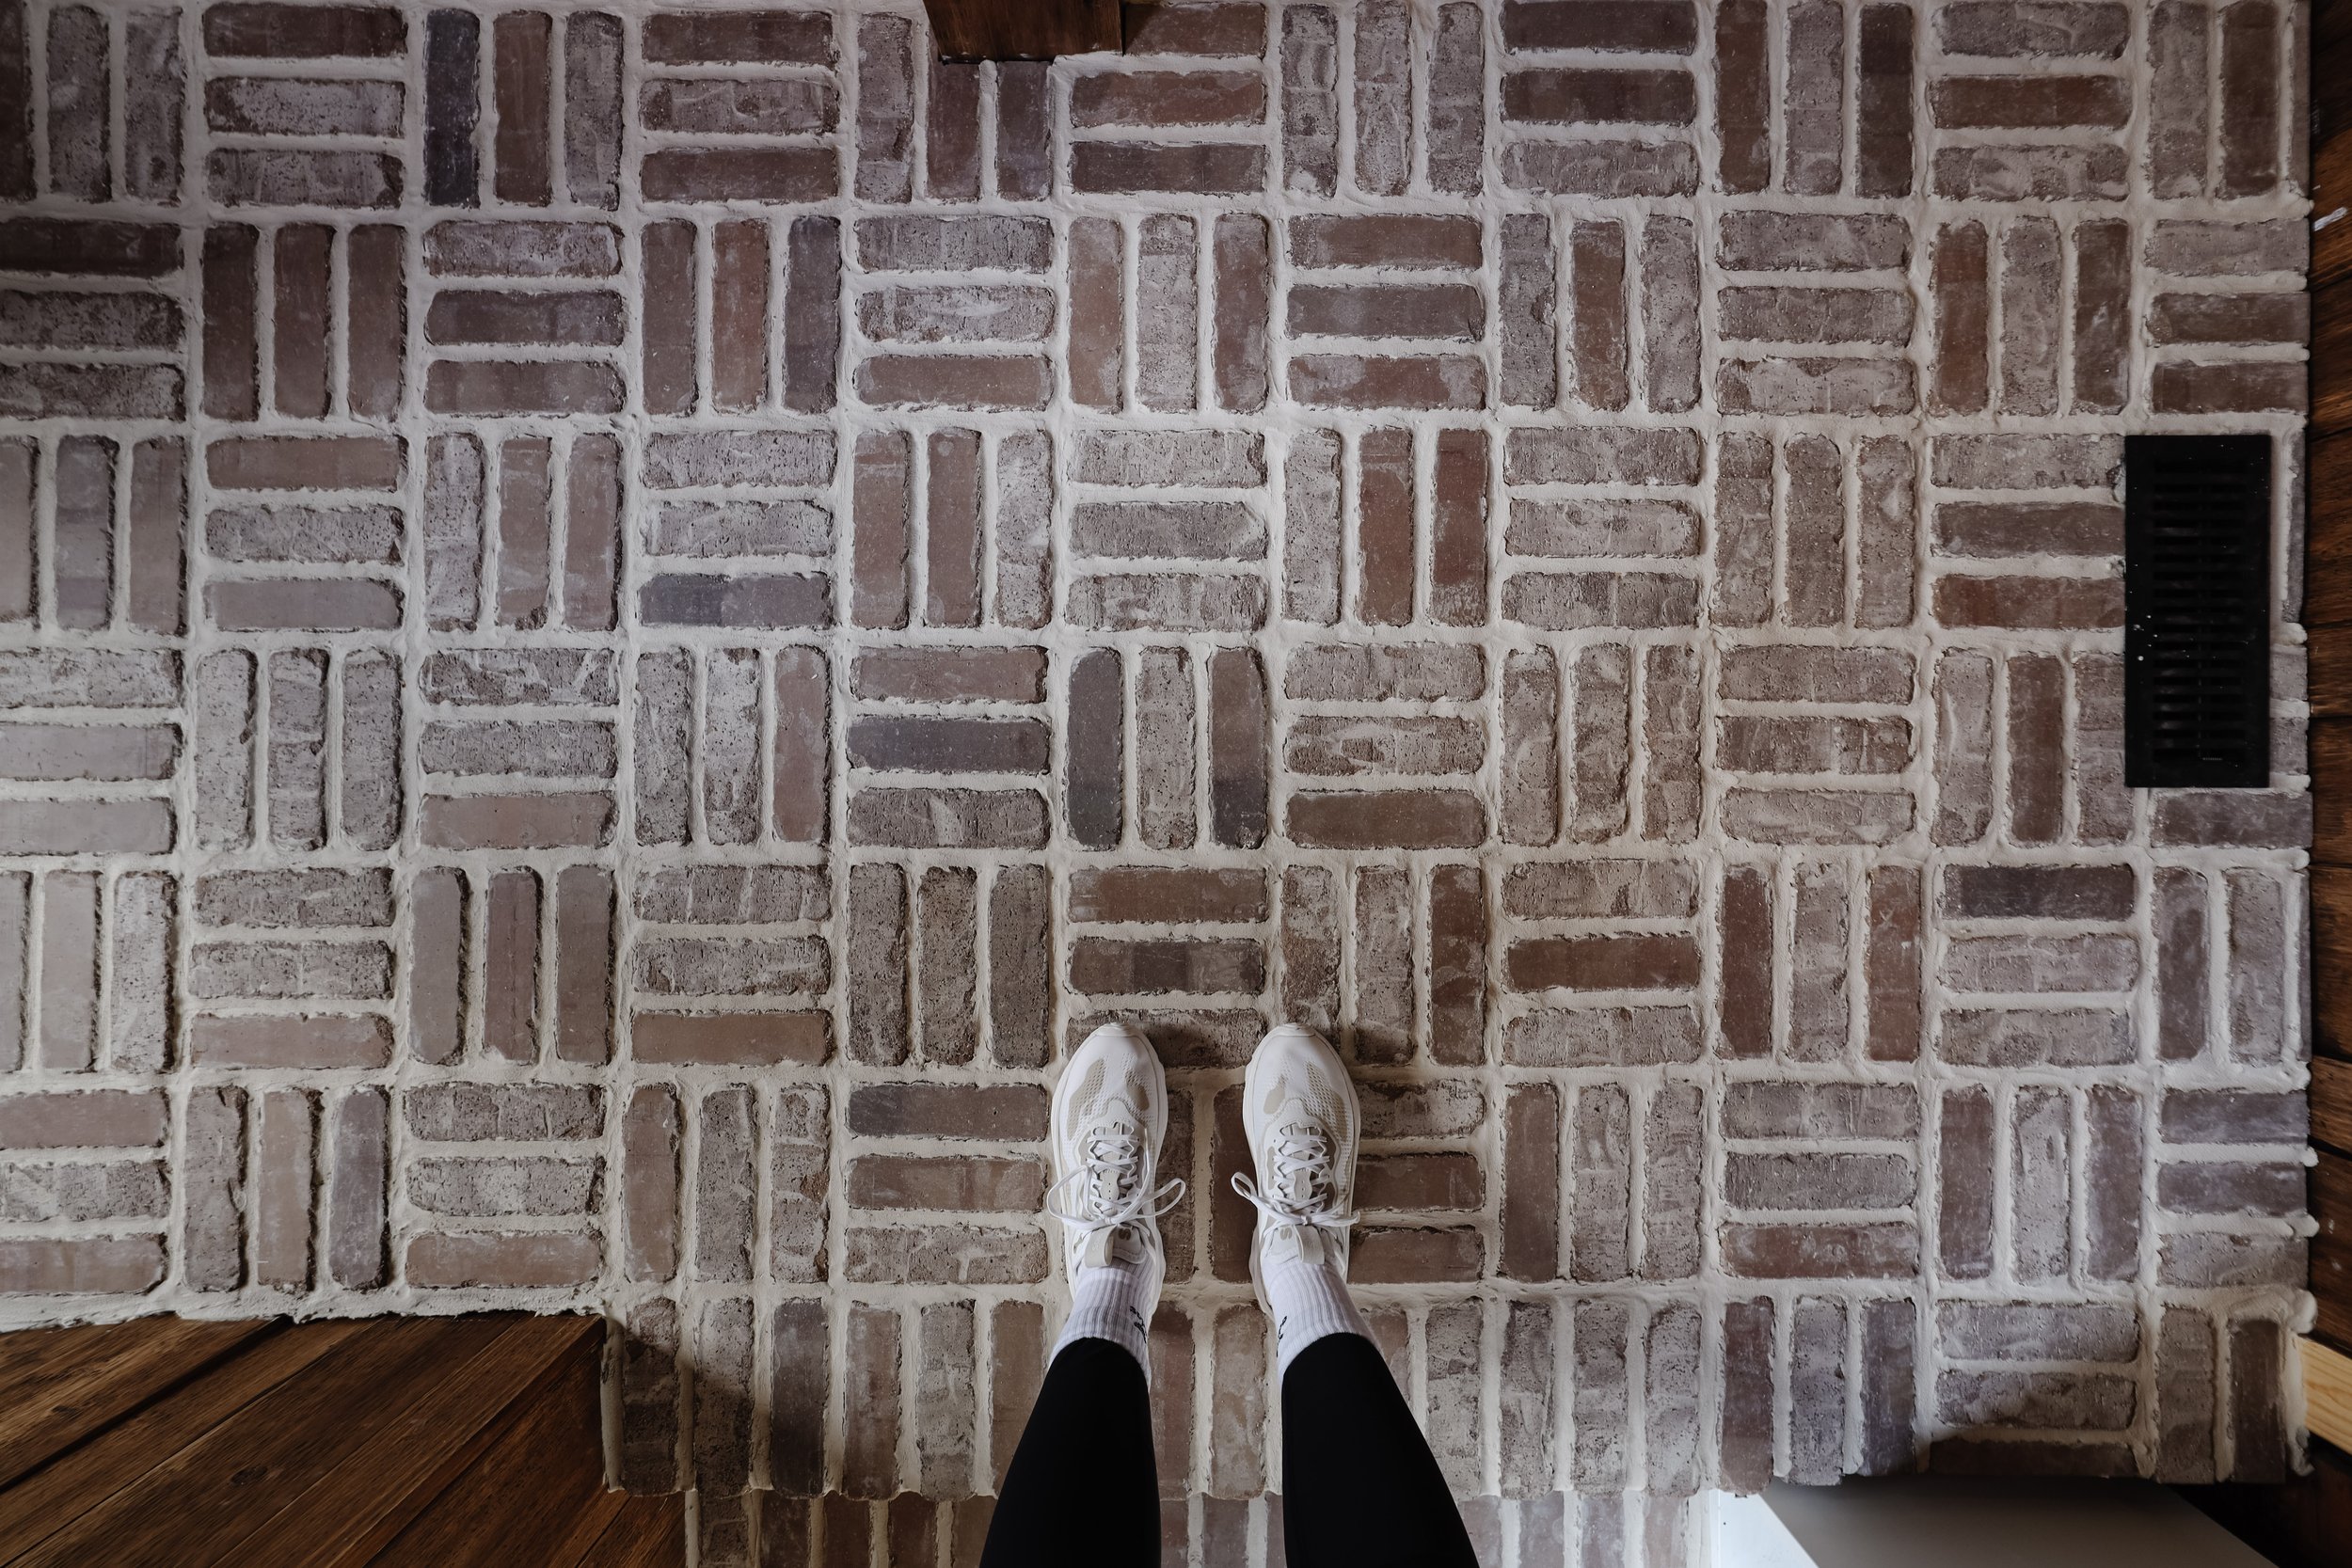
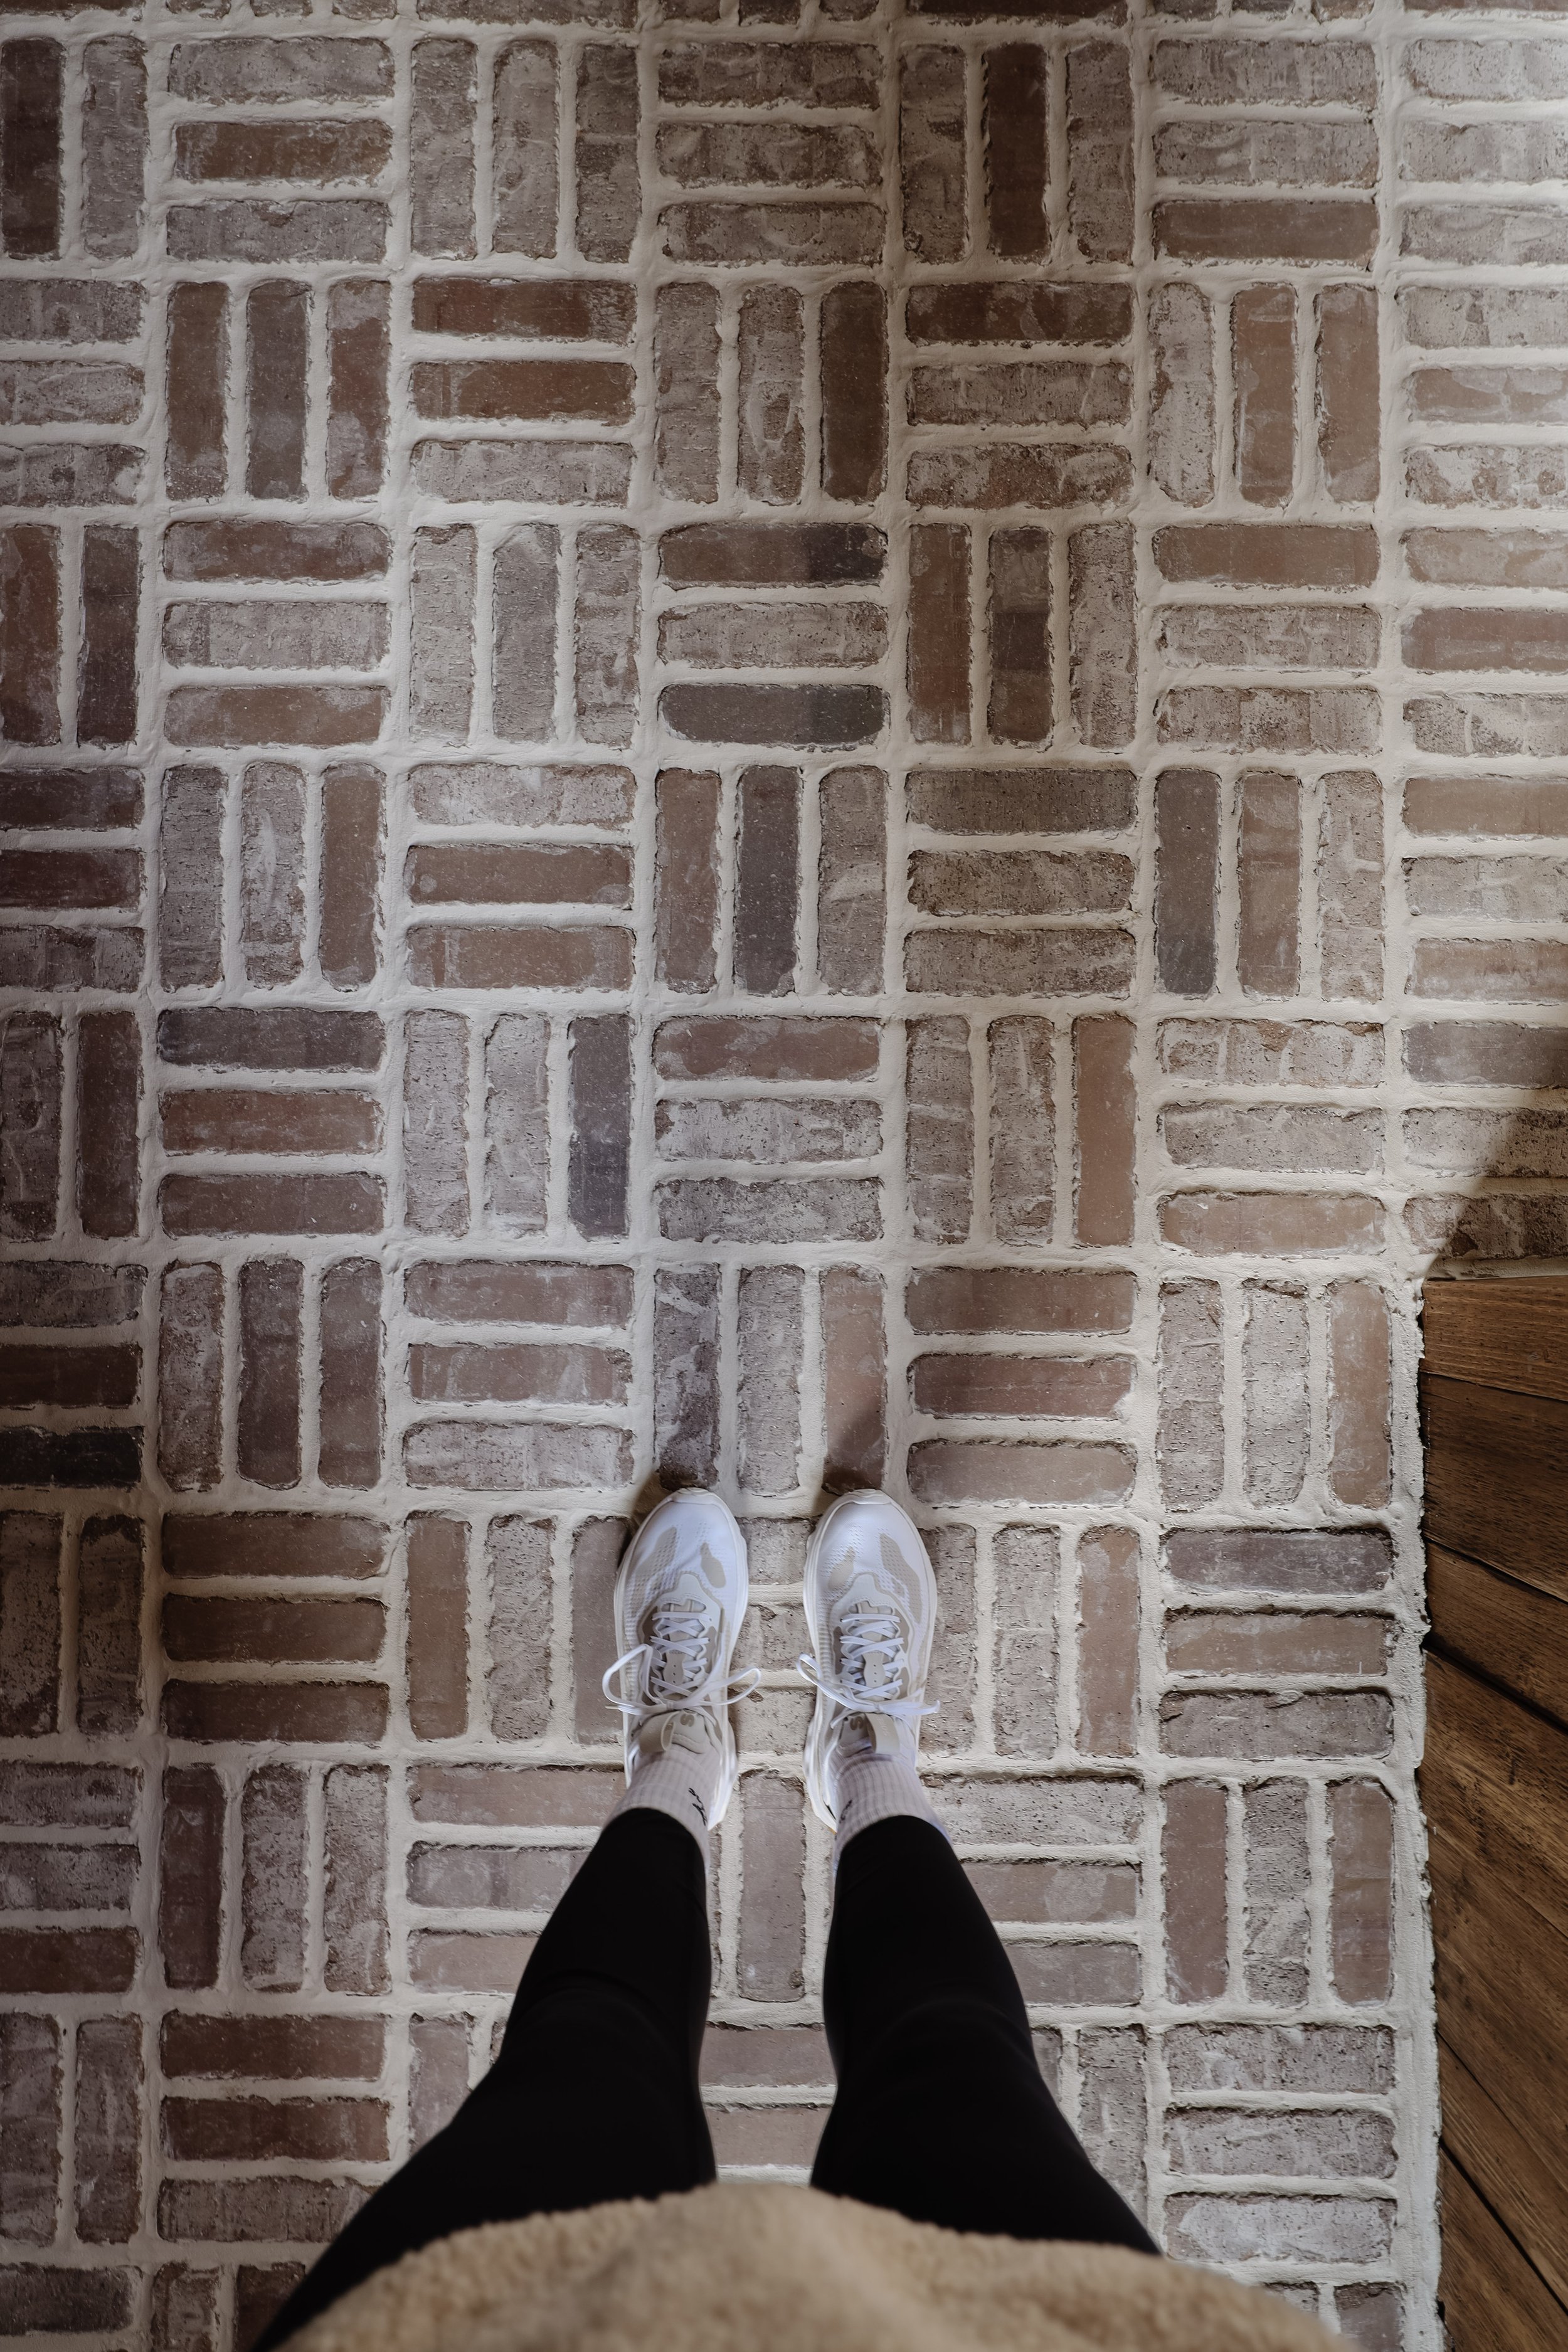
I’ve been day dreaming about this moment for months and I can confidently say….it was worth the wait! The entire goal of this laundry room project was to make the space look more original to the home.
Previously this room was split into two tiny spaces with 5 layers of linoleum floors and a concrete pad. (check out the befores here) Because our house has a brick fireplace and a brick chimney, it felt only natural to incorporate a brick floor as well.
Can we give a round of applause to the most underrated brick pattern out there – the basketweave. Because if the bricks alone don’t wow you…let’s throw them in a jaw dropping pattern to really grab your attention.
Now let’s get to the nitty gritty of how we installed the bricks –
STEP 1: LAY CEMENT BOARDS
If your subfloor is OSB, plywood, or some type of wood, you’ll need to lay cement board first. If your floor is already concrete, you can skip this step.
You’ll need mortar, a trowel, drywall screws, and cement board/backer board. First, mix the thinset mortar according to package instructions and spread it on the ground with a 1/4” trowel. Then lay the cement board sheet over-top, stomp it down to ensure proper adhesion, and screw it down every 6” along the perimeter.
We also laid cement board on the stair risers and the steps where there was an OSB subfloor.
STEP 2: TAPE THE SEAMS
With the leftover mortar, I applied a layer over the cement board seams to fill in the gaps and I laid mesh cement board tape over the seams. Then, I applied a thin layer of mortar over top and removed the excess mortar.
STEP 3: INSTALL THE BRICKS
We chose these thin bricks from Old Mill Brick in the color Rushmore and couldn’t love them more! They’re a muted red and beige brick with lots of variation in color! They’re also tumbled so they have imperfect edges which makes them look older.
We started by dry fitting the bricks in a basketweave pattern to ensure the layout looked centered. Once we landed on the brick placement, we marked a chalk line down the center of the space and laid the bricks starting from the center and moved out.
To install the bricks, I troweled modified thinset on the ground using this 1/4” trowel and laid the bricks on top. The manufacturer’s instructions did not mention the need to back butter the bricks so I chose not to. (Back buttering is when you apply mortar on the back of the brick as well.) Regardless, you could back butter the bricks to be extra safe if you feel it’s necessary.
I was informed that these bricks are most susceptible to breakage if there are any air bubbles in the mortar so I did not skimp on the mortar and I pressed each brick down hard to get rid of any air pockets.
The basketweave pattern determined the spacing for me. But to keep it consistent throughout, I used 1/2” dowels as spacers. (Note: tile spacers would’ve been a better choice, but I couldn’t find 1/2” spacers at our local stores.)
To cut the bricks, we used a wet tile saw which worked wonderfully! Chris handled all the cuts as I installed.
For the steps, I used these corner pieces and they made the space look so much more finished and professional! I lathered up the mortar on both the steps and the brick to ensure there weren’t any gaps or air bubbles.
let the mortar dry for 24 hours before walking on it.
STEP 5: GROUT
I won’t lie, this step required a lot of trial and error. Between finding the right grout color and finding an application technique that got us the look we wanted, it was not a quick process.
We landed on this grout in the color Bone. It’s stain resistant and doesn’t require sealing…although we did still seal it later. The color is a warm putty beige and we chose that because it’s lower maintenance than white.
Initially we wanted an over-grouted look, but because the bricks are so porous and rough, the grout seeped into the top of the bricks giving them a haze that could not be cleaned off easily. So after some trial and error, we landed on an under-grouted look and avoided getting grout on the top of the bricks as much as possible.
The technique that worked for us was as follows:
-
Pipe the grout into the gaps so that it’s level with the top of the brick, not over! (Tip: when mixing the grout, it’s helpful to add a little extra water so that it comes out of the piping bag easier.)
-
After about 10 minutes, wipe over the grout with a wet finger to remove the excess.
-
Dip your finger in water and smooth out the edges of the grout without getting any on the top of the bricks.
-
If you do happen to get some grout on the top of the bricks, I dipped this grout sponge in water and scrubbed the brick clean before it dried.
-
(Optional) Once the grout is 90% dry, you can go over it lightly with a soft brush to give it a textured look.
The techniques that did NOT work for us included:
-
Wiping the bricks clean with a wet sponge.
-
Using a grout float over all the bricks.
-
Waiting for the grout to dry partially before removing excess.
STEP 6: SEAL THE BRICKS
The last step is sealing the floor and I waited three days after grouting to do so. Because bricks are porous, I used this brick sealer which serves as a moisture barrier and prevents stains. I applied it with a brush, waited 5 minutes to let it penetrate, and then wiped off any excess with a rag. I did two coats just to be safe. The bricks and grout appear darker at first, because they are wet. However, the sealer dries completely clear and did not alter the color of the bricks.
Honestly couldn’t love them more! The texture, the color variation, and the old character is exactly what we wanted!
SUPPLIES YOU’LL NEED

Leave a Reply Cancel reply
Where behind the scenes, exclusive advice, and candid conversations are sent straight to your inbox every week.


How are they keeping up with the washer/dryer? Are a lot of the bricks and/or mortar cracking?
It’s been nearly a year and there aren’t any cracks!
I love it. I have to ask if you regret not using a flatter surface? People keep commenting that this would be rough on the feet when I say this is what I want to do. Is it hard to clean up?
I have no regrets! I think depending on how level the grout is with the bricks makes a big difference in comfort. I wouldn’t necessarily recommend this for a main living area, but I like it a lot for our laundry room/entrance from garage. Hides dirt super well so I don’t feel like I have to clean it constantly. I just vacuum it to clean it.