One of my favorite things about home renovations is finally seeing all the little projects come to completion. Like installing the last baseboard or finally putting the outlet covers back on after a paint job. You can’t beat that incredible feeling!
So let’s talk about one of those projects – installing baseboards. This task can seem like you’re trying to put together a puzzle at times, but there are a few tricks of the trade that will help you immensely.
CUTS
The first thing that will make your trim look more professional and seamless is getting your cuts right. There are a handful of angle cuts that should be done:
INSIDE CORNER
Join two 45° angled cuts on an inside corner.
OUTSIDE CORNER
Join two 45° angled cuts on an outside corner.
HOW TRIM JOINS ON A LONG WALL
Join two 45° angled cuts to create a straight line.
HOW BASEBOARDS MEET DOOR TRIM
Join two flat edge boards for door trim.
Depending on the space you’re working with, use the 4 tips above to join your boards together. Use the longest trim boards available to you on large walls to reduce the number of joints. And if possible, join your boards in less visible spots of the room.
PAINT BEFORE INSTALLING
After cutting all your boards and dry fitting them (aka put each board in place along the wall but don’t nail them on), I like to prime and paint the boards before nailing them in place. It makes painting 100 times easier and it eliminates the need to tape your floors. (NOTE: Be sure to clearly mark the back side of each board before moving them away from the walls so you know where to put them back)
After you’ve applied your primer and paint, you can start nailing them on the wall using 18 gauge brad nails, a brad nail gun, and an air compressor. Fill in the holes with wood filler and sand them smooth once dry.
CAULK THE GAPS
Now it’s time for the most important step – fill in all the seams and gaps with paintable caulking. Most homes won’t have perfectly straight walls so you’re bound to see gaps along the wall, trim, and floor. This is the reality of working with imperfect homes. The best way to eliminate those gaps is with paintable caulking.
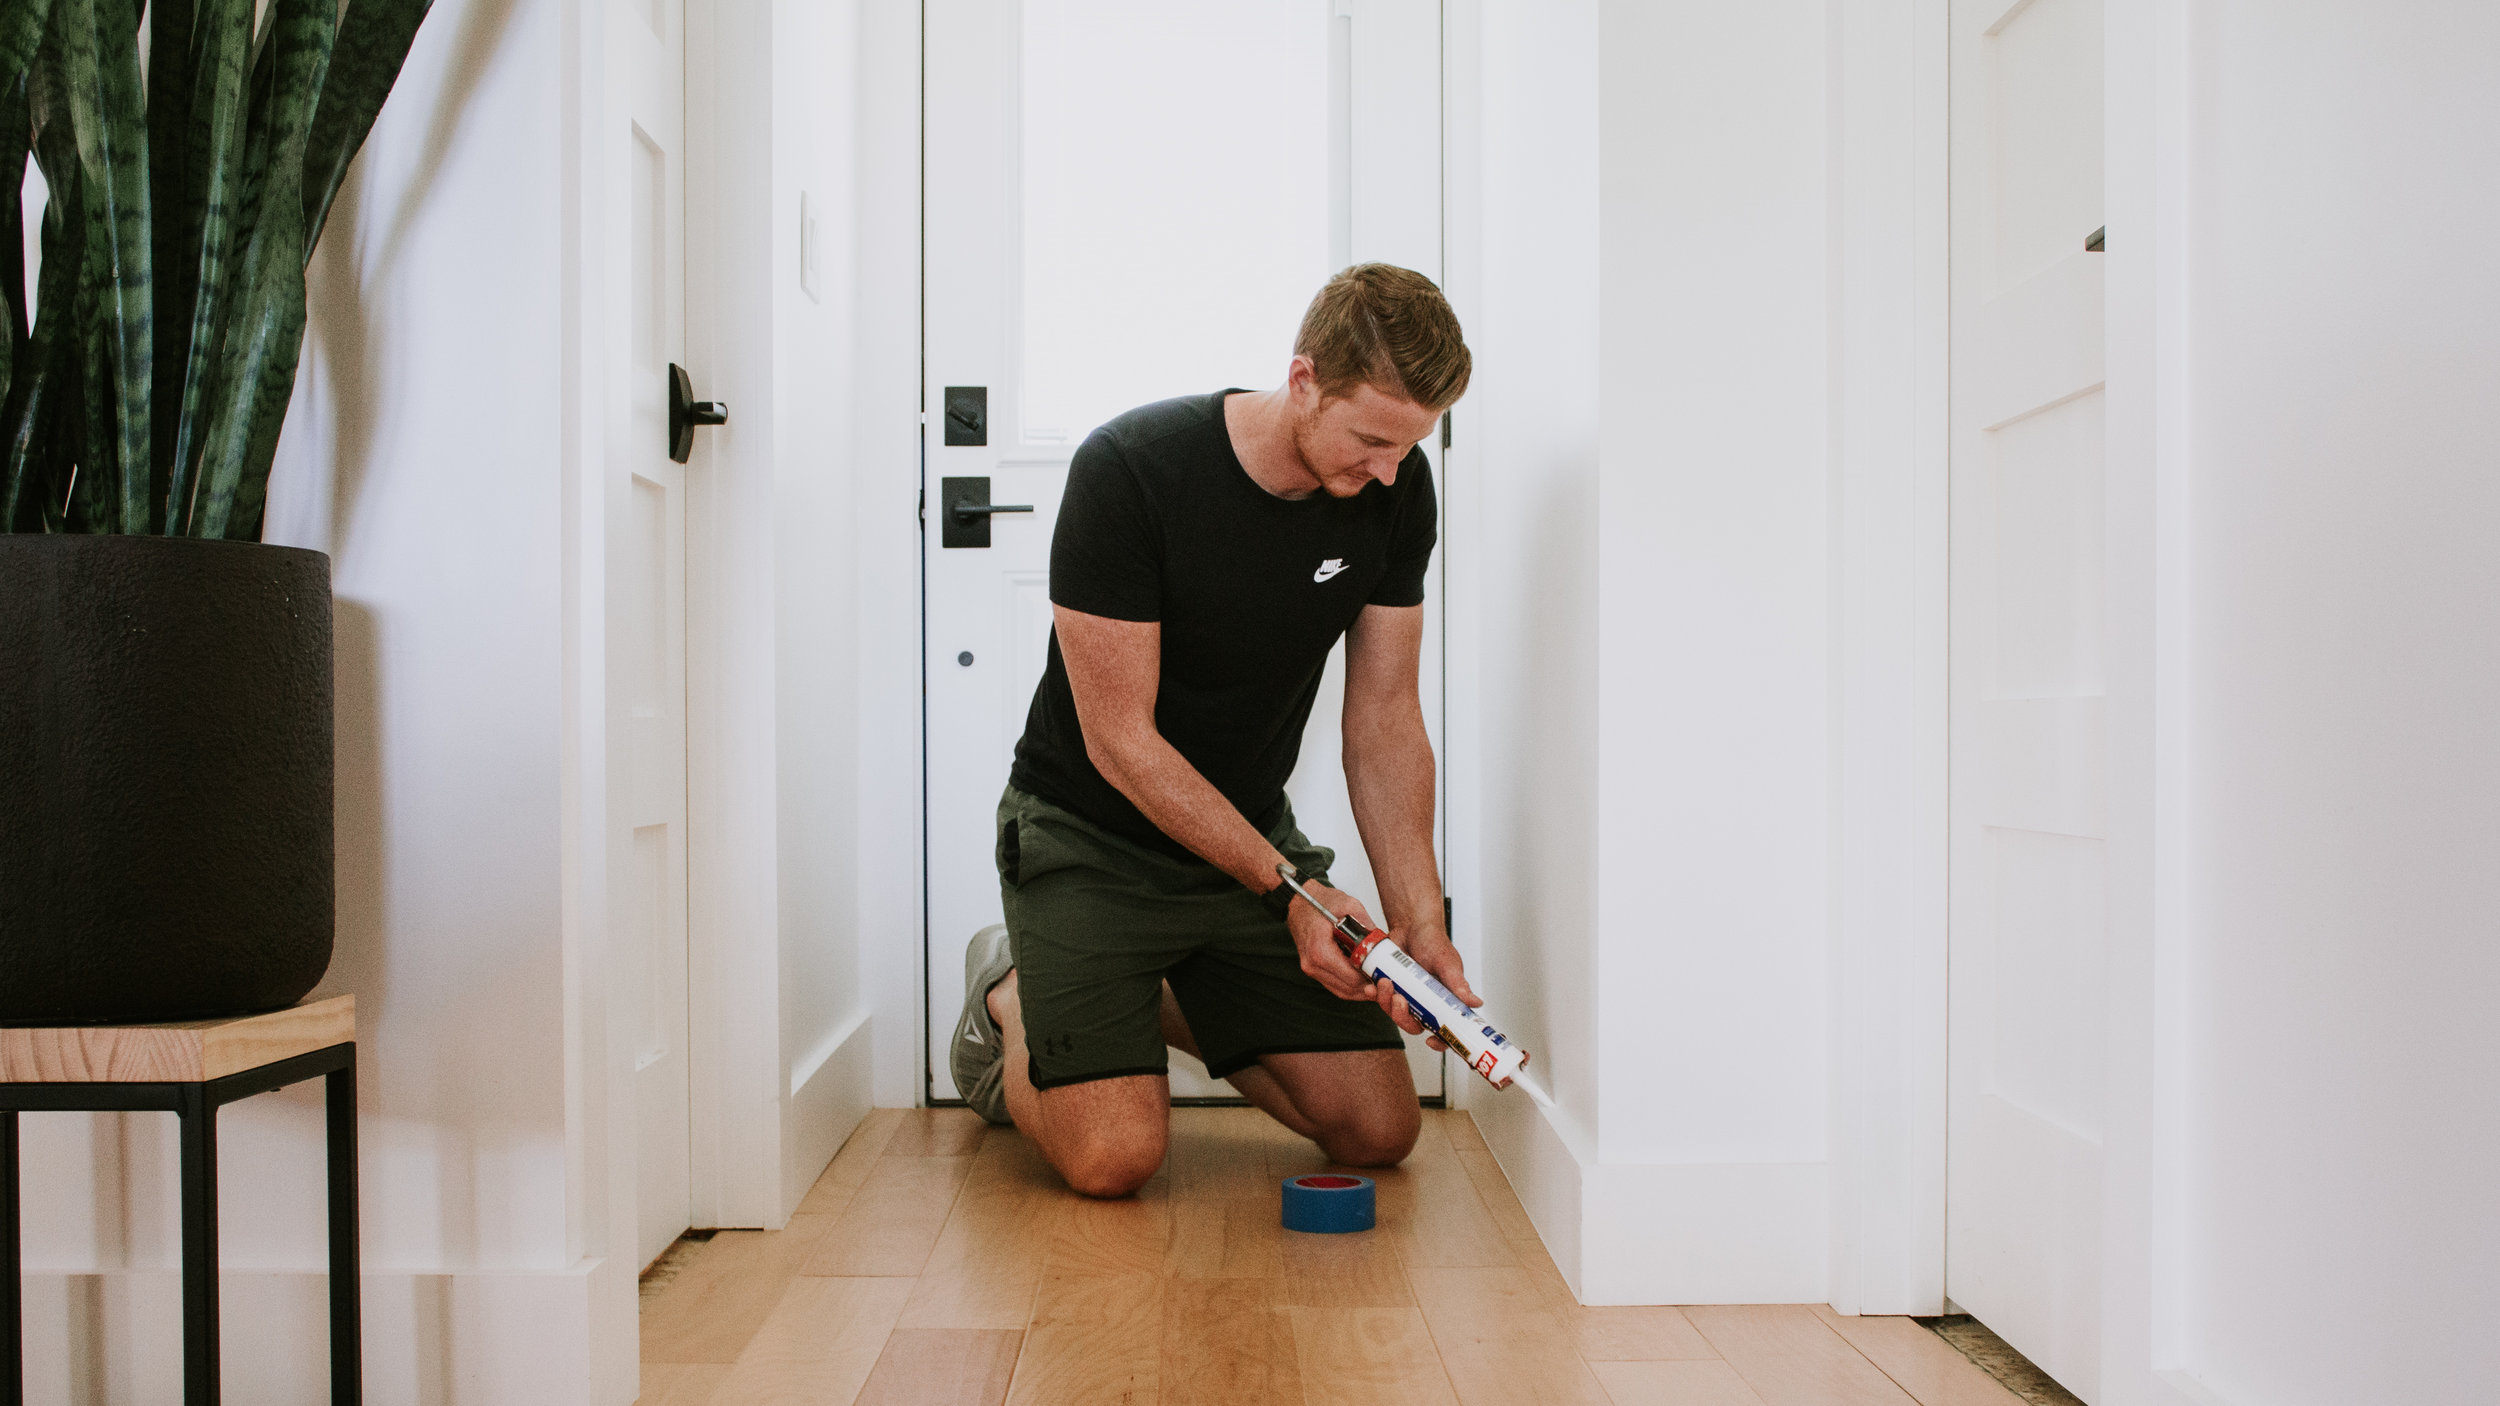
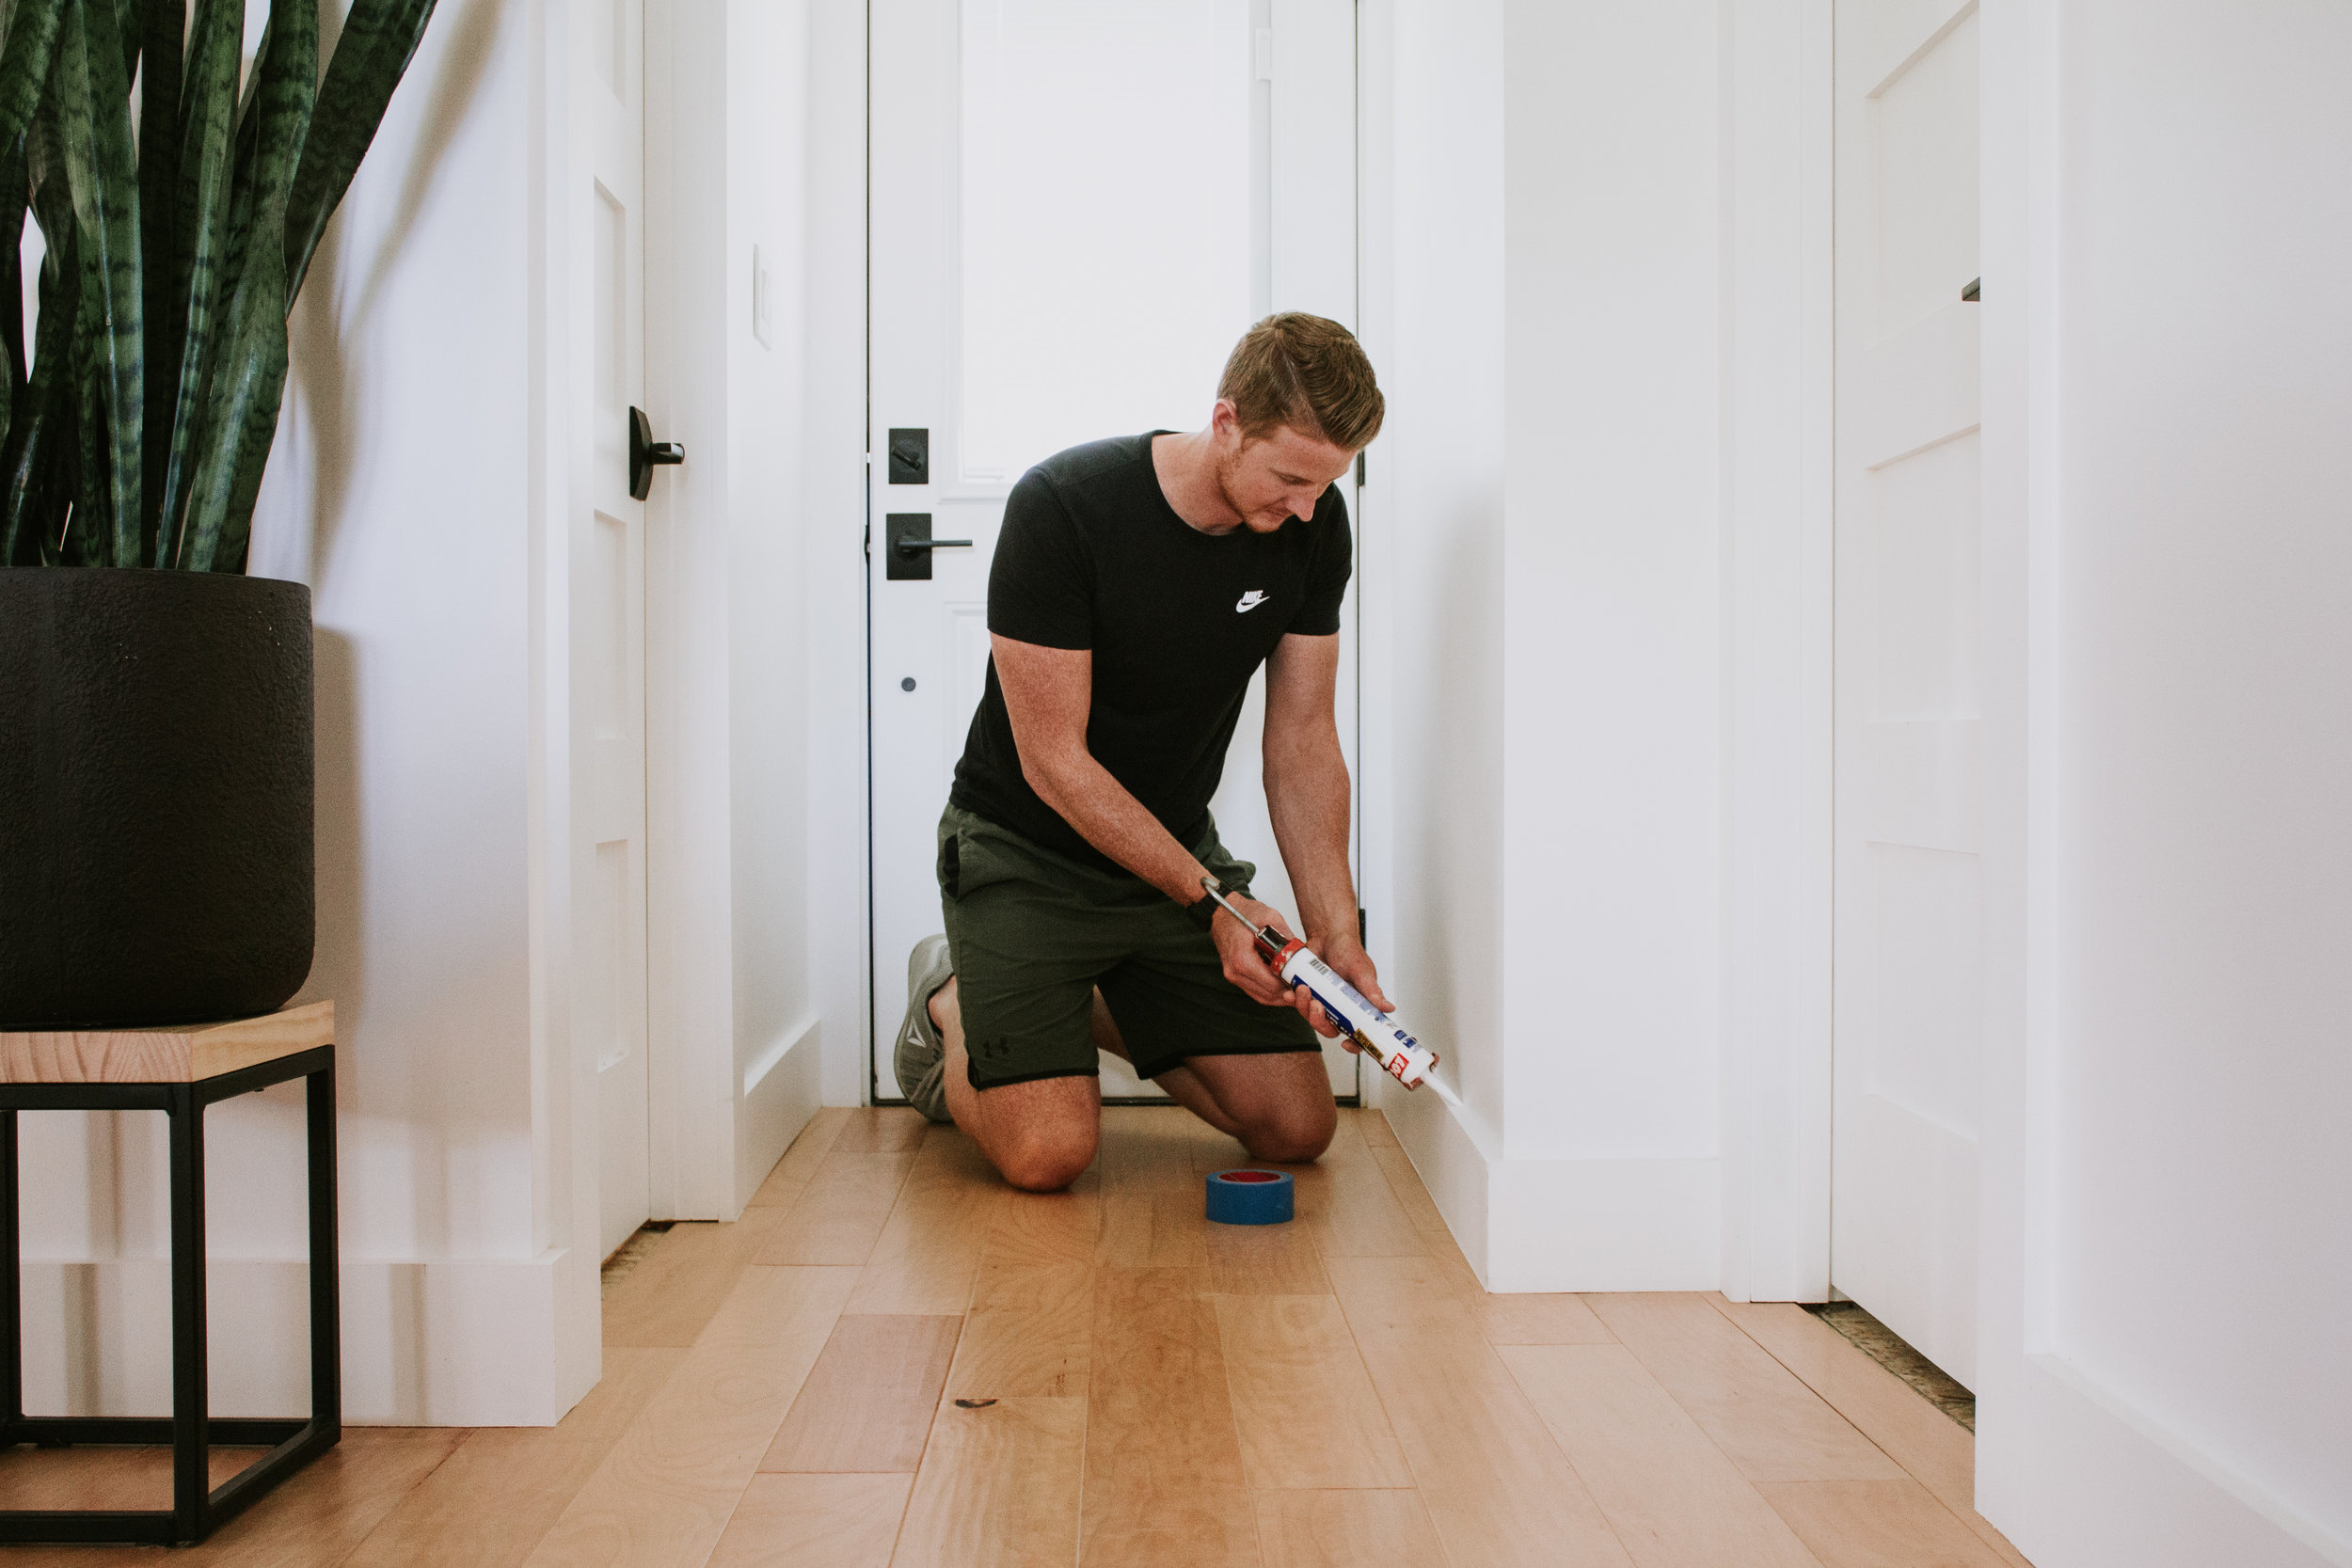
Using a caulk gun, squeeze a small amount over the length of your gap and use your finger to wipe it smooth.
Working in sections, squeeze caulk along the gap.
Wipe it smooth with your finger.
You should caulk every seam, the top of the baseboard (where the trim meets the wall), and if necessary the gap between your baseboard and the floor.
If you’re caulking the gap between your baseboard and the floor, I’ve got a few suggestions that will help with this process.
1.
Place painter’s tape on the floor.
2.
Caulk along the whole length of the trim.
3.
Wipe it smooth with your finger.
4.
Peel off the tape immediately while the caulk is still wet.
Once you’ve finished, wait for the caulk to dry and then go over your caulk and wood filler spots with paint one last time.
That’s it! You now know how to cut and install baseboards like the professionals. I hope this information was helpful and makes installation a little bit easier!
Leave a Reply Cancel reply
Where behind the scenes, exclusive advice, and candid conversations are sent straight to your inbox every week.


What size baseboards did you install in your home? And were there any benefits to working with wood over something like primed MDF?
Our baseboards are 5.5" tall and we chose MDF sheets mainly due to the cost savings we made! 4’x8′ sheets cut to size were a great way for us to save a little money trimming out the entire house.