This post contains affiliate links.
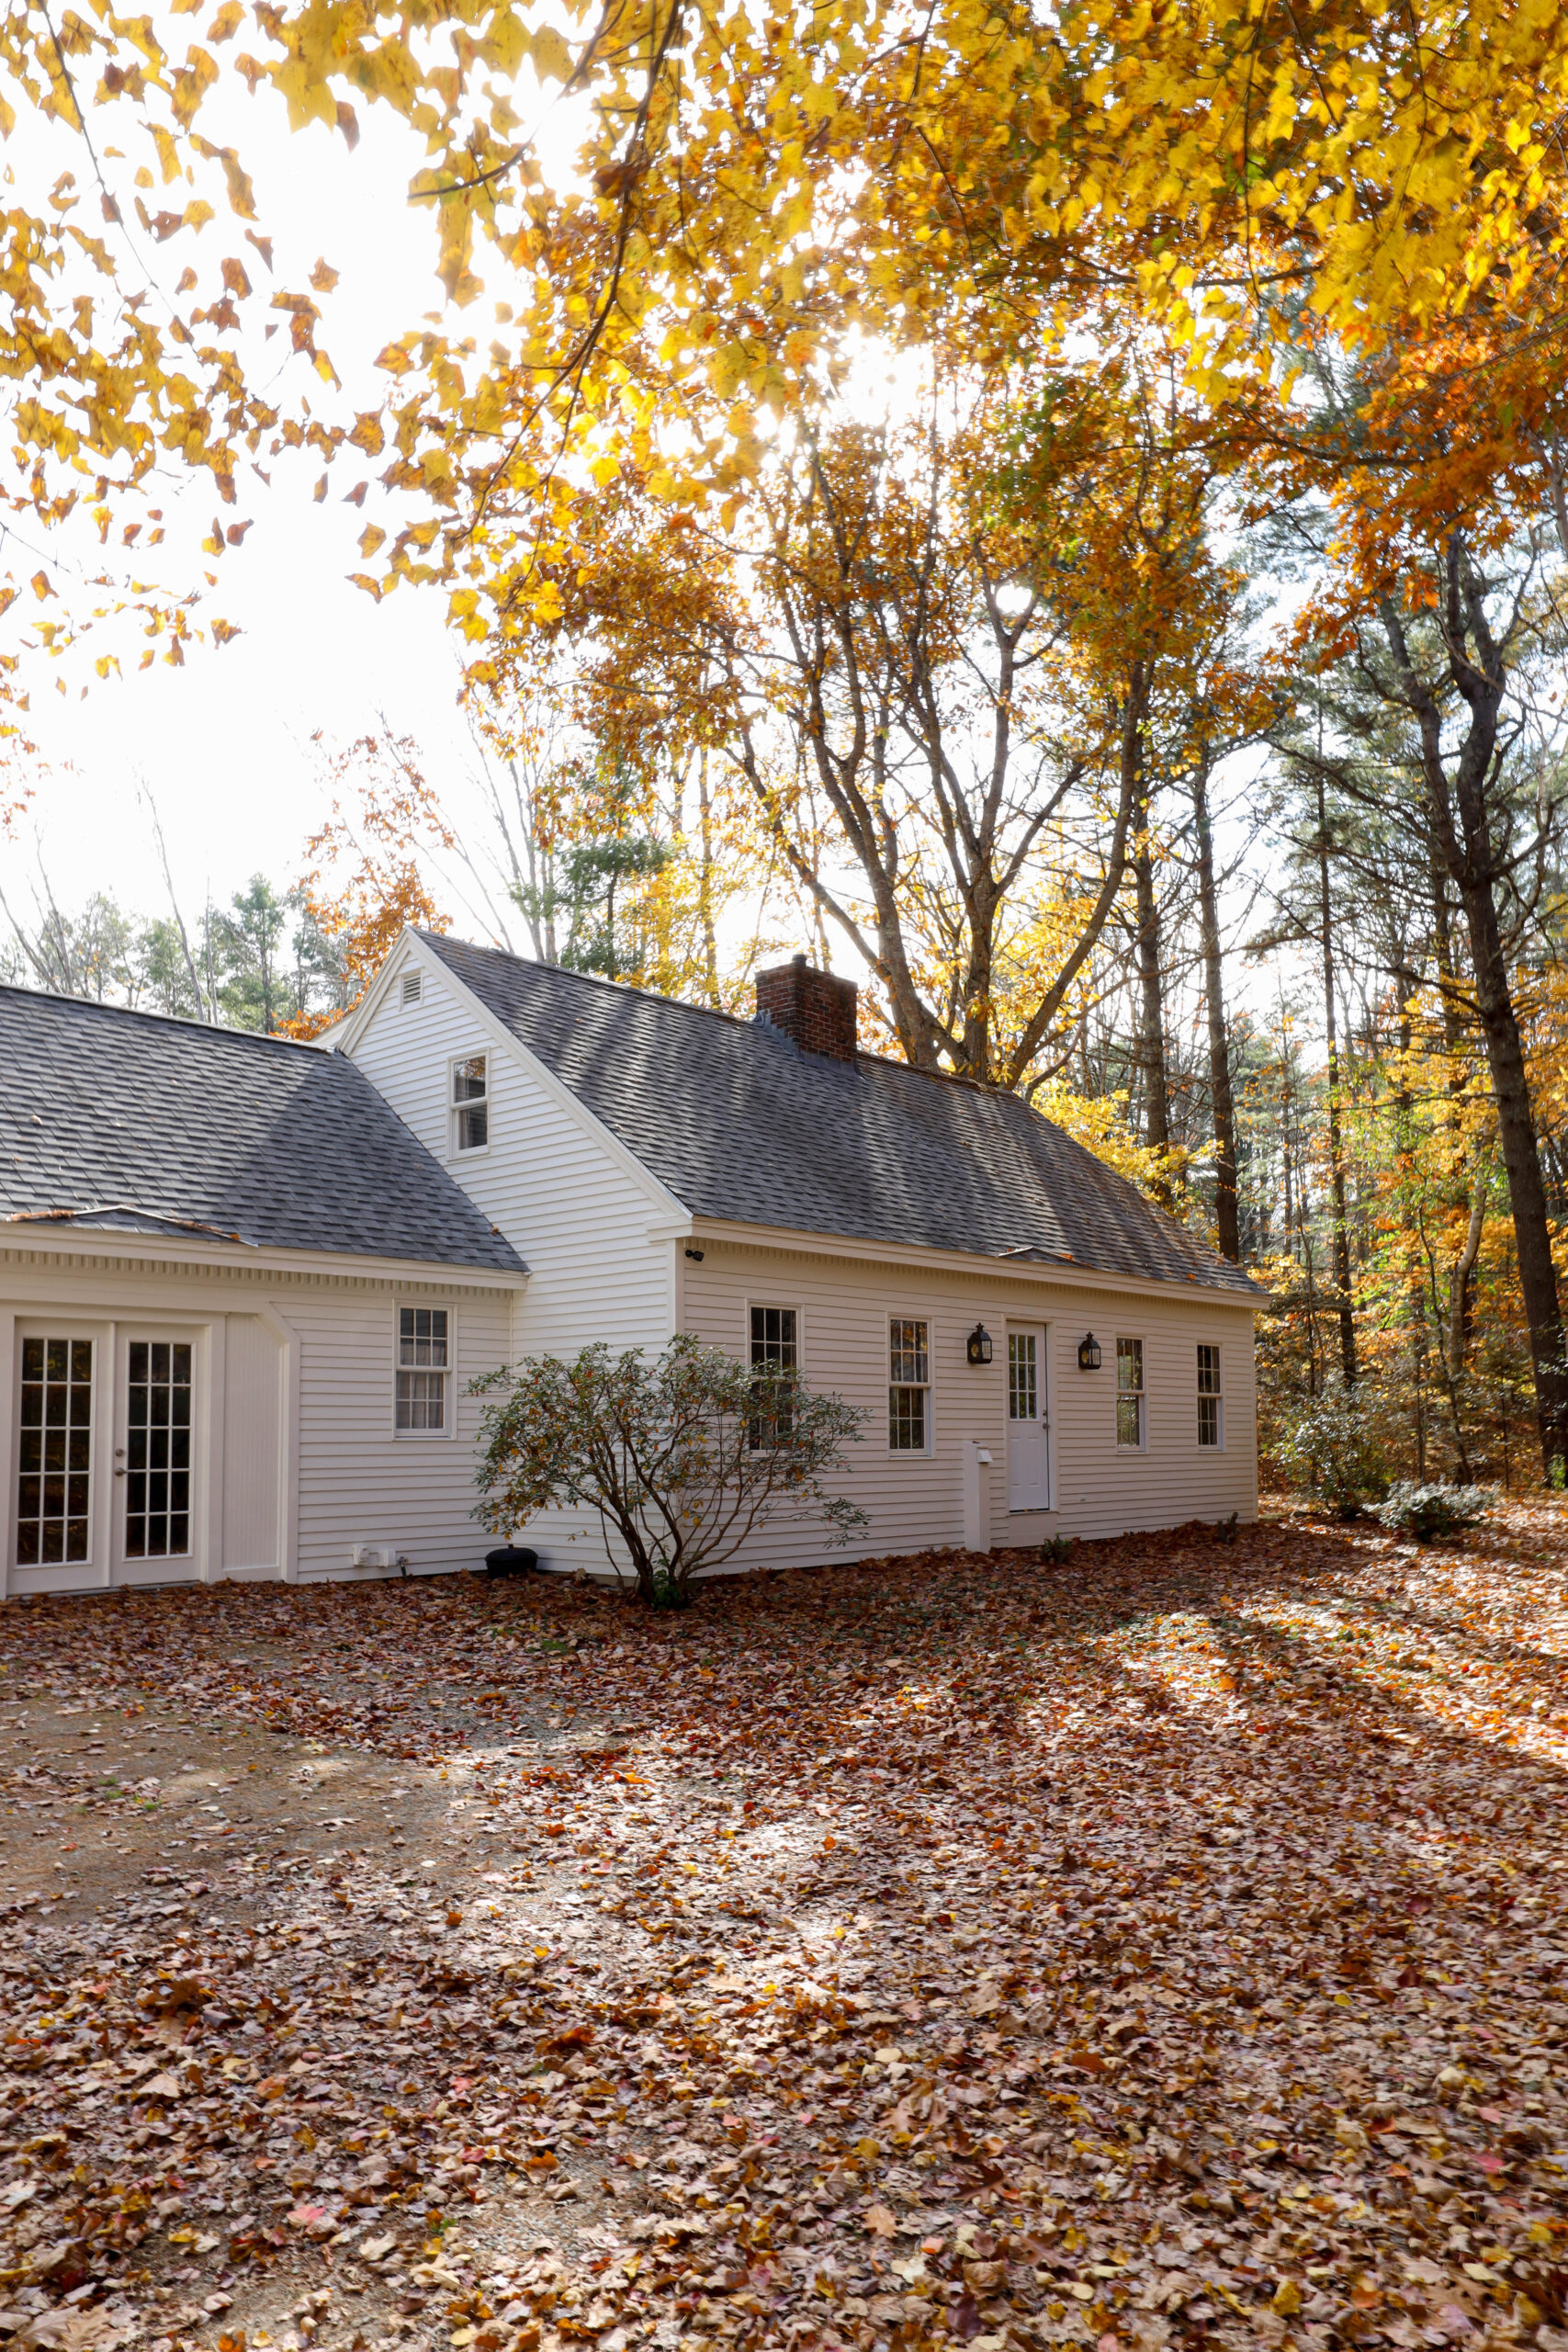
The thing that drew us to The Maine Cape was the potential…the easy potential. We knew that a good cleaning and a fresh coat of paint would make a world of difference. Of course, we have an abundance of ideas for the years to come that will add charm to the exterior, but we knew it wouldn’t require much to see big improvements.
Over the past month we’ve slowly been chipping away at painting the exterior and as suspected, it made such a big impact!

To jog your memory, here’s a glimpse at what our home looked like just 3 months ago.


It was important to me to paint everything the same color – the siding, trim, windows, and garage door included. In doing so, the focus shifted from the garage door/french door accent color to the architectural elements that we love – the dental trim and the window muntins.
In addition to painting the exterior, we also removed the shutters, pulled out the ramp, cleaned up the landscape overgrowth, cleaned the siding, and added new sconces. Still to come: well a lot! But in the coming weeks we’ll be replacing the front door and adding stone steps.

When looking for a new paint color, we waffled back and forth between a light or dark color. But ultimately we felt that a light color would best compliment the overall vision we have for our home and our property. Then of course, once we decided to go light we had to decide on what type of white. It wasn’t until I stumbled upon this photo of the historic John Coke’s Office in Colonial Williamsburg, painted a creamy yellow color and this photo of a yellow dutch colonial home that it became clear to me – I wanted a sun kissed cream – a cream that leaned yellow and always looked like the sun was setting, casting a warm yellow glow on our house.
After testing over a dozen color samples, we landed on Oyster White by Sherwin Williams. It’s a bit of a chameleon color – in some lights it reads as a creamy white and in other lights it reads more yellow. As you can see below –
–
THE EXTERIOR PAINT COLOR:
OYSTER WHITE BY SHERWIN WILLIAMS
–
Painting the house was a bit of a journey thanks to rain. We sprayed our house and despite the paint instructions saying it would be rain ready within an hour, it didn’t dry for over 12 hours. Unfortunately it rained the next day (12 hours after painting) for 18 hours straight and it washed away some of the paint. Thankfully all the areas that were washed away were fixable with a light sanding and another coat of paint!
Painting How To & Tutorial
We decided to spray paint our house. We sprayed our last house as well and the result was great, so we did the same on this house. This is our favorite paint sprayer that we’ve used for years now, both inside and out.
PAINT PREP ON THE WINDOWS
Of course when you spray, there’s a lot of prep involved. For the windows, I chose to use Mask & Peel on the glass rather than tape and tarps. All in all, I’m happy with how the product worked, but there were a few lessons learned along the way.


Mask & Peel creates a temporary protective barrier on the glass, allowing you to paint directly overtop. It is also made to act as a primer so it can be brushed on both the glass and the window sash, making it much easier and quicker to apply than tape. Once dry, you can paint your windows as usual. Once you’ve finished painting, score the edges of the glass and peel the Mask & Peel off with a razor.
On our wood-clad windows, we sprayed a coat of this bonding primer before paint. This primer has a better adhesion, allowing the paint to stick.

A COUPLE NOTES ON MASK & PEEL:
You’ll want to apply two thick coats of Mask & Peel on the glass. I applied only one thick coat thinking it would be good enough, but there were some spots that were too thin. As a result, some paint got on the glass which ultimately made it more difficult to pull off the Mask & Peel. With a thicker coat, removing the product would be much easier.
While this product is marketed as a primer, I was a little nervous about how well it would bond to our wood-clad windows. I chose to avoid getting the Mask & Peel on the sashes as much as possible so that I could use a bonding primer to ensure proper adhesion for the paint.

THE TYPE OF PAINT WE CHOSE
We have cedar wood siding with wood-clad windows. For our location, the time of year that we painted, and the type of siding we have, our local Sherwin Williams rep recommend their Latitude paint. It went on beautifully and it took Chris about 6 hours to do a coat of paint on the entire house with the sprayer.
To protect the ground from paint overspray, we laid canvas drop cloths. To protect the shingles from overspray, Chris used a paint shield similar to this one.

As mentioned above, the paint took a long time to dry – over 12 hours. But despite the rain washing away some of the paint on the trim, the finish actually turned out really well. We ended up doing a light second coat over some of the house with a brush.

There’s so much more to come on the exterior in spring so don’t go away just yet. Picture a new front door, stone walls, elaborate trim, billowing hydrangeas, and hand forged iron. It’s going to be so good!
The Paint Supplies We Used

Leave a Reply Cancel reply
Where behind the scenes, exclusive advice, and candid conversations are sent straight to your inbox every week.


Love this look! Understated and just beautiful! Exquisite.
Thank you so much! 🙂
What color is the door!
Hi Deb, it’s Messenger Bag by Sherwin Williams!
I think you selected a lovely color for your house. And painting the trim the same color was a good call.
I have a Cape also. Mine is elevated some due to my basement. I’m assuming you don’t have a basement?
Thank you so much Mary! I just love the simplicity of one color on everything. Our house is built on granite so we just have a crawl space!