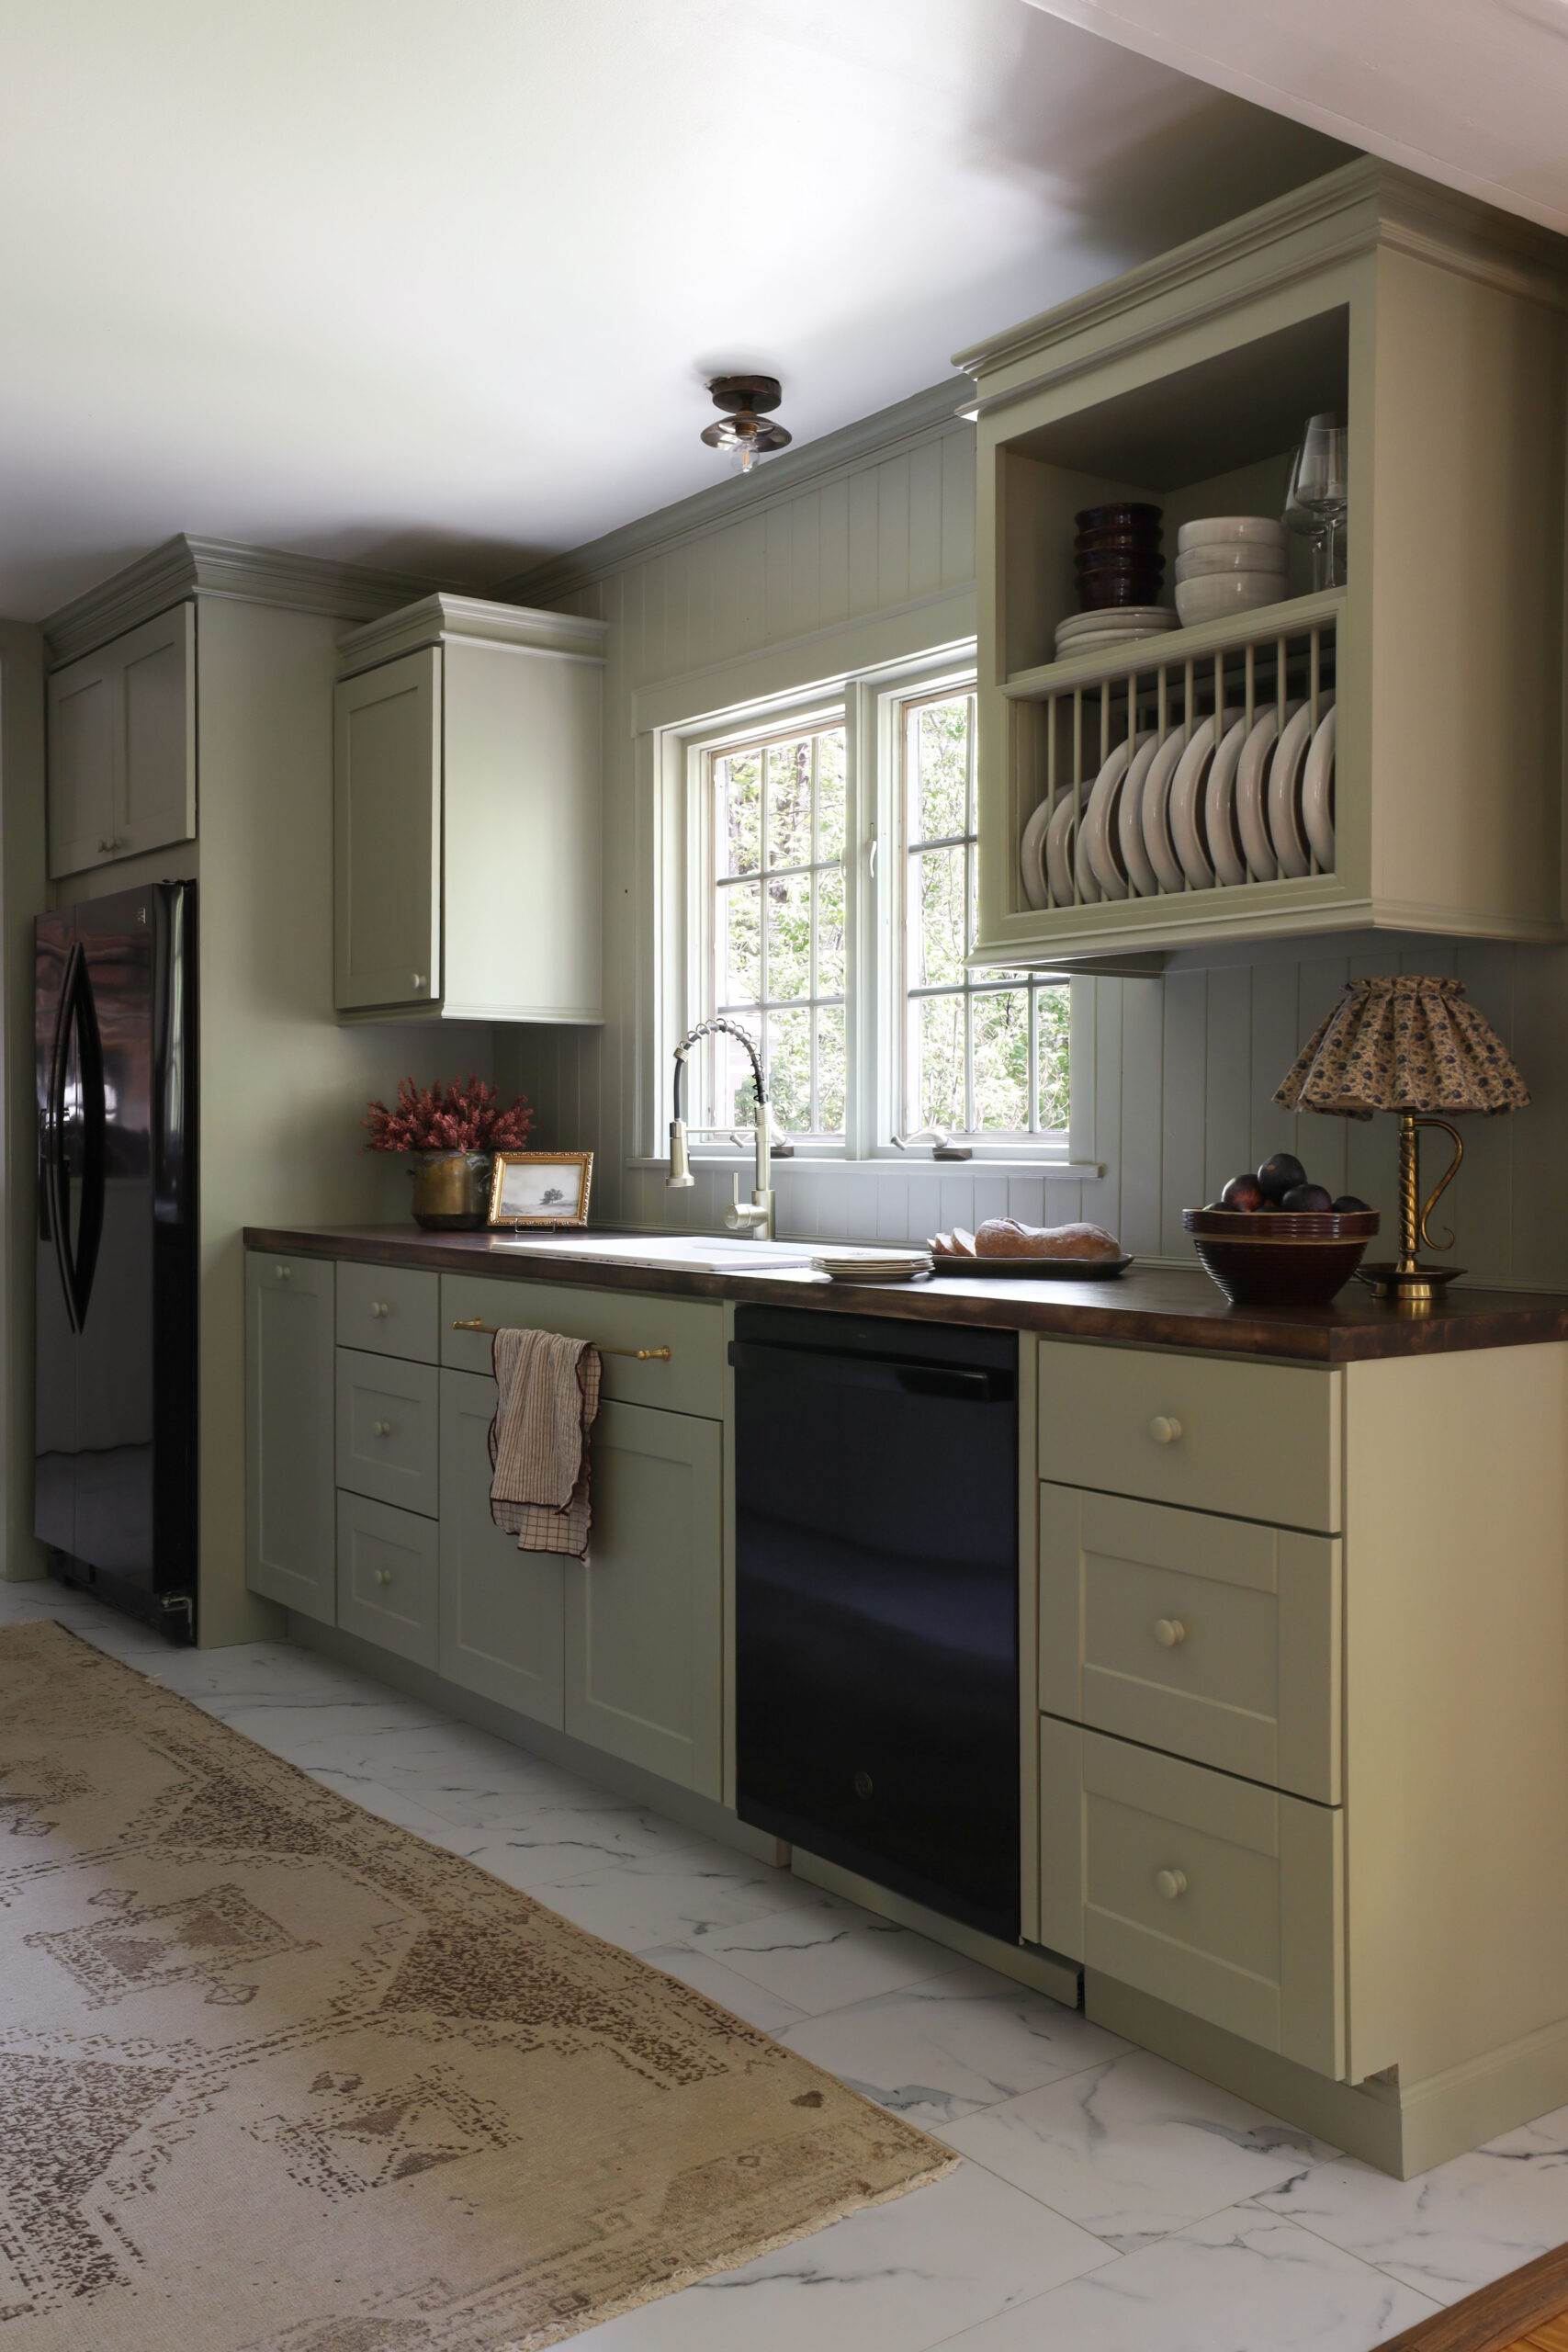

One of the first projects on our to-do list for The Maine Cape was the kitchen. While it was renovated by the previous owner months before we moved in, there were a few significant factors that prompted us to do a quick makeover of our own. With some intentional additions, we were able to infuse charm, functionality, and a little Nadine Stay personality into the kitchen. Introducing, The Maine Cape kitchen makeover reveal.


This post contains affiliate links.
Before I dive into the specifics of this kitchen, I would like to preface that this project is a temporary fix. I have dreams of a historic kitchen with furniture quality cabinetry, stone countertops, and period appropriate flooring. But alas, a kitchen of that kind will take many years to save up for and it could very well be 5-8 years before we can take on that renovation. Therefore, this makeover was strategically designed to maximize the space, beautify the existing elements, and cover what couldn’t be replaced…all without doing any demo.
THE MAIN PRIORITIES WERE:
- STORAGE: With floating shelves in lieu of upper cabinets, our plates, bowls, cups, and everyday essentials had no home to hide. Adding upper cabinetry was a must.
- HIDING THE WALLPAPER: I was surprised how many people were fond of the existing wallpaper. To each their own! I wasn’t drawn to the scale, colors, or pattern and was eager to cover it up.
- COVERING THE RANGE HOOD: To reduce the industrial feel of the existing range hood, covering it became a priority.
- REFINISHING THE WOOD COUNTERTOPS: I love the richness of dark wood and knew that refinishing the countertops would improve the aesthetic.
- PAINT THE CABINETS: The manufacturer’s white on the cabinetry gave the whole kitchen a “big box store” look. Painting them instantly made them look more custom.

THE CABINETRY
The piece that kickstarted the whole kitchen makeover was this plate rack cabinet that I found at Habitat For Humanity for only $10. As I’m sure you’ve noticed, plate racks are especially popular at the moment and it felt kismet that I happened to stumble upon one just before the project began.

We kept the existing lower cabinets and Chris built two additional upper cabinets for the fridge surround. I don’t think we realized how unfinished the kitchen felt until we wrapped the fridge in cabinetry. Suddenly that corner looked complete.


THE RANGE HOOD & OPEN SHELF
On the other side of the galley kitchen is the stove and an open shelf with three delicately curved wooden brackets.
The range hood cover was designed from scratch to cover the existing hood, leaving just enough room in the front to reach inside and push the buttons. The shape of the cover and the crown resemble that of an English kitchen by deVOL. I shared a full tutorial on how Chris built the range hood cover here!

THE WALLS
Perhaps the most impactful element of the makeover is the wood walls. The thin cedar tongue and groove planks add texture and dimension, and most importantly they cover the wallpaper. 😉 It was a fairly simple and inexpensive solution that required zero demo.

THE MOULDINGS
I’d be remiss if I didn’t mention the mouldings throughout. We incorporated 7 different types of mouldings in the kitchen: A thick crown along the perimeter of the room. A secondary (slightly smaller) crown on the shortened upper cabinets. Two more styles of trim that wrap the upper cabinetry. A delicate piece of moulding along the window casing. A shoe moulding where the wall meets the countertop. And yet another style of crown on the vent hood cover. It’s the layers of moulding that bring a kitchen from basic builder grade to custom. And we did not hold back on that.
You can find links to all the mouldings we used in the kitchen at the bottom of this article, under “Sources & Links.”


THE PAINT COLOR
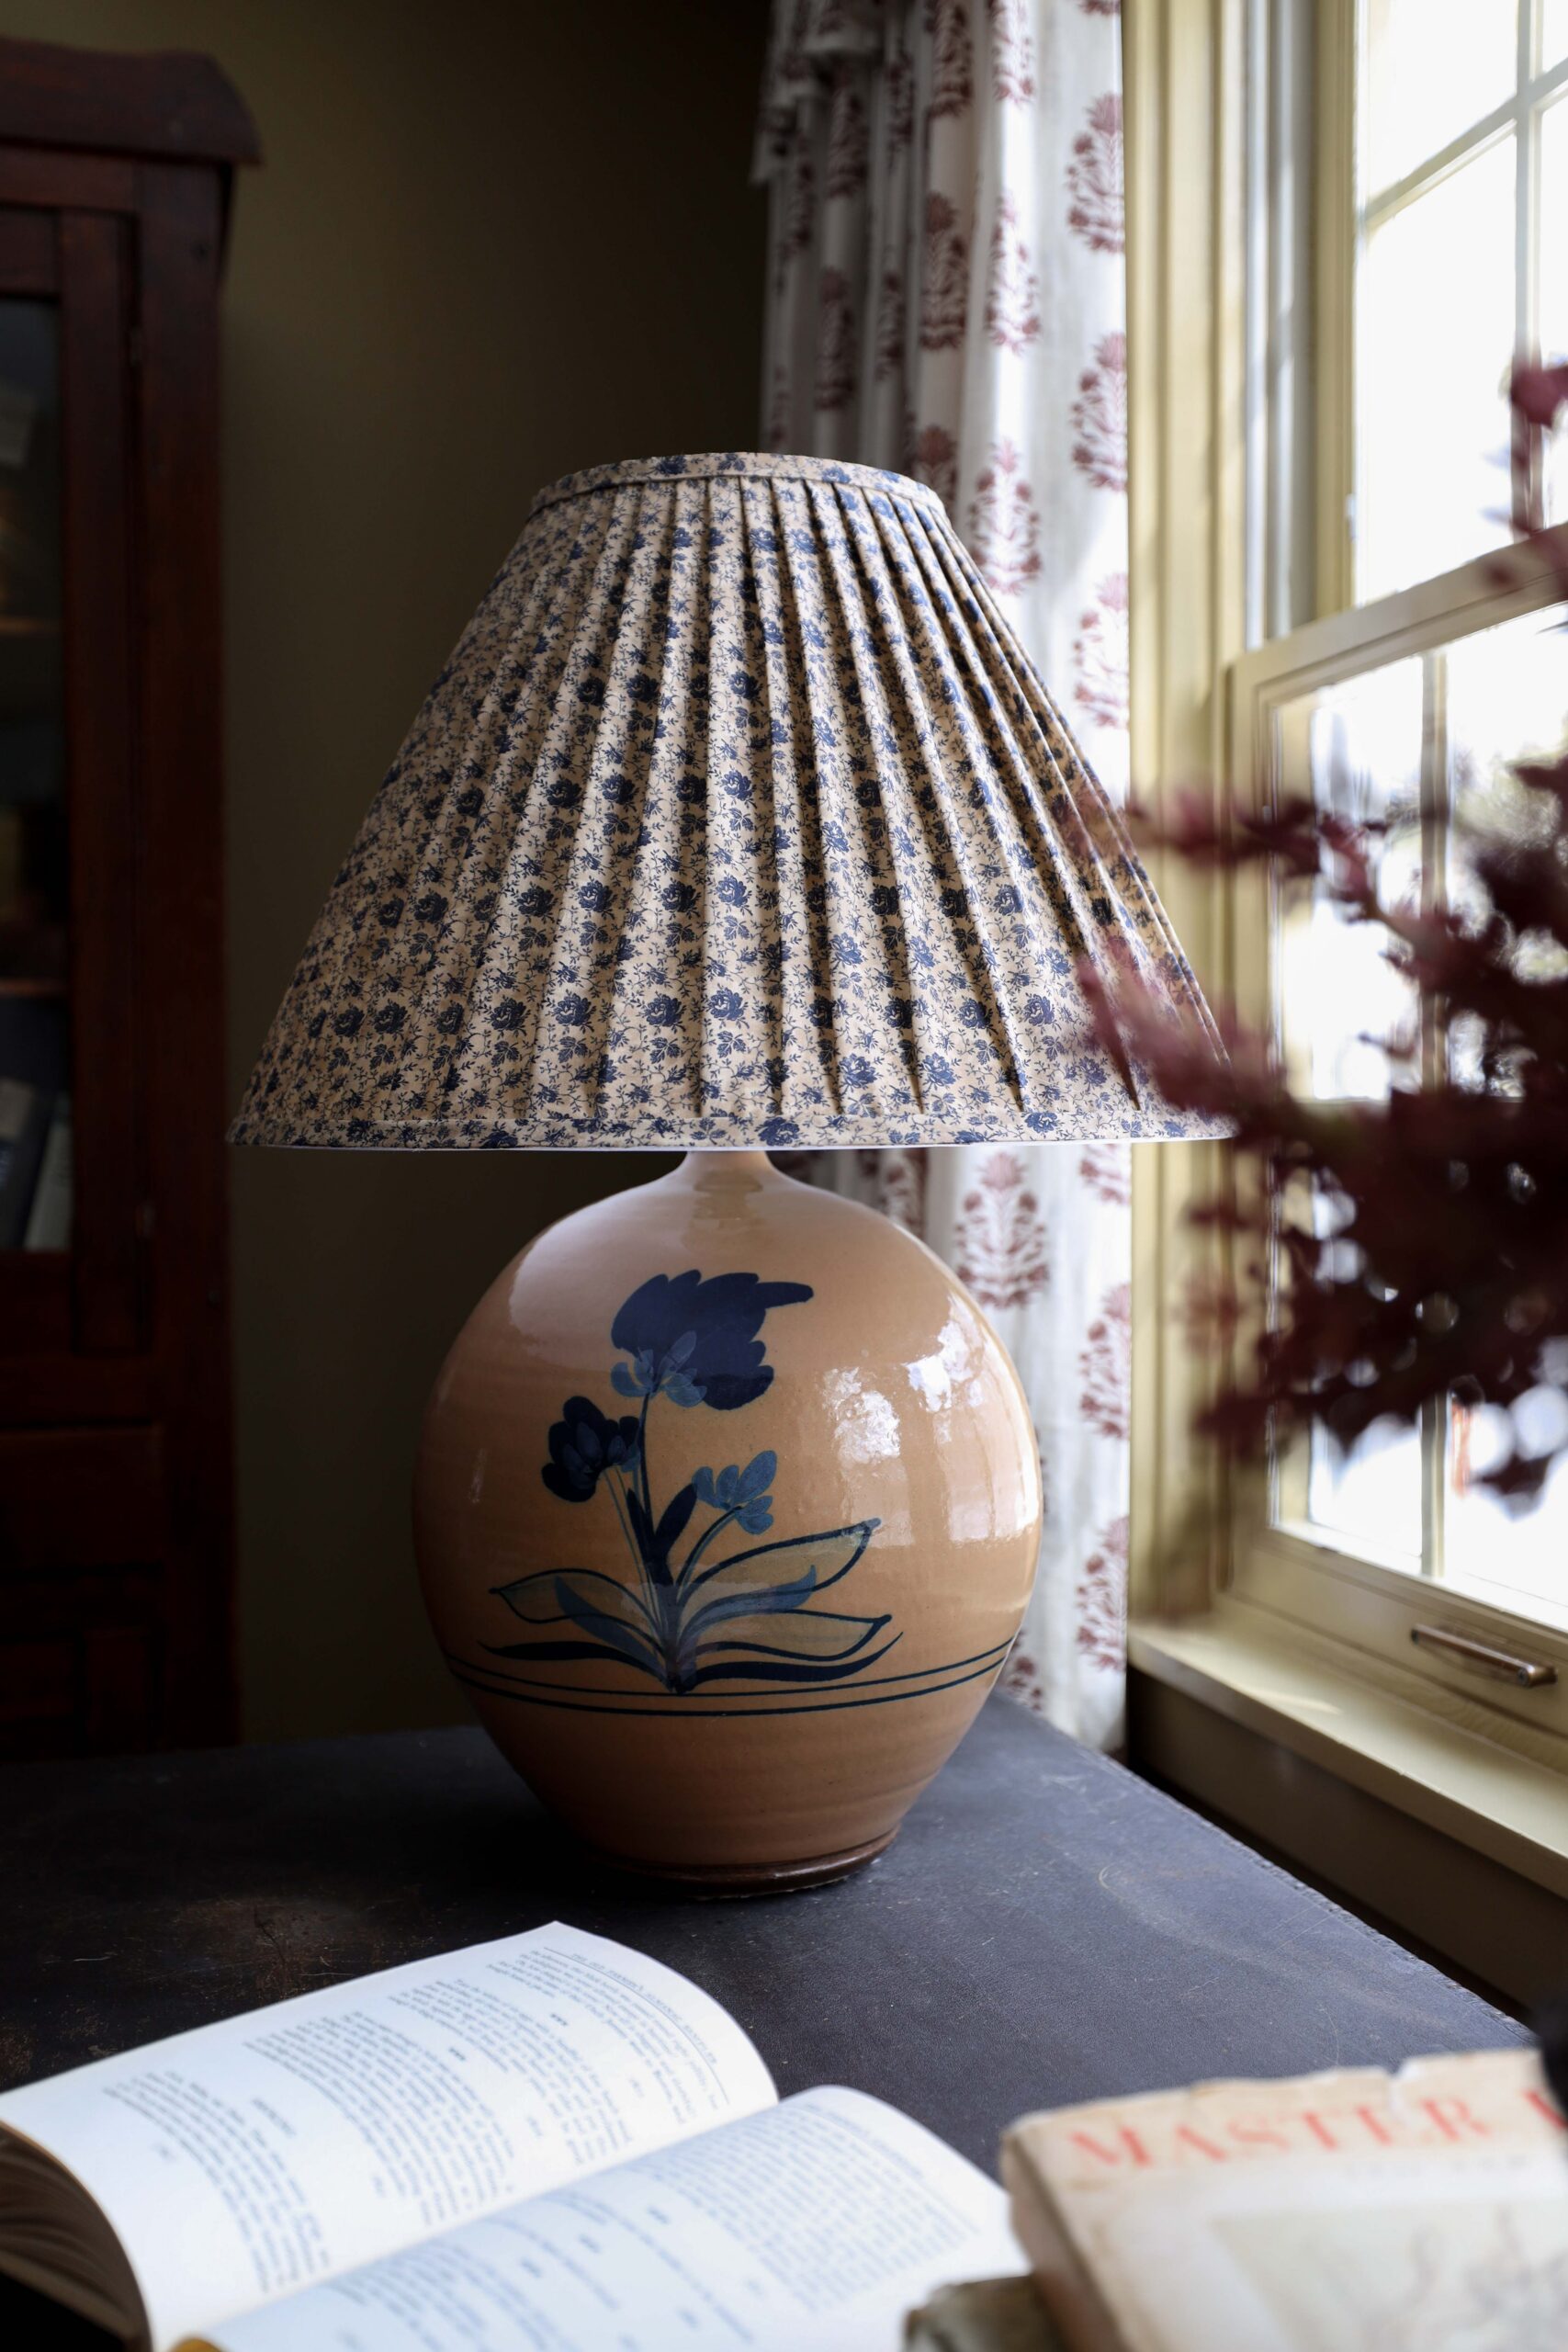
We spent a great deal of time thinking about a new paint color for the kitchen. We landed on French Gray by Farrow & Ball and it sings against the dark wood countertops and brass accents. It’s a pronounced green, but not an overwhelming hue. With plum and blue accents, the kitchen graces a harmonious color palette.
To paint the cabinetry, we used our favorite paint sprayer. First, we sprayed a coat of B-I-N Primer, then a coat of Farrow & Ball’s Wood Primer, and finally Farrow & Ball’s French Gray in the sheen Estate Eggshell.

THE PANTRY
Our pantry was missing a door and it felt like the perfect opportunity to build an inexpensive wood plank door with hand-forged iron strap hinges – the same hinges we used on our front door. Hidden behind is our microwave, baking goods, and dog food.

Our “no demo” kitchen makeover strikes the perfect balance between utilizing what we have and adding beautiful functionality. Without being wasteful of materials and finances, I think we’ve achieved a kitchen that will satisfy both our practical and stylistic needs for many years. Glass of champagne anyone?!
Keep scrolling for a full list of sources and in progress shots!
In Progress & Detail Shots


Sources & Links
Scroll right to view the full list →
Leave a Reply

Where behind the scenes, exclusive advice, and candid conversations are sent straight to your inbox every week.
The Inside Scoop
DO YOU WANT

Ok so I am forwarding this to my partner STAT – we have been living with the new “box” kitchen from the last owner and it has zero character or warmth, I have been begging to make it more us and this might be the motivation that gets it happening! You’ve demonstrated so well how finishes and eclectic styling instantly rejuvenates a space, I am so inspired!
Yayy I support that 100%! This weekend is looking free 😉
I absolutely love this kitchen! And I’m surprised to see you were able to plank over the backsplash tile! Did you guys nail through that? Would love to know!
Great job!
Hi Carolyn! That was a bit of a trial and error experiment for us! We nailed the top portion of the T&G in place and we used a glue intended for wood & ceramic over the tile. I’d say only 50% of the glue held in place so we ended up adding a shoe mould where the walls meet the countertop to secure it.
Absolutely gorgeous!
Thank you so much Karen!
You guys did such a great job. I think you’ll get a lot of miles out of your new kitchen before it’s time for a big renovation. Your dark counters are really pushing me to sand & stain mine.
I need at least 5 years out of this kitchen because I realized I’m still traumatized from our last kitchen renovation 8 years ago! haha! Also, I 100% recommend dark butcher block counters…elevates them so much!
Not surprisngly you two knocked it out of the park! The new color and the texture of the shiplap are gorgeous and the addition of the fridge surround and upper cabinetry are the perfect marriage with the existing lower cabinets. I adore the colors and textures brought in by the art, pottery, dishes, etc. Well done!!
Oh my gosh thank you Renae! It was definitely a fun challenge finding ways to elevate it with the existing lowers! Lots of layers at eye level to keep the eyes up! haha!
it’s beautiful! the surround around the fridge makes such a huge difference! and I love the plate rack cabinet.
Thank you! The fridge felt like a floating object before and we were so eager to tuck it in 😉
It is stunningly beautiful!!!
Aww thank you!! 🙂
What a wonderful makeover. Now even the floors look good. I love a cape and I love how you both are making it true to the home’s style and yet reflects you both. Nice job !!
Thank you so much Charisse! Don’t get me wrong, we were sooo tempted to cover the floors…but a big rug will suffice for now! 🙂
Can you give us a breakdown of the mouldings? They turned out so beautifully! I’m hoping to add to my existing mouldings and I’d love to know what you used.
Yes! I need to make a full list with links and I’ll update the post with links in the coming days!