
We all love a good hack right!? Well I’ve got 10 of them that I use on a regular basis and I know you’ll love them! Shall we?
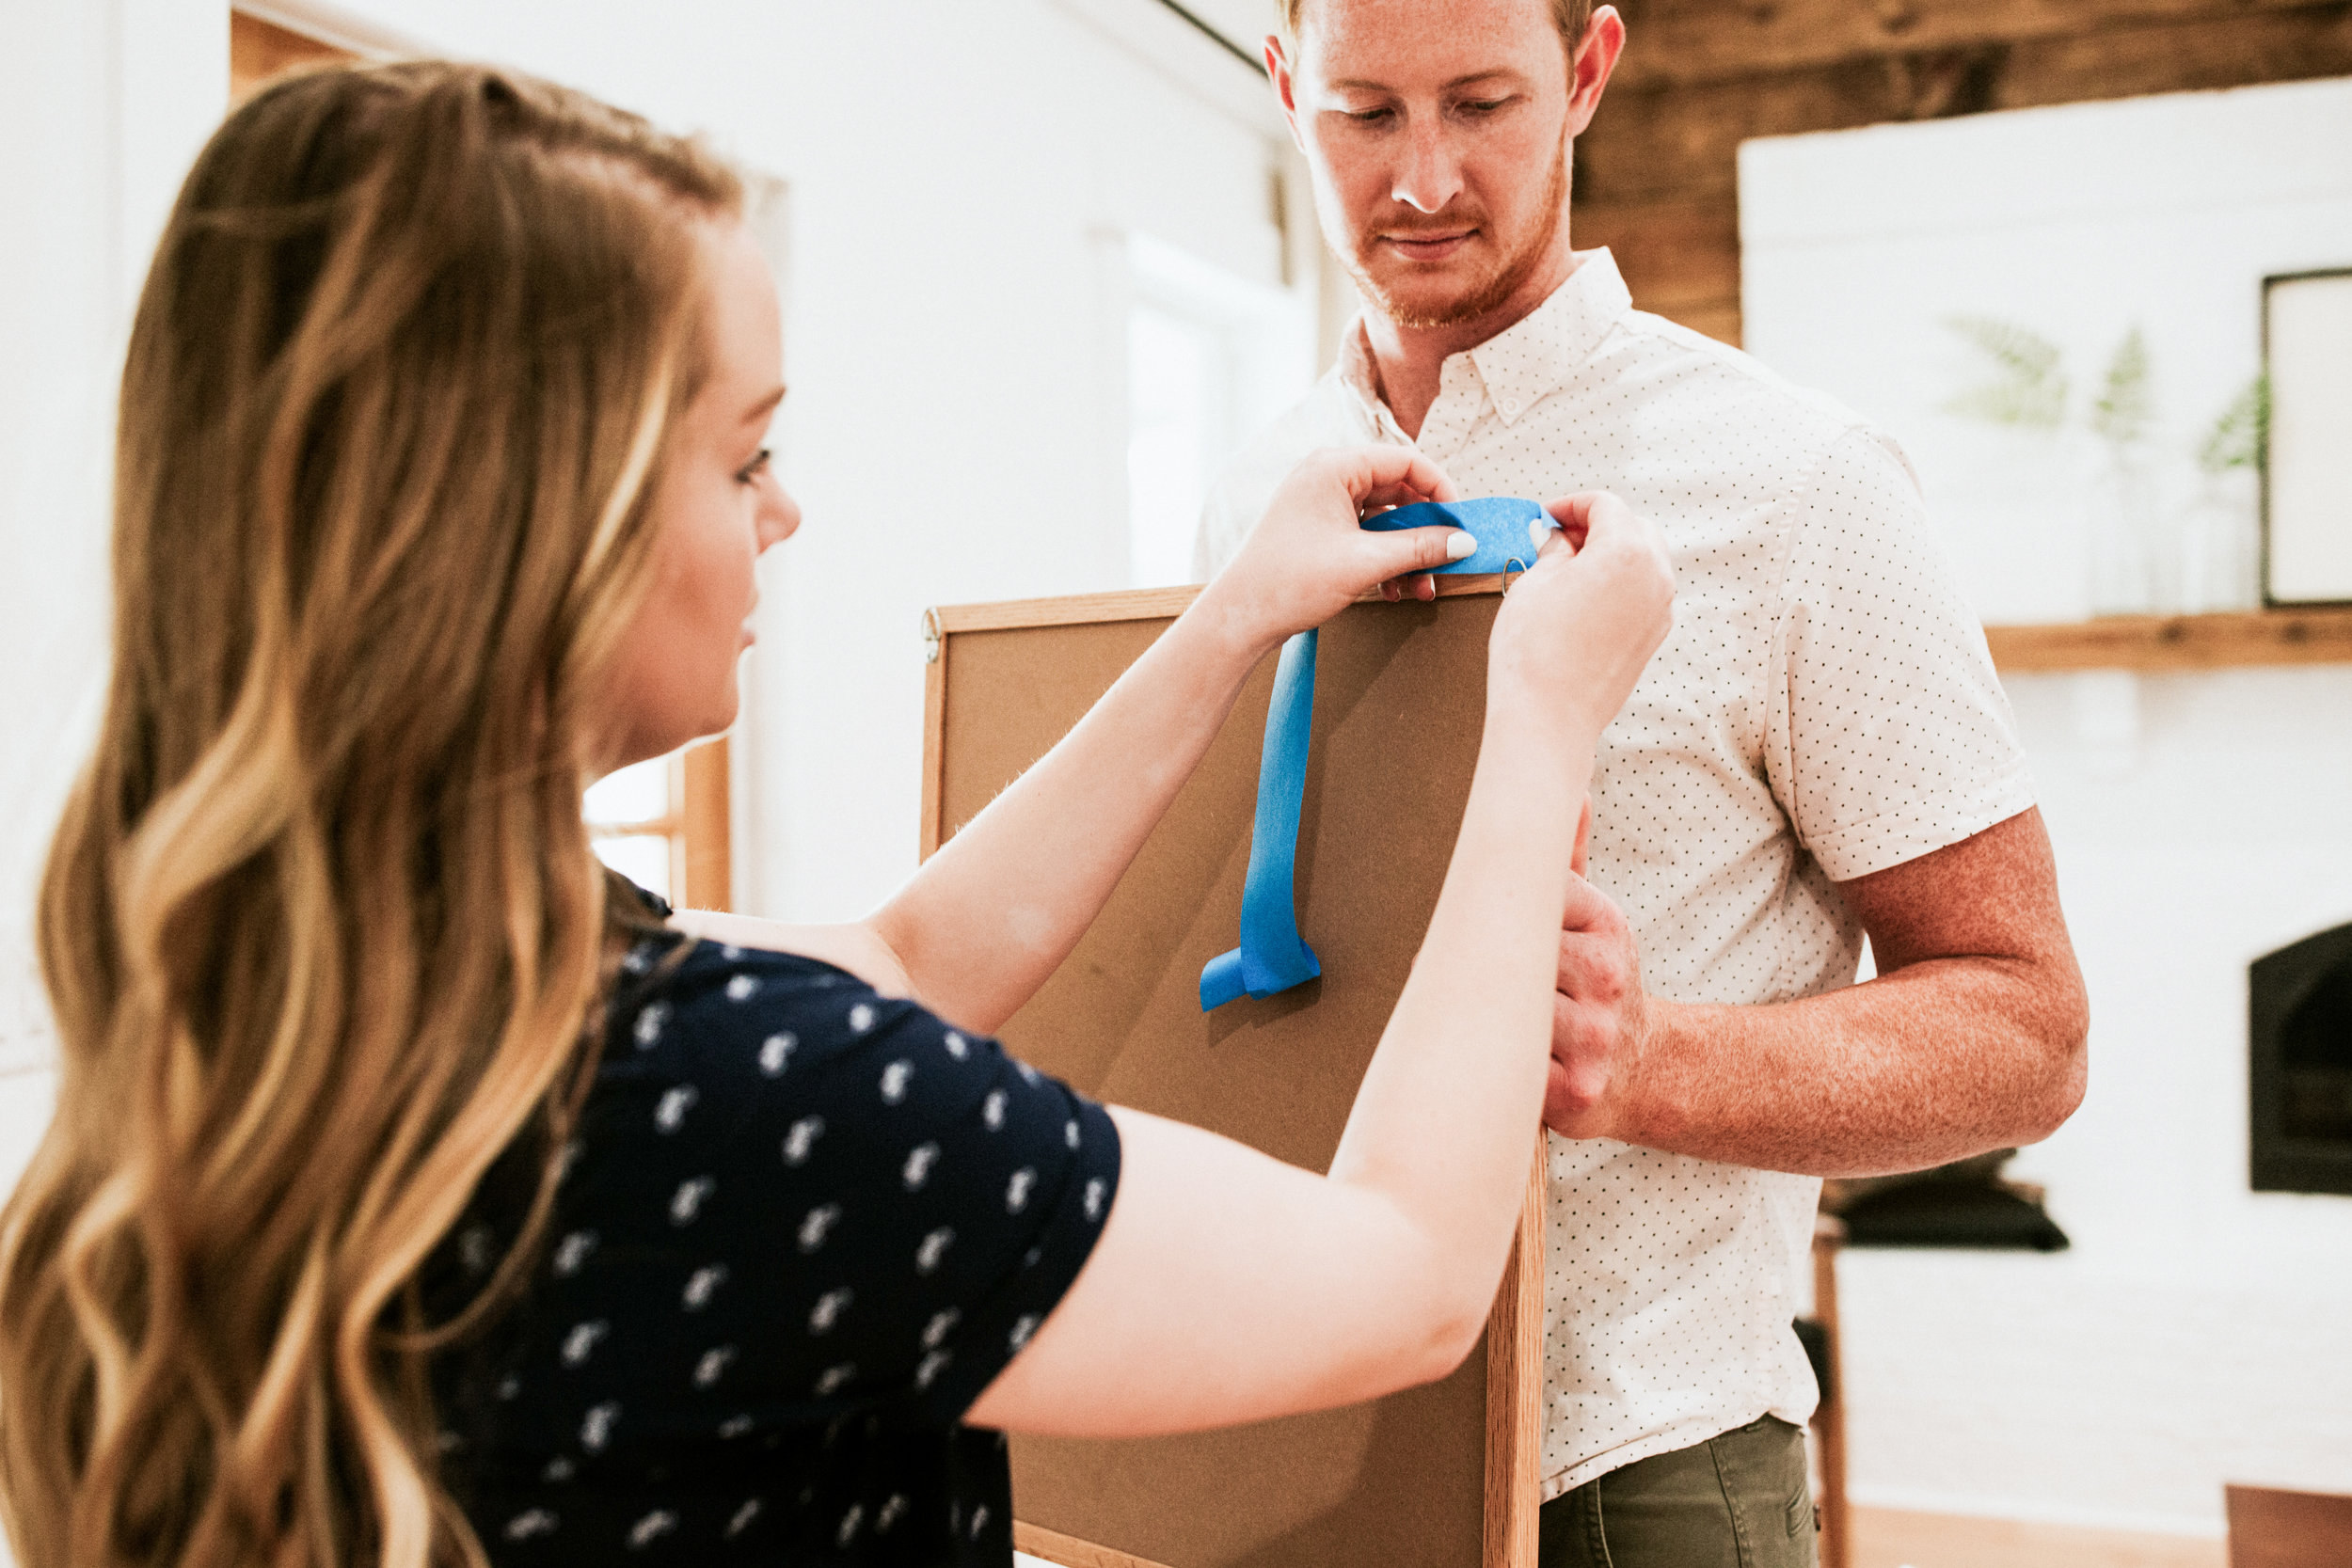
HACK #1. PAINT A PERFECT STRIPE (WITHOUT BLEED MARKS)
One of the most frustrating things in the world is pulling back the painter’s tape and noticing that your paint bled through underneath the tape. NOOOO!!! The whole point of taping was the get a perfectly clean line right!? The good news is that I’ve got an incredible solution that’ll save the day! This trick works great on walls, furniture, and literally anything you paint. I’ll break it down step by step for you.
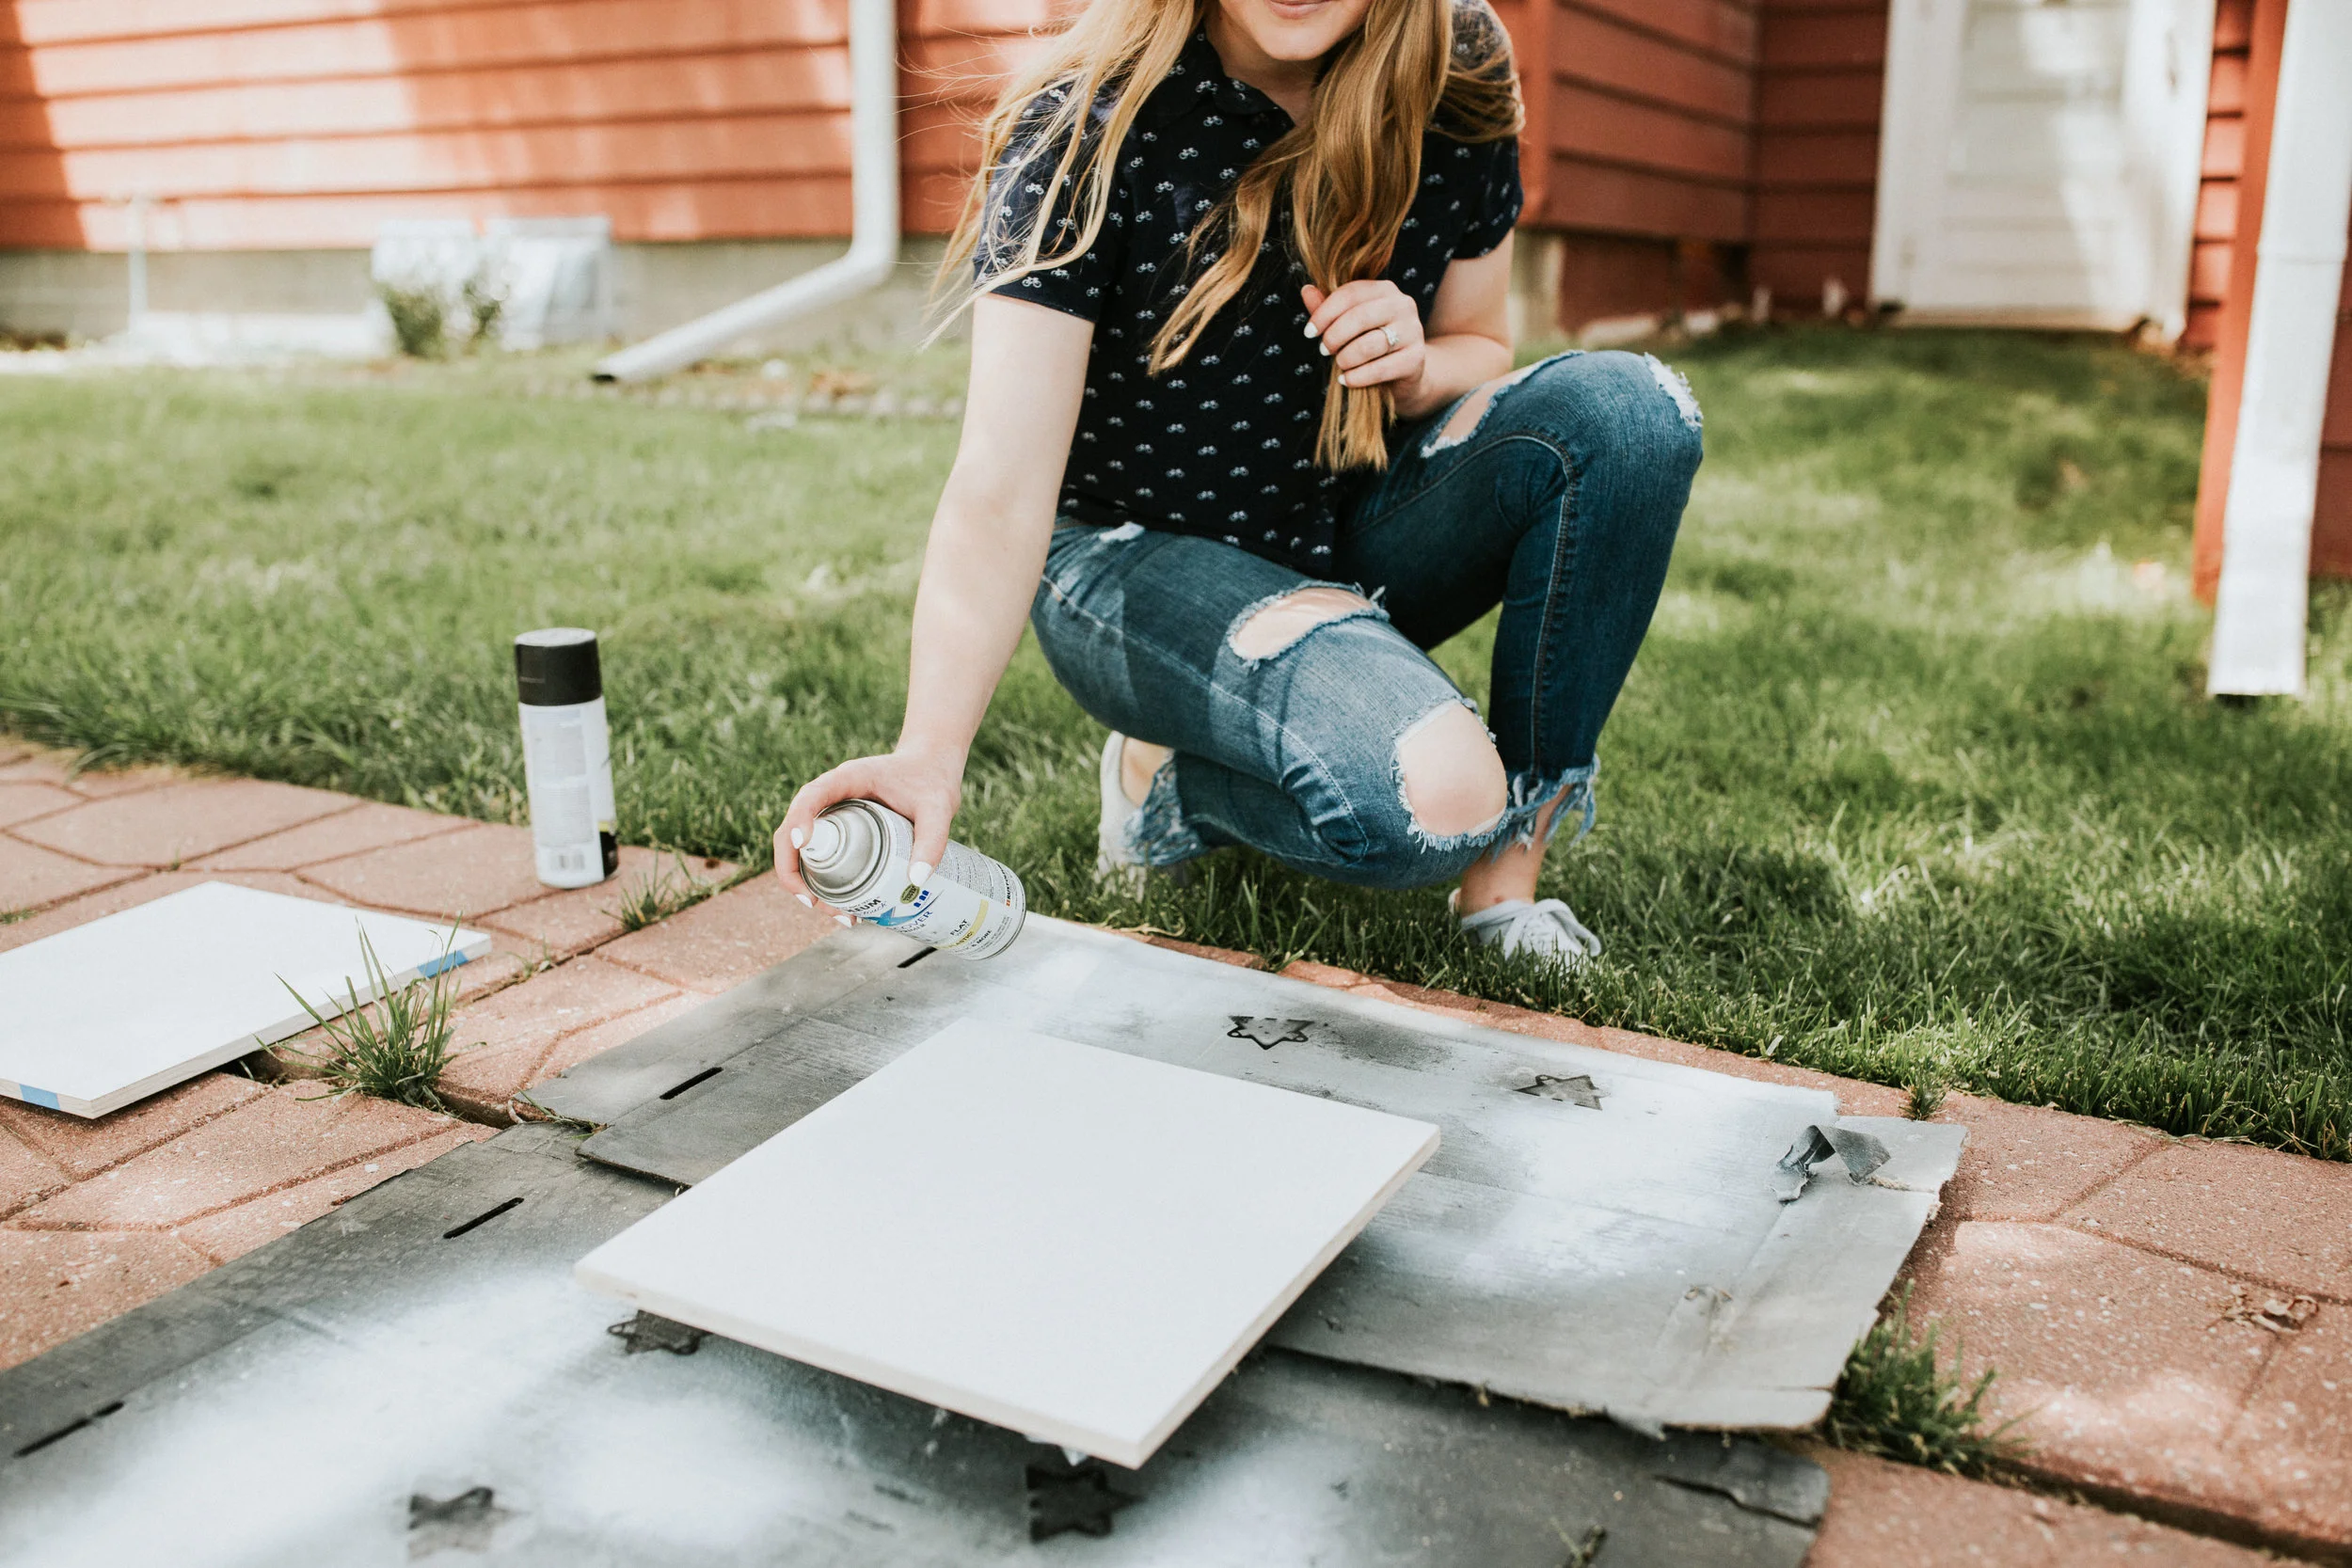
Step 1: Paint the base color – If you’re painting stripes or creating a unique pattern, you’ll have at least two colors. Pick your base color and paint the entire surface.
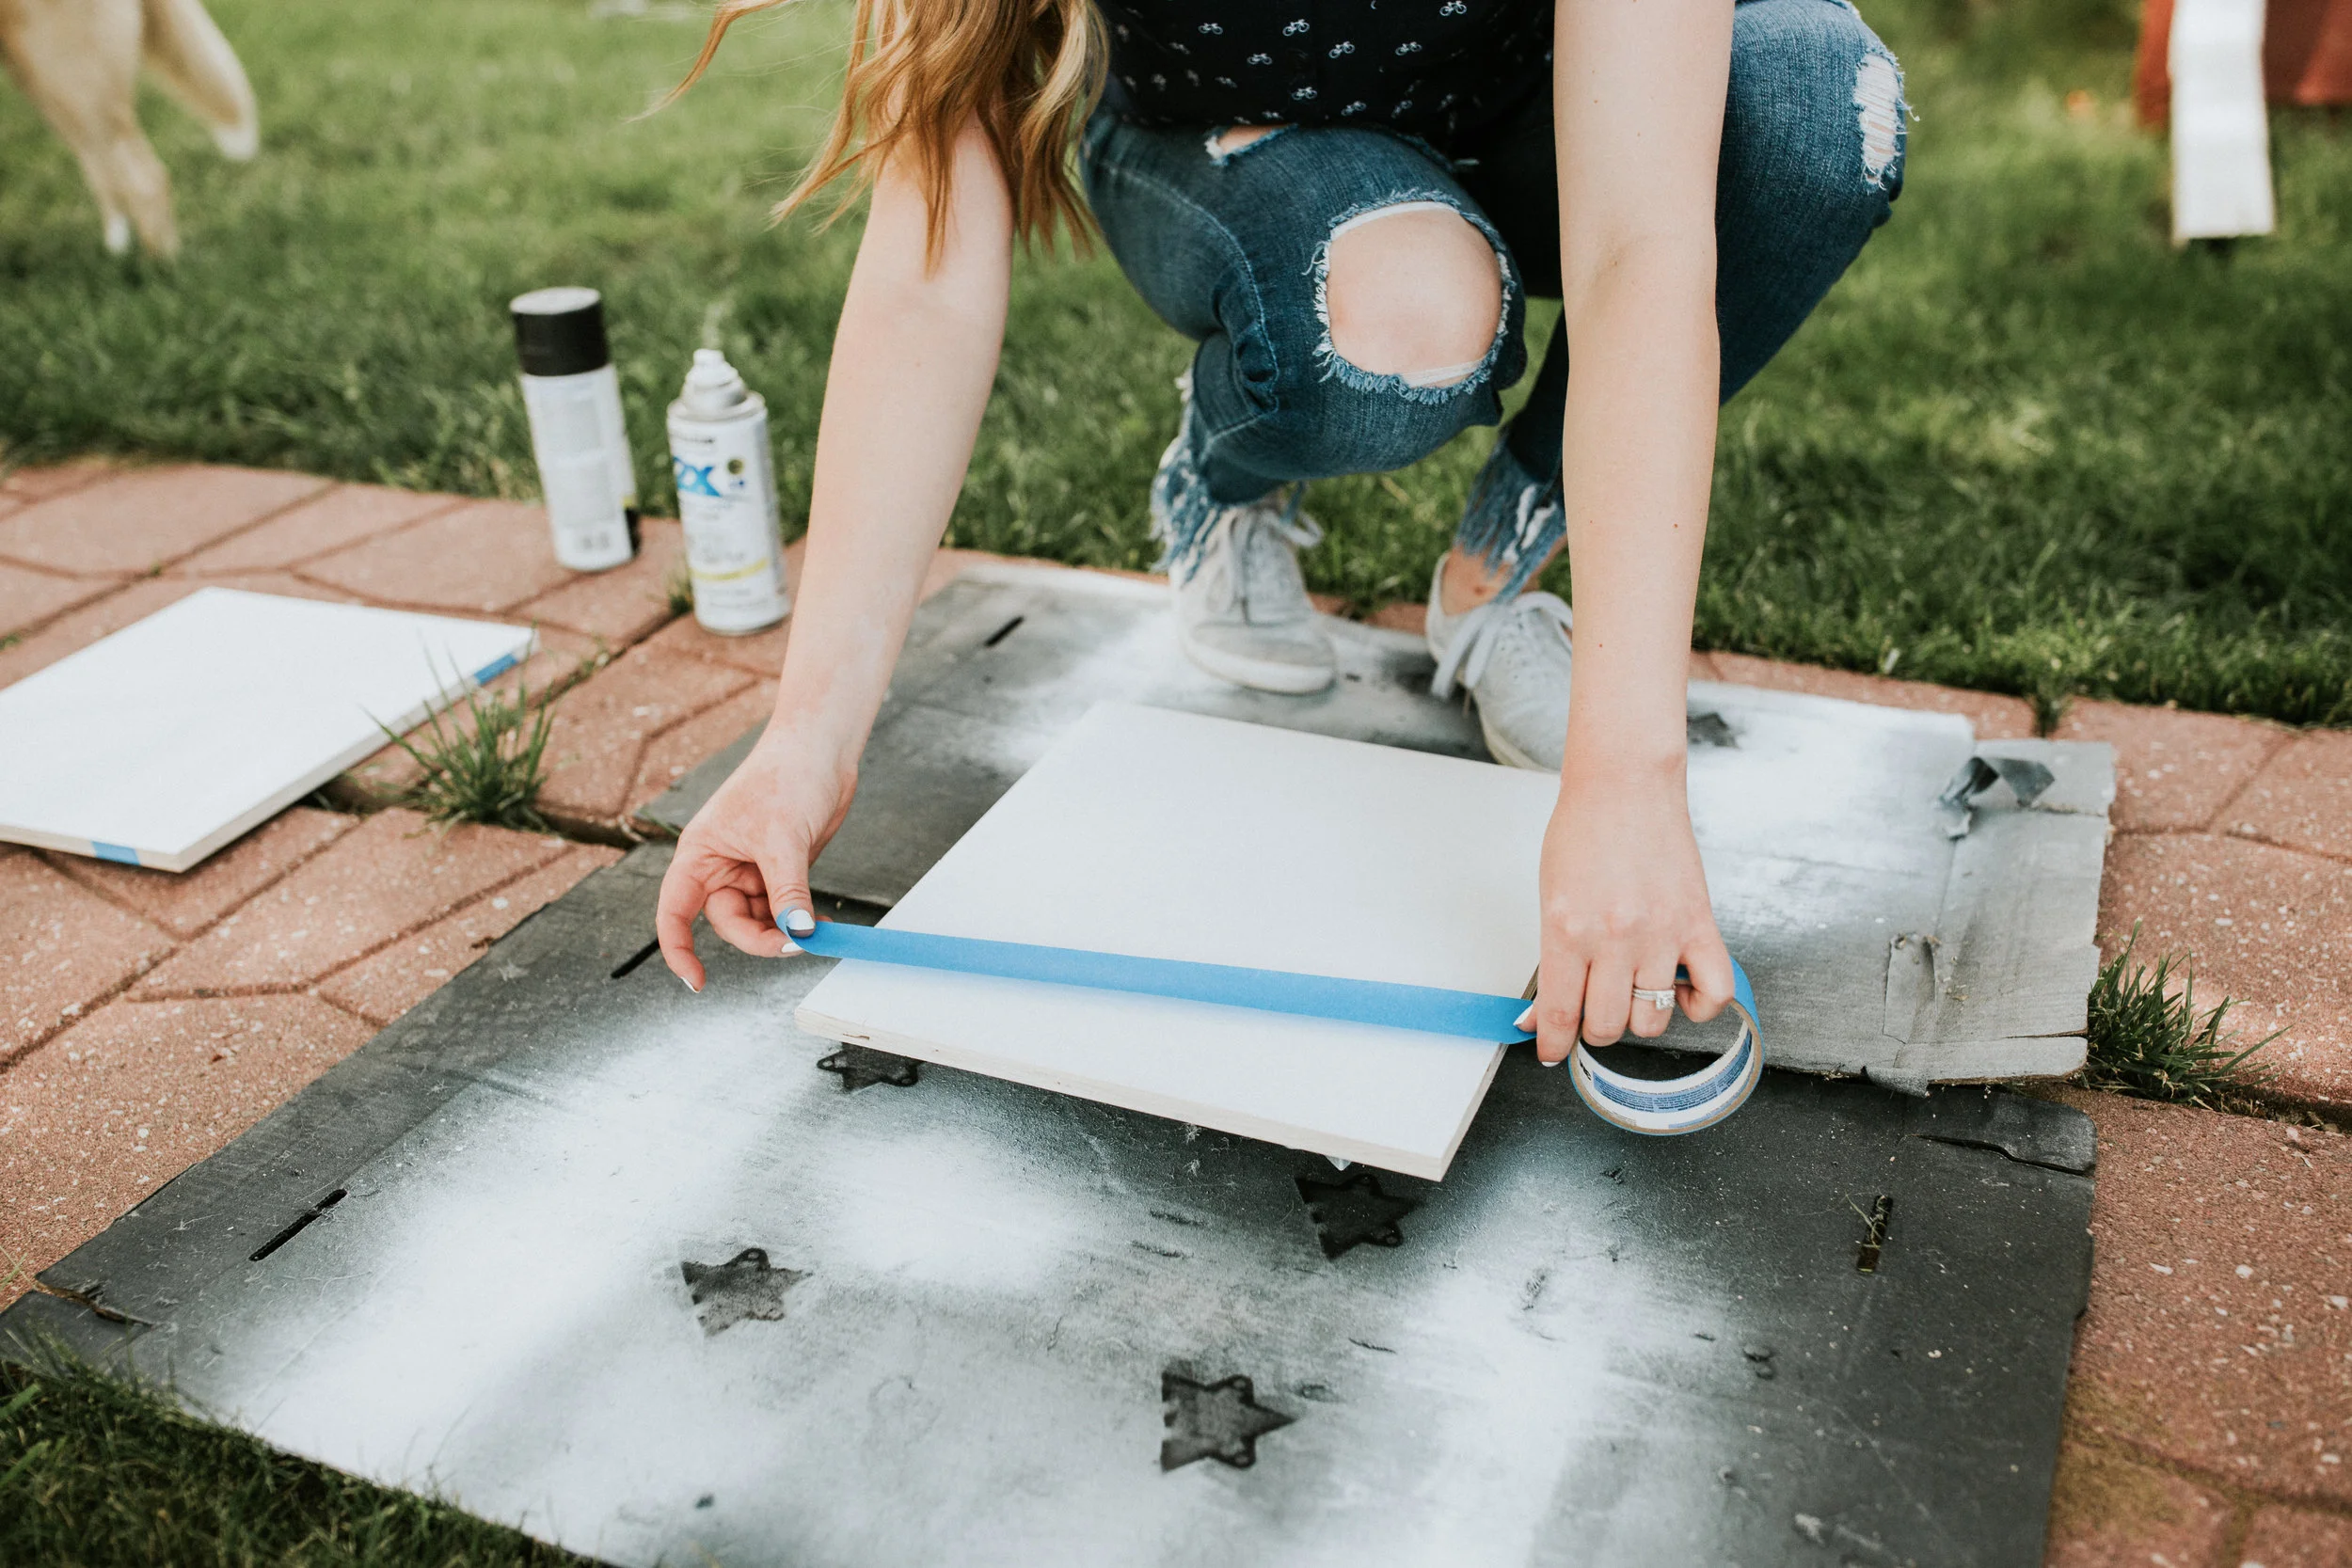
Step 2: Tape the surface – Tape the wall, furniture piece, artwork…whatever it is that you’re painting with your desired pattern.

Step 3: Paint your base color over the tape – This is the step that most people don’t do. After you’ve finished taping, take the same color that you just used underneath and paint an even coat over everything. This creates a tight seal which will ultimately keep your second color from bleeding through underneath the painter’s tape.
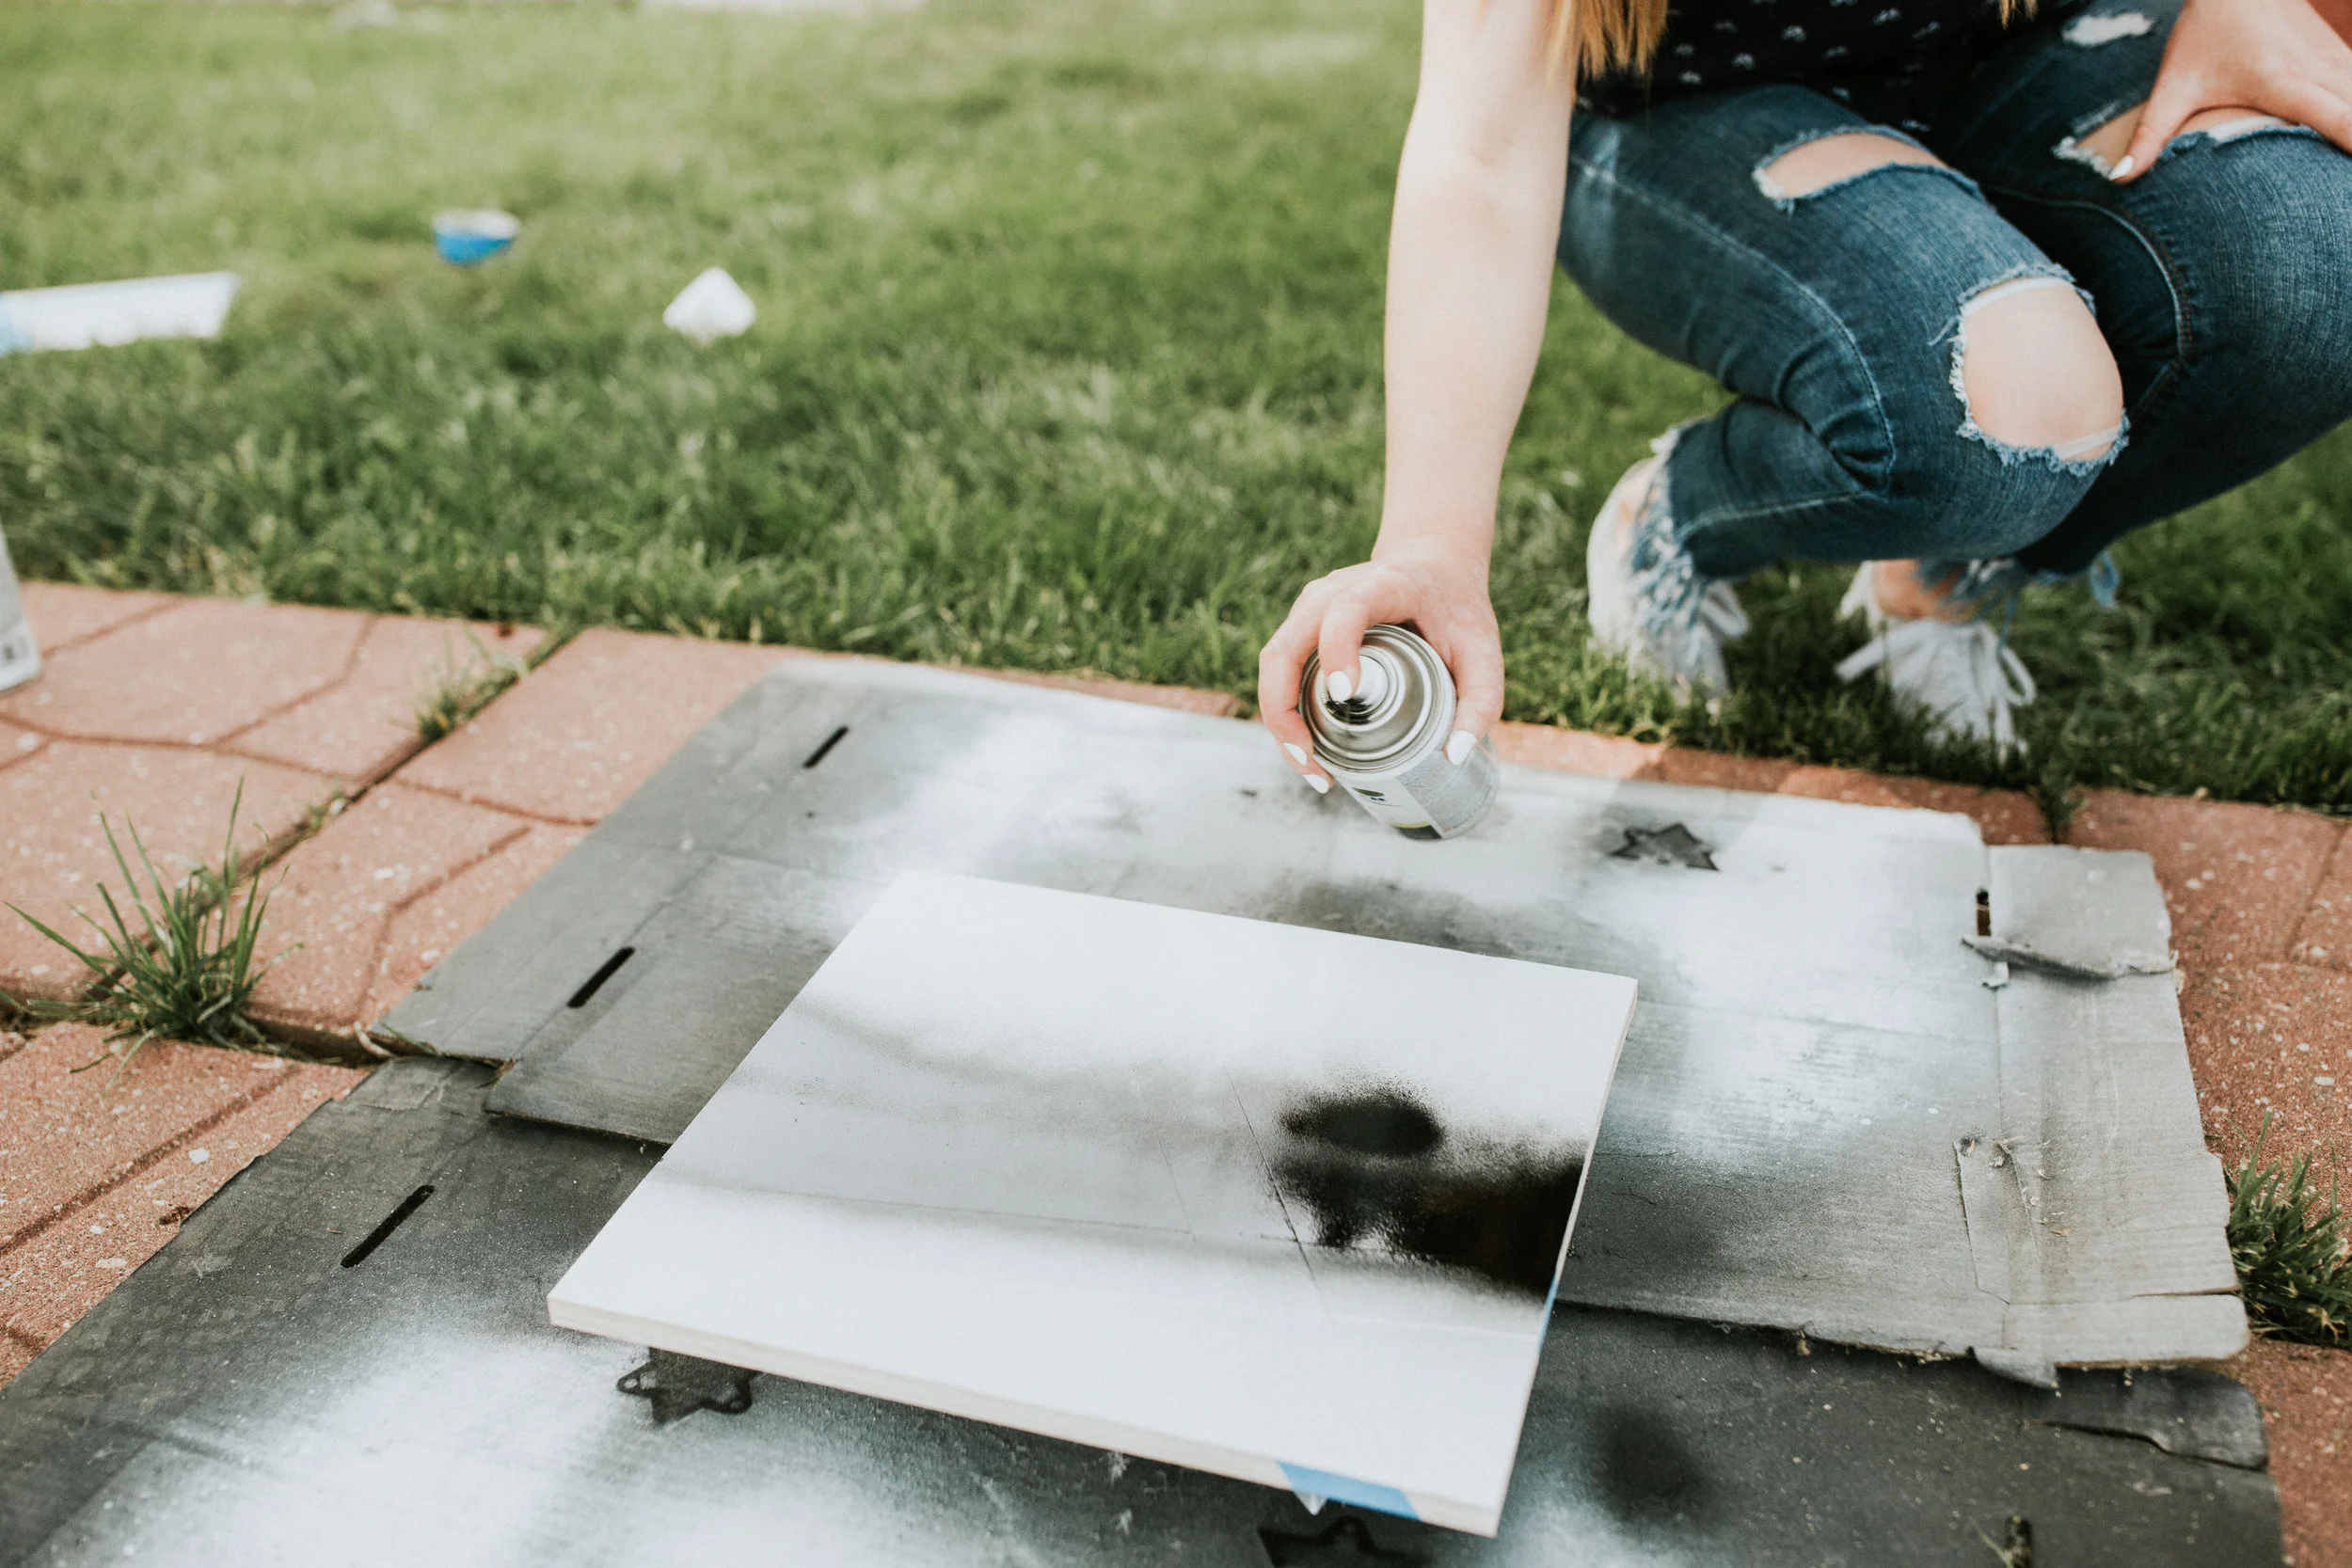
Step 4: Paint your second color – After you’ve allowed your base color to dry, apply your second paint color.
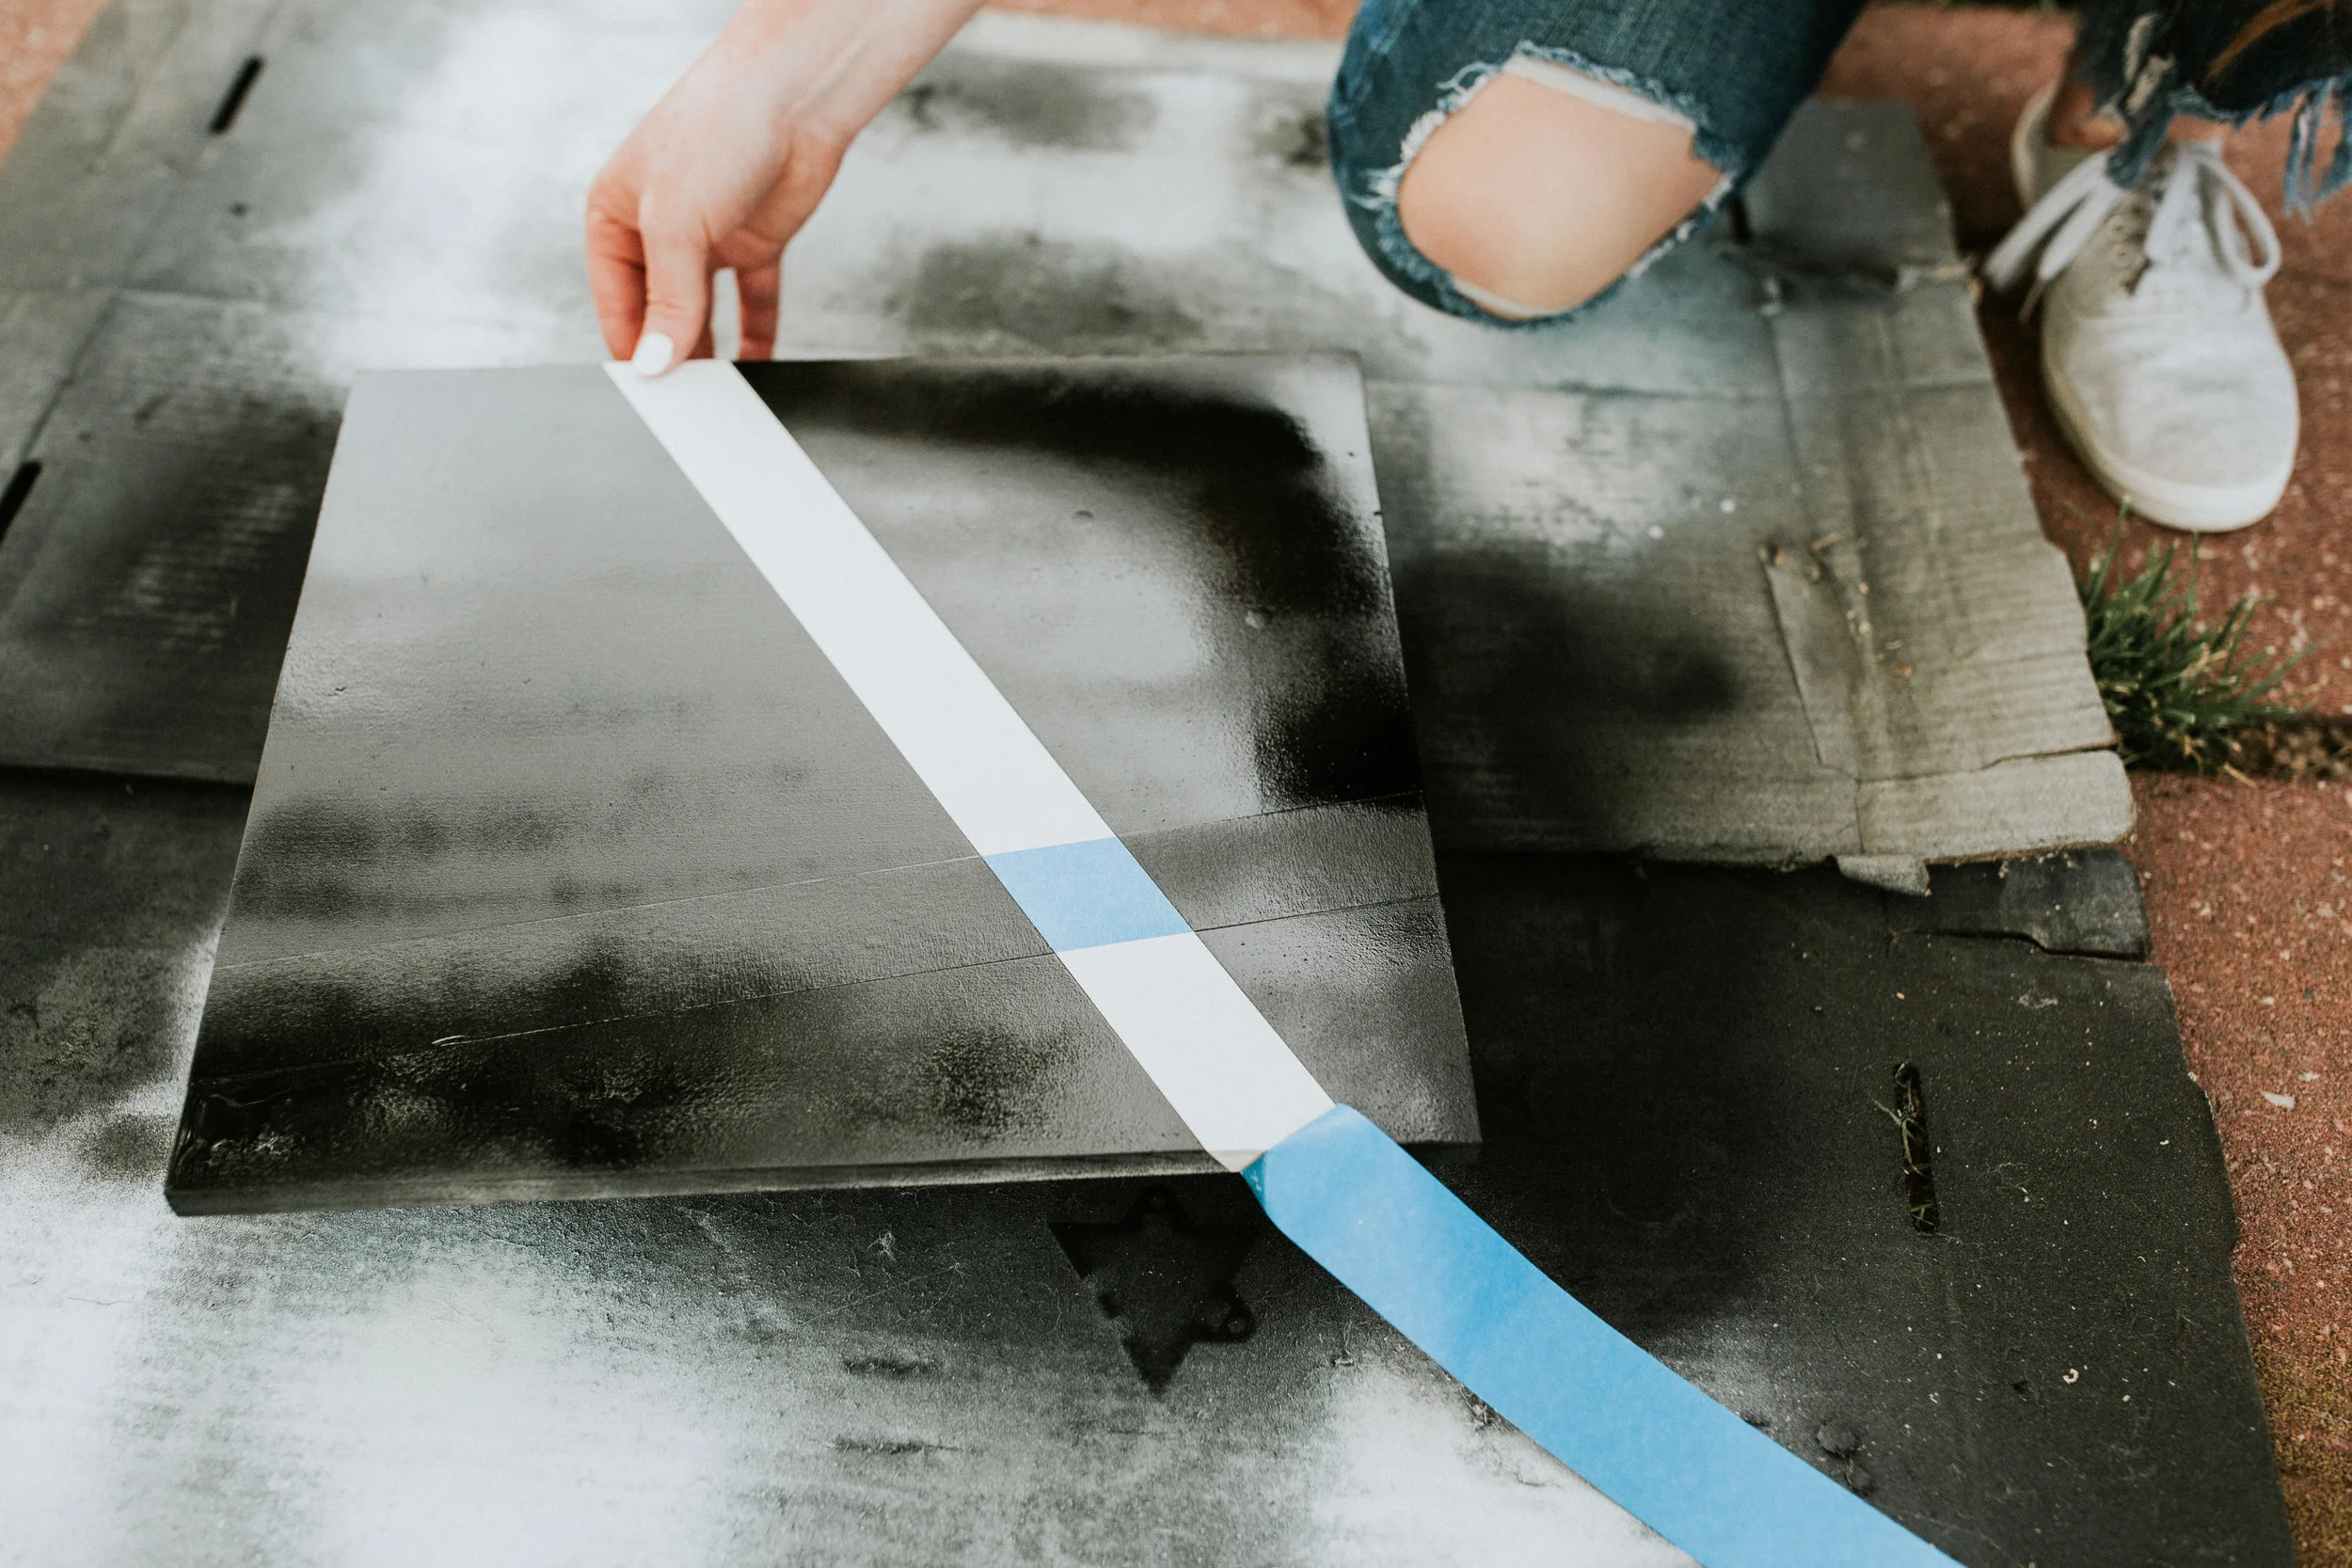
Step 5: Peel off your tape – While the paint is still wet, carefully peel off your tape.
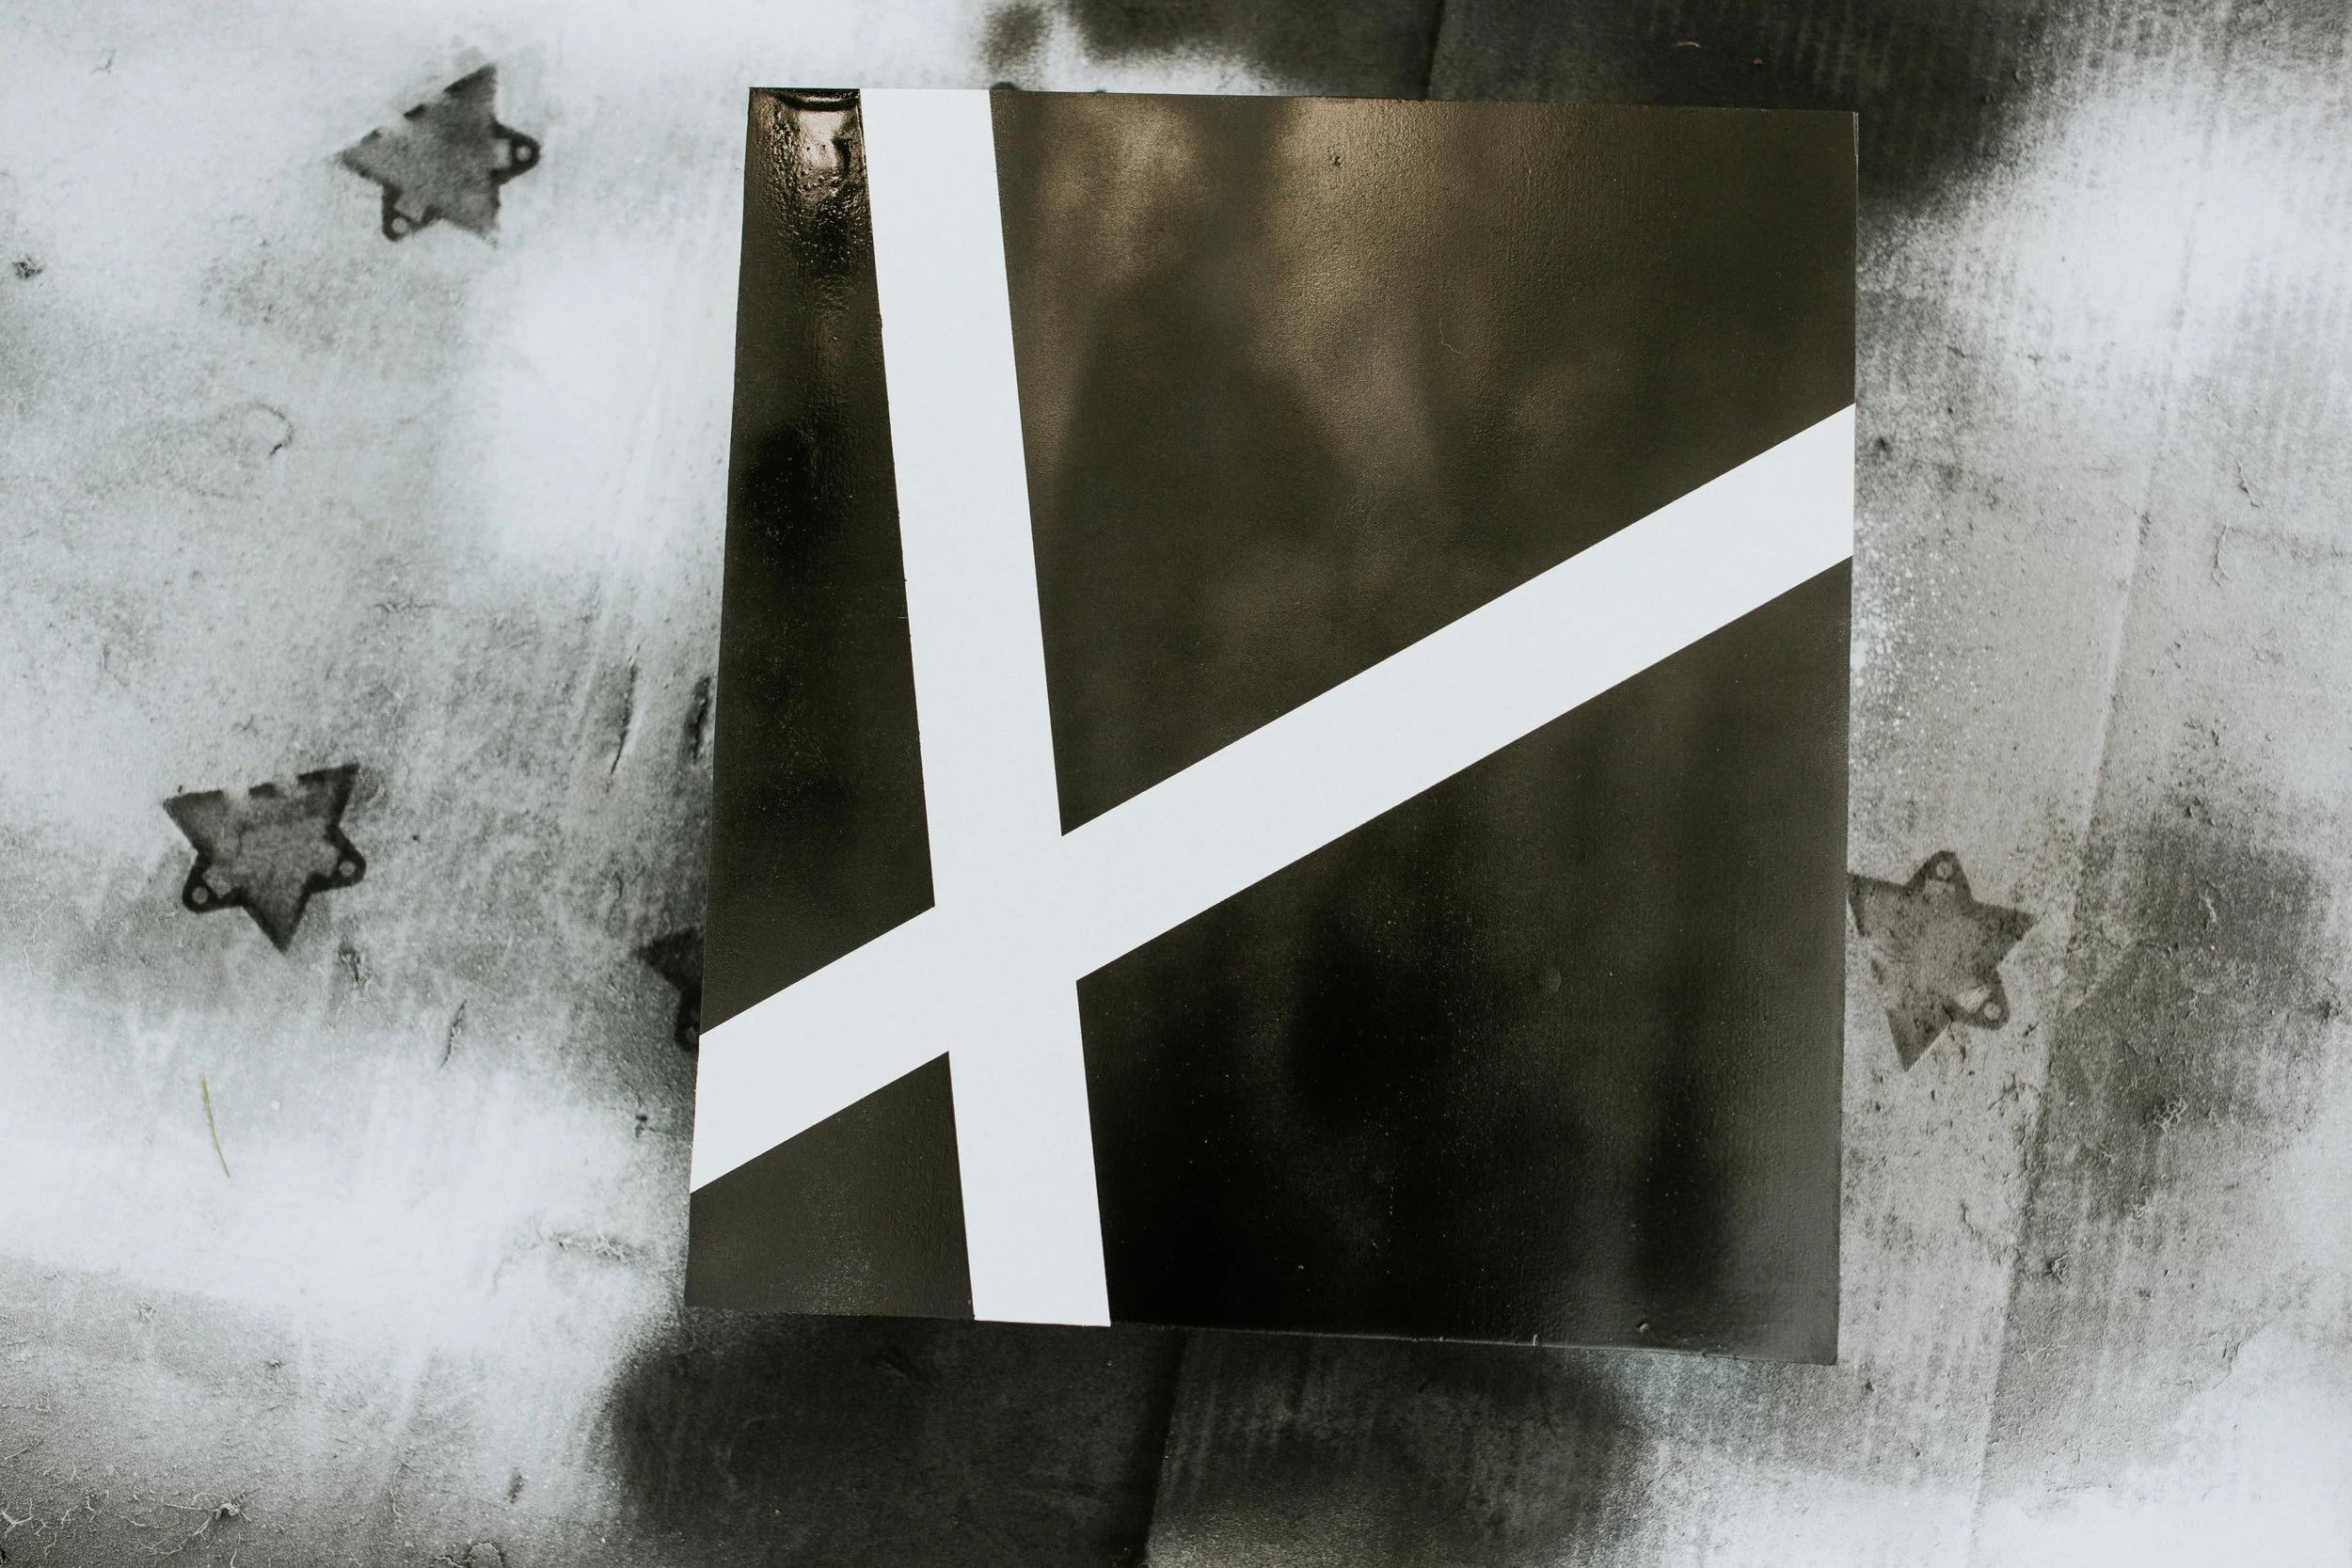
You should have perfectly clean lines without any bleed marks! Yay!
HACK #2. HOW TO PUT ON YOUR DUVET COVER USING THE BURRITO METHOD
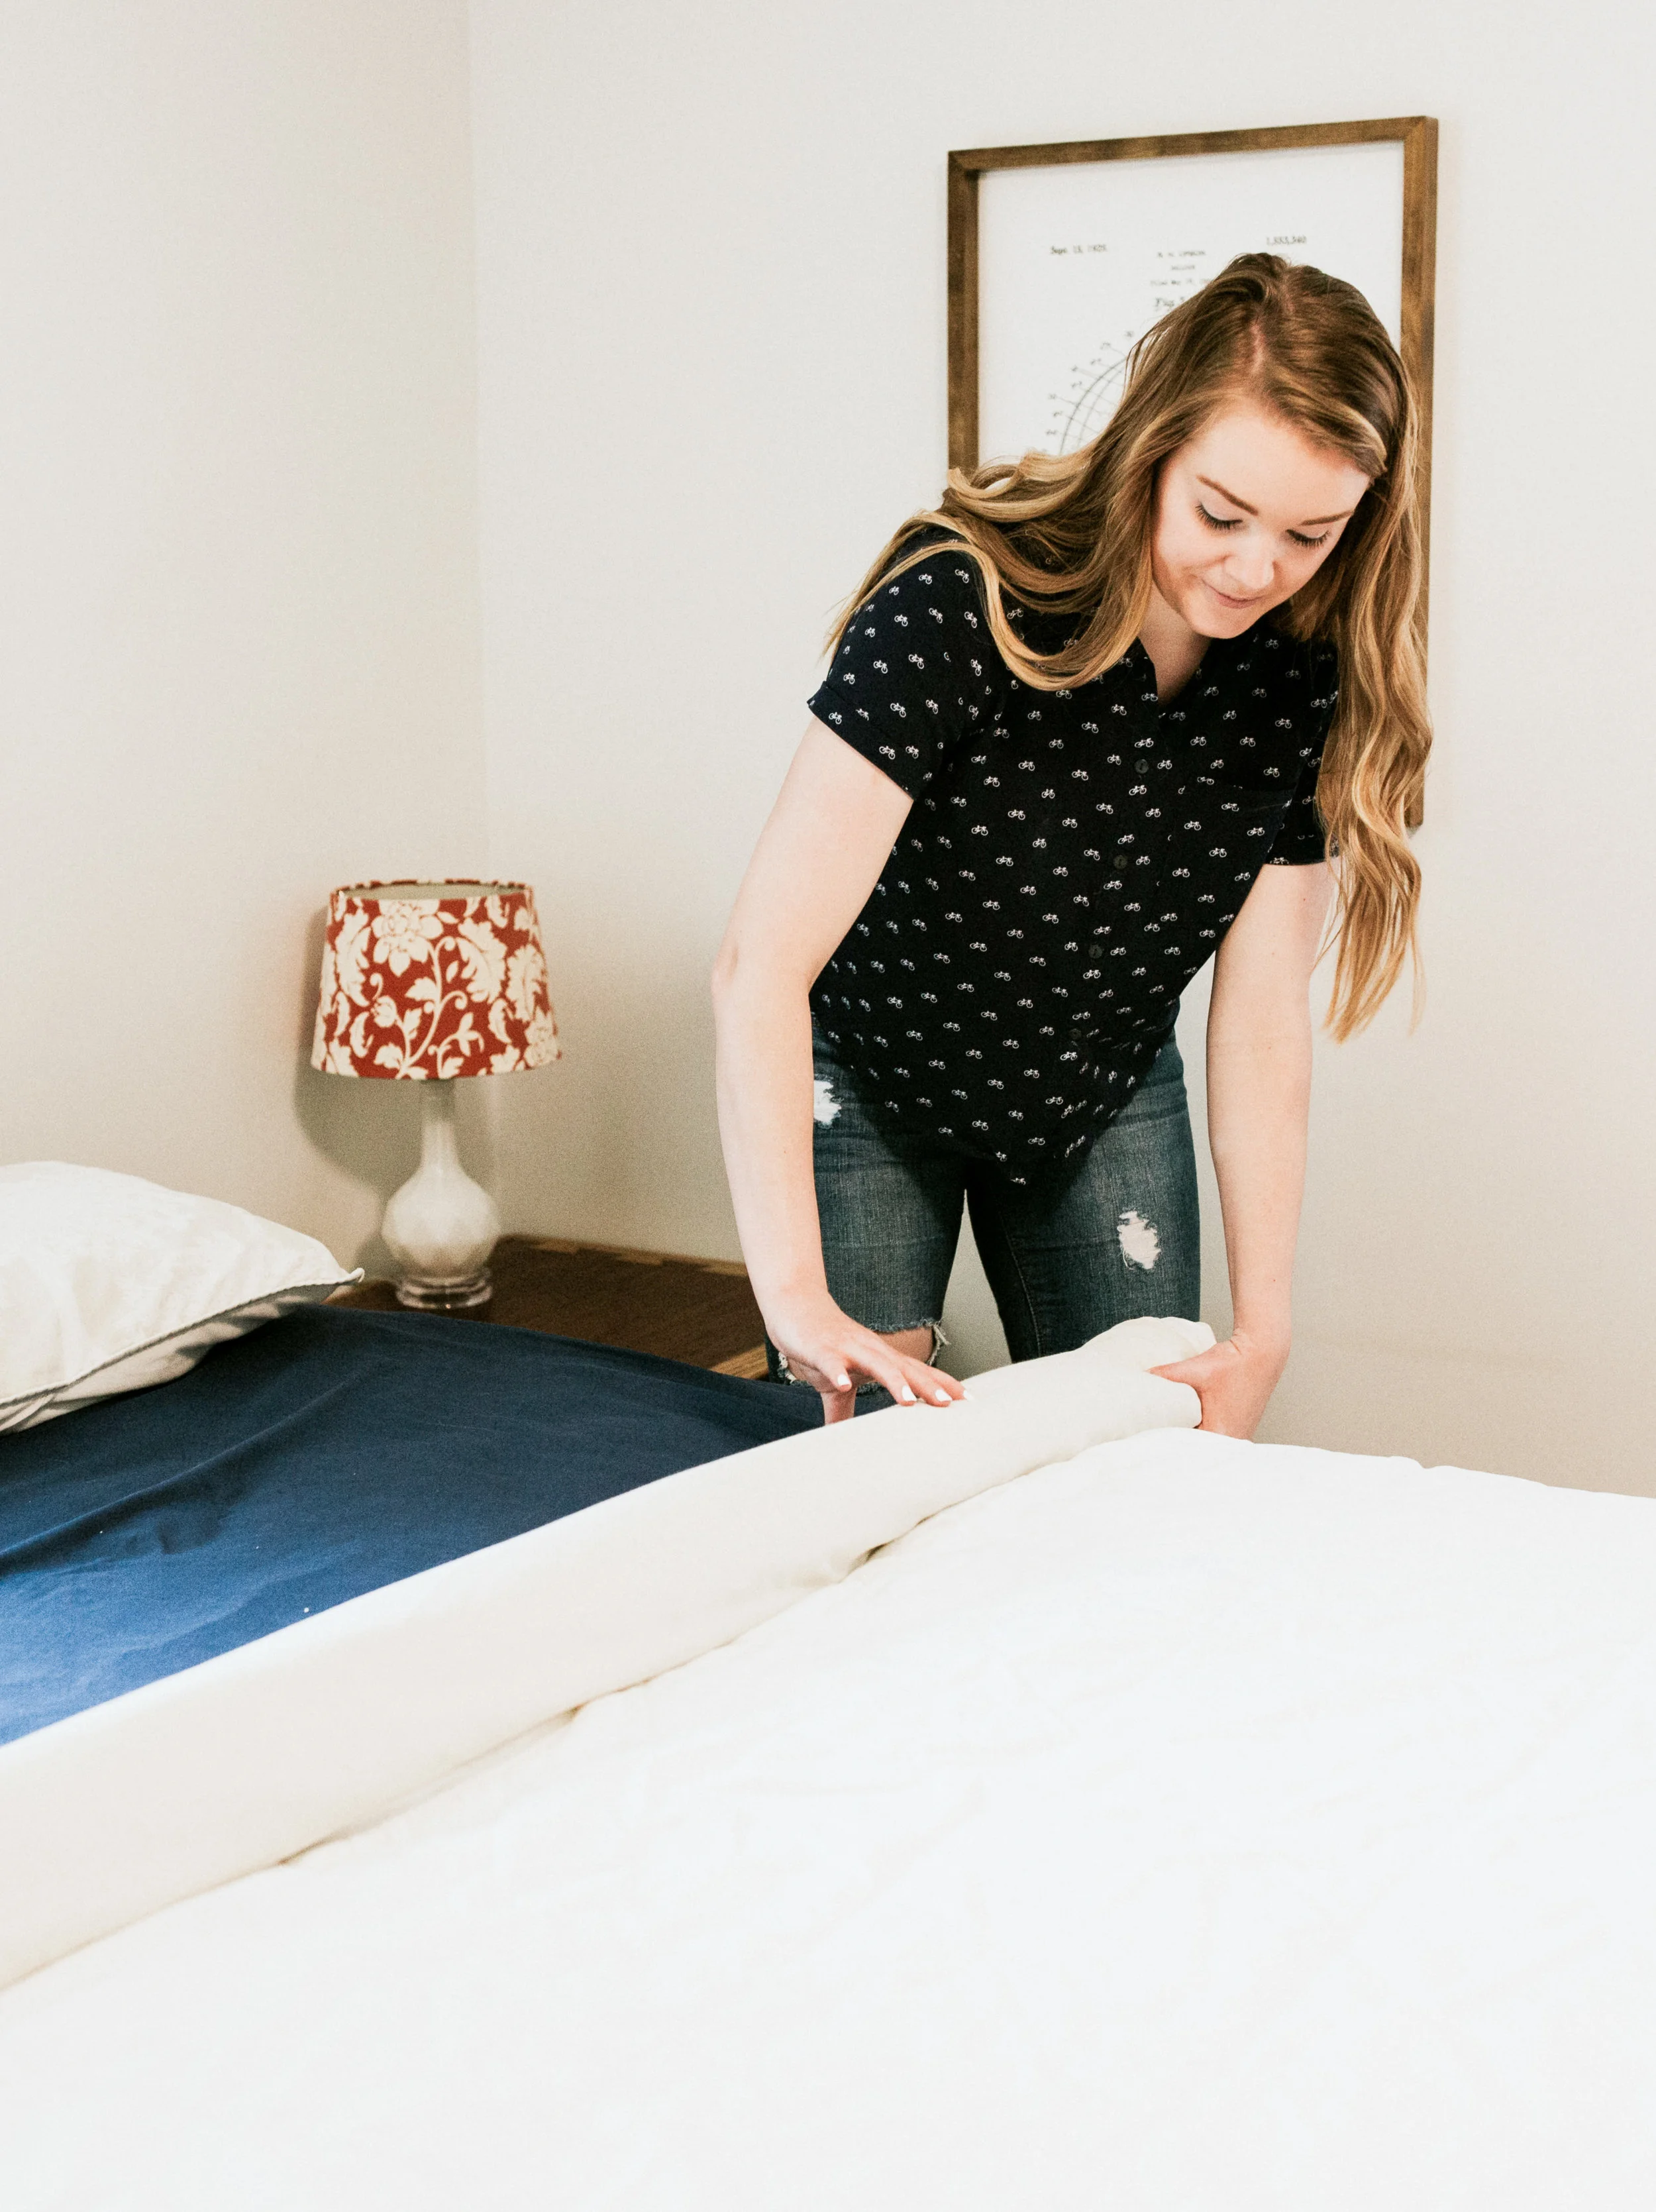
I used to HATE putting on my duvet cover because it’s literally impossible to get right. Then I heard about the burrito method. Ummm… you guys this is genius! Watch this video by the Rachael Ray Show to see how easy it is to put your duvet cover on!
HACK #3. CAULK YOUR FLOOR TRIM TO FILL IN GAPS AND IMPERFECTIONS
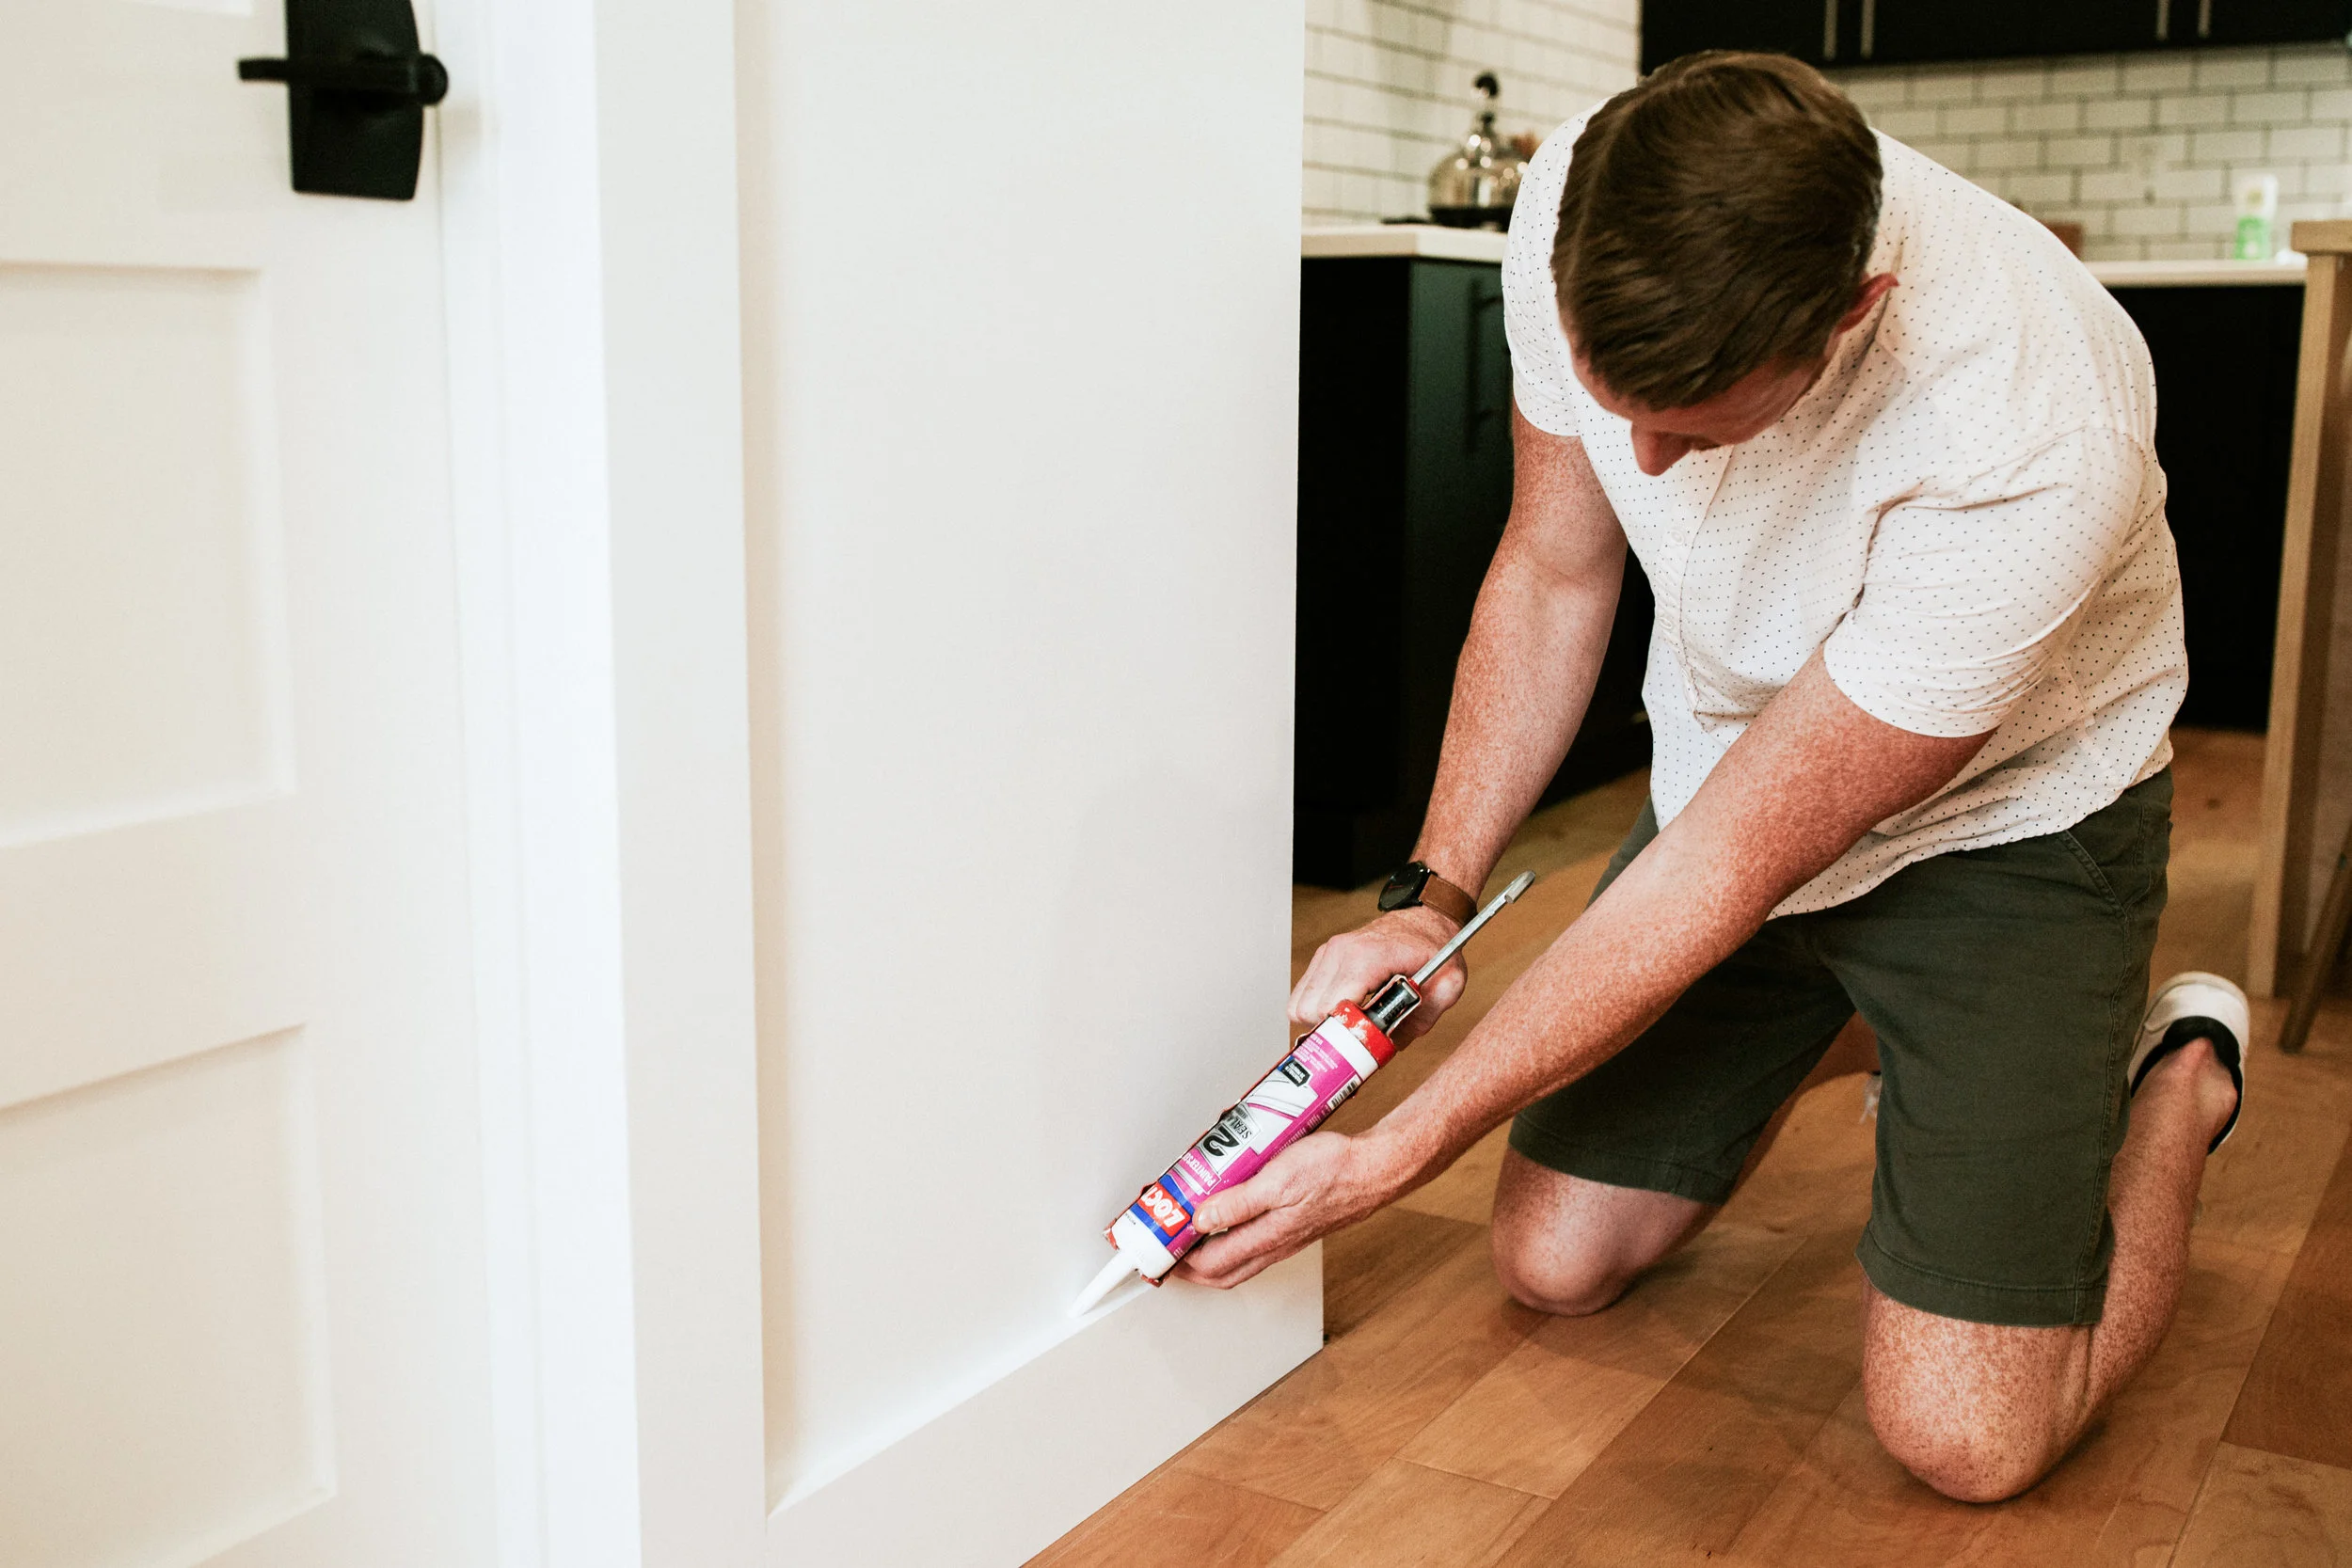
No house is perfectly straight so if you notice that there are weird gaps or imperfections in your floor trim, just fill it in with caulking! Wait a few minutes to let it dry and paint over it! No one will ever notice those imperfections again! Check out this post for instructions on how to install floor trim like the professionals.
HACK #4. HOW TO GET A CLEAN CUT (WITHOUT SPLINTERING THE WOOD)
If you’re cutting wood or drilling a hole, always put a piece of painter’s tape over the section you’re going to cut/drill. This will help reduce splintering in the wood and get a smooth edge.
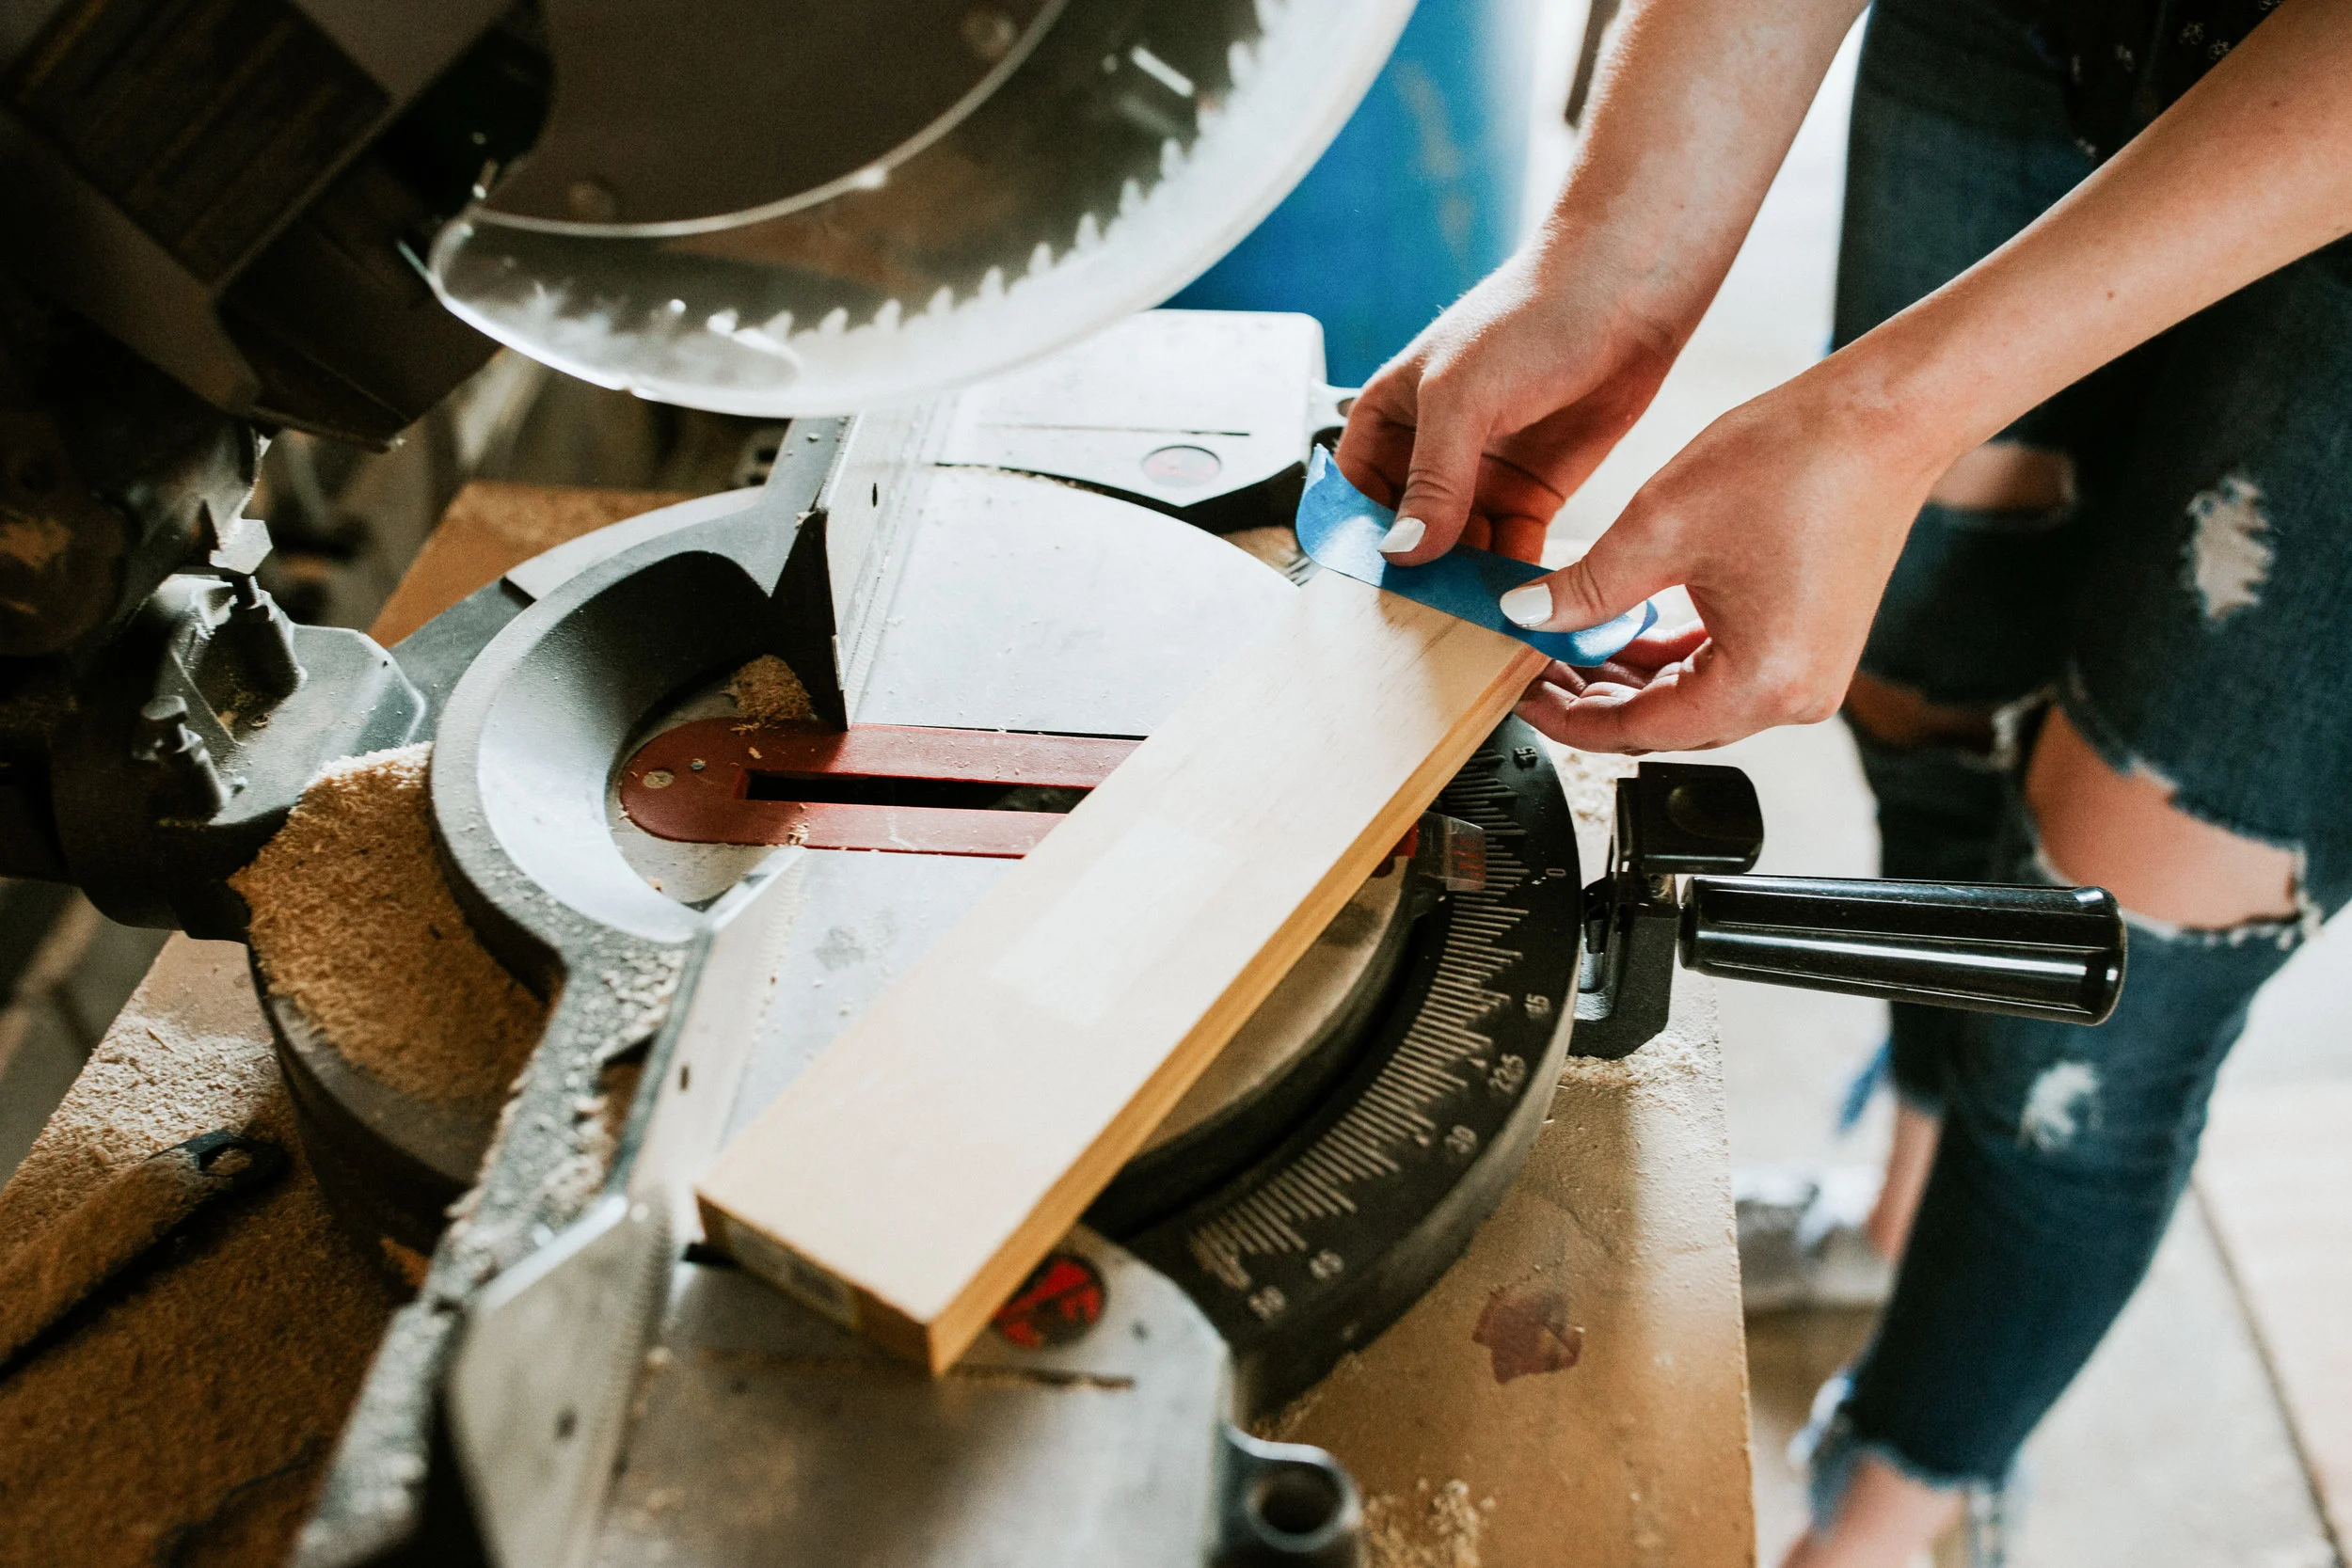
Step 1: Put tape on the wood where you want to cut it
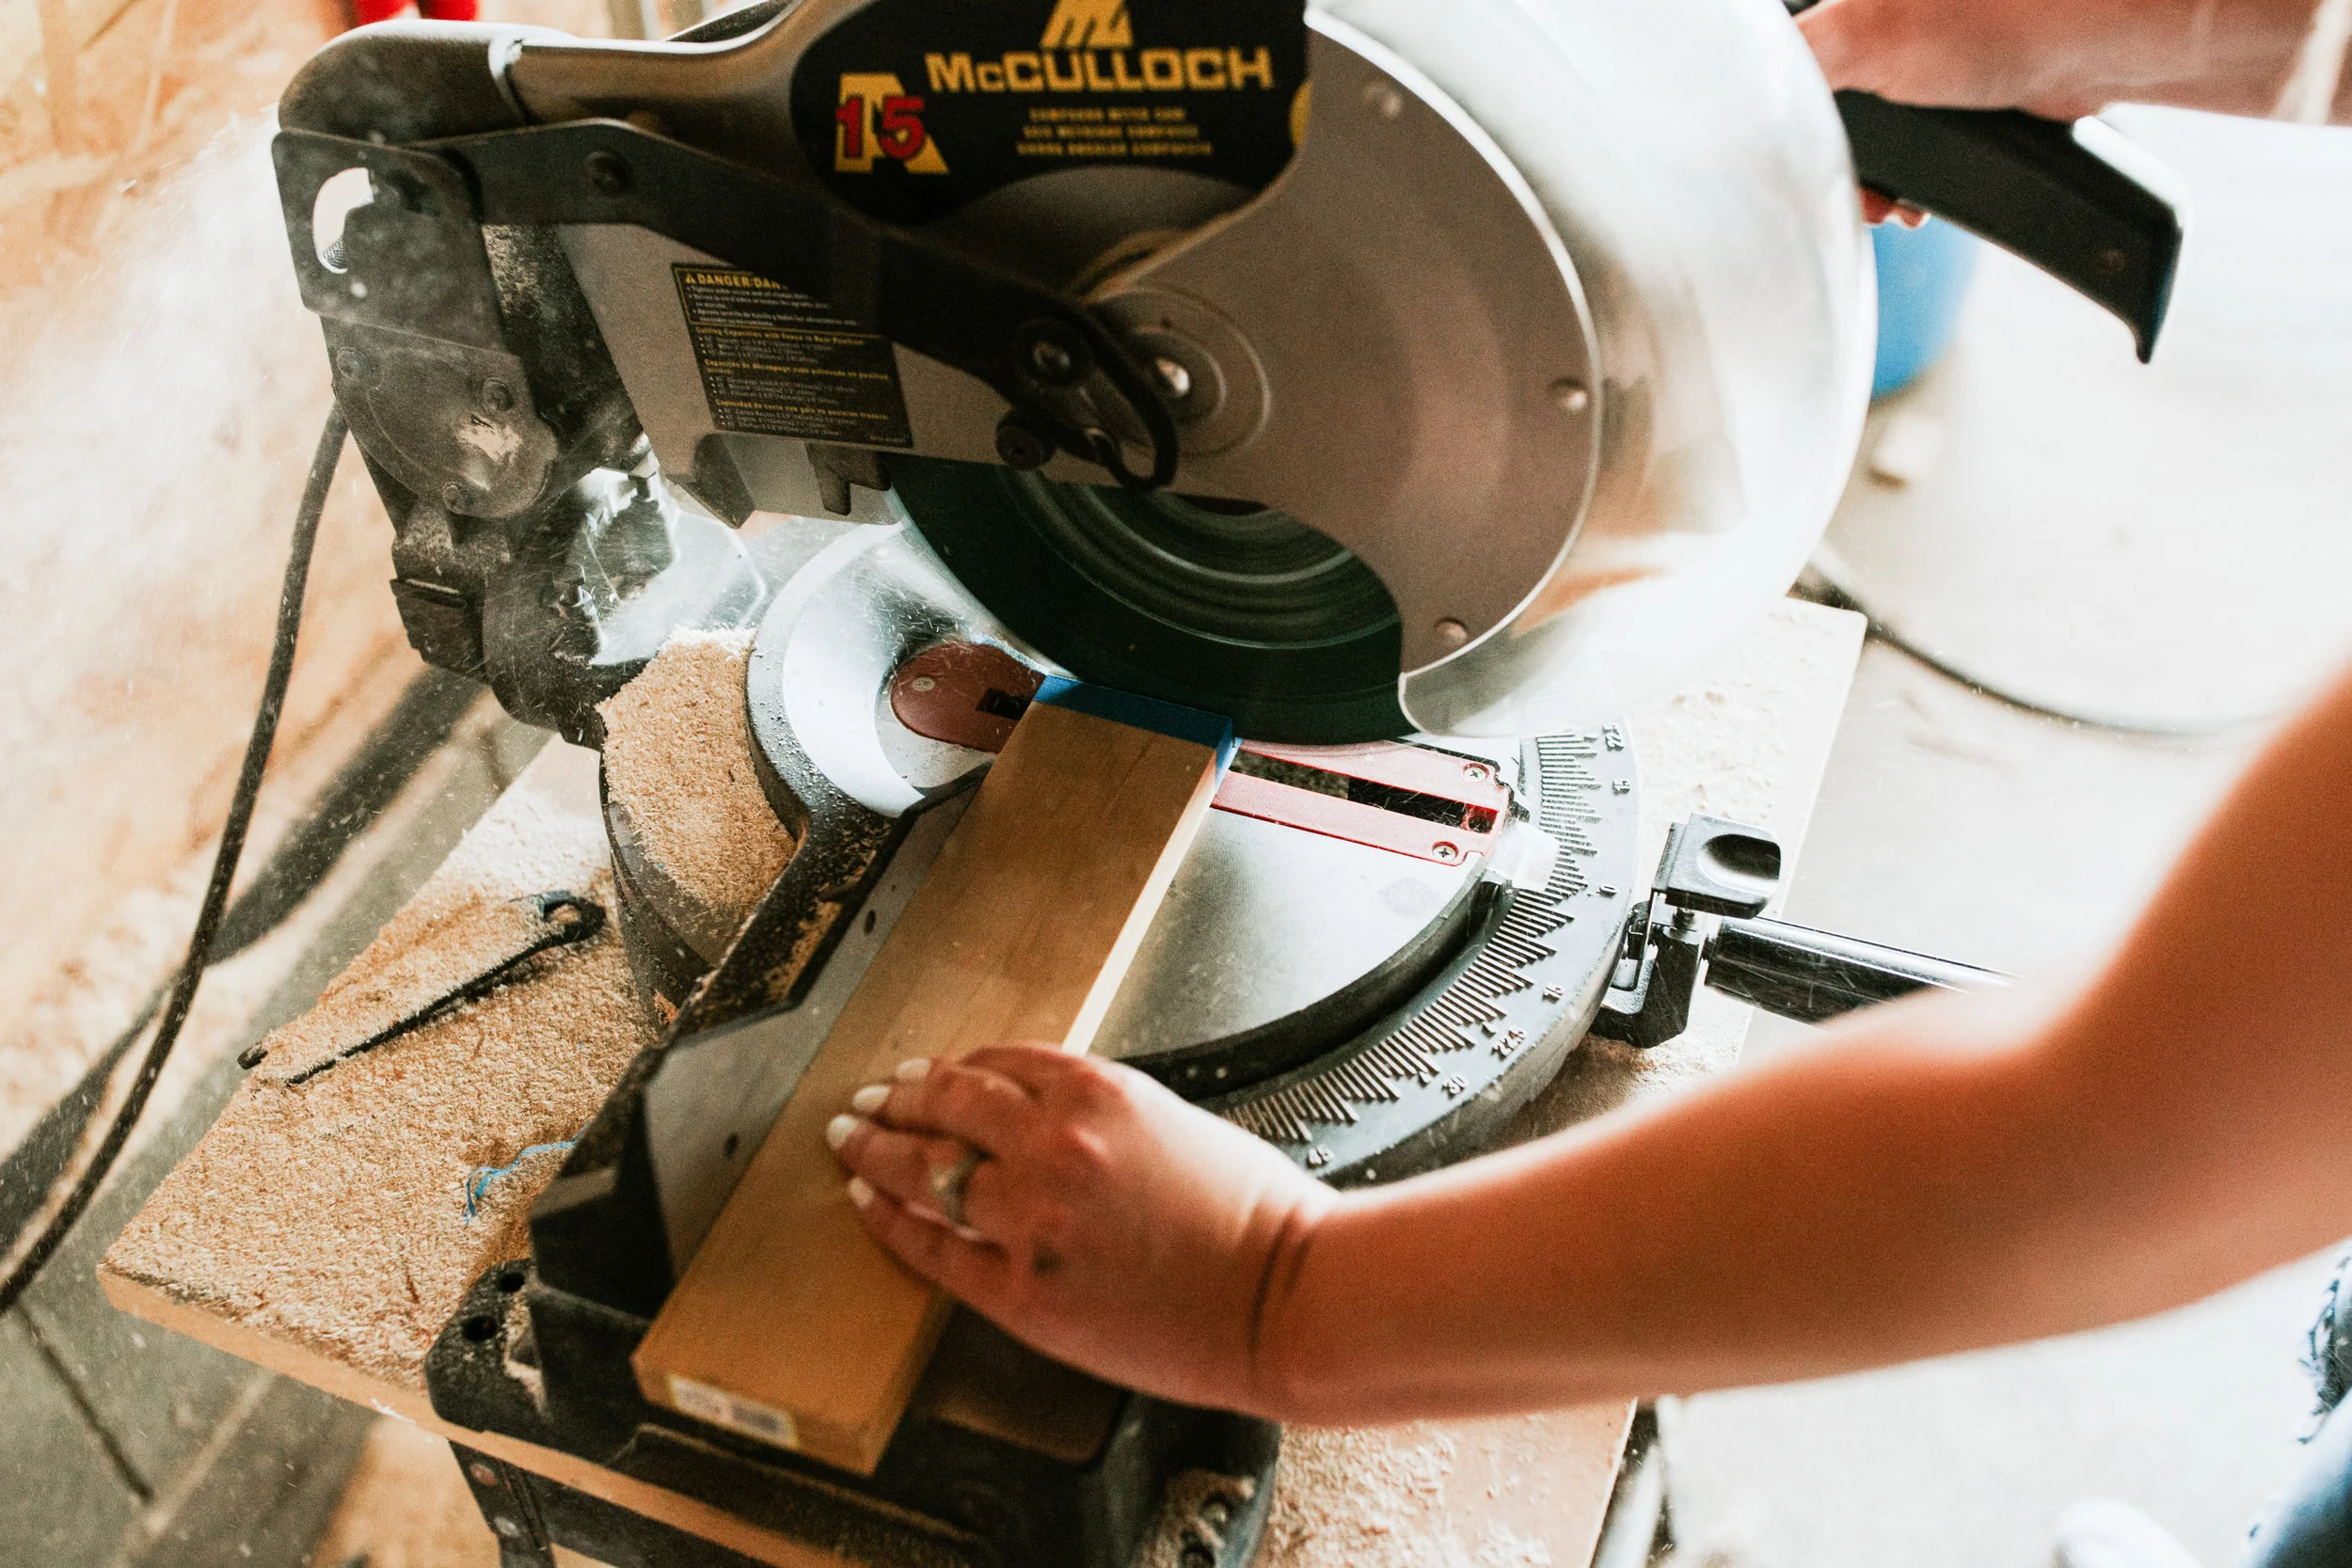
Step 2: Cut the wood and remove the tape
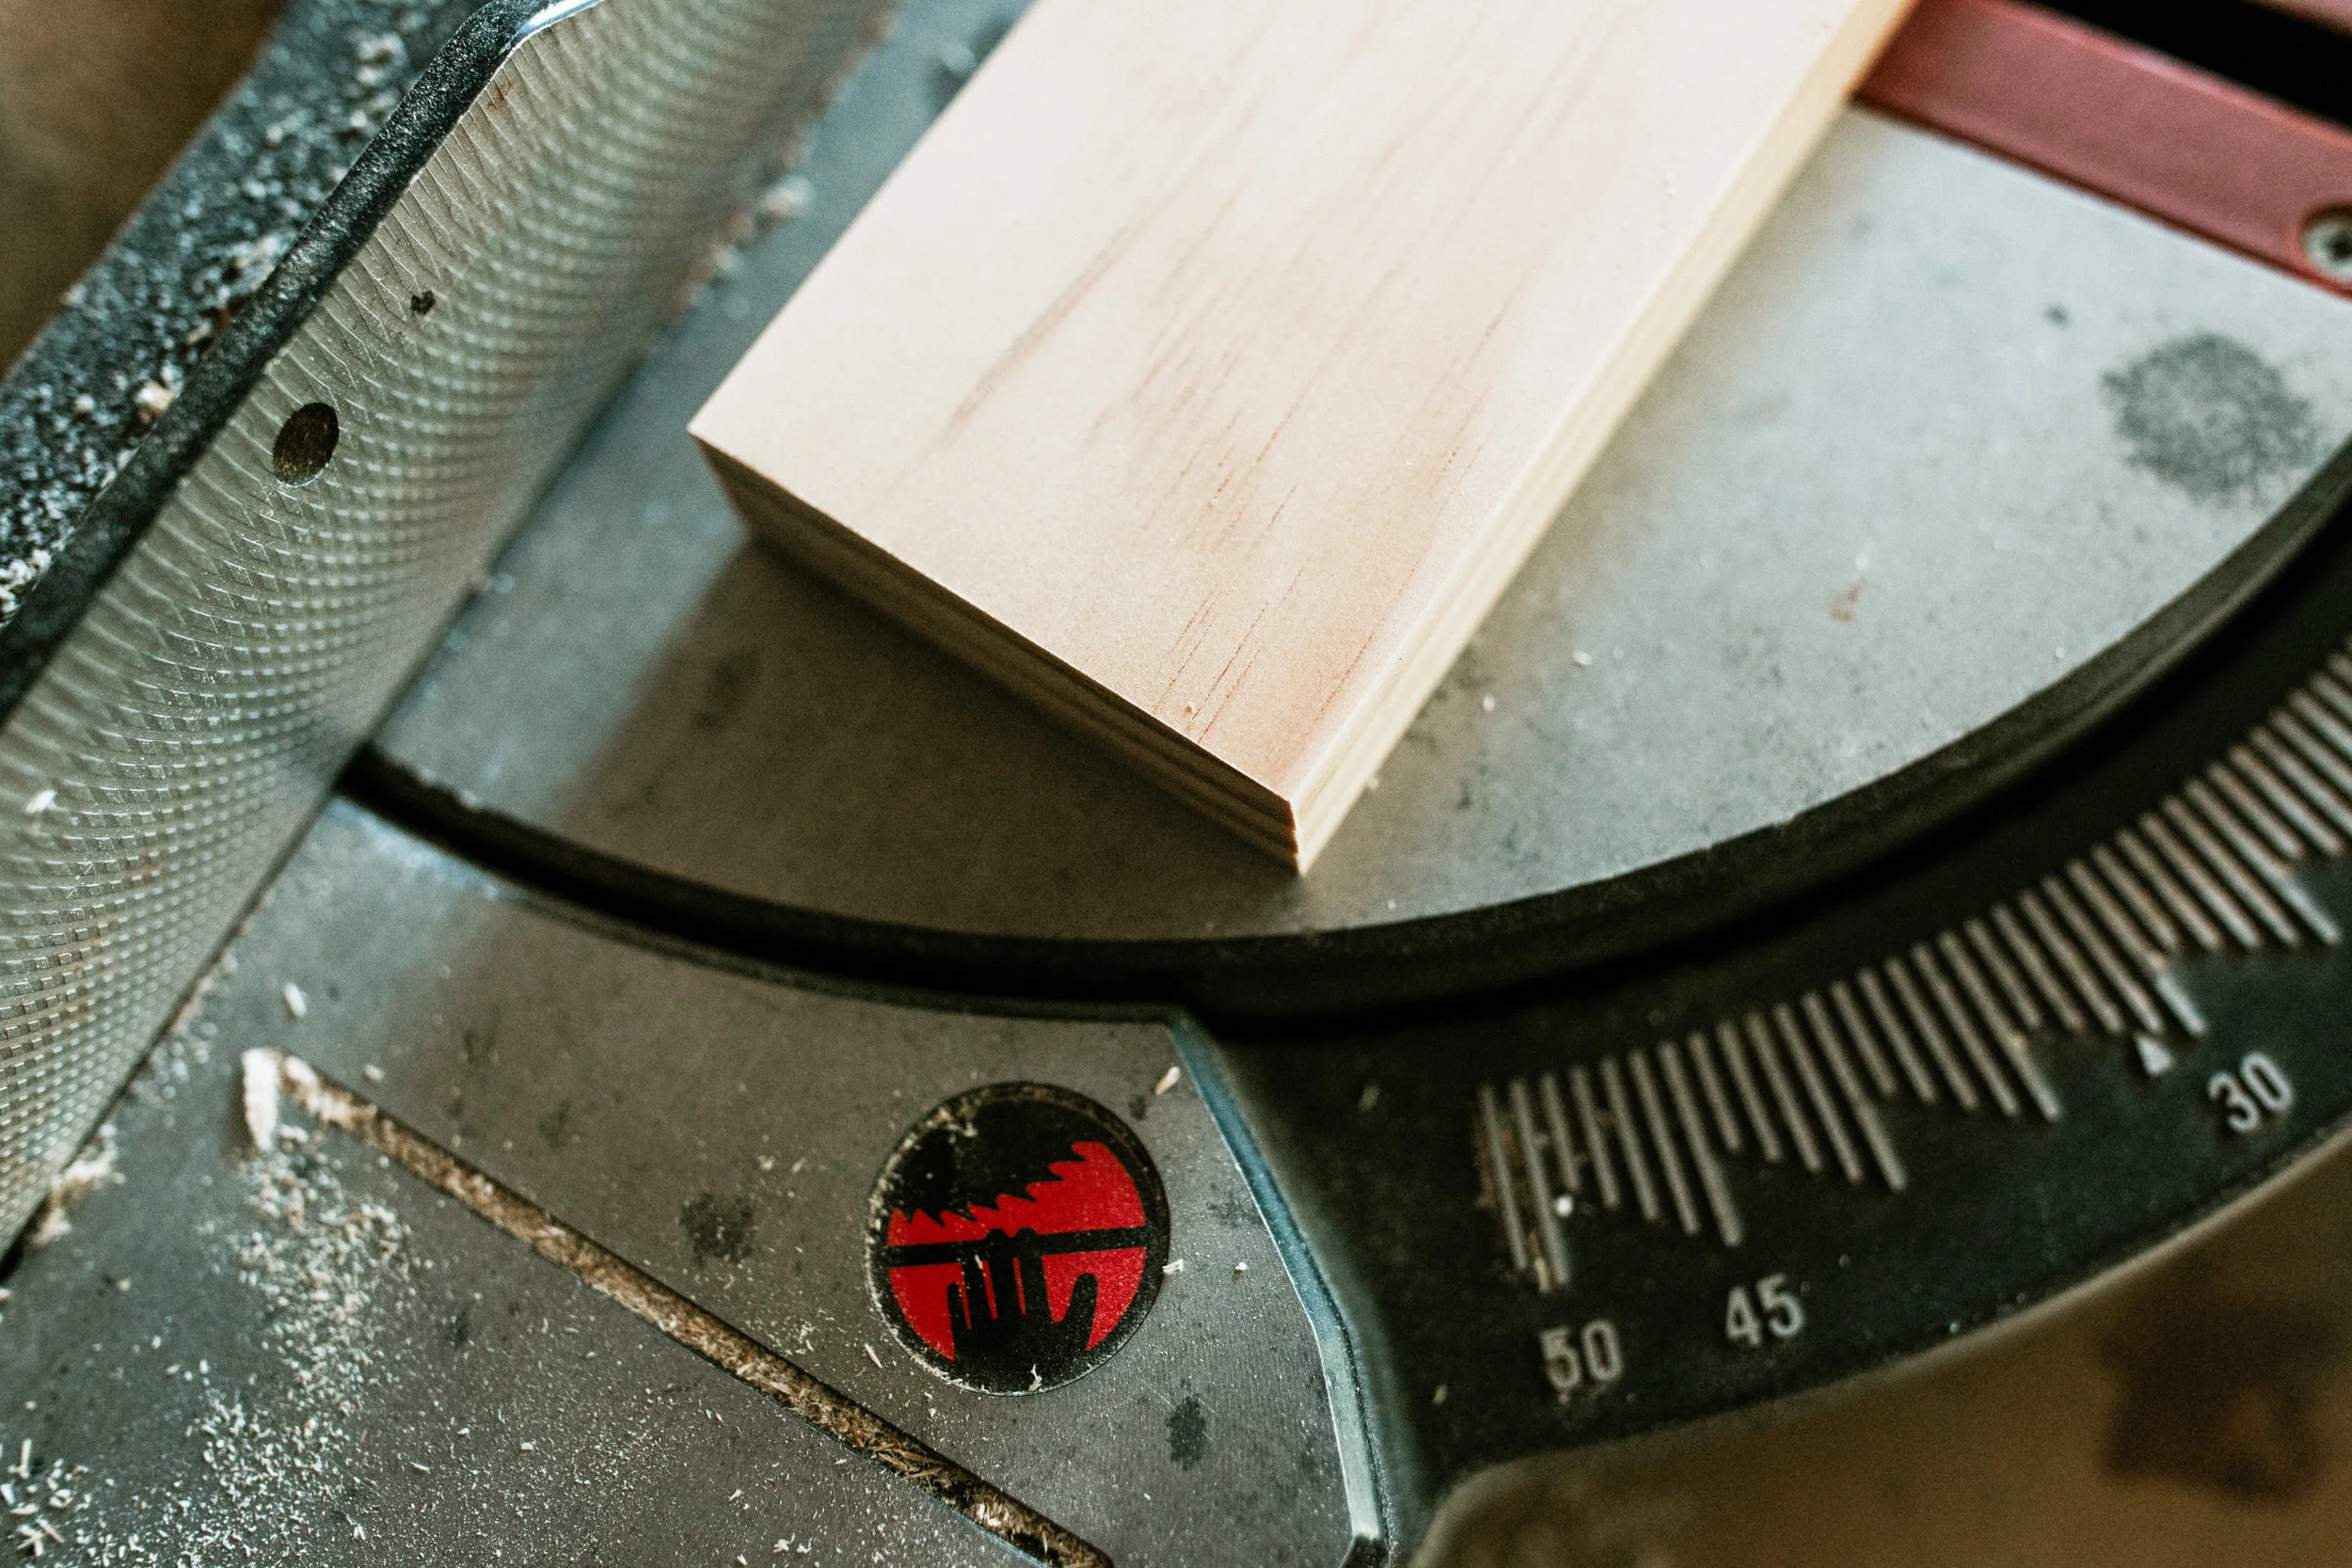
Example: wood was cut with tape – no splintering in wood
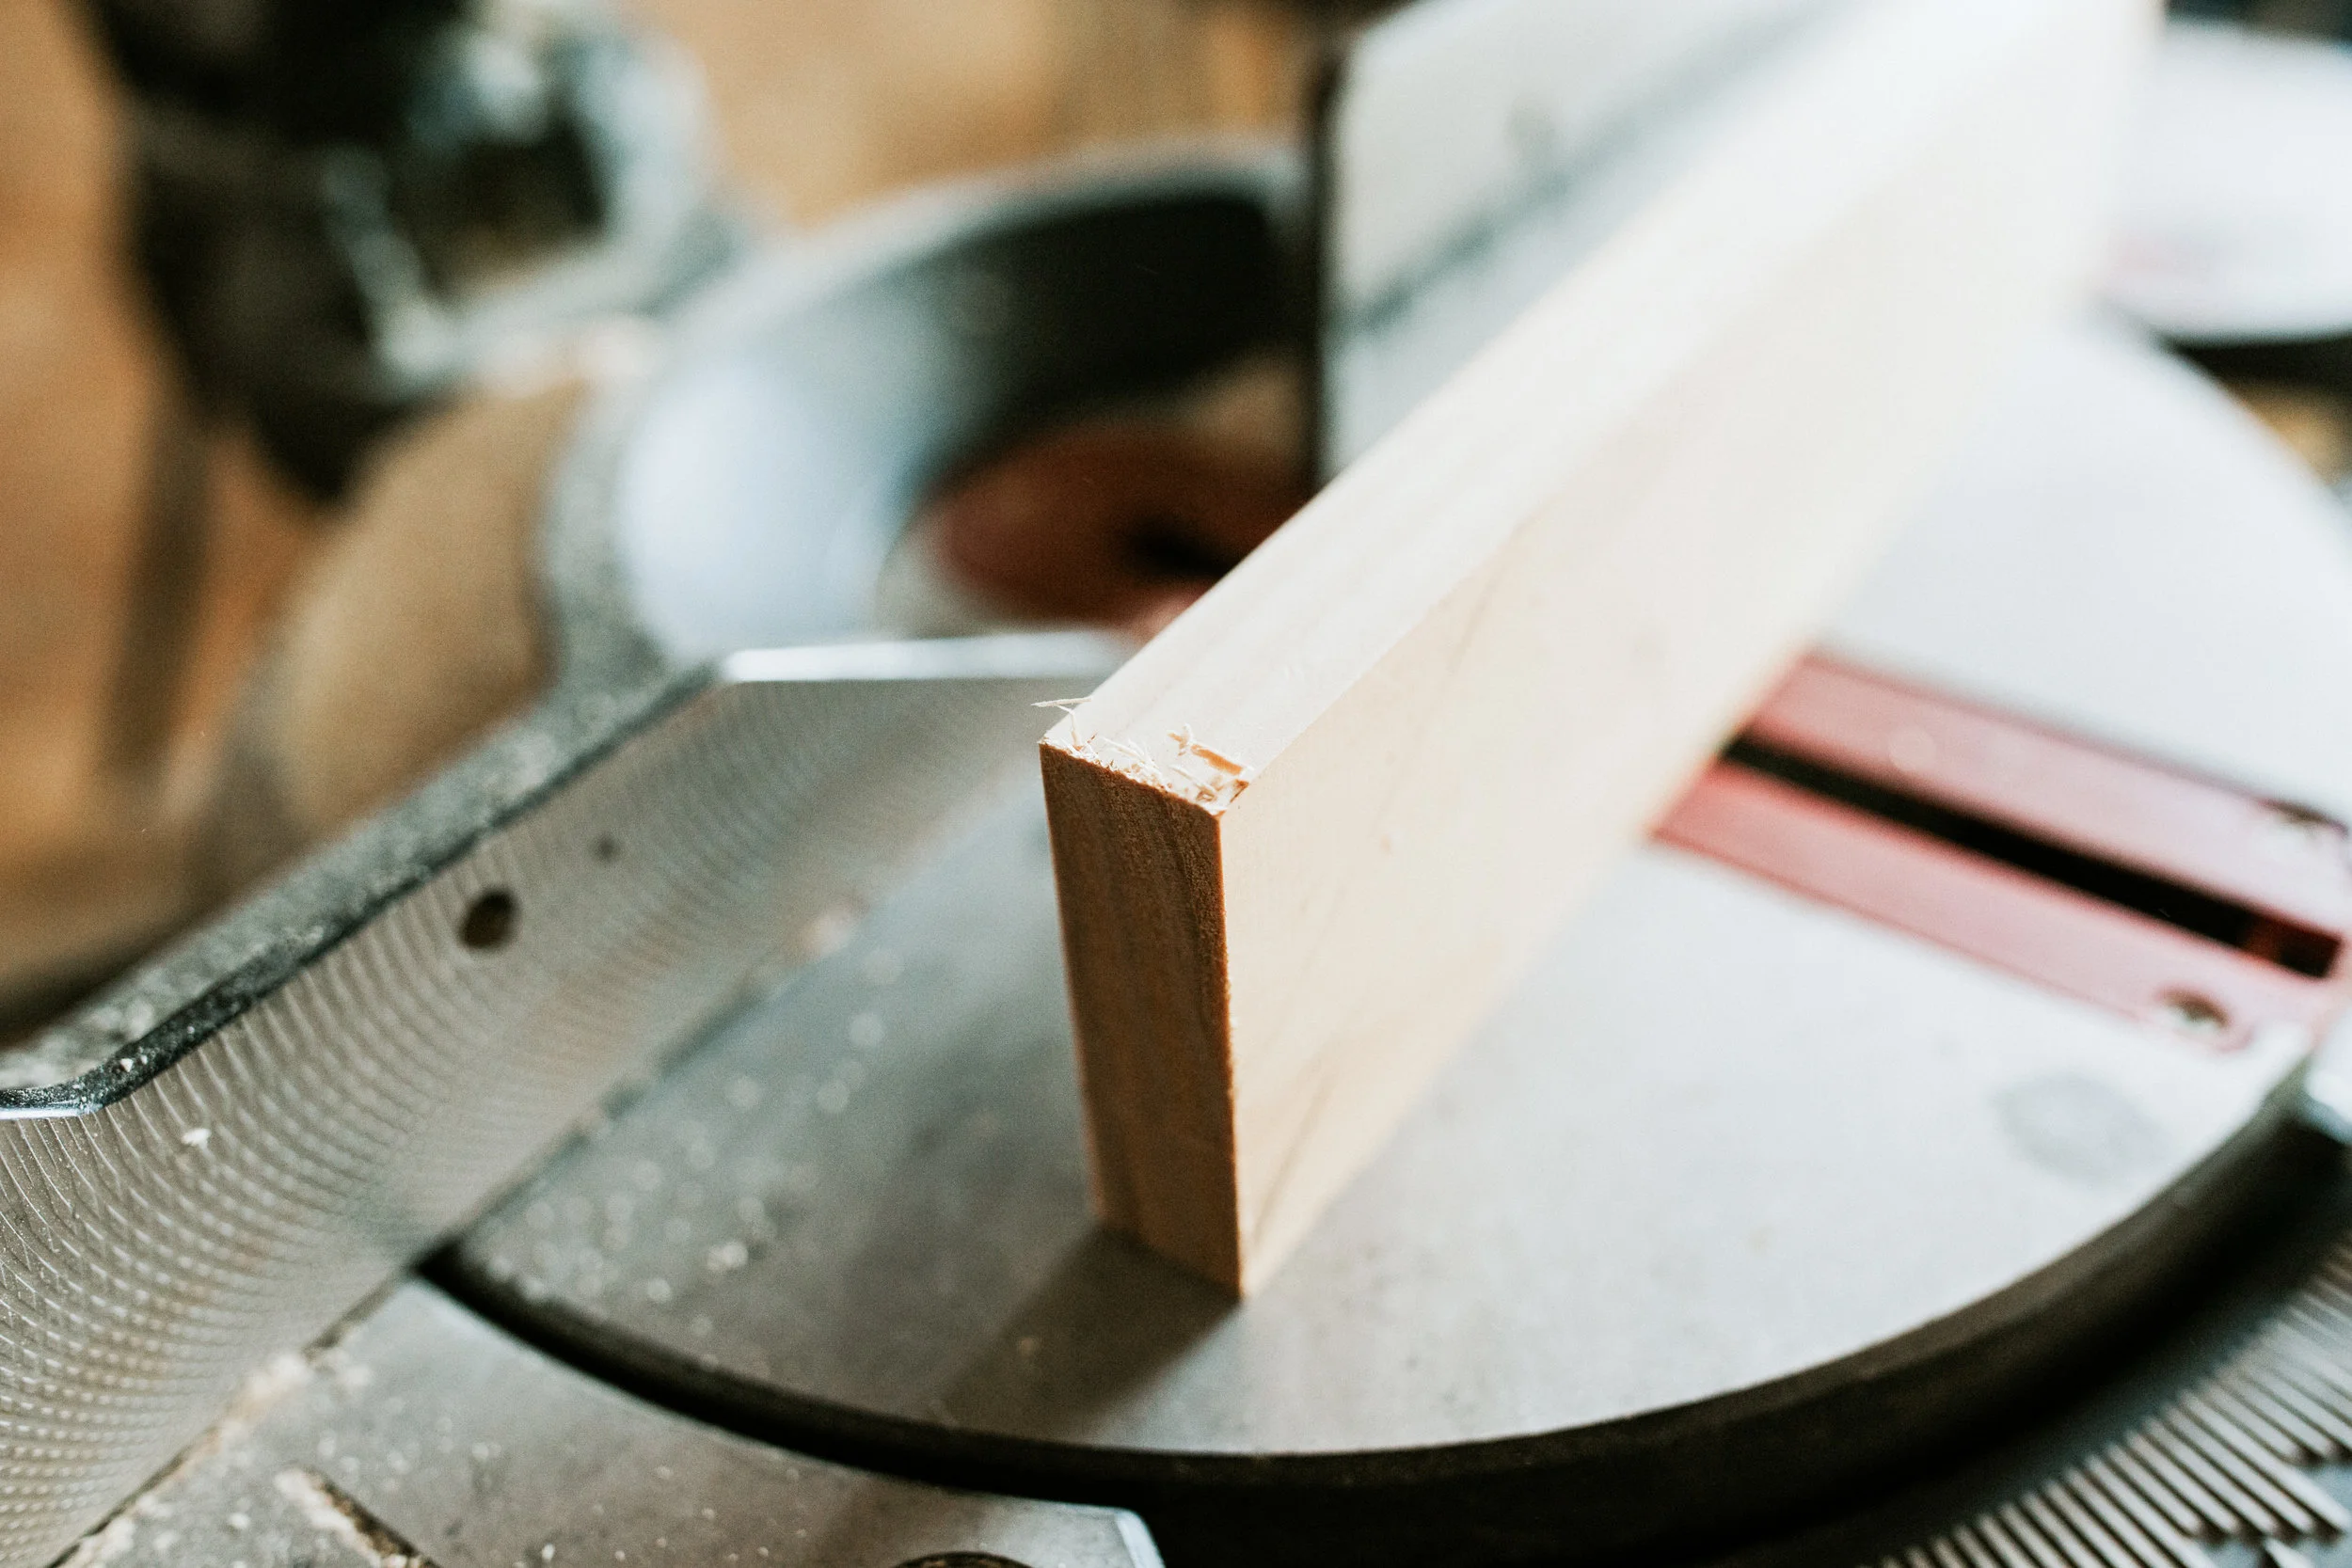
Example: wood was cut without tape – obvious splintering in wood
HACK #5. NATURAL REPAIR FOR WEATHERED WOOD
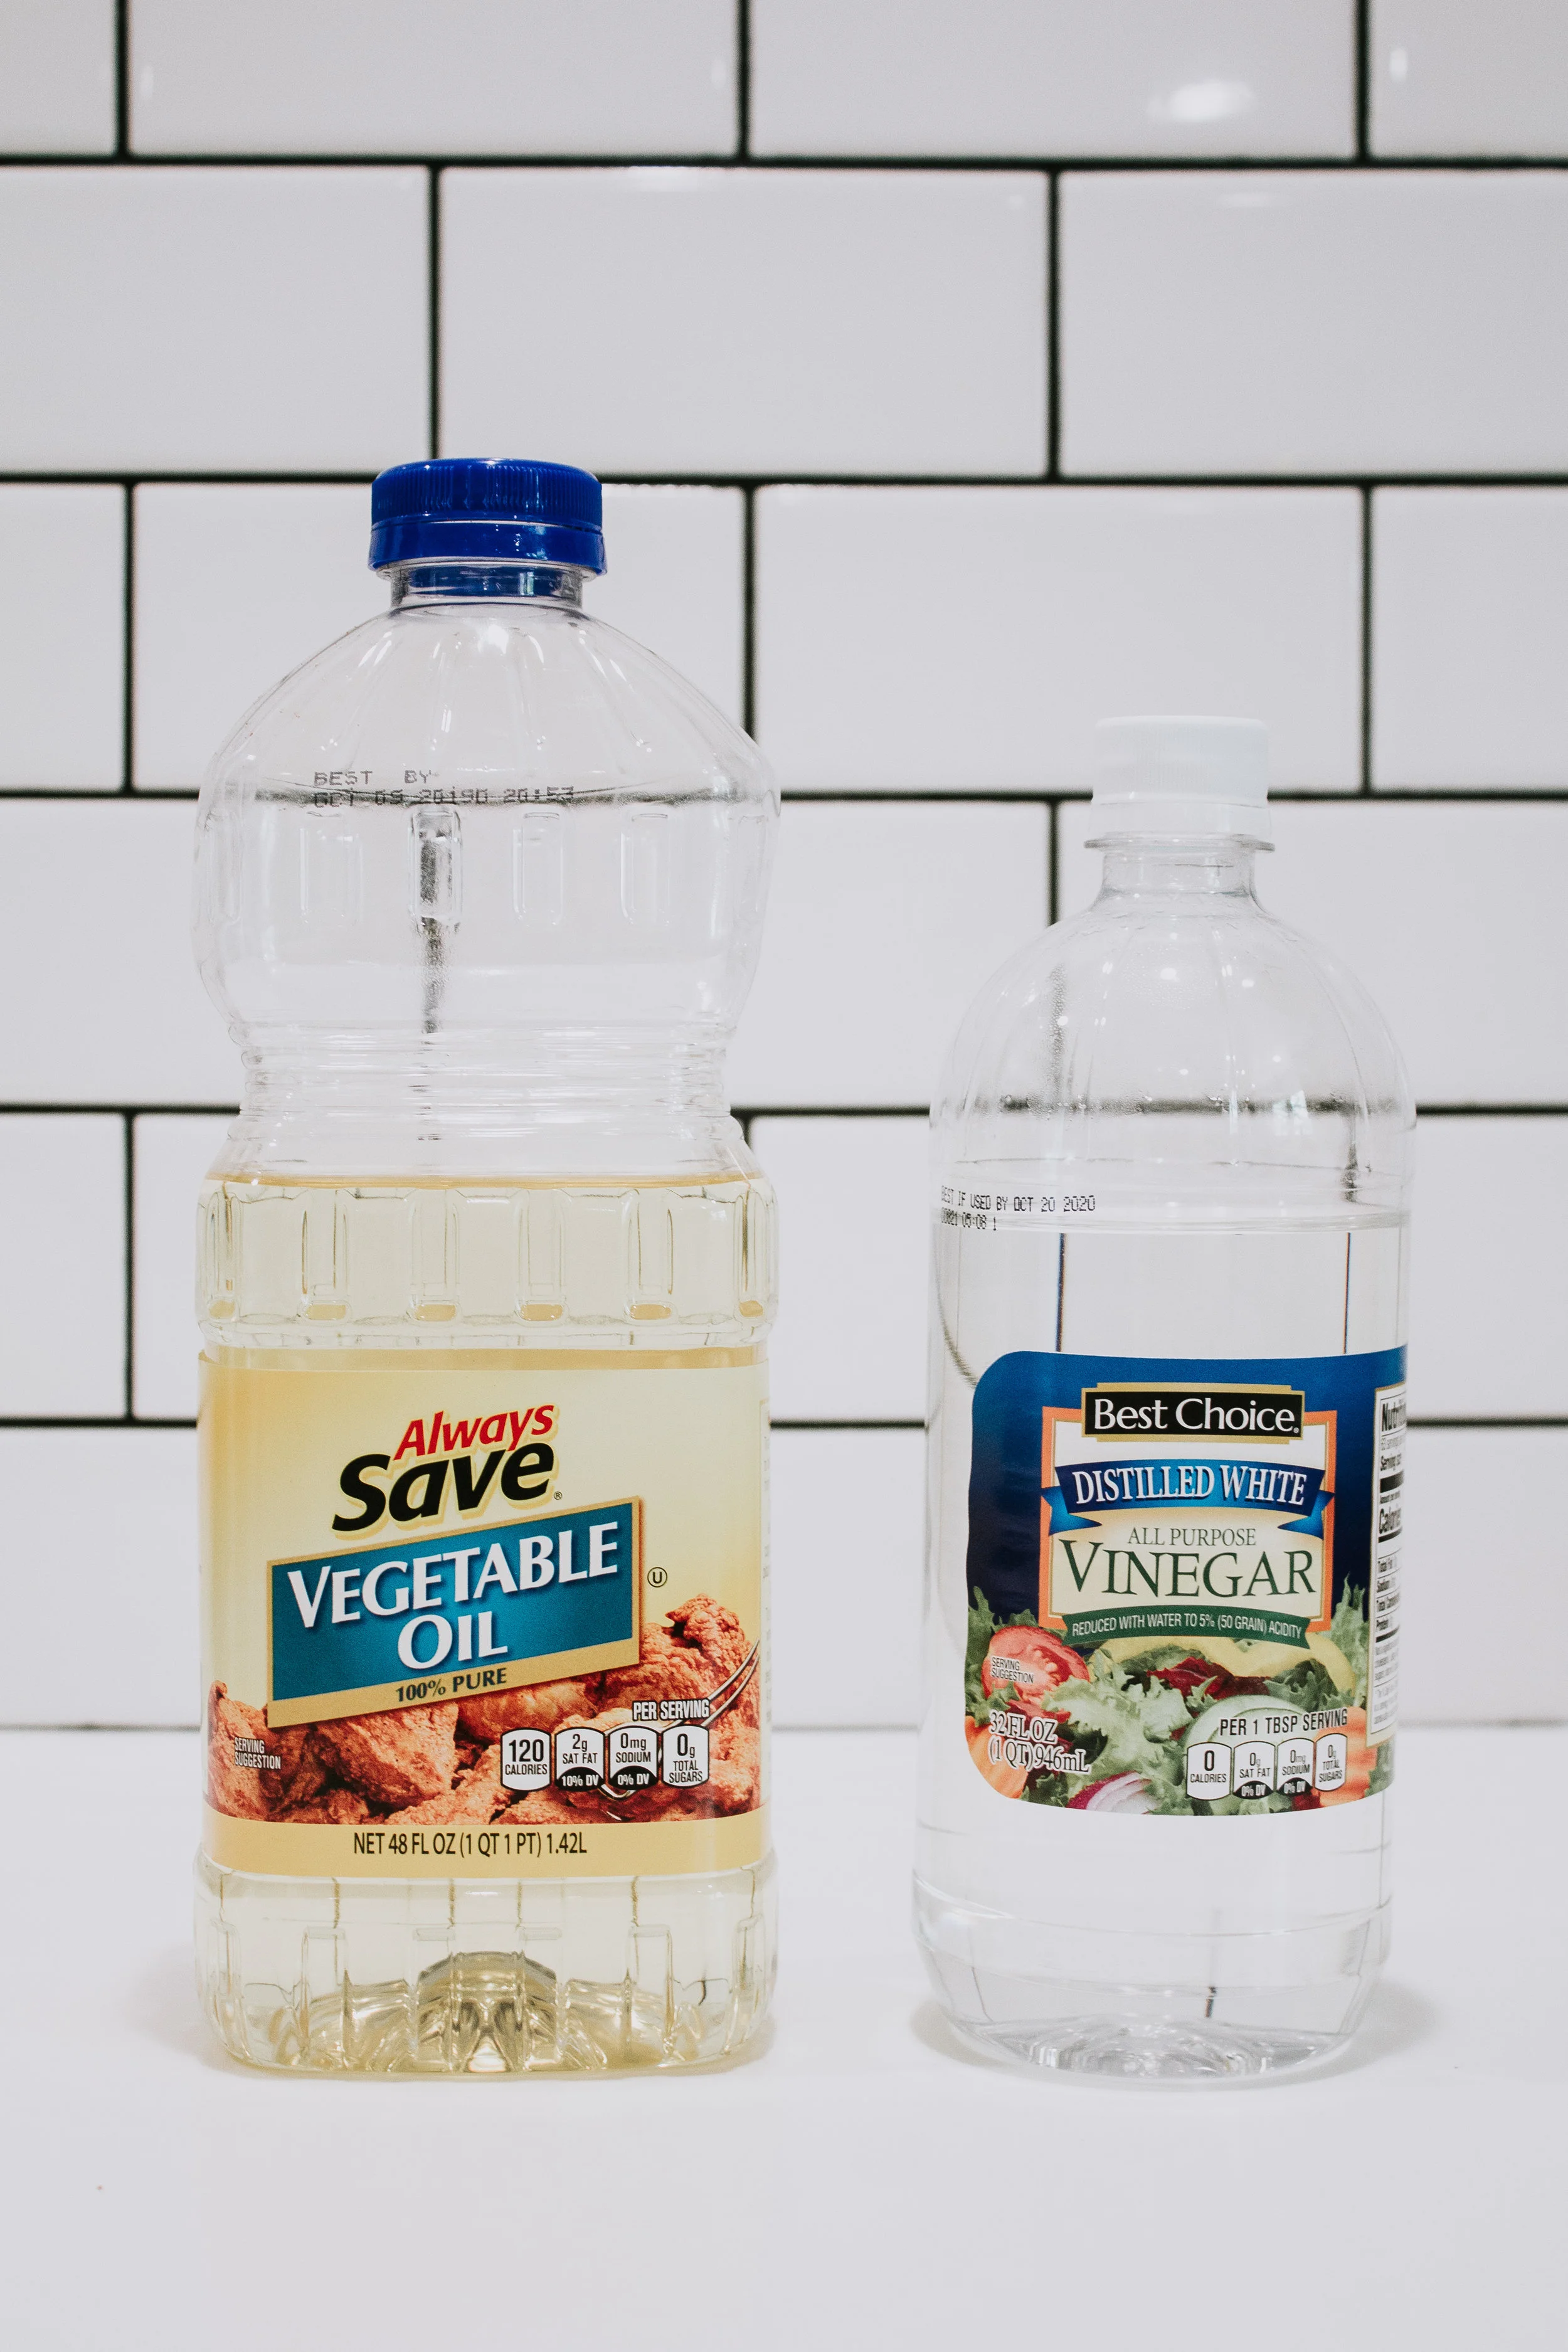
I use this natural mixture all the time! It works well on wood that is slightly weathered or scratched and needs a quick fix.
Mix 3/4 cup oil and 1/4 cup white vinegar in a bowl. Stir and wipe onto wood with a rag. This mixture will give color to the scratched wood which will ultimately make the scratches less obvious.
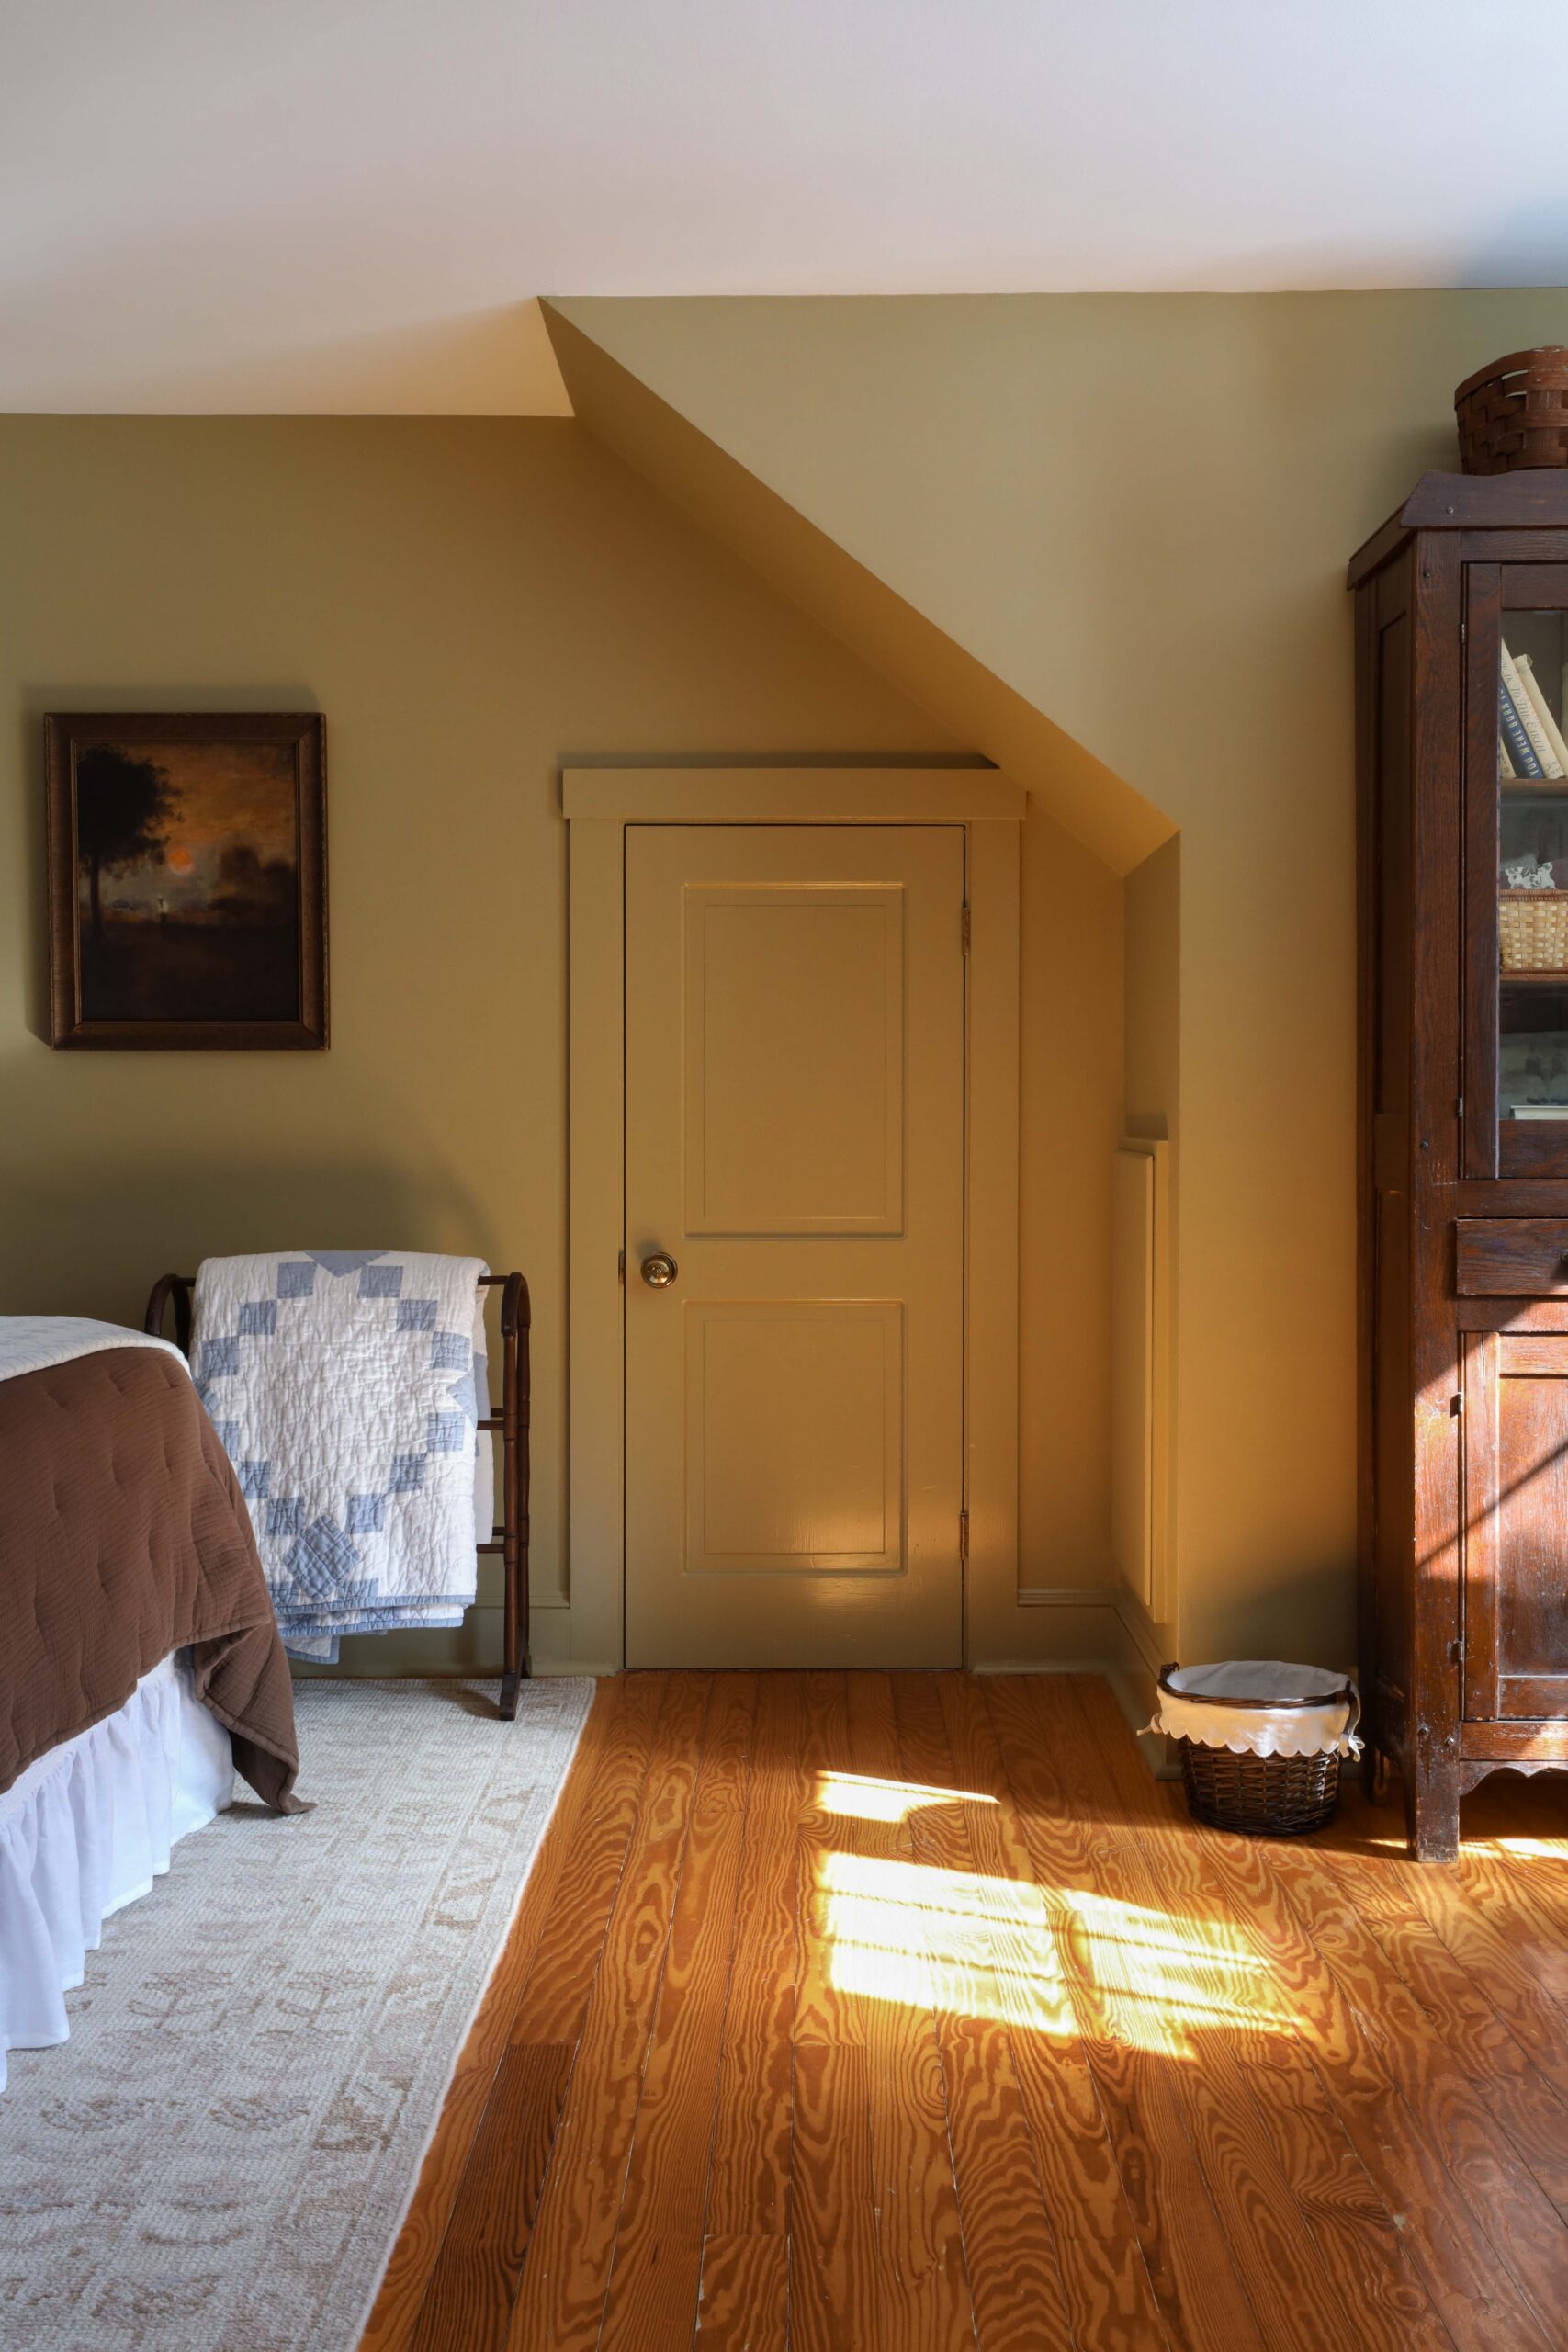
HACK #6. USE HORIZONTAL STRIPES TO MAKE A ROOM FEEL WIDER
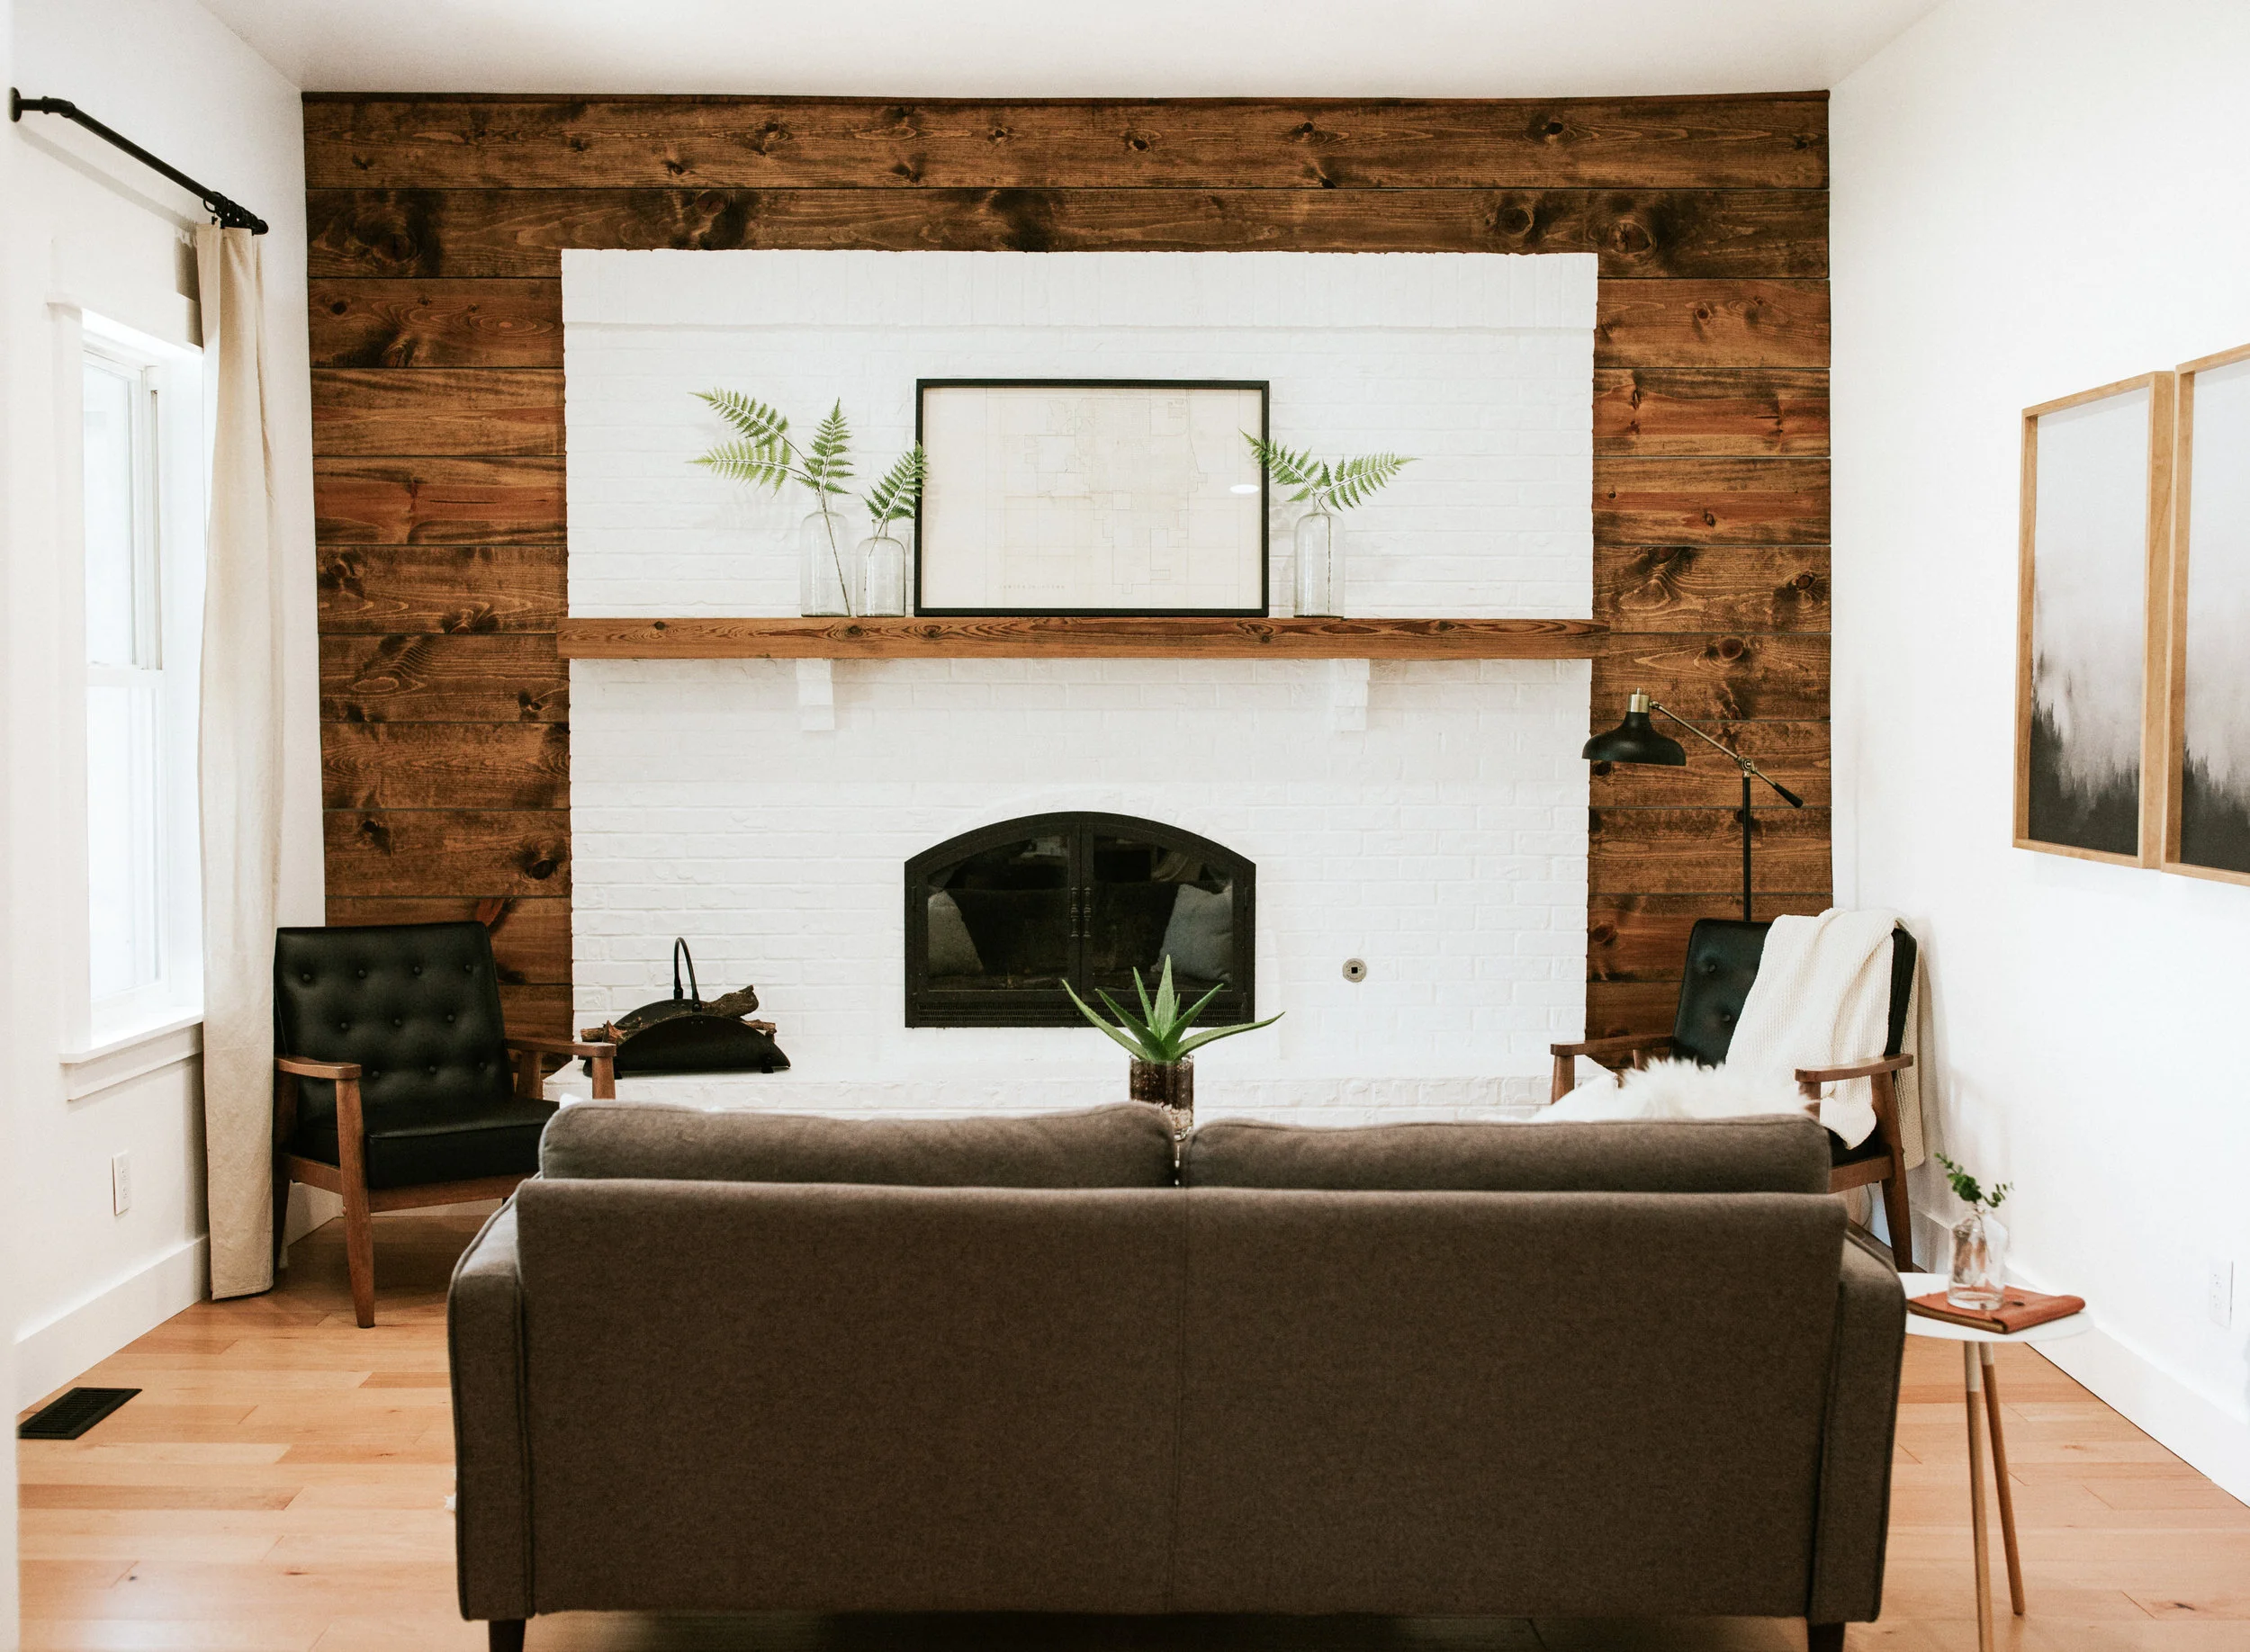
If you have a small space, use horizontal stripes to make the room feel wider. If you have short ceilings and want to create the illusion of taller ceilings, add vertical stripes. This can be done with painted stripes, shiplap, vertical siding, etc.
HACK #7. USE TINFOIL ON GAS STOVE TO AVOID SPILLS + SPLATTERS
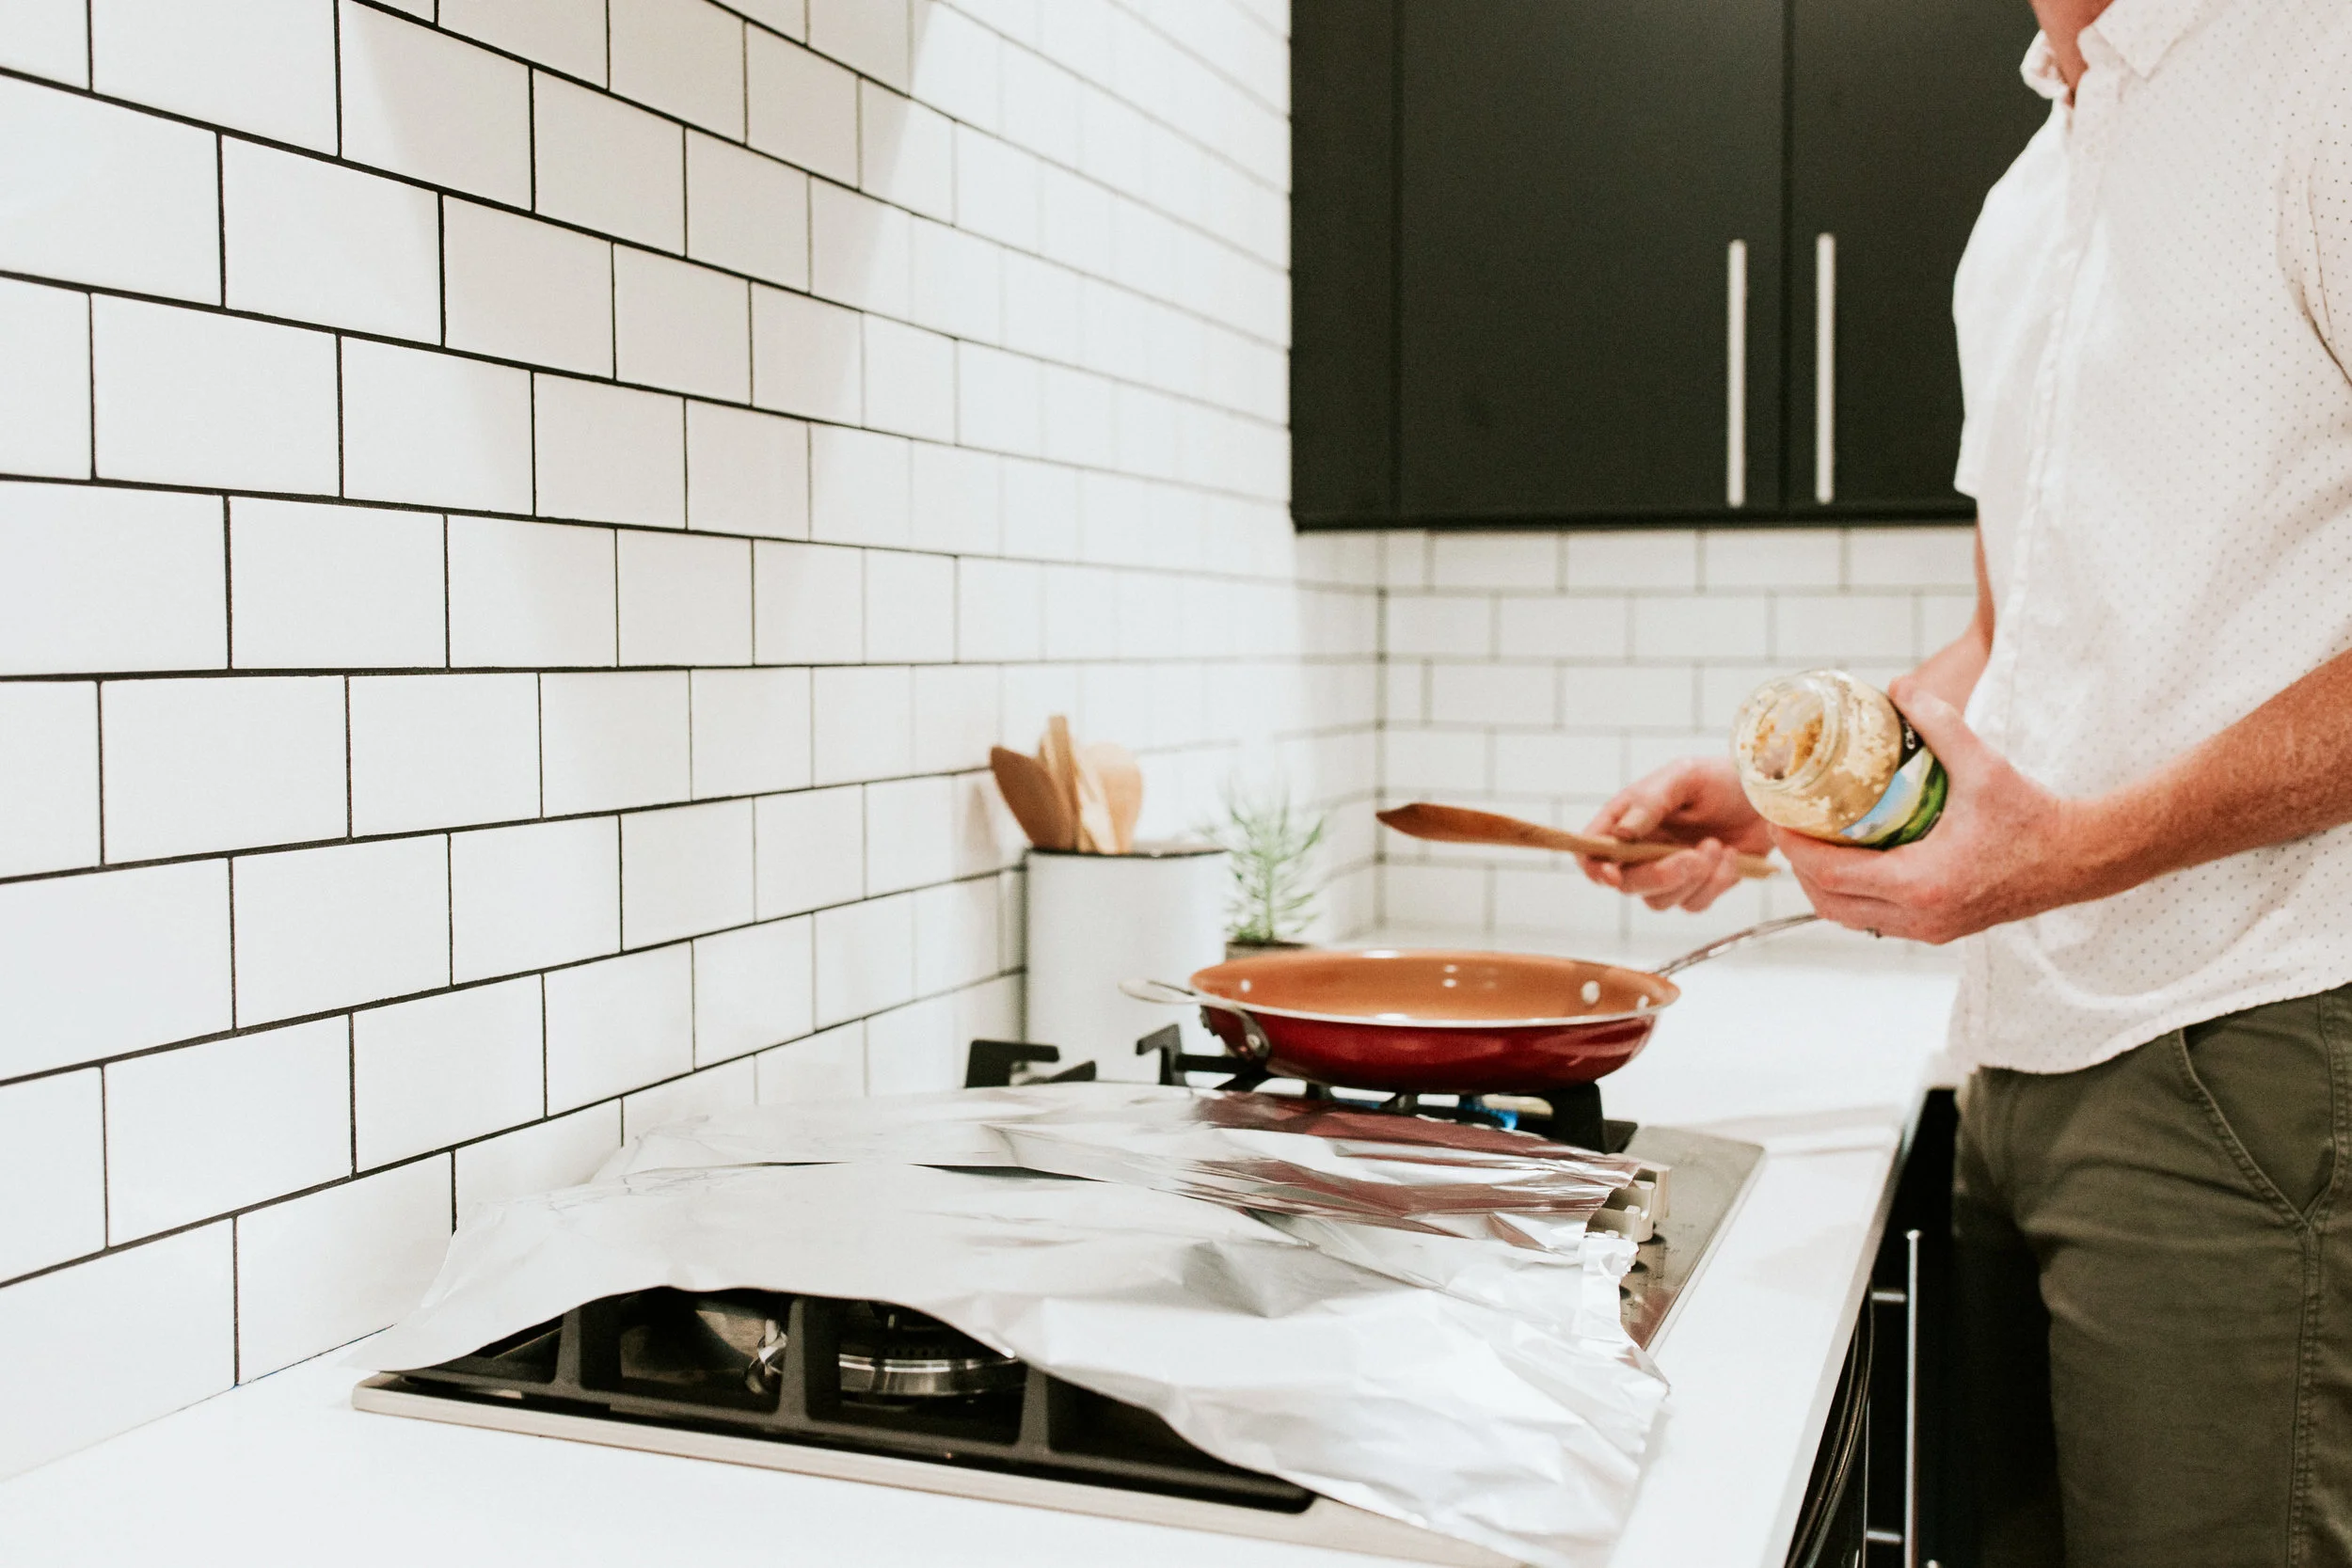
If you’re working with grease or you’re just a messy cook, put tinfoil on your gas stove to reduce the amount of cleaning you’ll need to do later! (PS don’t put the tinfoil directly above the flame because it’ll melt!)
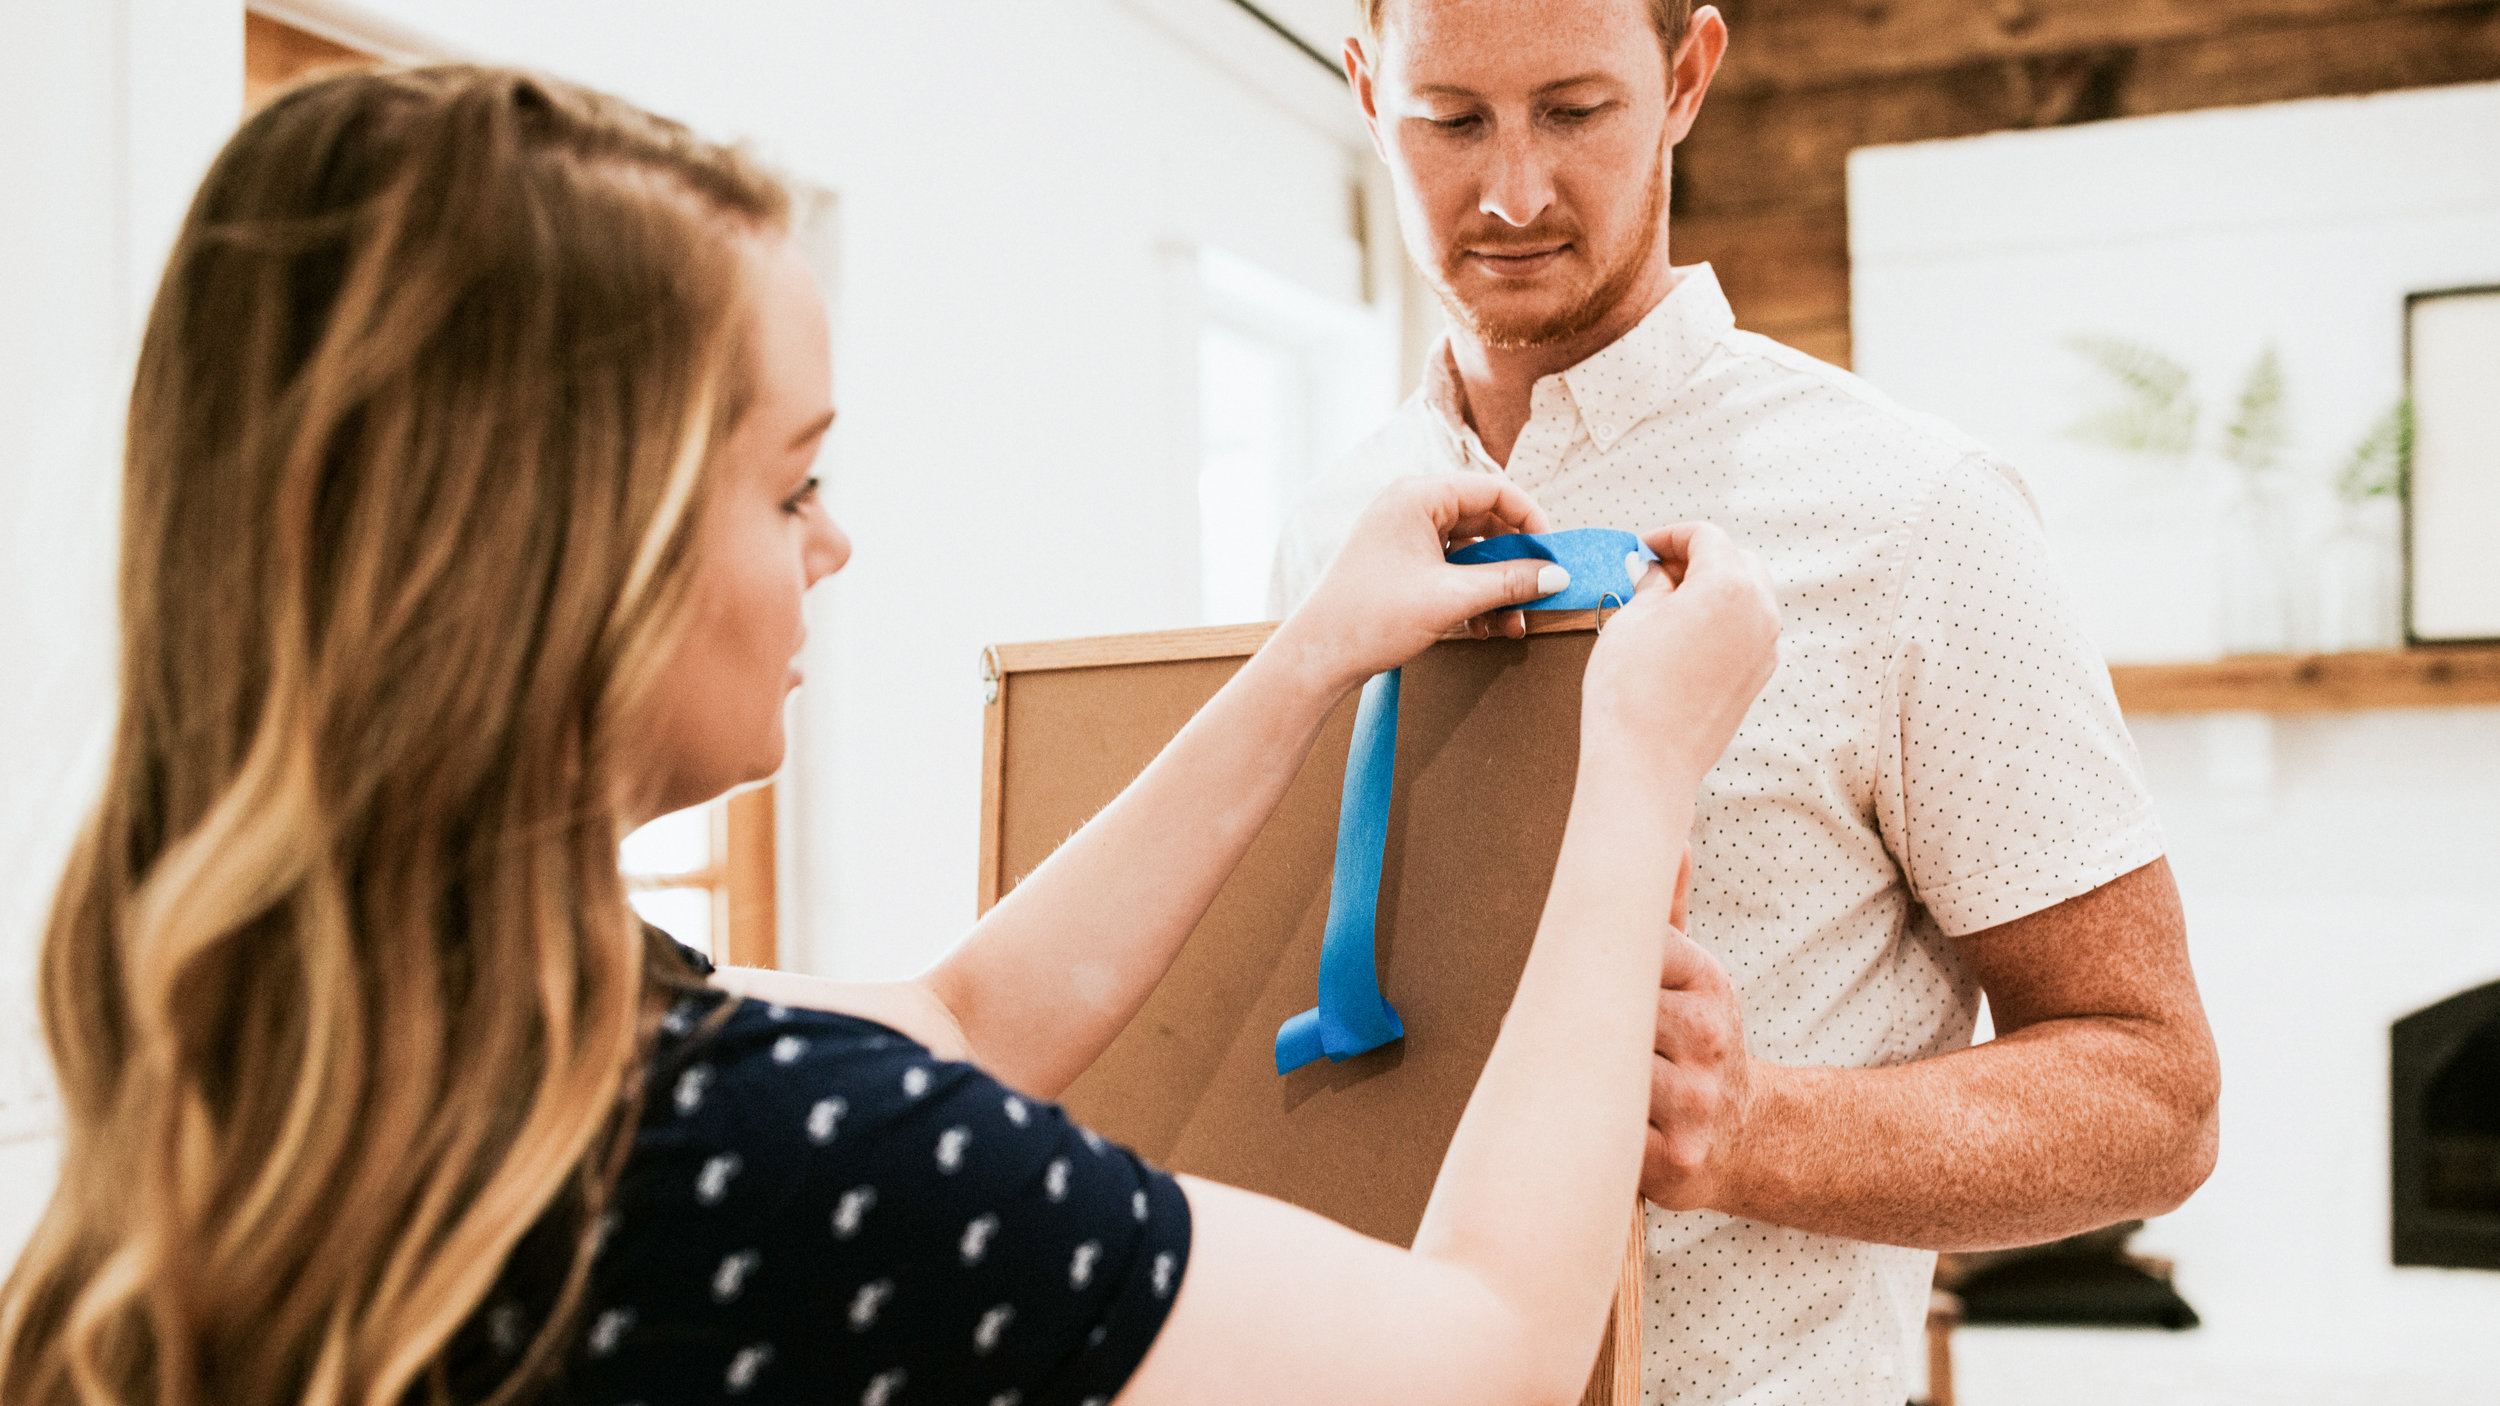
HACK #8. HANG A PICTURE + GET IT LEVEL THE FIRST TIME
Step 1: Get painter’s tape or masking tape and put it along the back side of your artwork (sticky side out).
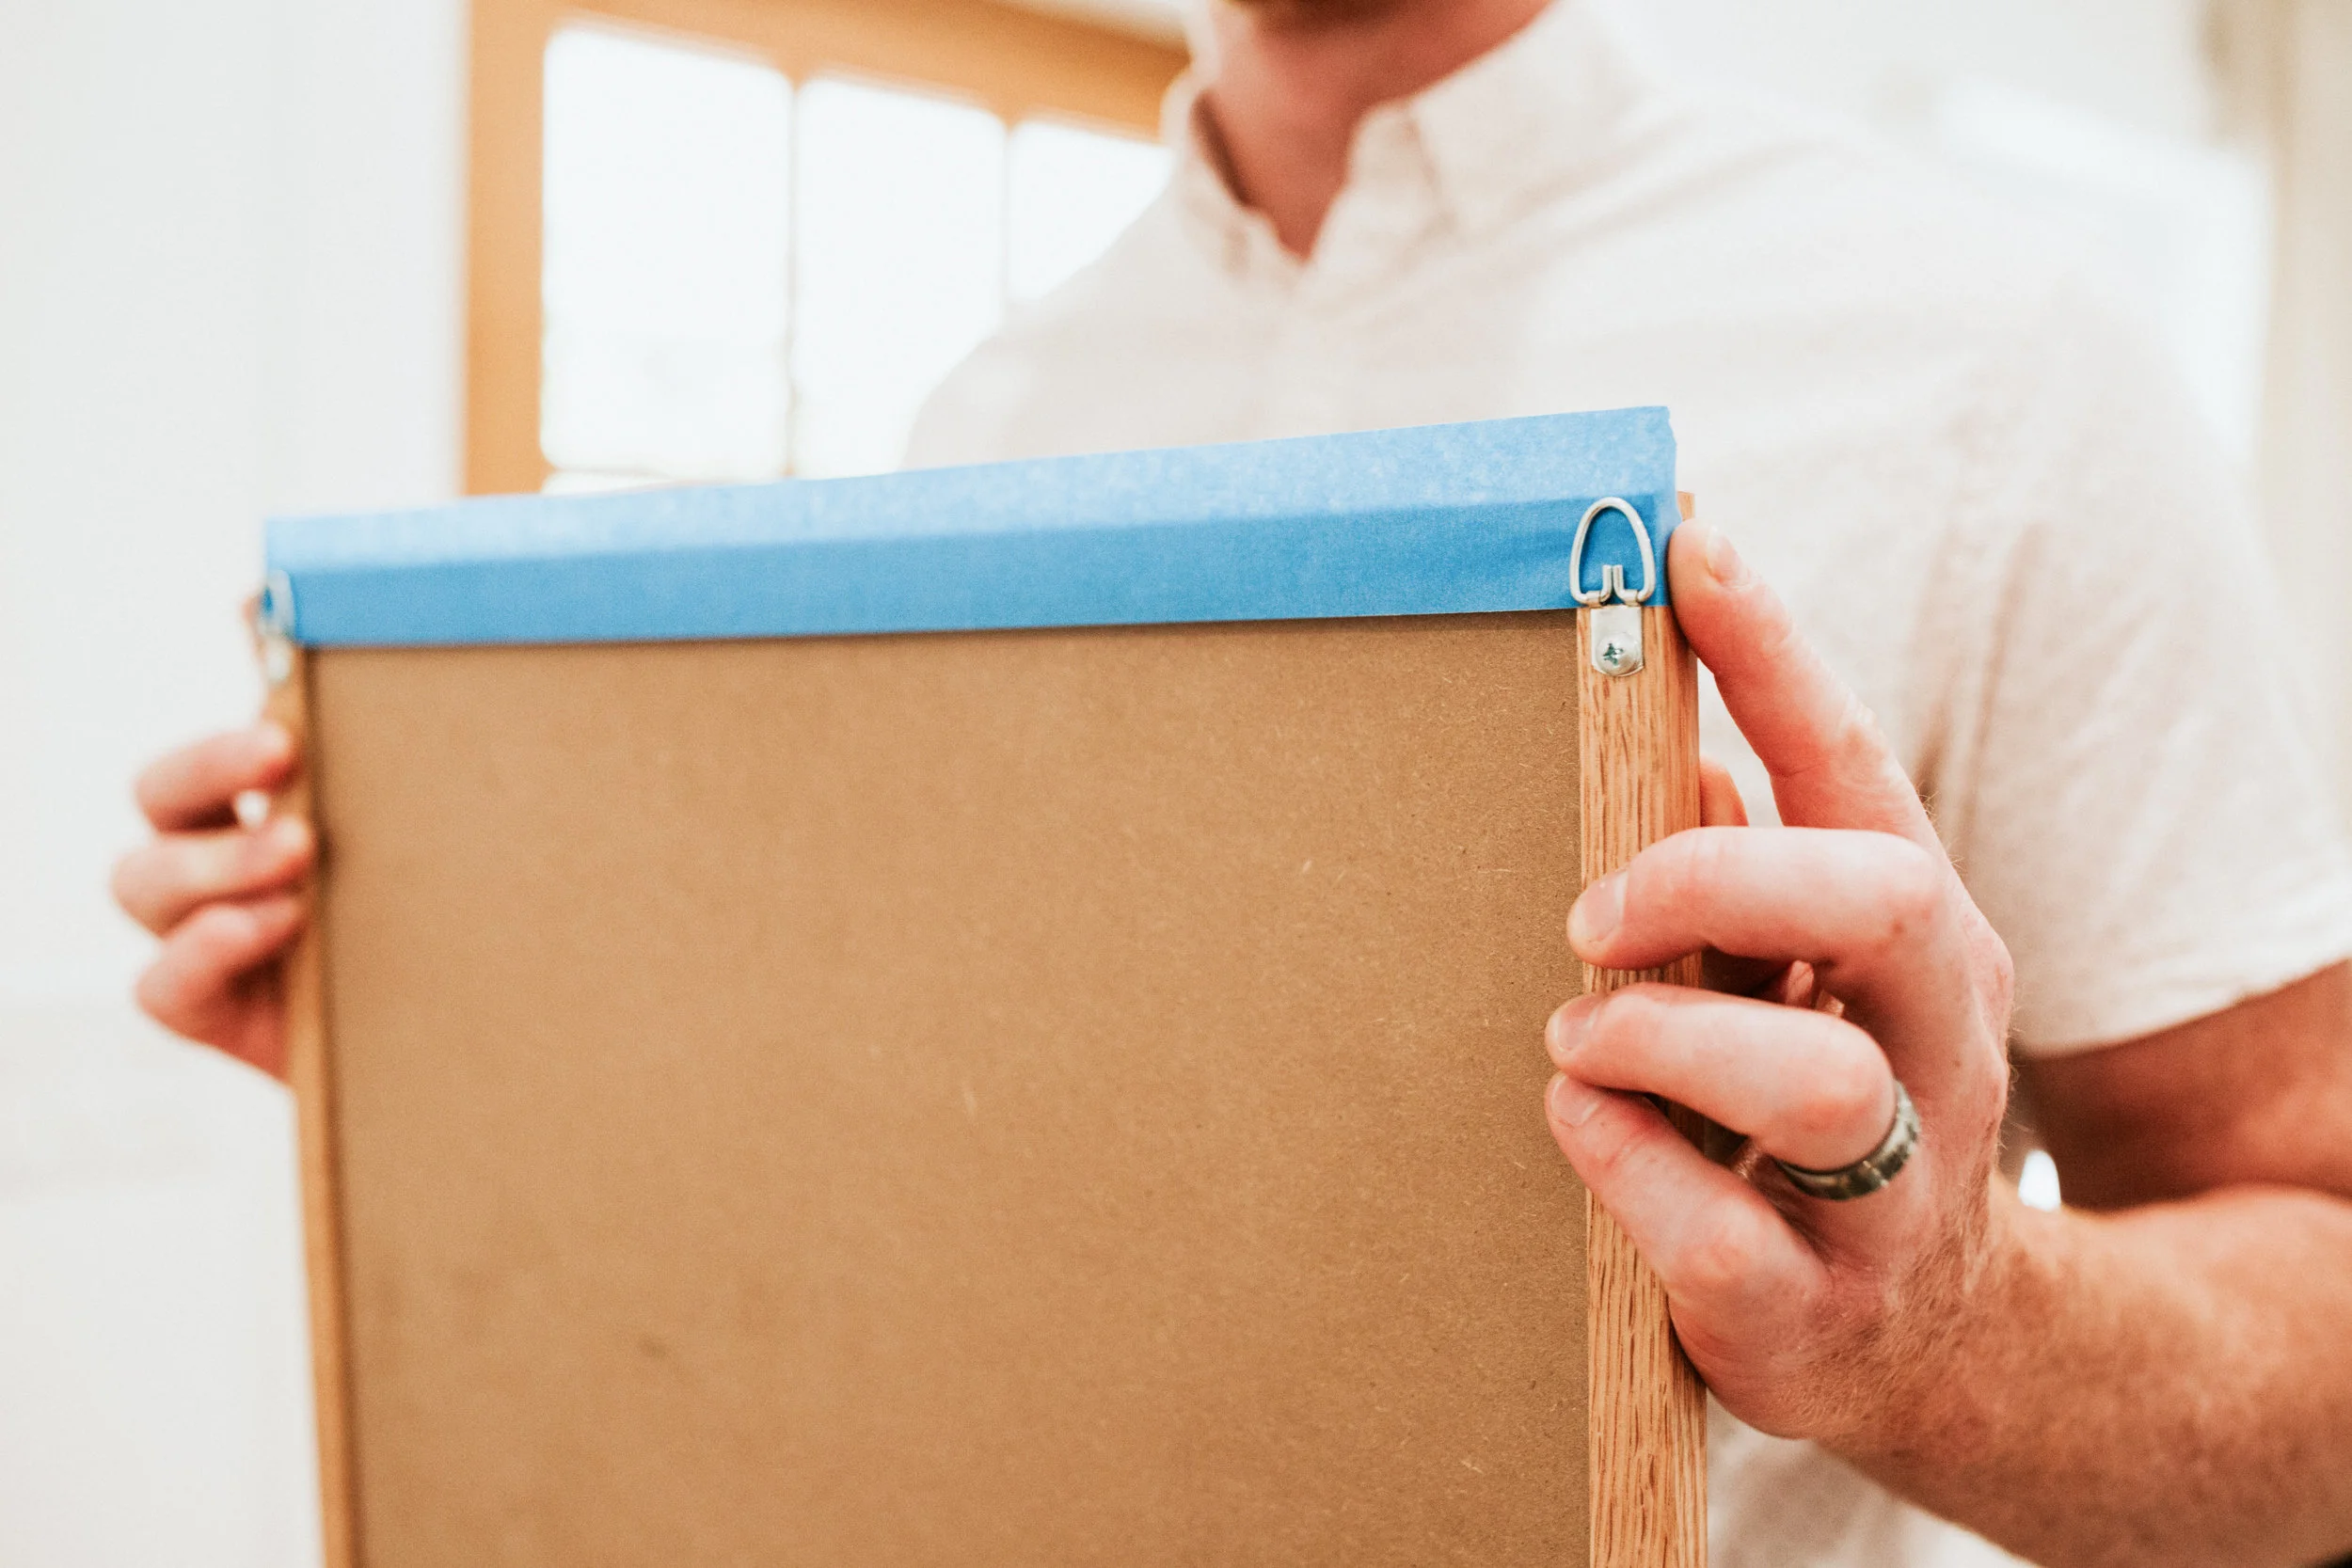
Step 2: Make sure the sticky side is facing away from the frame and hold the tape tight
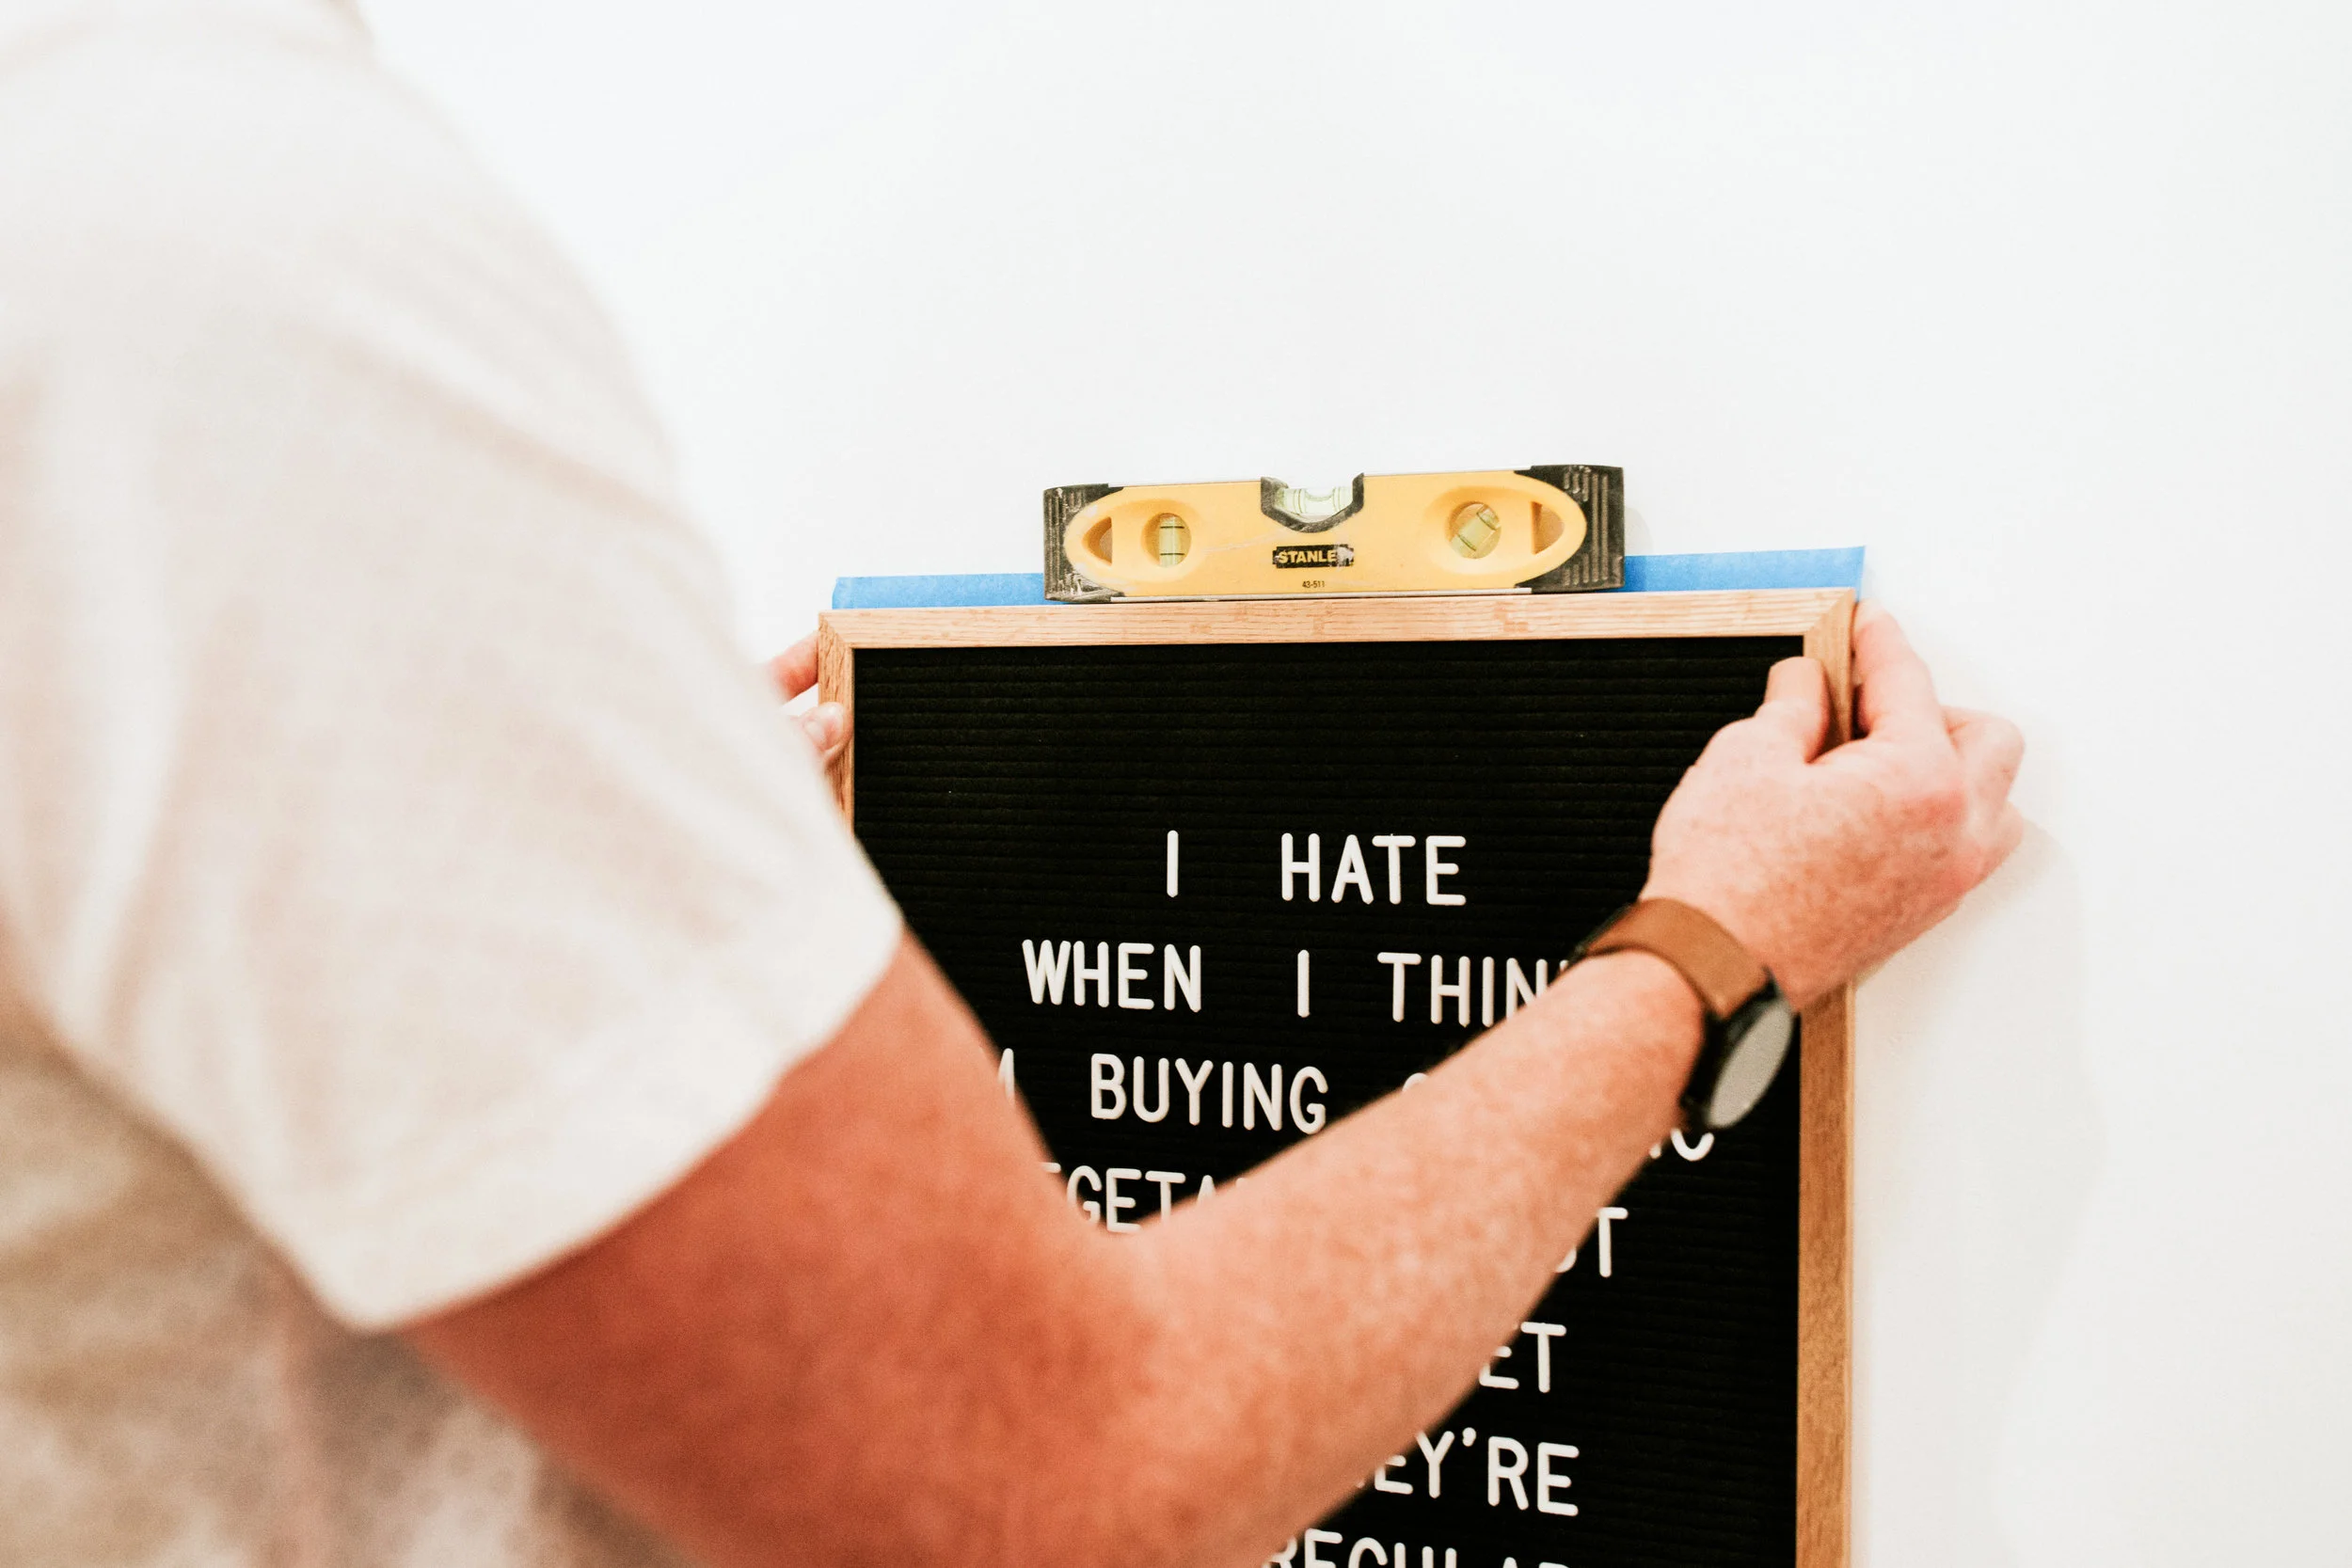
Step 3: Hold your picture where you want it to hang on the wall and place a speed level on top. Adjust the picture until it’s level. Carefully press the tape against the wall and remove the artwork.

Step 4: Drill a hole or place your nail directly on the edge of the tape. This will ensure your nails are level and your picture will hang perfectly straight!
HACK #9. USE AN IKEA PLASTIC BAG CONTAINER FOR WRAPPING PAPER
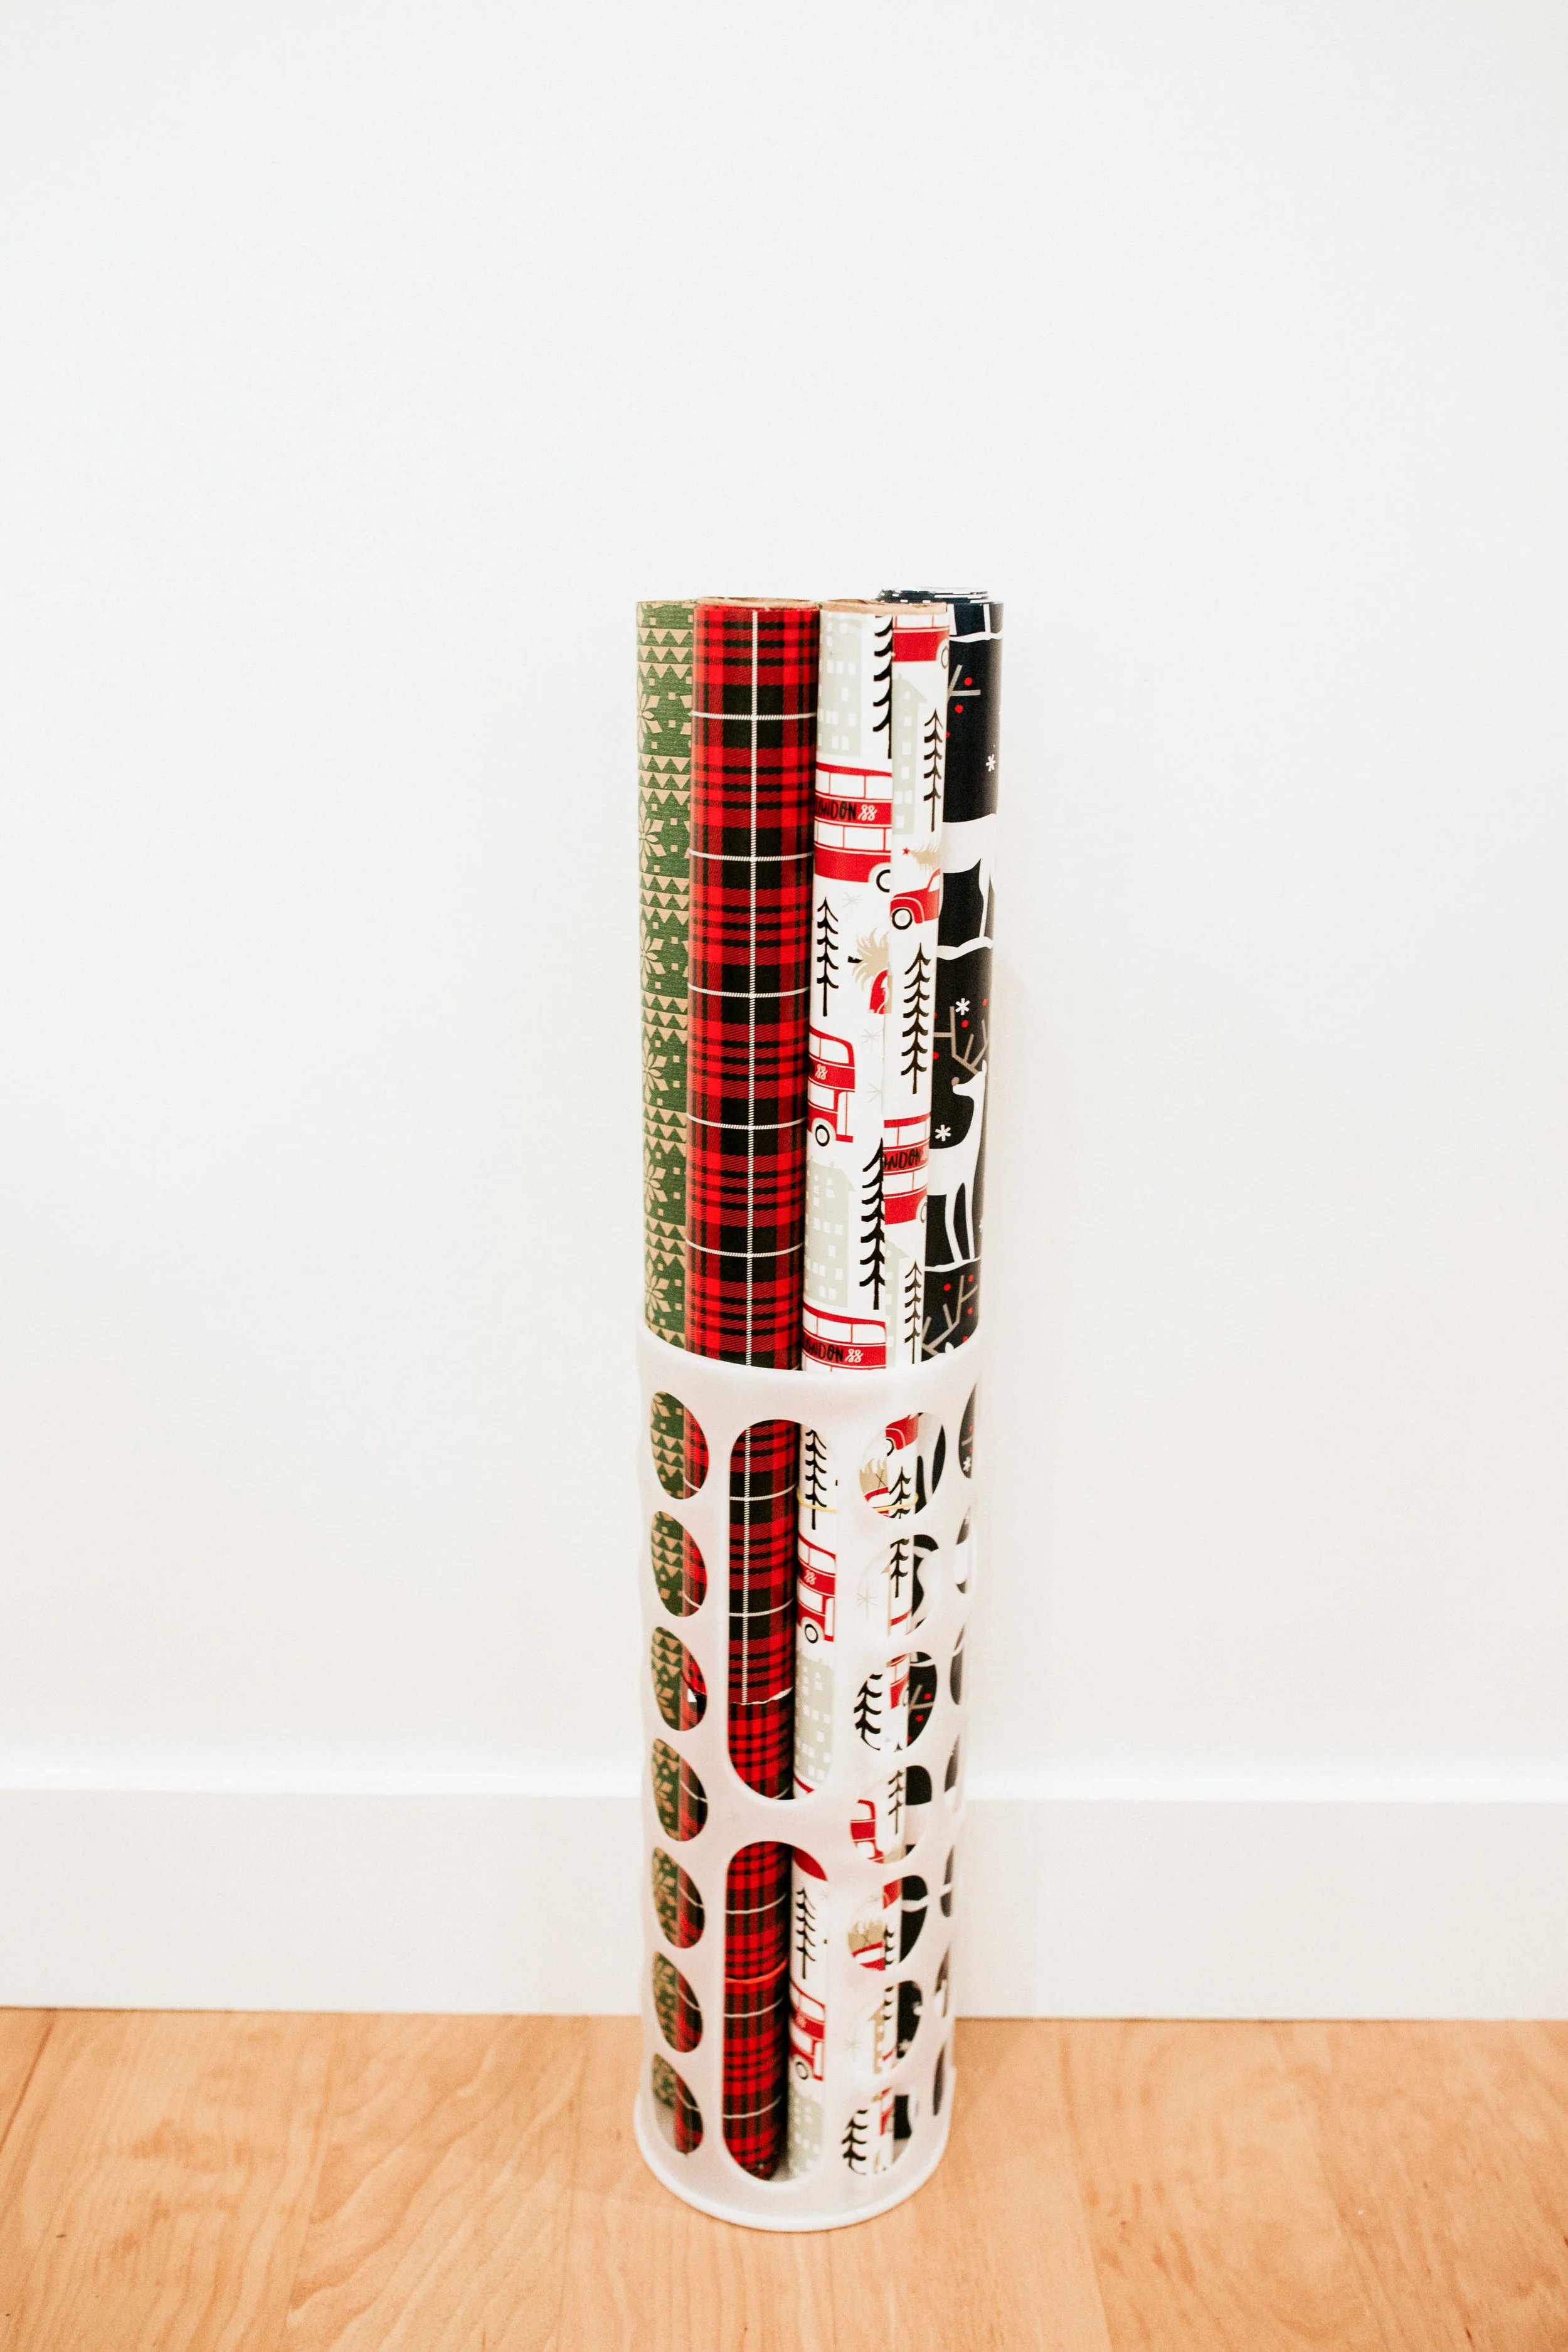
That pile of wrapping paper needs a good (organized) home. These Ikea plastic bag containers work perfectly for storing wrapping paper! Plus the container is under $3 so you no longer have an excuse for your unorganized pile of wrapping paper.
HACK #10. USE LEMI SHINE TO GET RID OF HARD WATER SPOTS ON DINNERWARE
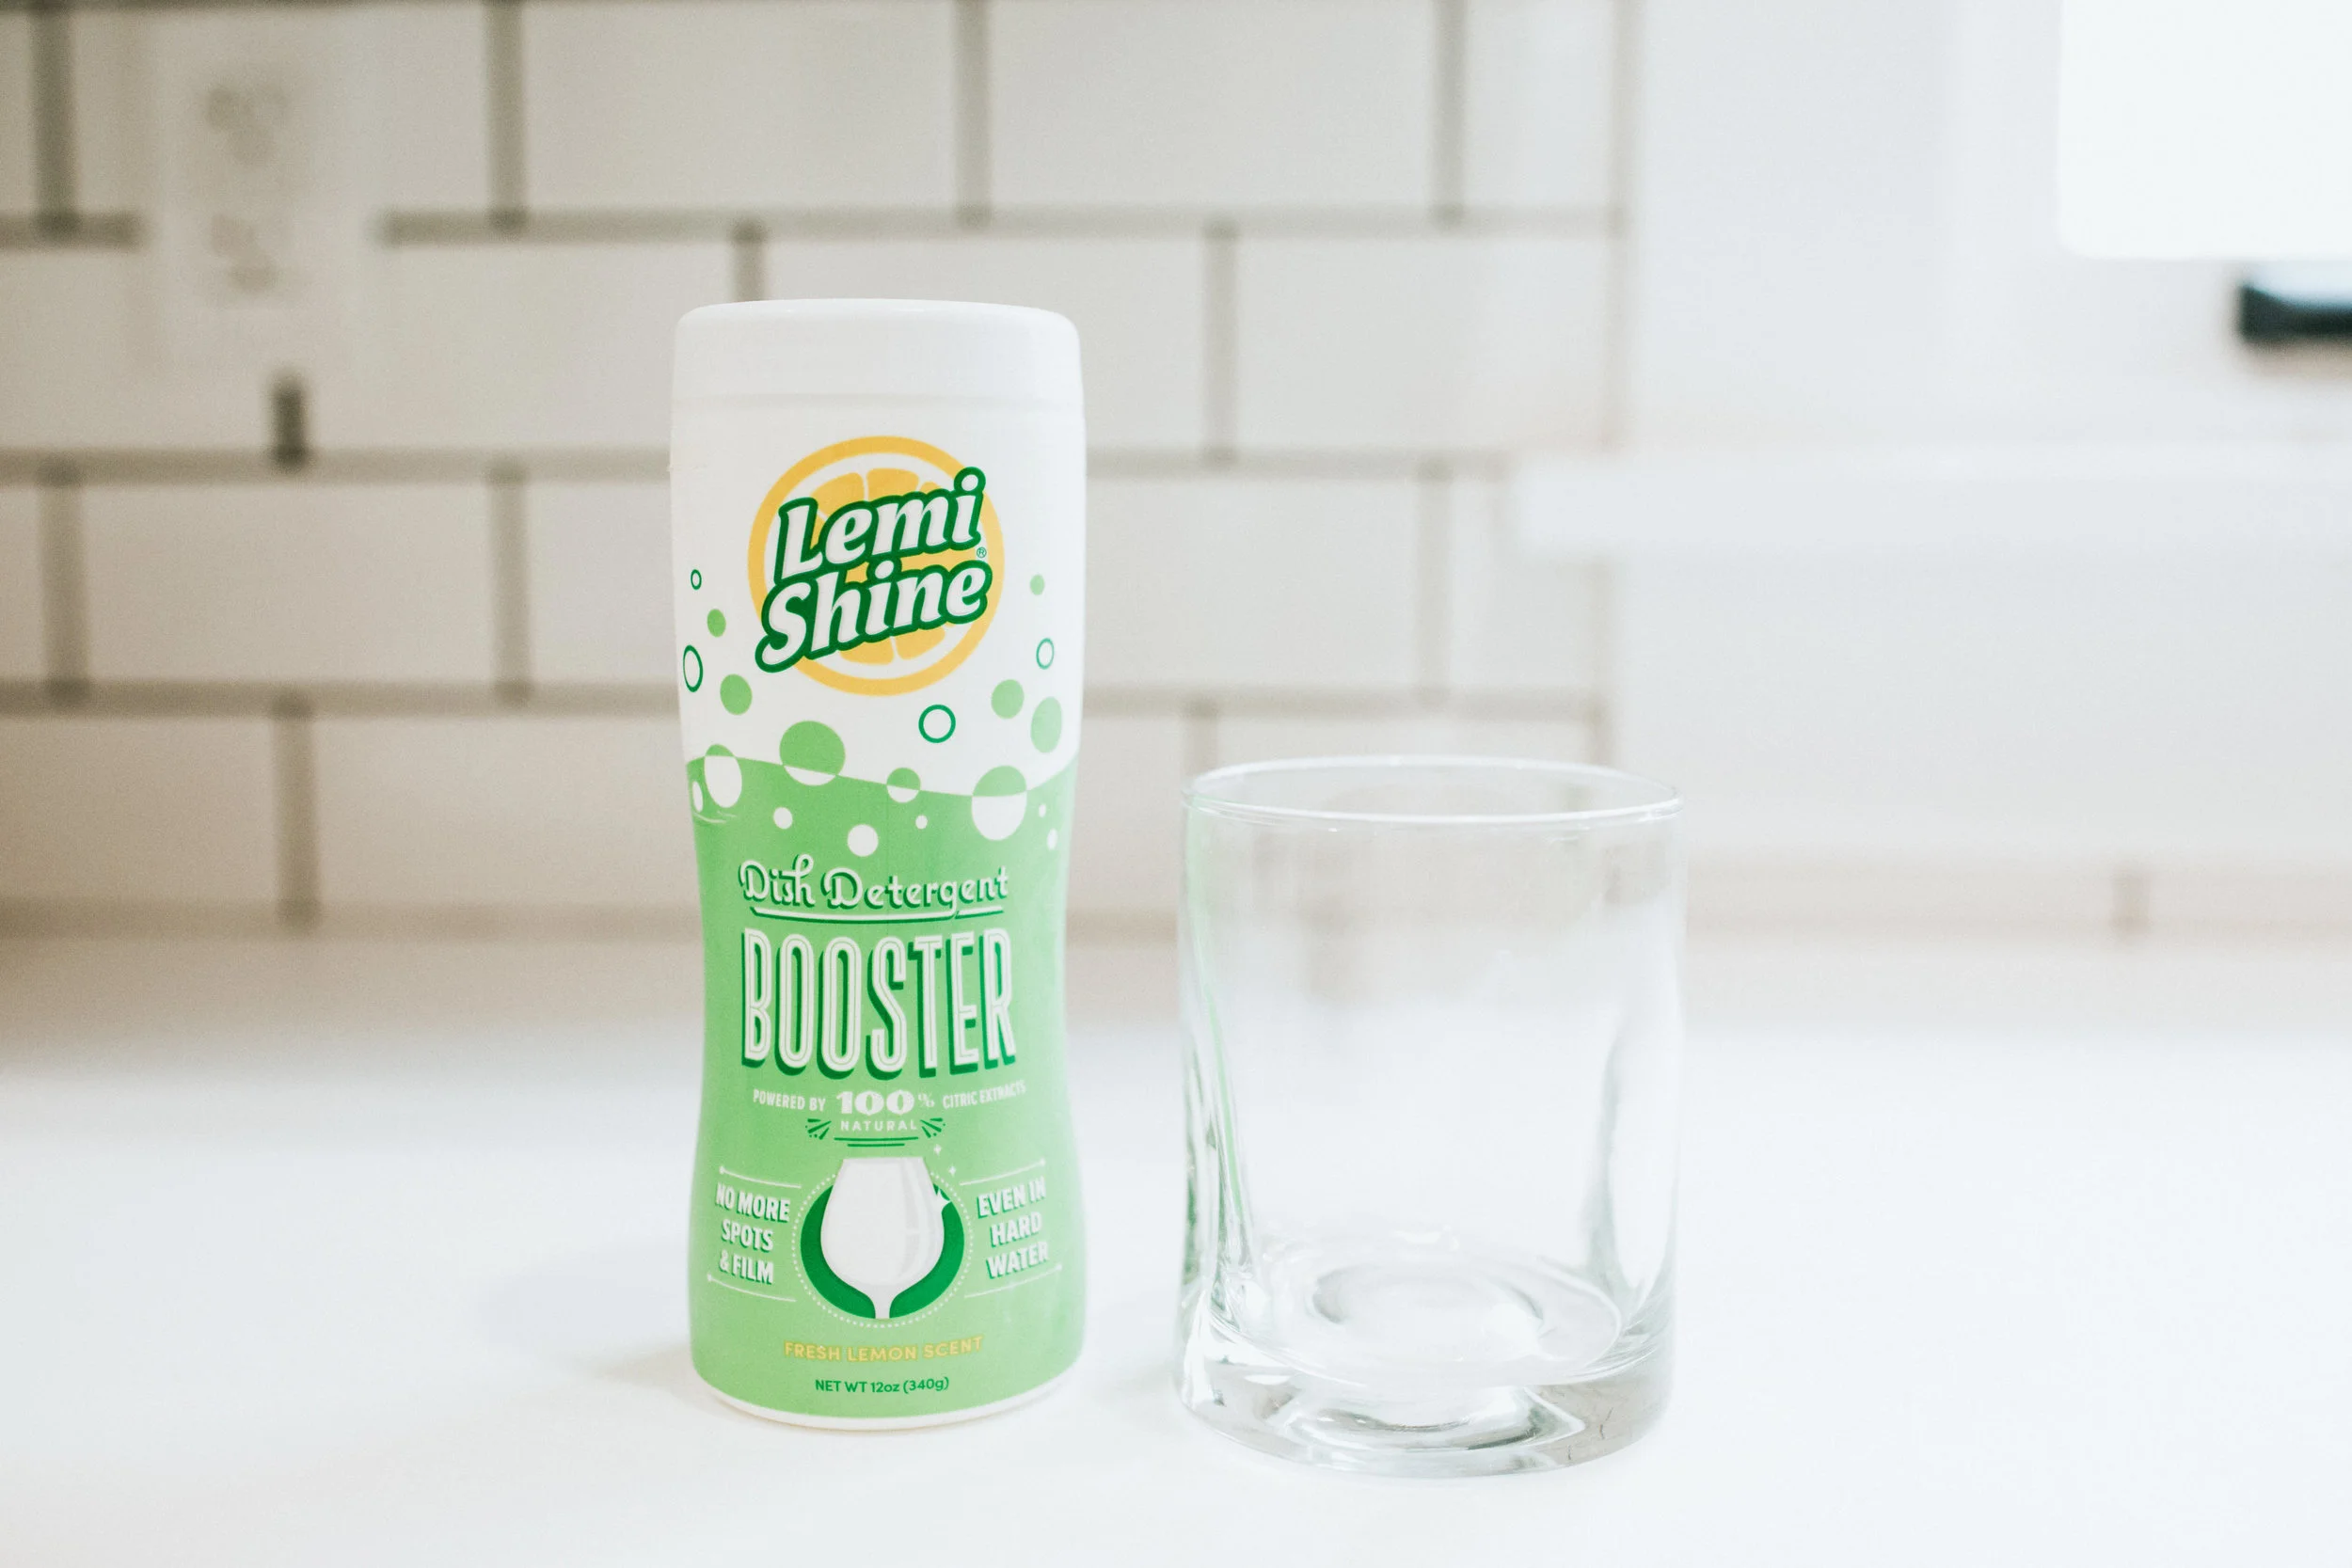
This is less of a hack and more of a life saver! If you have hard water, you know that your dishes quickly get a gross film over them that is hard to get out. Add a little Lemi Shine to your dishwasher before you start a load and you’ll never see that nasty film again!
Where behind the scenes, exclusive advice, and candid conversations are sent straight to your inbox every week.
The Inside Scoop
DO YOU WANT
