All The Details On Our Laundry Room Walls & Ceiling (& How I Achieved An Old Wood Look)
·

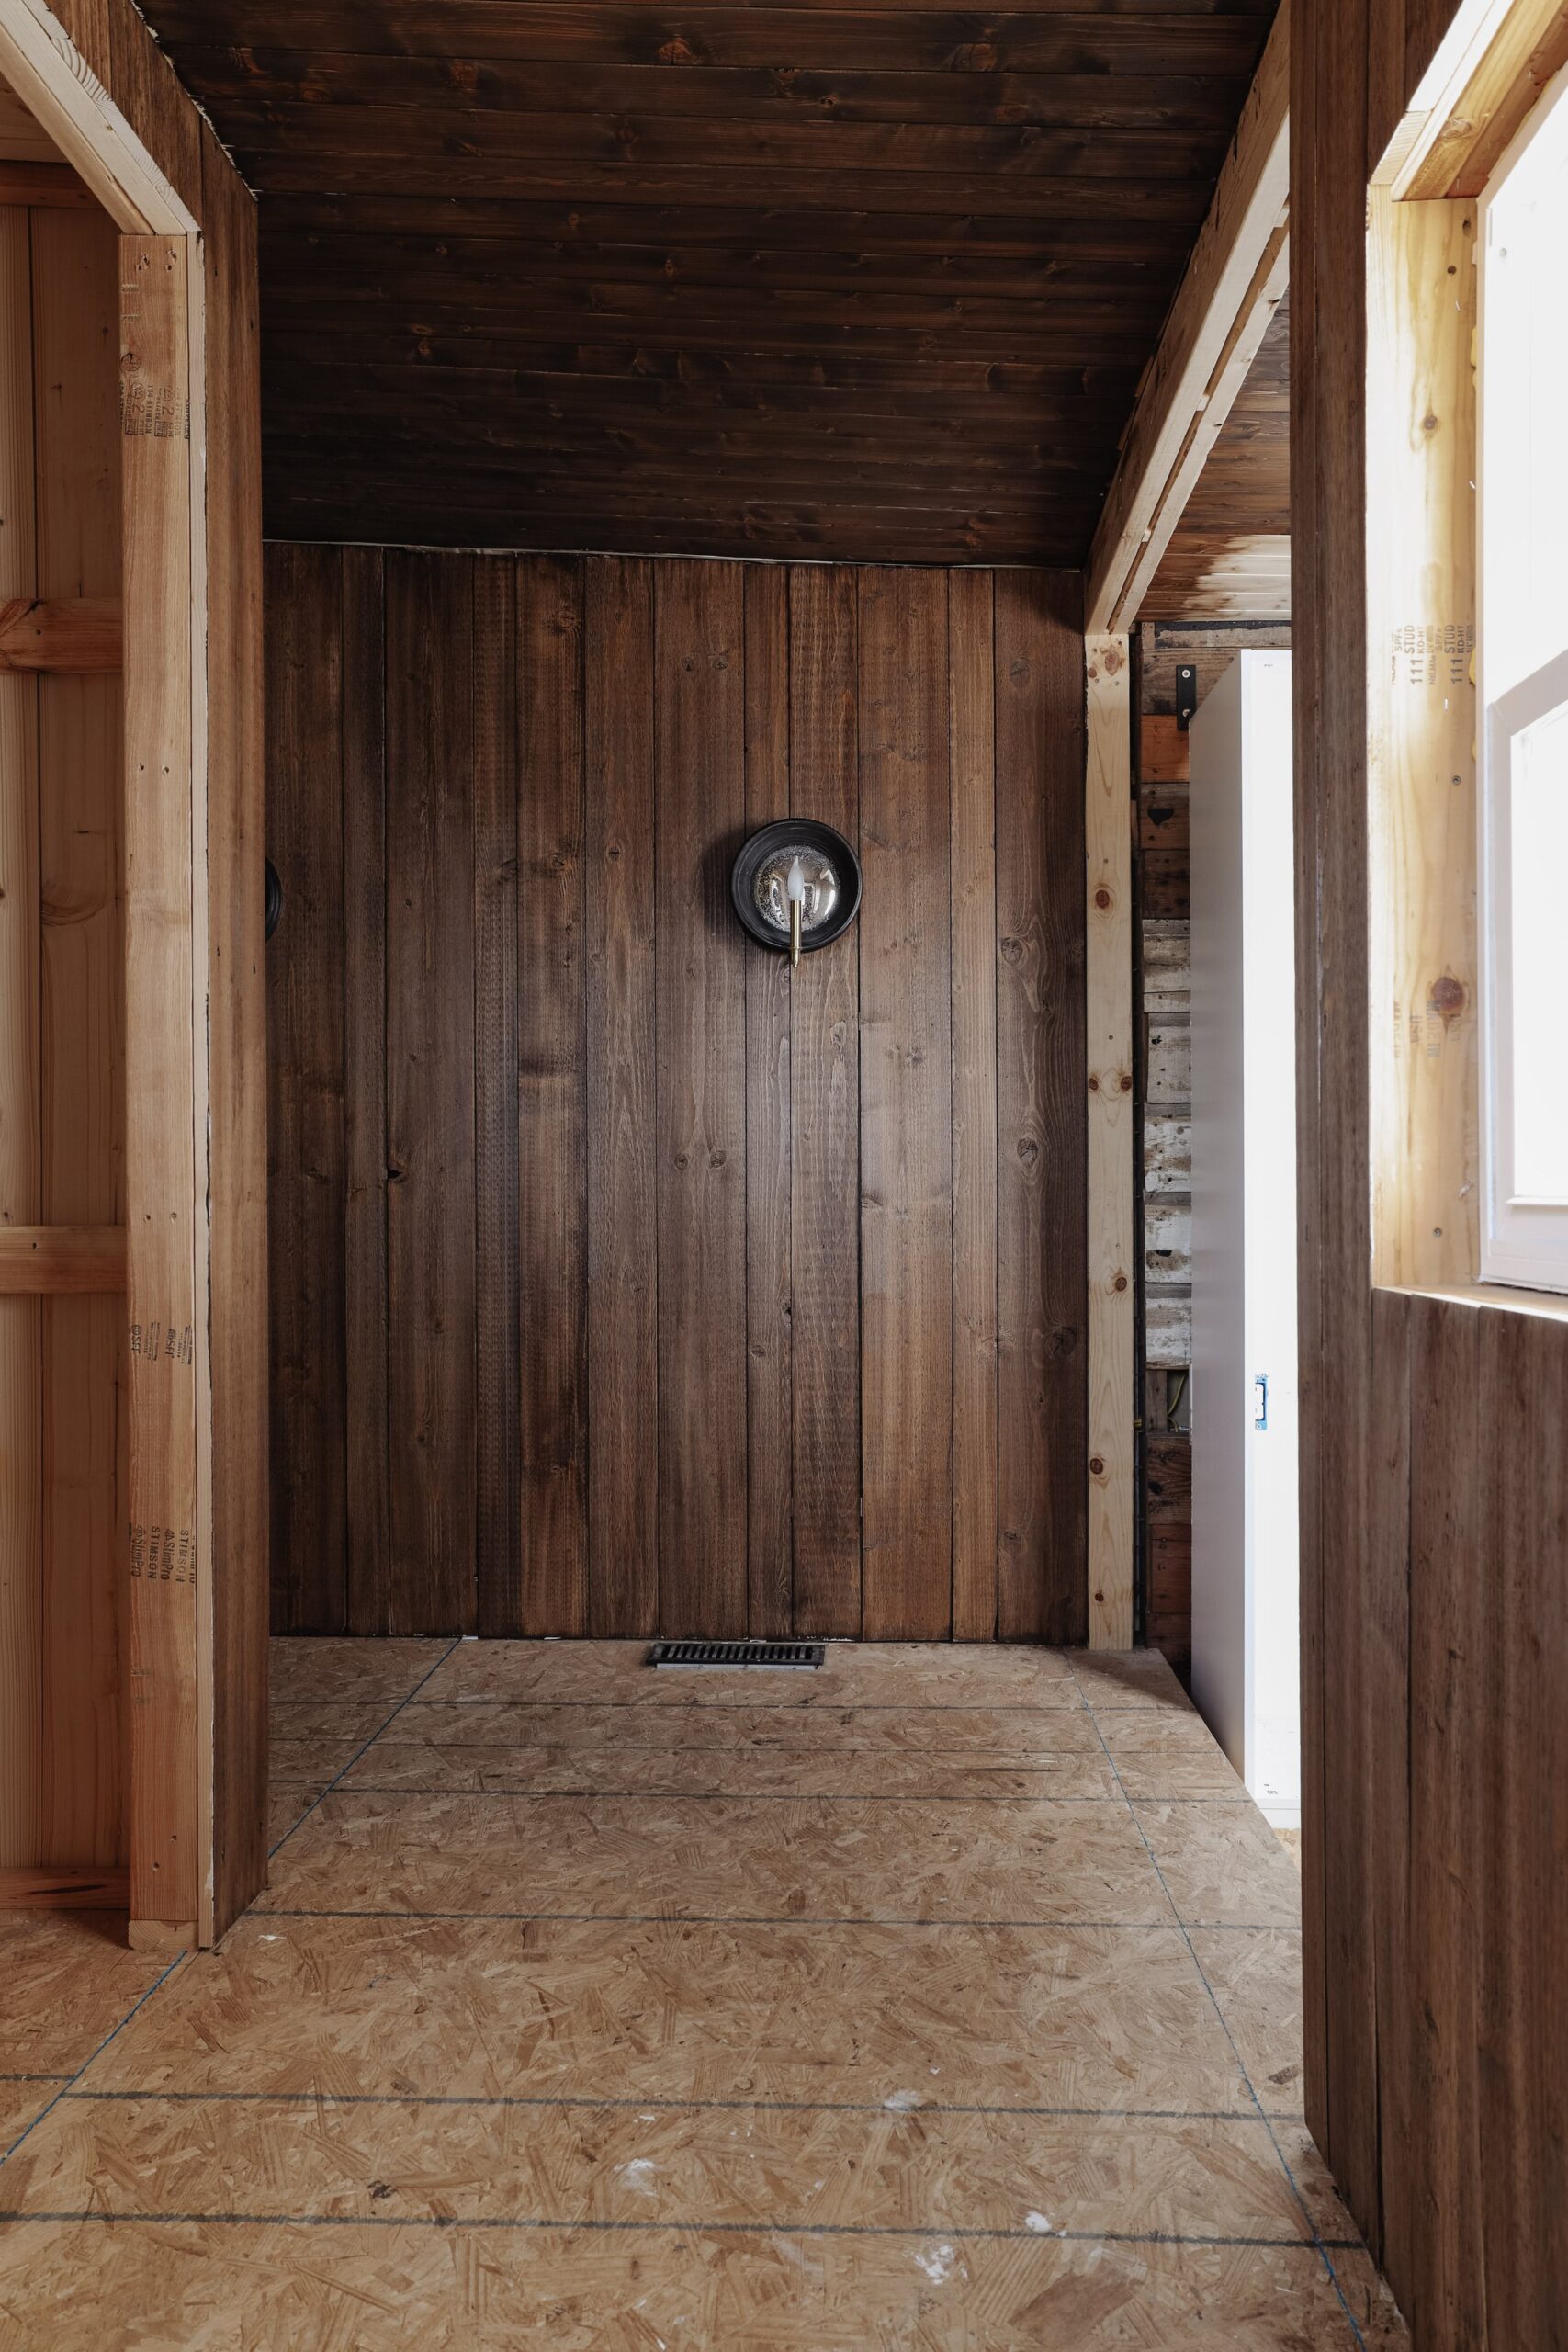
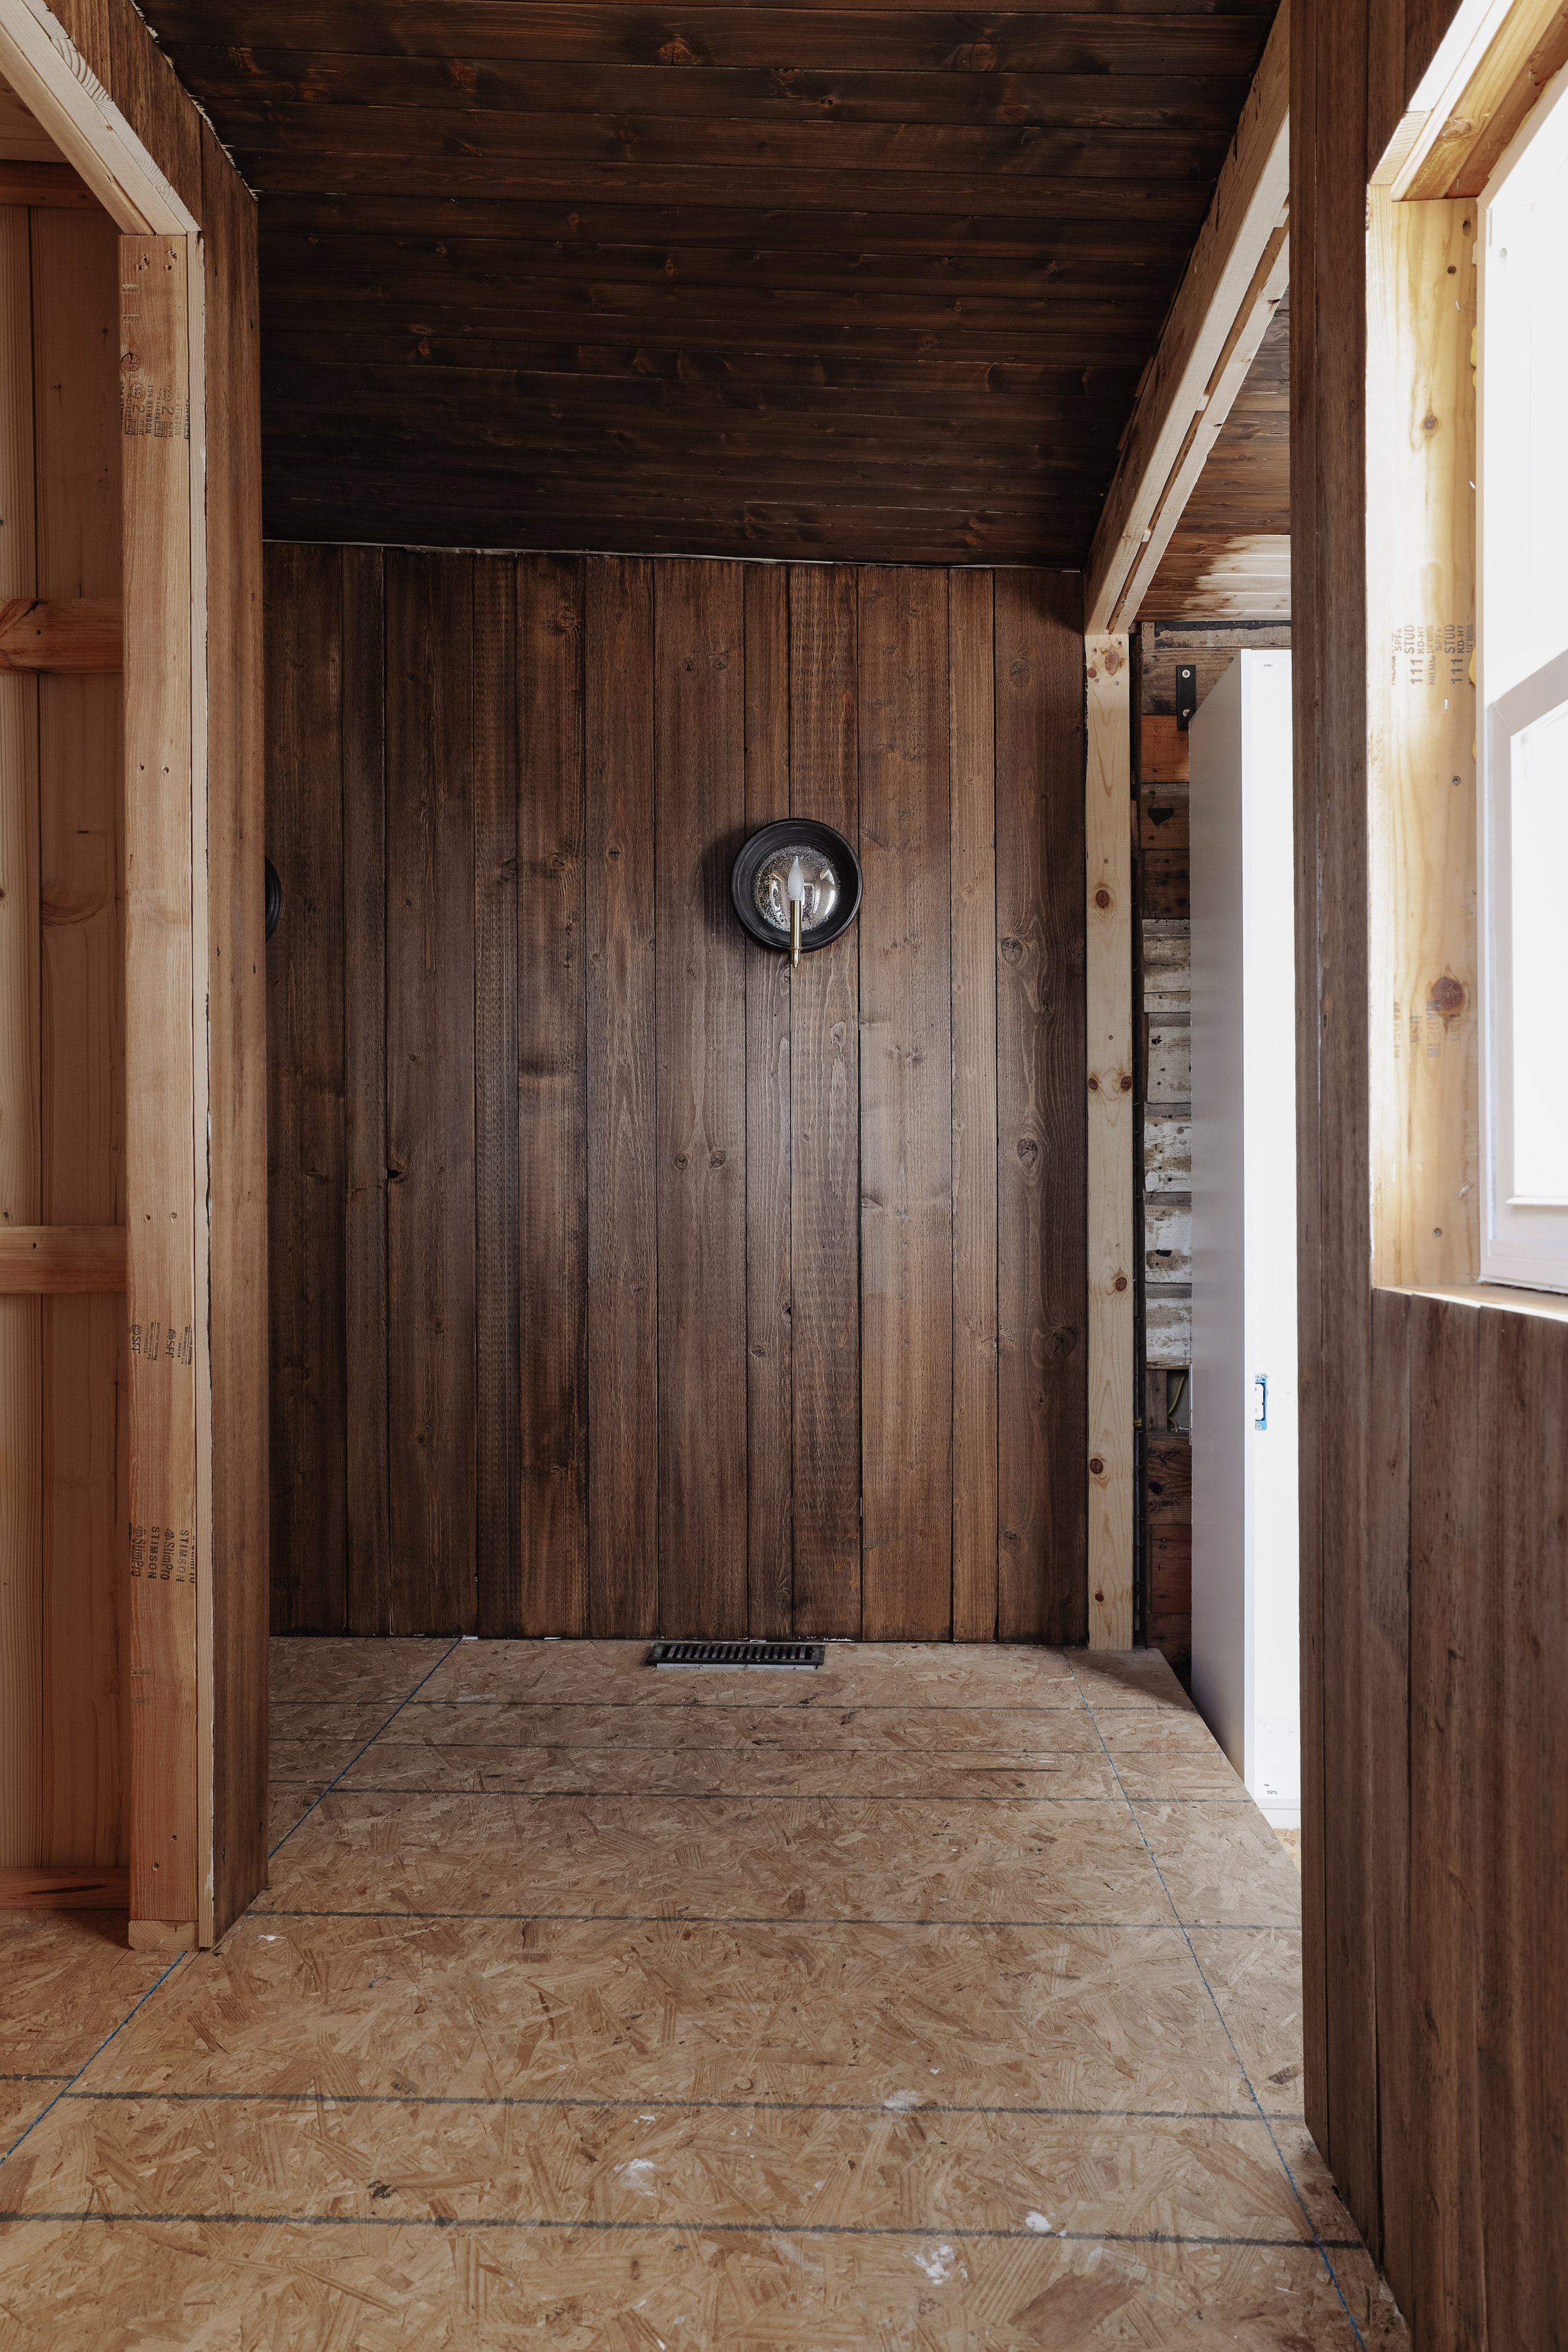
Can we just take a minute to fully soak up this moment? The “old” wood walls, the texture, the rich color…it came together so beautifully and I love it dearly!! Is it darker than what we thought it would be? Significantly. Did it take longer than planned? Significantly. Do we love it? 100%!!!
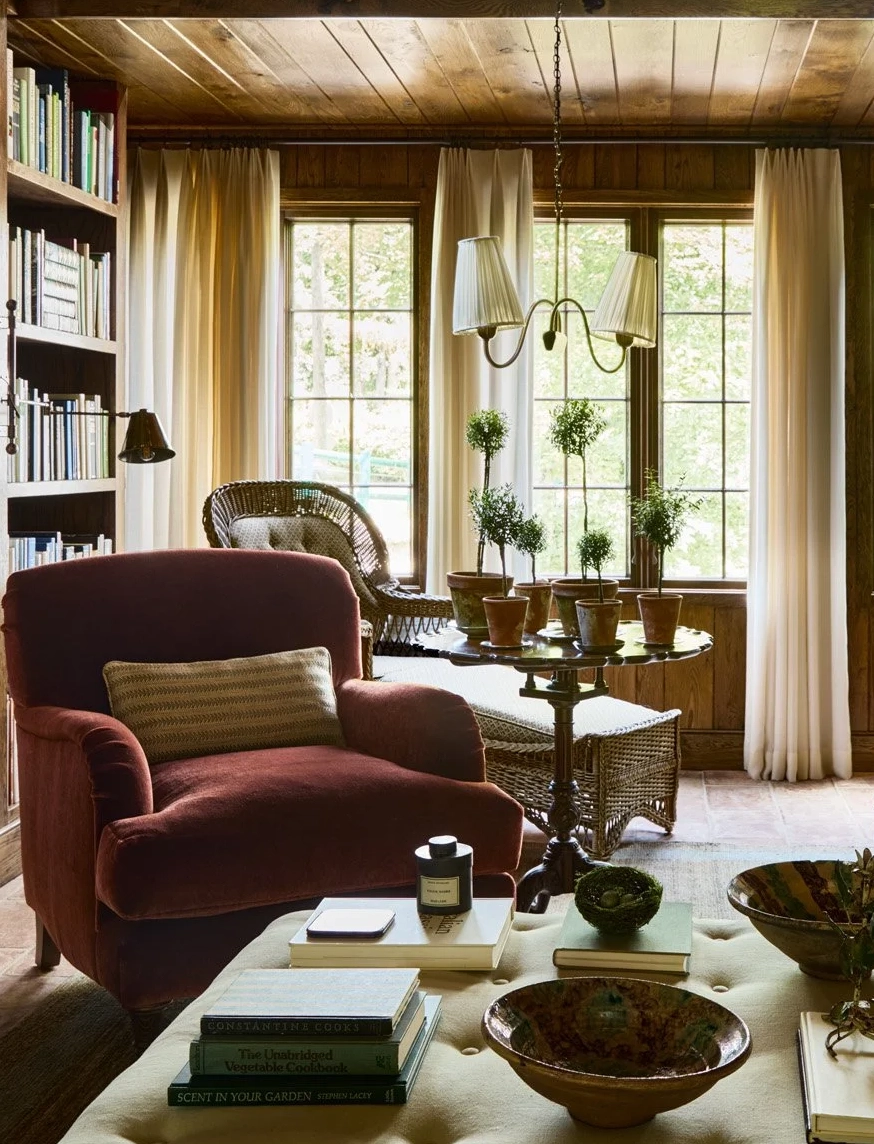
This is now the 4th room that we added wood planks to and the rich wood fits the bill for the California casual, rustic modern cabin style I’m going for.
Let me start from the beginning.
INSTALLATION
The one thing I was certain I wanted for this laundry room was lots of texture. I envisioned a space that looked old and original and I knew that wood with raised grains, saw marks, cracks, and plenty of imperfections would be the closest I could get to original old wood. We decided on Rough Sawn Pine boards in 8”, 6”, and 4” widths.
FURRING STRIPS
Because we ripped out the existing walls down to studs, we needed to install horizontal furring strips that we could then nail the vertical boards to. You could adding furring strips on top of the studs like we did in our bedroom, but because we didn’t want to waste any space, we decided to add furring strips in between, flush with the studs.
To do so, we cut 1×2 furring strips the same length as the distance between the studs and nailed them in between the studs. We added anywhere from 3-5 furring strips between each stud so the vertical boards would be secure.
We did the same for the ceiling because we decided to run the boards the same direction as the rafters rather than the opposite direction. For our bedroom, we installed the ceiling boards the opposite direction as the rafters and there was no need for furring strips.
INSTALLING THE WALLS
Because we had three different board widths, we rotated between all three in no particular order to ensure that we didn’t create a pattern. Of course, our ceilings are much shorter so we had to cut each board and we intentionally left a gap on the top and bottom to allow for expansion. We used our brad nailer and 1 1/2” brad nails to secure each board to the wall.
The rough sawn pine we used doesn’t have tongue and groove or an overlap connection. They’re just straight edges. When we installed the wood, we didn’t leave a gap between each board, but of course as the house has shifted and moved, there are now some gaps between the boards. I’m ok with that because I wanted this room to look imperfect, but that’s something to keep in mind if you don’t want any gaps.
INSTALLING THE CEILING
The ceiling boards on the other hand are tongue and groove and are incredibly lightweight due to the fact that they’re only 1/4” thick. Perfect for our low ceilings! We used our brad nailer and 1” brad nails to secure the boards to the ceiling.
One thing to note: If you’re attaching wood directly to drywall, or any non-wood surface, you will most likely need to glue the boards in place as well. A product like Liquid Nails would do the job well.
STAIN APPLICATION
This is where things start to get a little more involved. Achieving the look I created is totally doable and repeatable, but it does require a lot of repetition, patience, and time.
THE WALLS
Every board got a quick sanding with my power sander and 220 grit sandpaper to smooth out some of the overly rough areas.
The stain formula I used was 1 coat of Simply White by Minwax and 1 coat of Antique Walnut by General Finishes.
I started with a coat of Simply White because I fell in love with the tones of this dark stain color, but it was too dark for the room so a coat of white stain first lightened it up a good bit. I applied the white gel stain with a stain brush and I worked on 2 boards at a time.
After a few minutes, I wiped off the excess stain with these extra absorbent paper towels. I tried other paper towels, but these were the best. The key to wiping off the excess stain was to keep my hand completely flat and wipe in one continuous motion.
I let the stain absorb for a few minutes, but not too long that it started to get tacky. Usually by the time I was done brushing stain on my second board, the first board was ready to wipe. I then let the walls dry completely (8-10 hours) before applying the dark stain.

Once dry, I applied the second stain color, Antique Walnut, using the same method as above. Brush on 2 boards and wipe off the excess with a paper towel. Note: both stains I used are gel stain which was really easy to work with for vertical surfaces.
I may end up applying a matte clear coat overtop to preserve this wood, but I’ll wait till the end of this project to decide!
THE CEILING
Because the ceiling boards have a smooth texture, the stain color looked different. It wasn’t absorbing the same as the walls and because it also is a different texture than the walls, the stain color looked different. I ended up using a different method on the ceiling that matched the walls pretty well.
I started by water popping the ceiling. Water popping raises the wood grains which allows the stain to soak into the wood more. Therefore, the color will appear darker and more evening. This is especially useful on oak wood where the grains have so much variation. To water pop wood, you’ll need a wet rag or paper towel. Dip the rag in water, squeeze off some of the excess water, and wipe the wood in the same direction as the grains. Once you’re done, you’ll need to let the wood dry completely before staining.
Once the wood was dry, I brushed on 1 coat of Antique Walnut and after a few minutes I wiped off the excess stain with a paper towel.
Next steps for this room include window trim & crown moulding (which will match the walls), flooring, doors, and the list goes on. But I’m so happy with how this room is progressing so far!
LIGHTING IN THE LAUNDRY ROOM

Leave a Reply Cancel reply
Where behind the scenes, exclusive advice, and candid conversations are sent straight to your inbox every week.


That looks so beautiful! I think you are the most patient person in the world! I don’t know if I could do that hahaha
Haha either patient or blissfully unaware of what I was getting myself into! 🙂