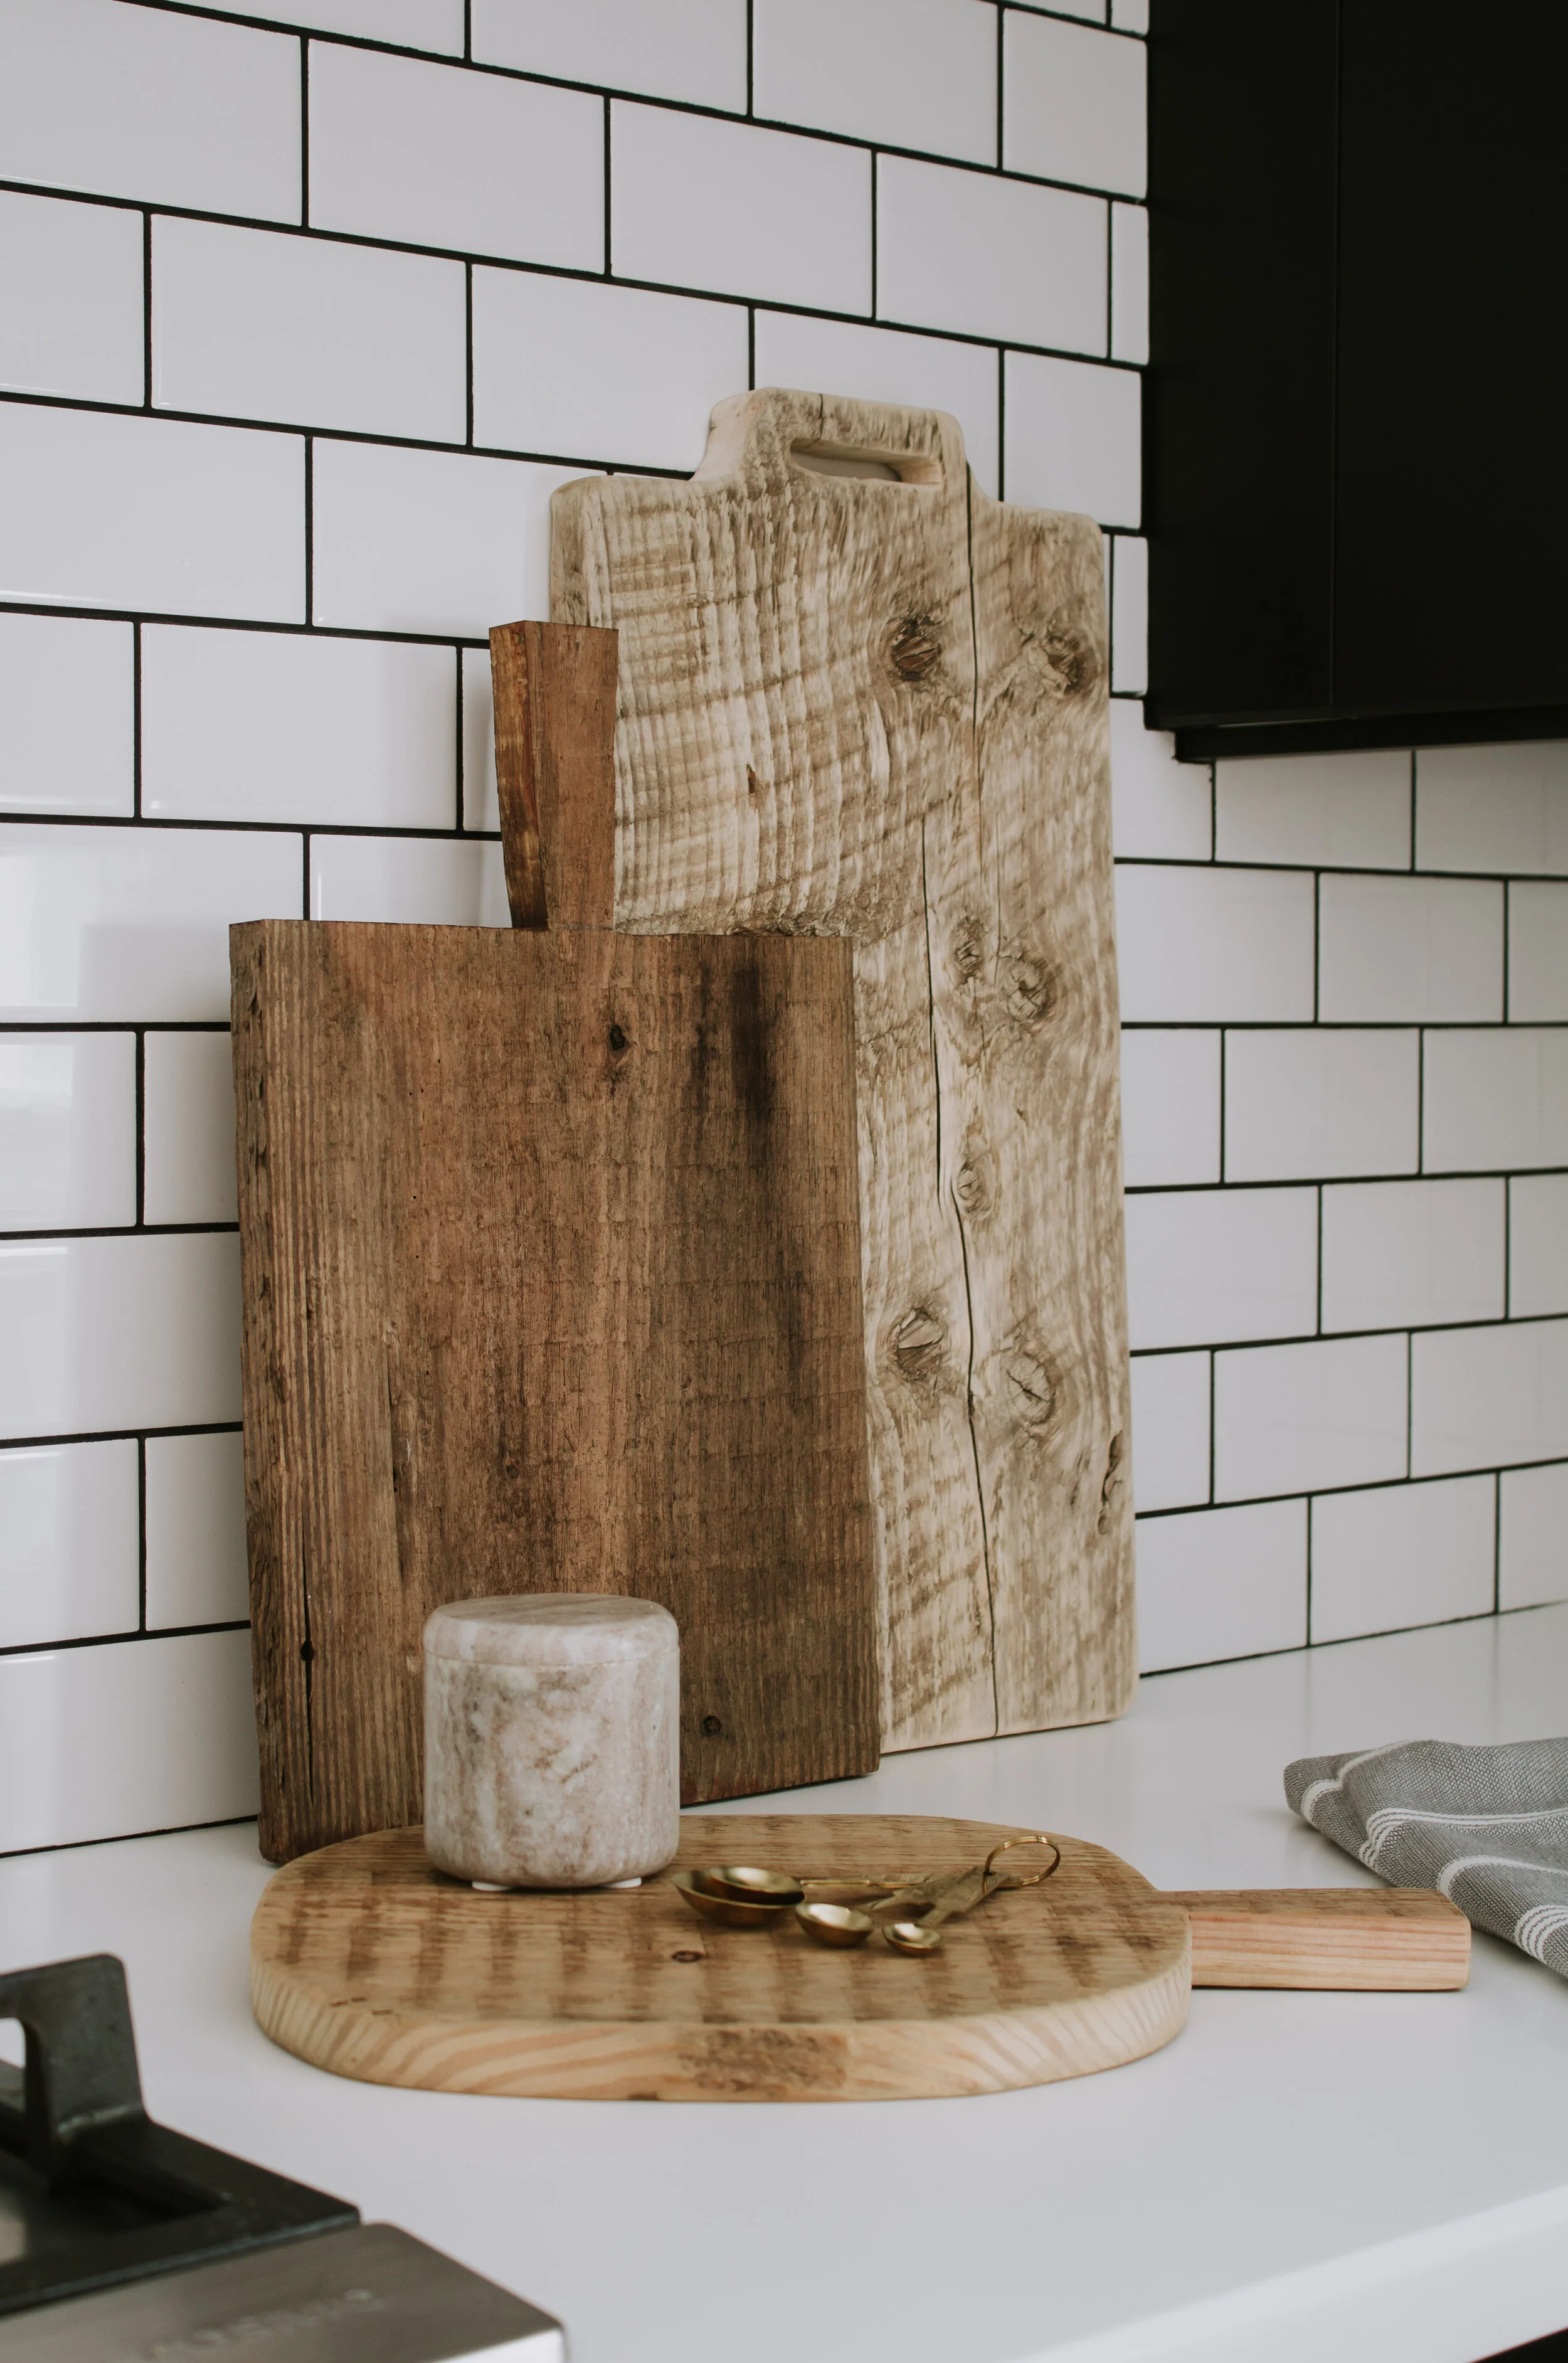
Our oven wall with subway tile has a lot of open space and I love it that way…but I’ve always felt like the proportions of my countertop decor were a little off. I swapped out a small vase for a tall vase with even taller greenery on the left side which helped drastically, but my cluster of small decorative objects on the right side were just not filling out the space.
I envisioned a collection of large bread boards that look like they’ve been through years of use. And after a year of looking in antique shops and thrift stores with no luck, I made my own…for waaaay less than what I would’ve paid for the real deal. So I’m happy! 🙂
I tried a few different methods to see what I liked best – food safe, unfinished, and one with the original wood finish. I ended up keeping all three because the variety of wood tones just look so dreamy when grouped together!
Here’s how I made mine –
MATERIALS NEEDED:
-
Old Wood (Or new wood that you distress yourself)
-
Cleaning Supplies (White vinegar, dish soap, and a bristle brush)
-
Instant Coffee (Optional)
-
Paint Brush (Optional)
TOOLS NEEDED:
-
Power drill and large drill bit (size of your choice)
-
Electric Sander (with 80 grit and 220 grit sandpaper)
1. Trace and cut out your shapes
The key to making bread boards that look authentic and “antique” is using old wood that has plenty of character. With wood that already looks aged, the homemade breadboards will look all the more believable. Of course, you can always use new wood and age it yourself by beating on the wood, using a wire brush on it, and pounding it with a hammer. I did that with my DIY riser trays and they turned out great. The choice is yours.
I made three different shapes in three different sizes that I felt paired well together. The tallest one has a simple handle with an oval cutout in the middle. To create that inner cutout, I drilled two large holes with the biggest drill bit I had on either side and I used my jig saw to cut in between them.
Like in the illustration below. The dots are where you drill the holes and the dotted lines are where you cut with your jig saw.
The other two boards were fairly simple to cut out. I didn’t work with a template but I did make a couple marks with a pencil where my cuts would be. In fact, I intentionally made my shapes somewhat imperfect so they didn’t look new.
2. Sand (Optional)
I sanded 2 of the 3 boards I made.
For food safe boards: I used my power sander with 80 grit sandpaper first and then finished with 220 grit sandpaper until the boards felt smooth but still showed character.
For decorative use only: I also loved the look of the old wood as is so I didn’t sand one of the bread boards. And because I don’t know where this wood has been, the unsanded board will be for decorative use only.
3. Clean
If your wood is new this step is unnecessary. But if your wood has some history, a proper cleaning would be good.
For my food safe (sanded) boards: I first used dish soap and a bristle brush to scrub the wood thoroughly. Then, I brushed some white vinegar onto the wood since that’s a natural disinfectant. And once it’s completely dry, you may need to do a light sanding again to smooth it over.
For my decorative use only (unsanded) board: I didn’t want to get this wood wet and risk changing its color so I just scrubbed the wood with a dry bristle brush to get rid of any dirt or unwanted residue.
4. Apply Color (Optional)
This step is entirely optional. If you like the natural or light wood finish that your boards have, you can skip this step. But if you want to add a little color or darken your boards, there’s a few methods I tried:
For food safe boards: A natural stain is necessary for boards you plan to put food on and the best method I know is with instant coffee! I warmed up some water (about 1/2 a cup) and poured a lot (probably close to 1 cup) of instant coffee in the mug and let it sit overnight. The next morning I brushed on a coat with a paint brush and wiped off the excess with a paper towel. You can apply as many coats as you want until it gets to your desired darkness. (Note: Regular coffee worked as well but it didn’t stain quite as dark.)
I tested both the stained and unstained option and I opted to keep the board unstained since it gave me the best “aged” look.
For decorative use only boards: I didn’t apply stain to the one board I left unsanded because I already loved the color that it was. BUT there was an obvious difference in wood color along the edges where I made my cuts. So, I dabbed a paper towel in some left over stain that I had and wiped it on lightly (just on the edges) until it matched the rest of the wood.
5. Wipe on food grade mineral oil (Optional)
For food safe boards: To extend the longevity of your wood, wipe on a coat of food grade mineral oil. And when the wood starts to look dry from being used and washed, apply another coat.
Keep in mind that this may alter the color of your board. Since my boards will probably be used for decoration more than actual food use, I opted not to use food grade mineral oil.
And that’s all! If you give this DIY a try, I’d love to see your handmade breadboards. Snap a photo and tag me @nadine_stay on Instagram. 🙂
Leave a Reply Cancel reply
Where behind the scenes, exclusive advice, and candid conversations are sent straight to your inbox every week.


What length and width is your biggest board? I’m going to try this from an old headboard and I want it big but not giant lol.
You do know that there is NOTHING you can do to make pine "food safe"? Pine is NOT food safe to use, period.
I have an old piece of rough cut pine board that I use for charcuterie but put parchment over so nothing touches it. I love the texture and color of it and really don’t want to sand that off but am trying to figure out a way to make it food safe so I can use it without the parchment. Do you think cleaning it with the method you mention above and the vinegar wash would be enough for an unsanded board and then applying mineral oil? Ultimately I may just sand it because I hate seeing the parchment but thought I would find an alternative first.
If you were making these to sell, how much do you think they are worth?