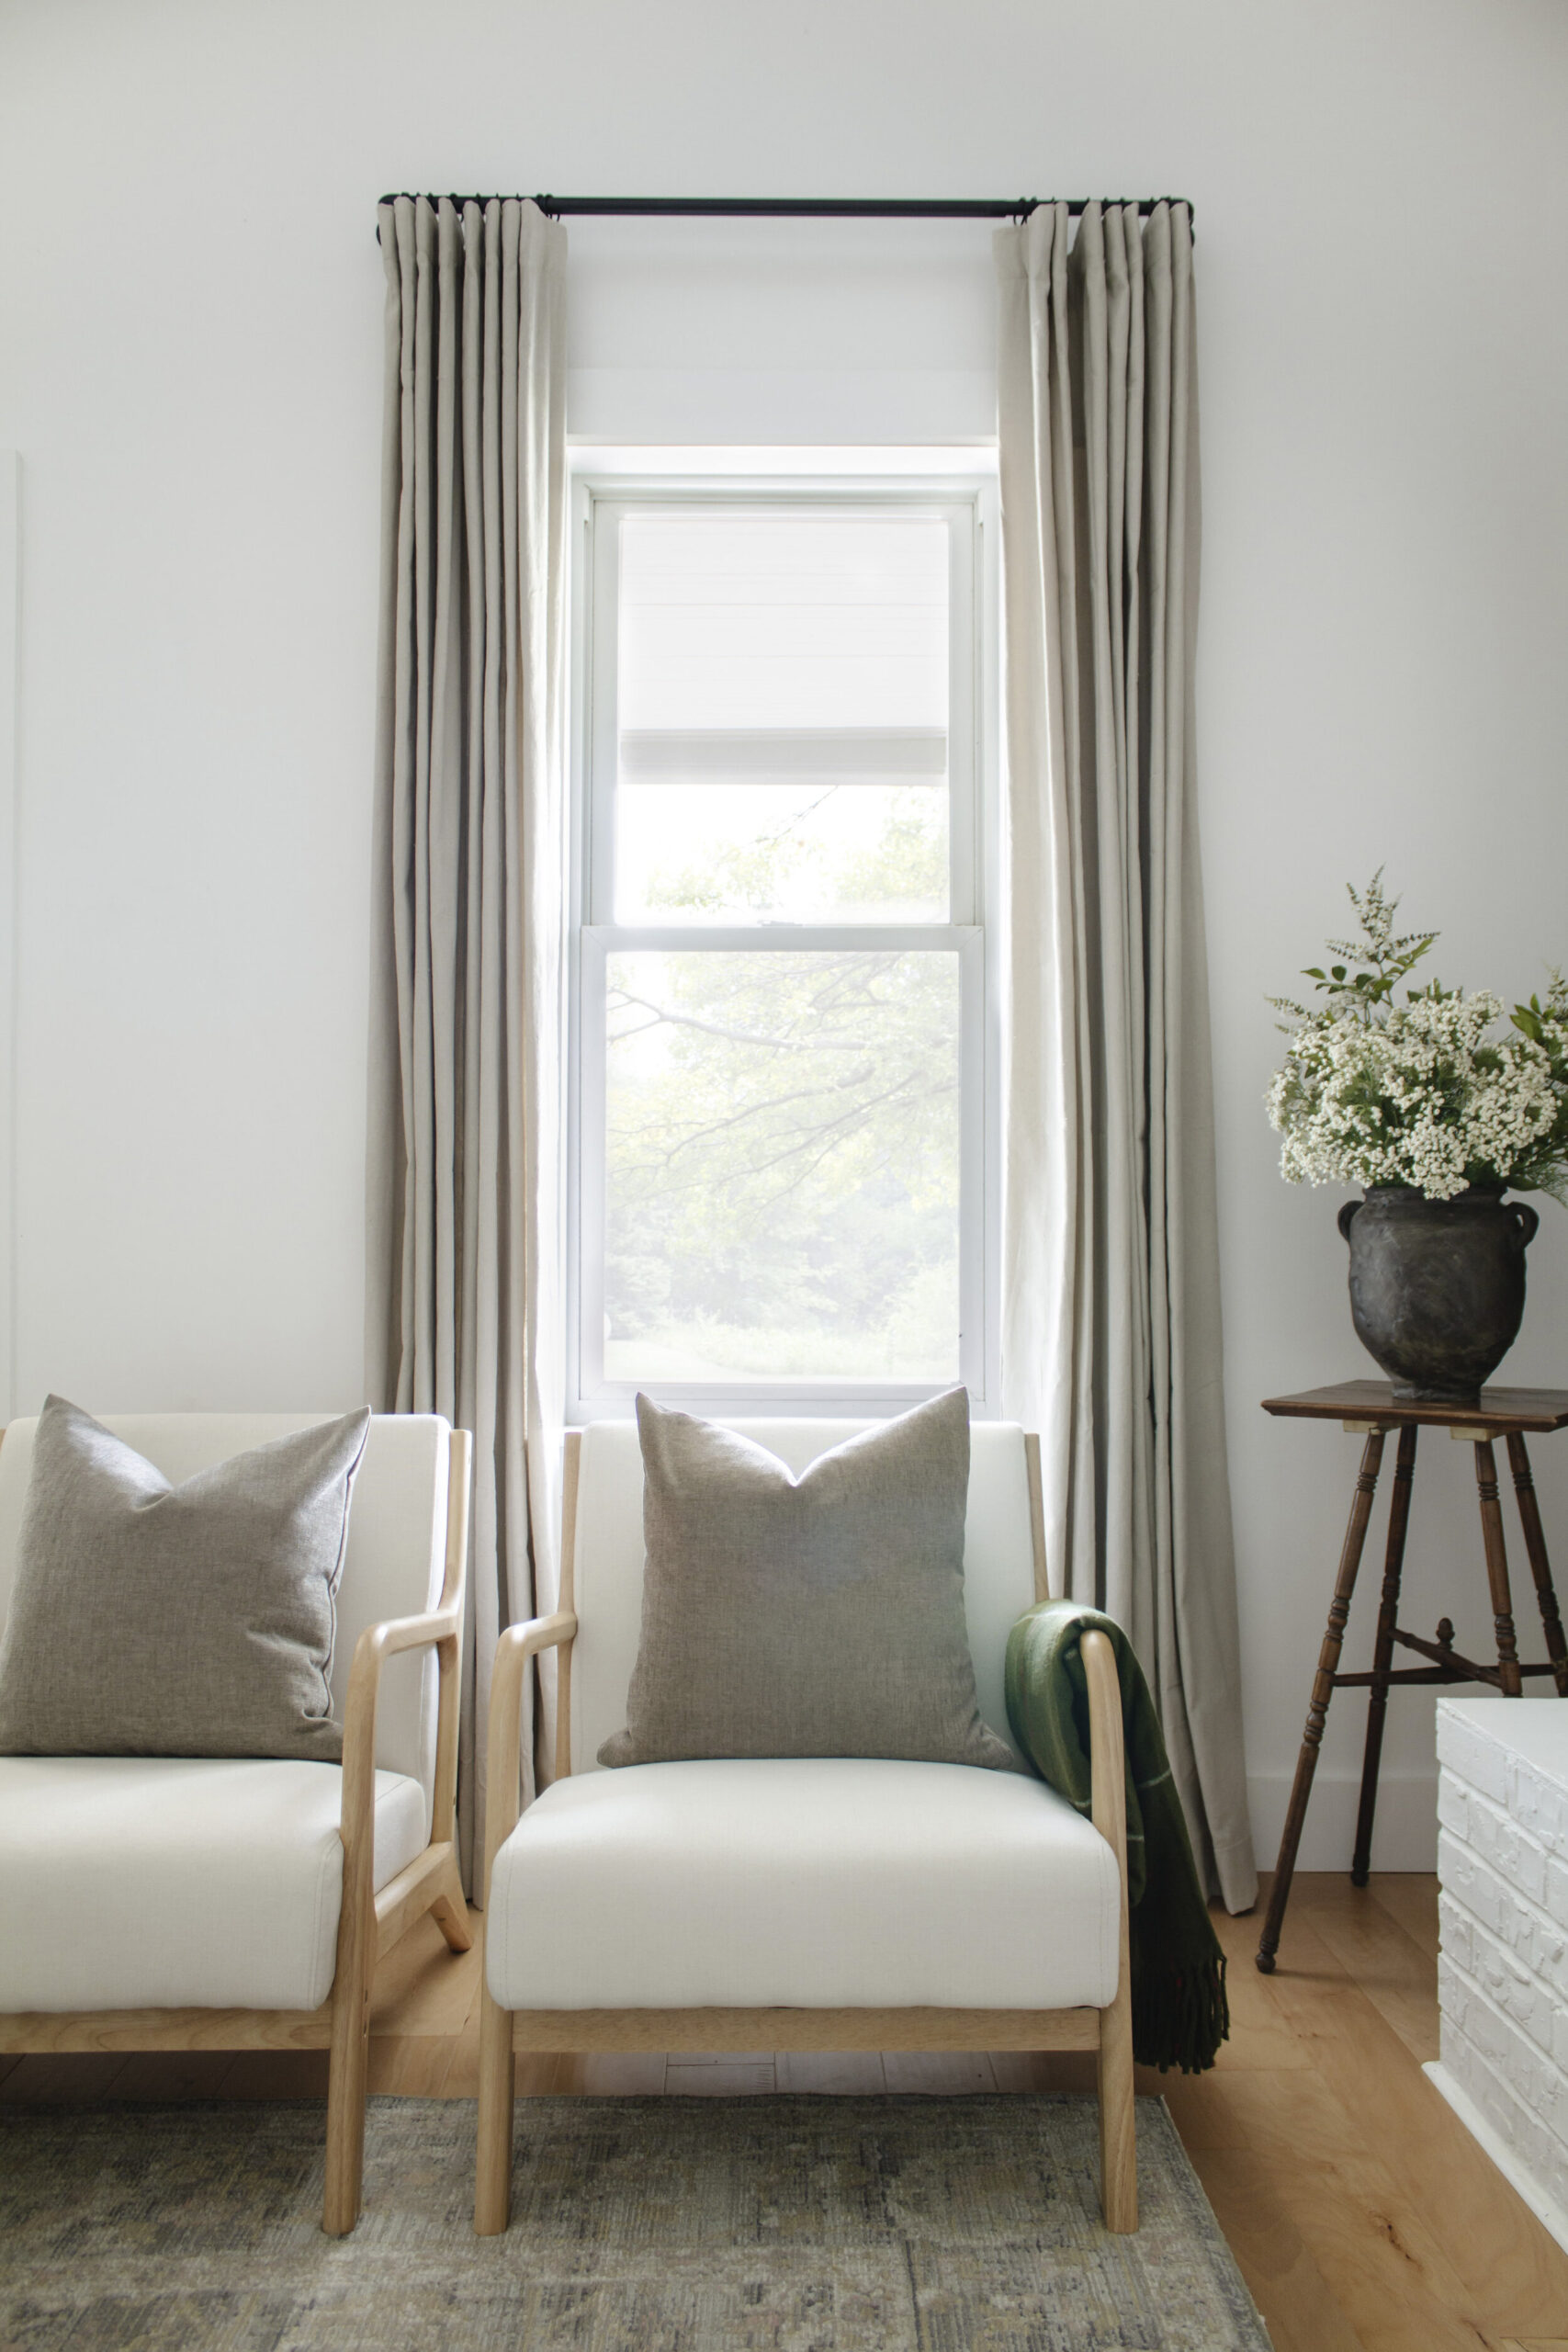
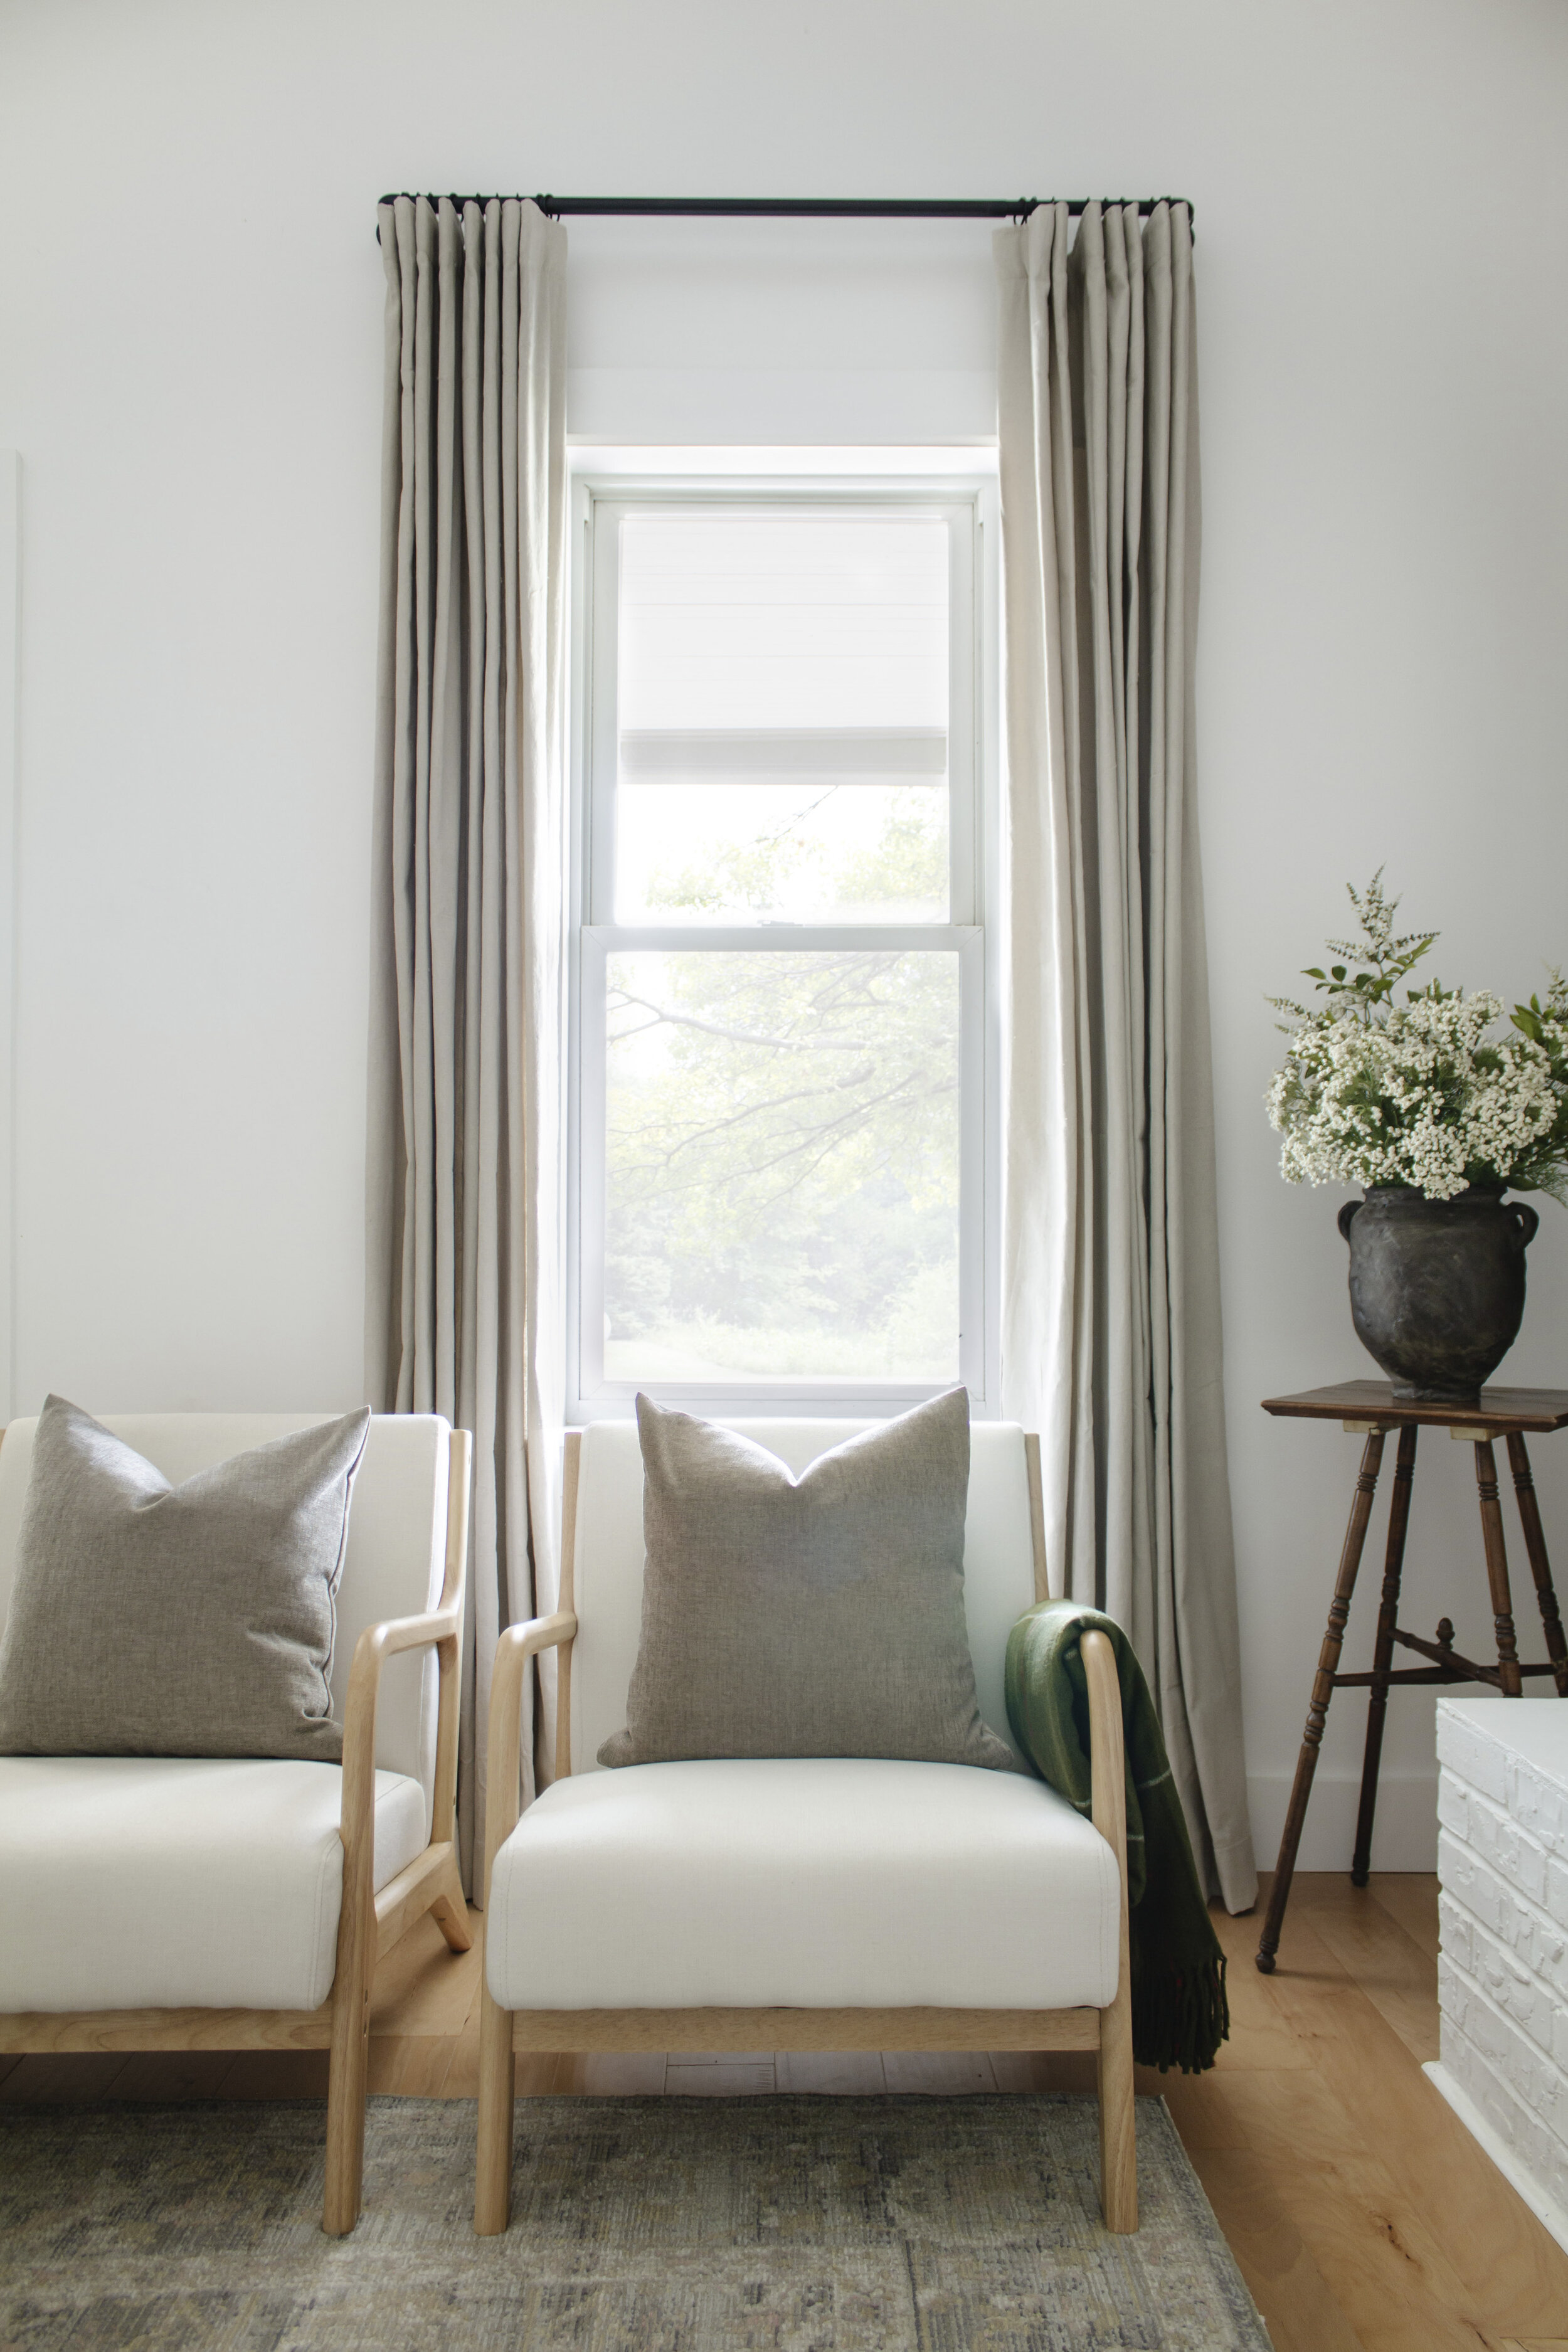
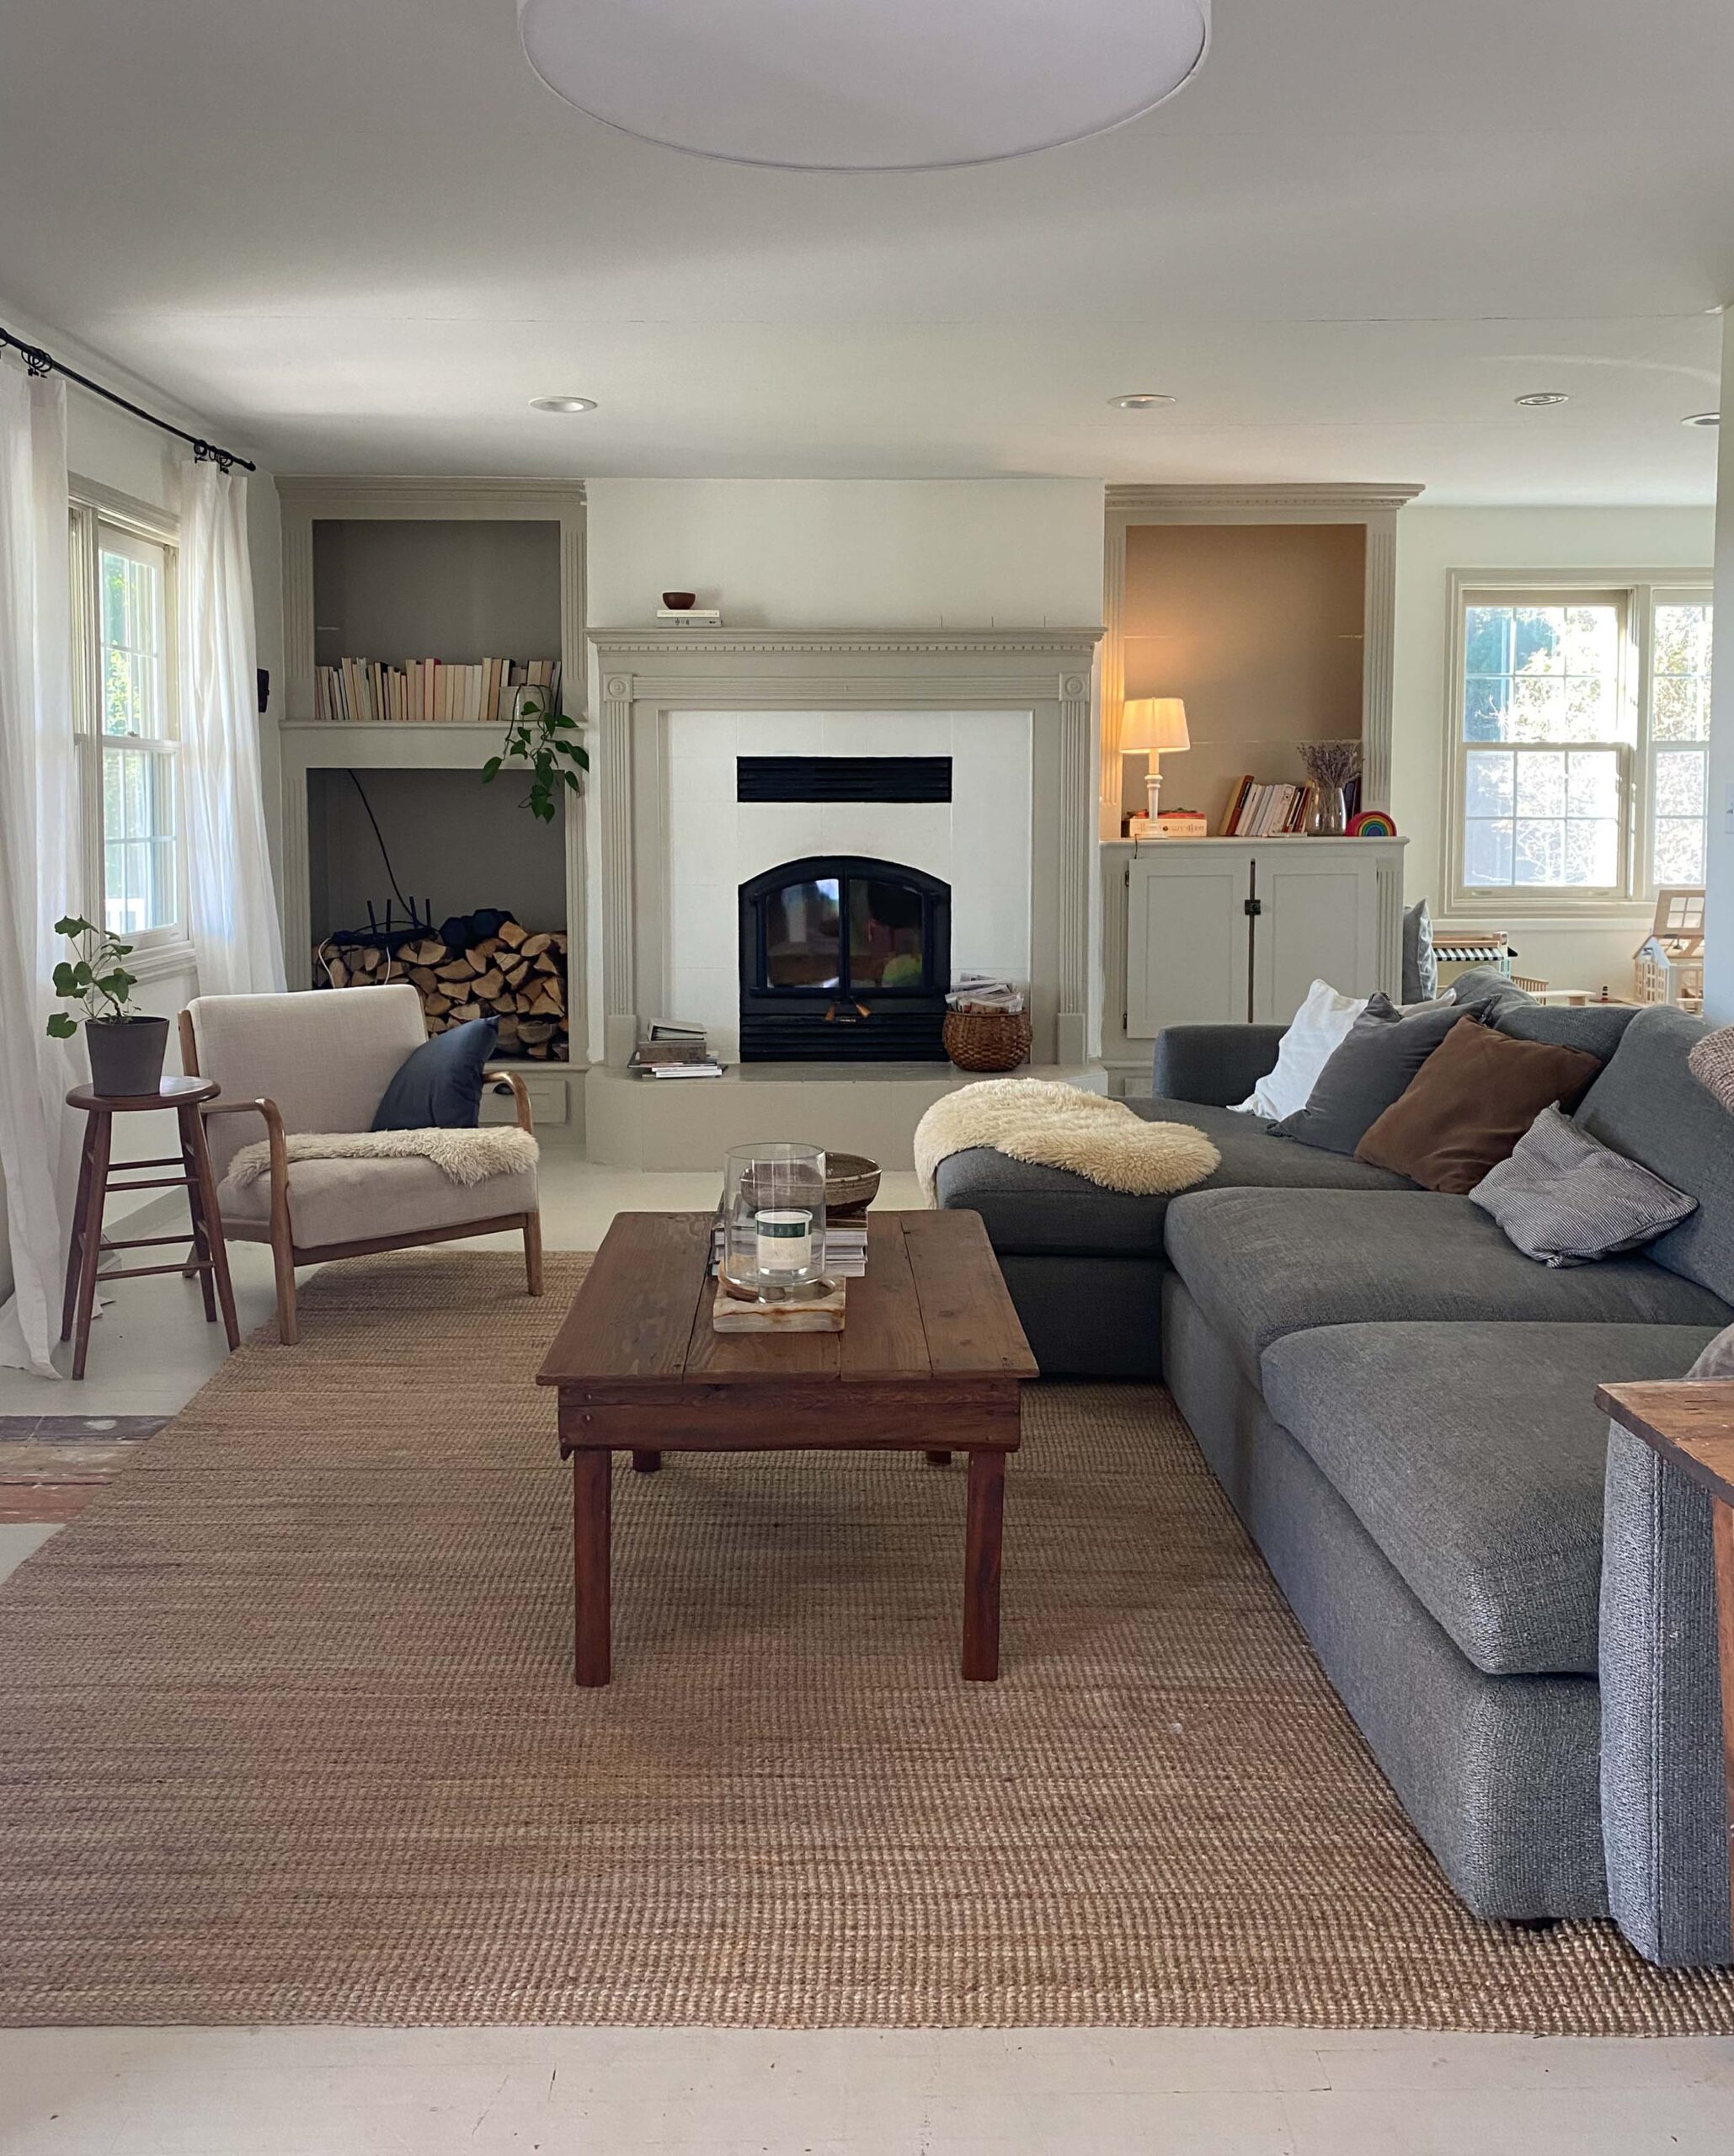
Last week I gave myself one day to rework the living room after receiving our new chairs! I didn’t do much, just re-arranged the furniture layout and sewed some new curtains. Here’s the deal…back in 2018 when we finished our living room remodel, I hung one curtain panel for the window and I always intended to make a second panel, but I never got around to it. So for 3 years I’ve been staring at one of my biggest pet peeves – a single asymmetrical curtain.
The #1 thing I wanted to do in my 1 day refresh was to sew new curtains…to start from scratch and to hang TWO panels! I sourced fabric and prices were upwards of $300…which is pretty common for custom (and tall) curtains. But I wanted to keep things budget friendly so I chose to go the unconventional route – drop cloths!
I turned drop cloths into curtains and I’m really happy with the outcome.
MATERIALS NEEDED:
-
Sewing Machine
-
Thread that’s close in color to the curtains
Step 1 – Cut The Fabric
Typically curtains are 54” wide and I like to double up curtains for a fuller look. So I purchased two canvas drop cloths and cut them as close to 108” wide as possible. (My canvases had a seam at 98” so I just cut them there.)
You may also need to cut the length of the curtains depending on how tall your ceiling is. (TIP: measure the length of the curtains you need and add roughly 8” to account for your top and bottom hems.)
Step 2 – Hem The Sides
I like a 1” hem and I folded the sides in twice so there weren’t any raw edges exposed. Sew along the entire side and repeat on the other side.
If you cut the length of your fabric, go ahead and hem that side with a 1 inch (or less) hem. (Just fold the fabric once opposed to twice for this side.)
Step 3 – Attach The Heading Tape
Fold down the top of your fabric a little wider than your heading tape and pin the header onto the fabric. My header was roughly 4” total. (TIP: for a clean edge, hem the heading tape before sewing it onto the fabric.)
Sew the heading tape onto the fabric.
Step 4 – Attach The Pleat Hooks
My hooks are from Ikea, but these hooks would do the same thing!
I attached one hook on the end and then spaced them roughly 14 slots apart. For a pleated header, leave a gap with each hook like in the photo above.
Step 5 – Hang And Measure For Your Bottom Hem
I like to leave the bottom hem until the end to make sure I get the length perfect. With the curtains hanging, fold the fabric up until the fabric is roughly 1/8” off the floor. You can either pin the fabric while it hangs or just measure how much you need to fold the fabric up and pin later. If you pin later, measure in a few spots in case your floor slopes and the length needs to change.
Then take your curtains down and sew the bottom hem. Mine was roughly 4” tall.
Step 6 – Hang Them For Good!
I think the key to elevating drop cloth curtains is in how they hang which is why I chose to attach a header and pleating hooks. Having clean folds with curtain rings instantly takes any curtain up a notch. But before you hang them, they may need to be ironed.
And that’s it! Sew yourself some curtains and tag me on Instagram to show off your work. I’d love to see your custom curtains!
SOURCES:
Chairs | Pillows (DIY) | Pillow Inserts | Plaid Blanket | Rug | Side Table (Antique) | Vase (DIY) | Flowers | Tree Art | Curtain Rod | Curtain Rings
Where behind the scenes, exclusive advice, and candid conversations are sent straight to your inbox every week.


