ROOM SOURCES

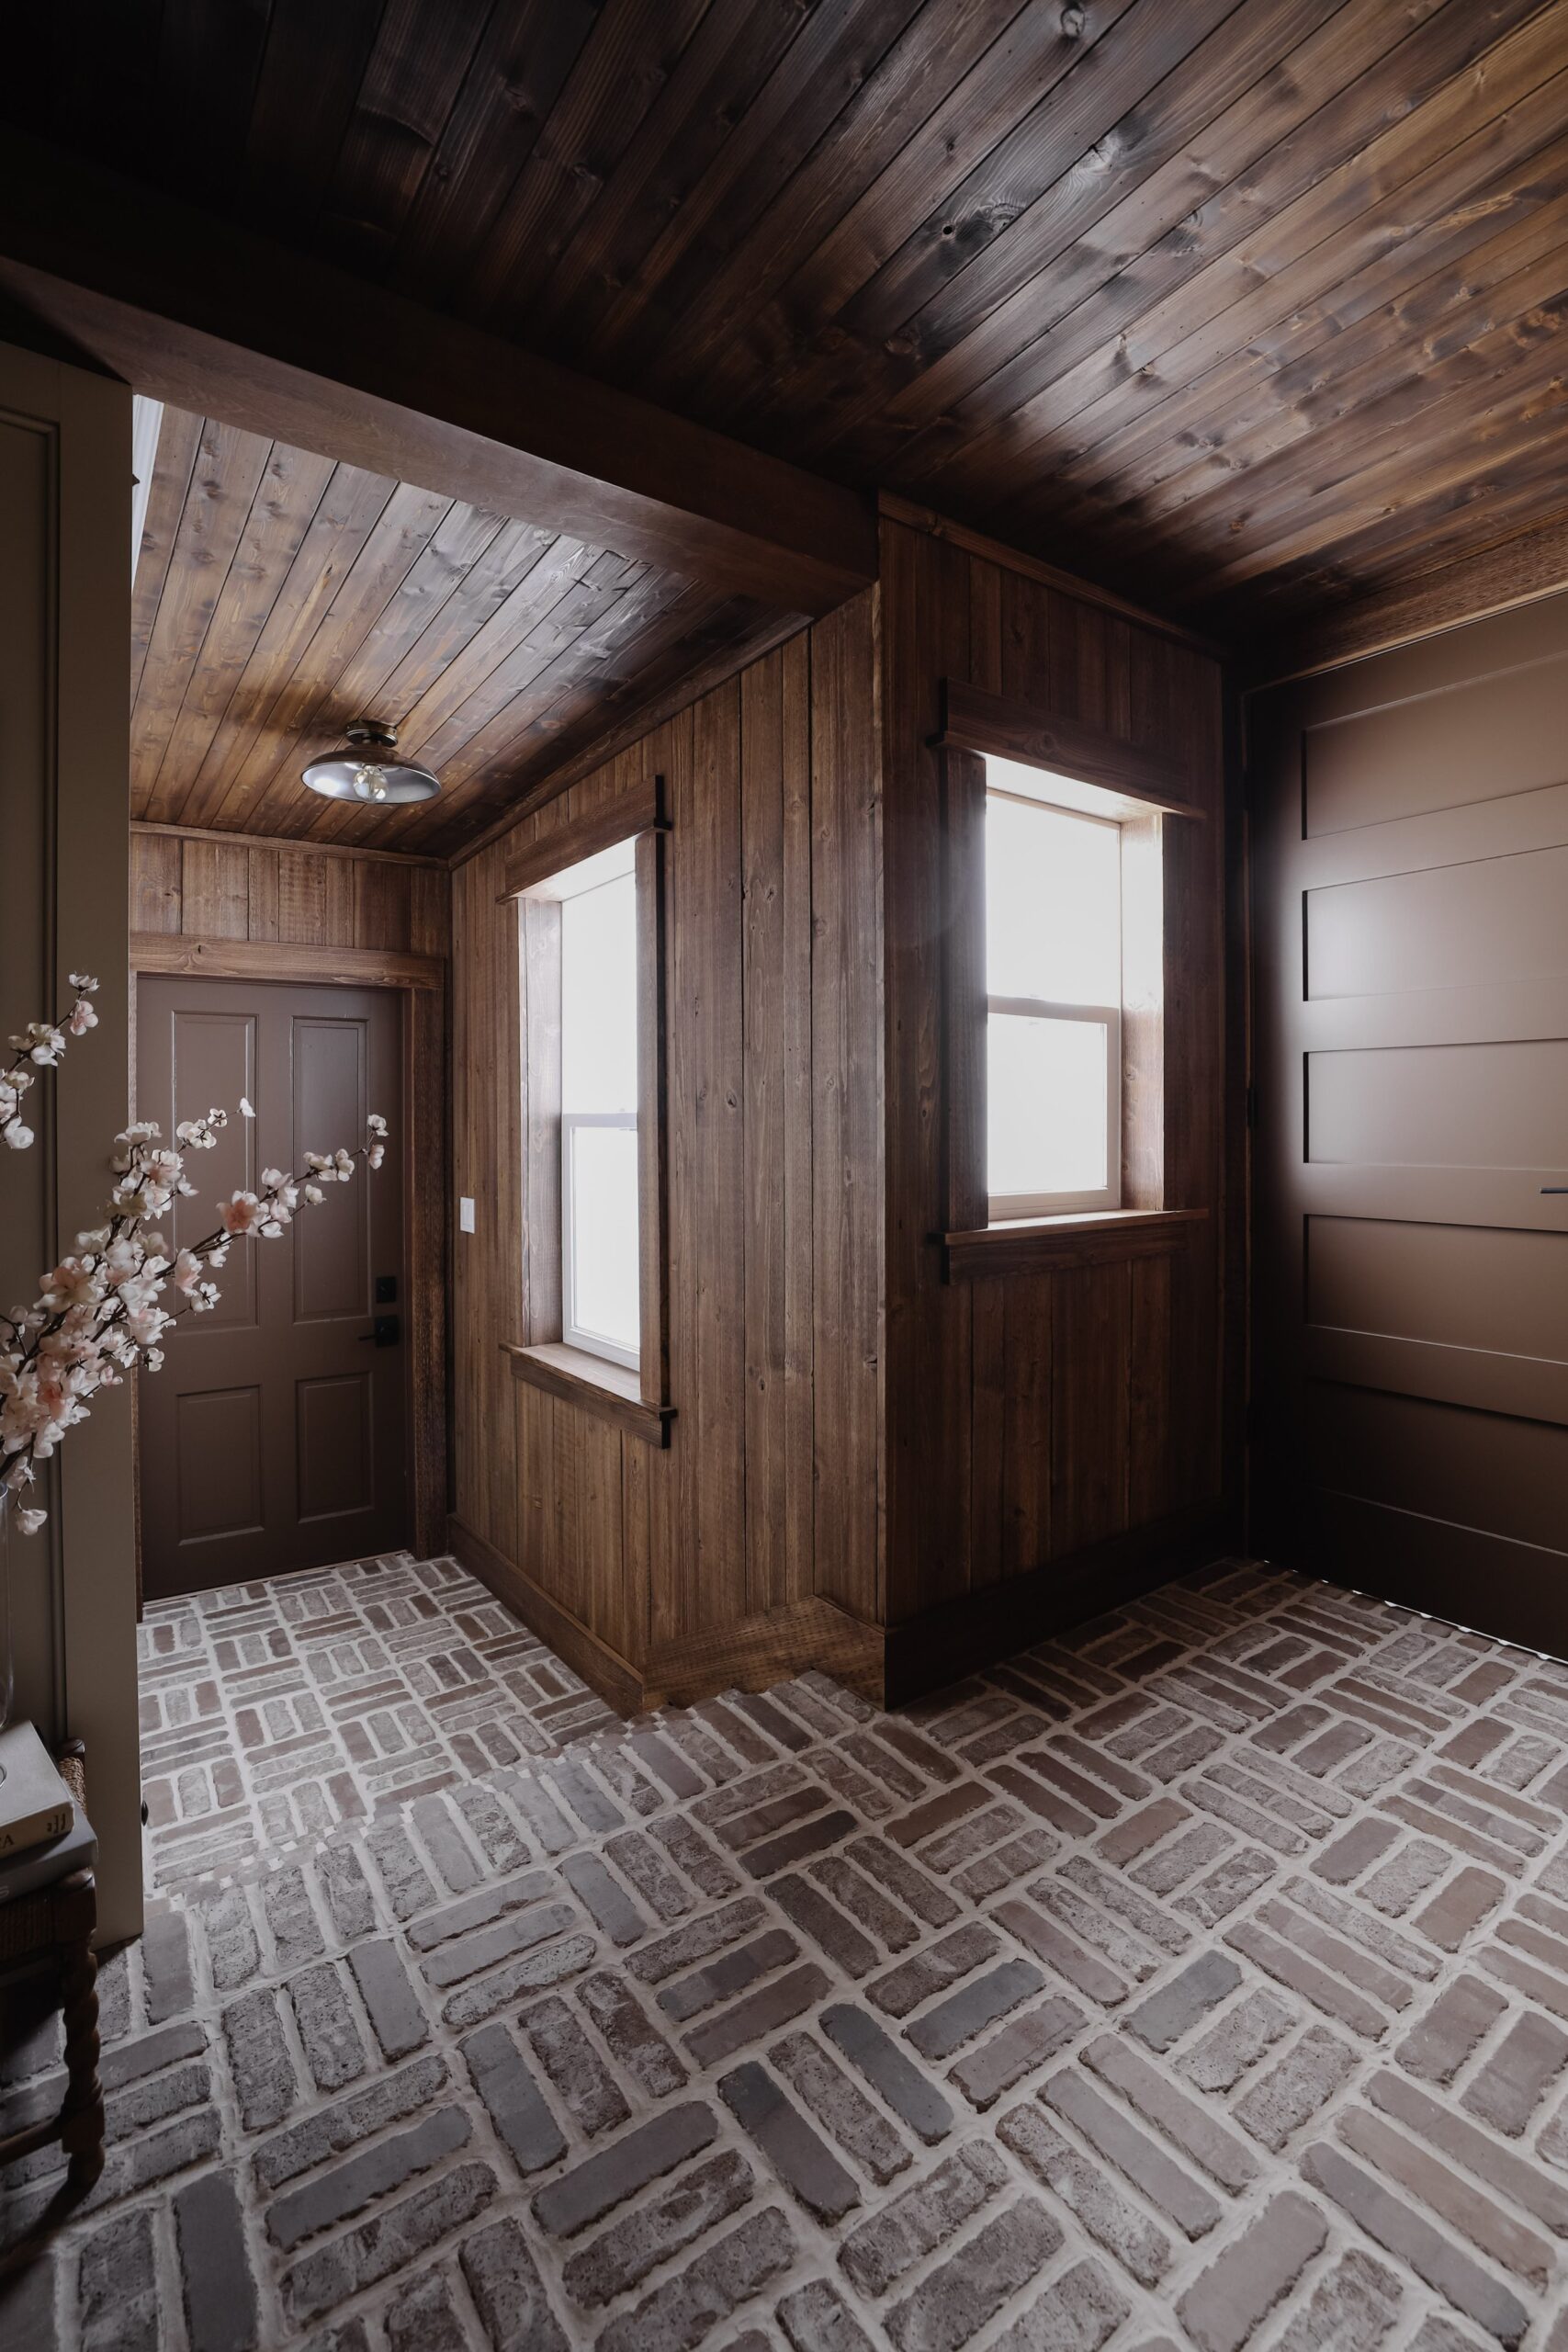
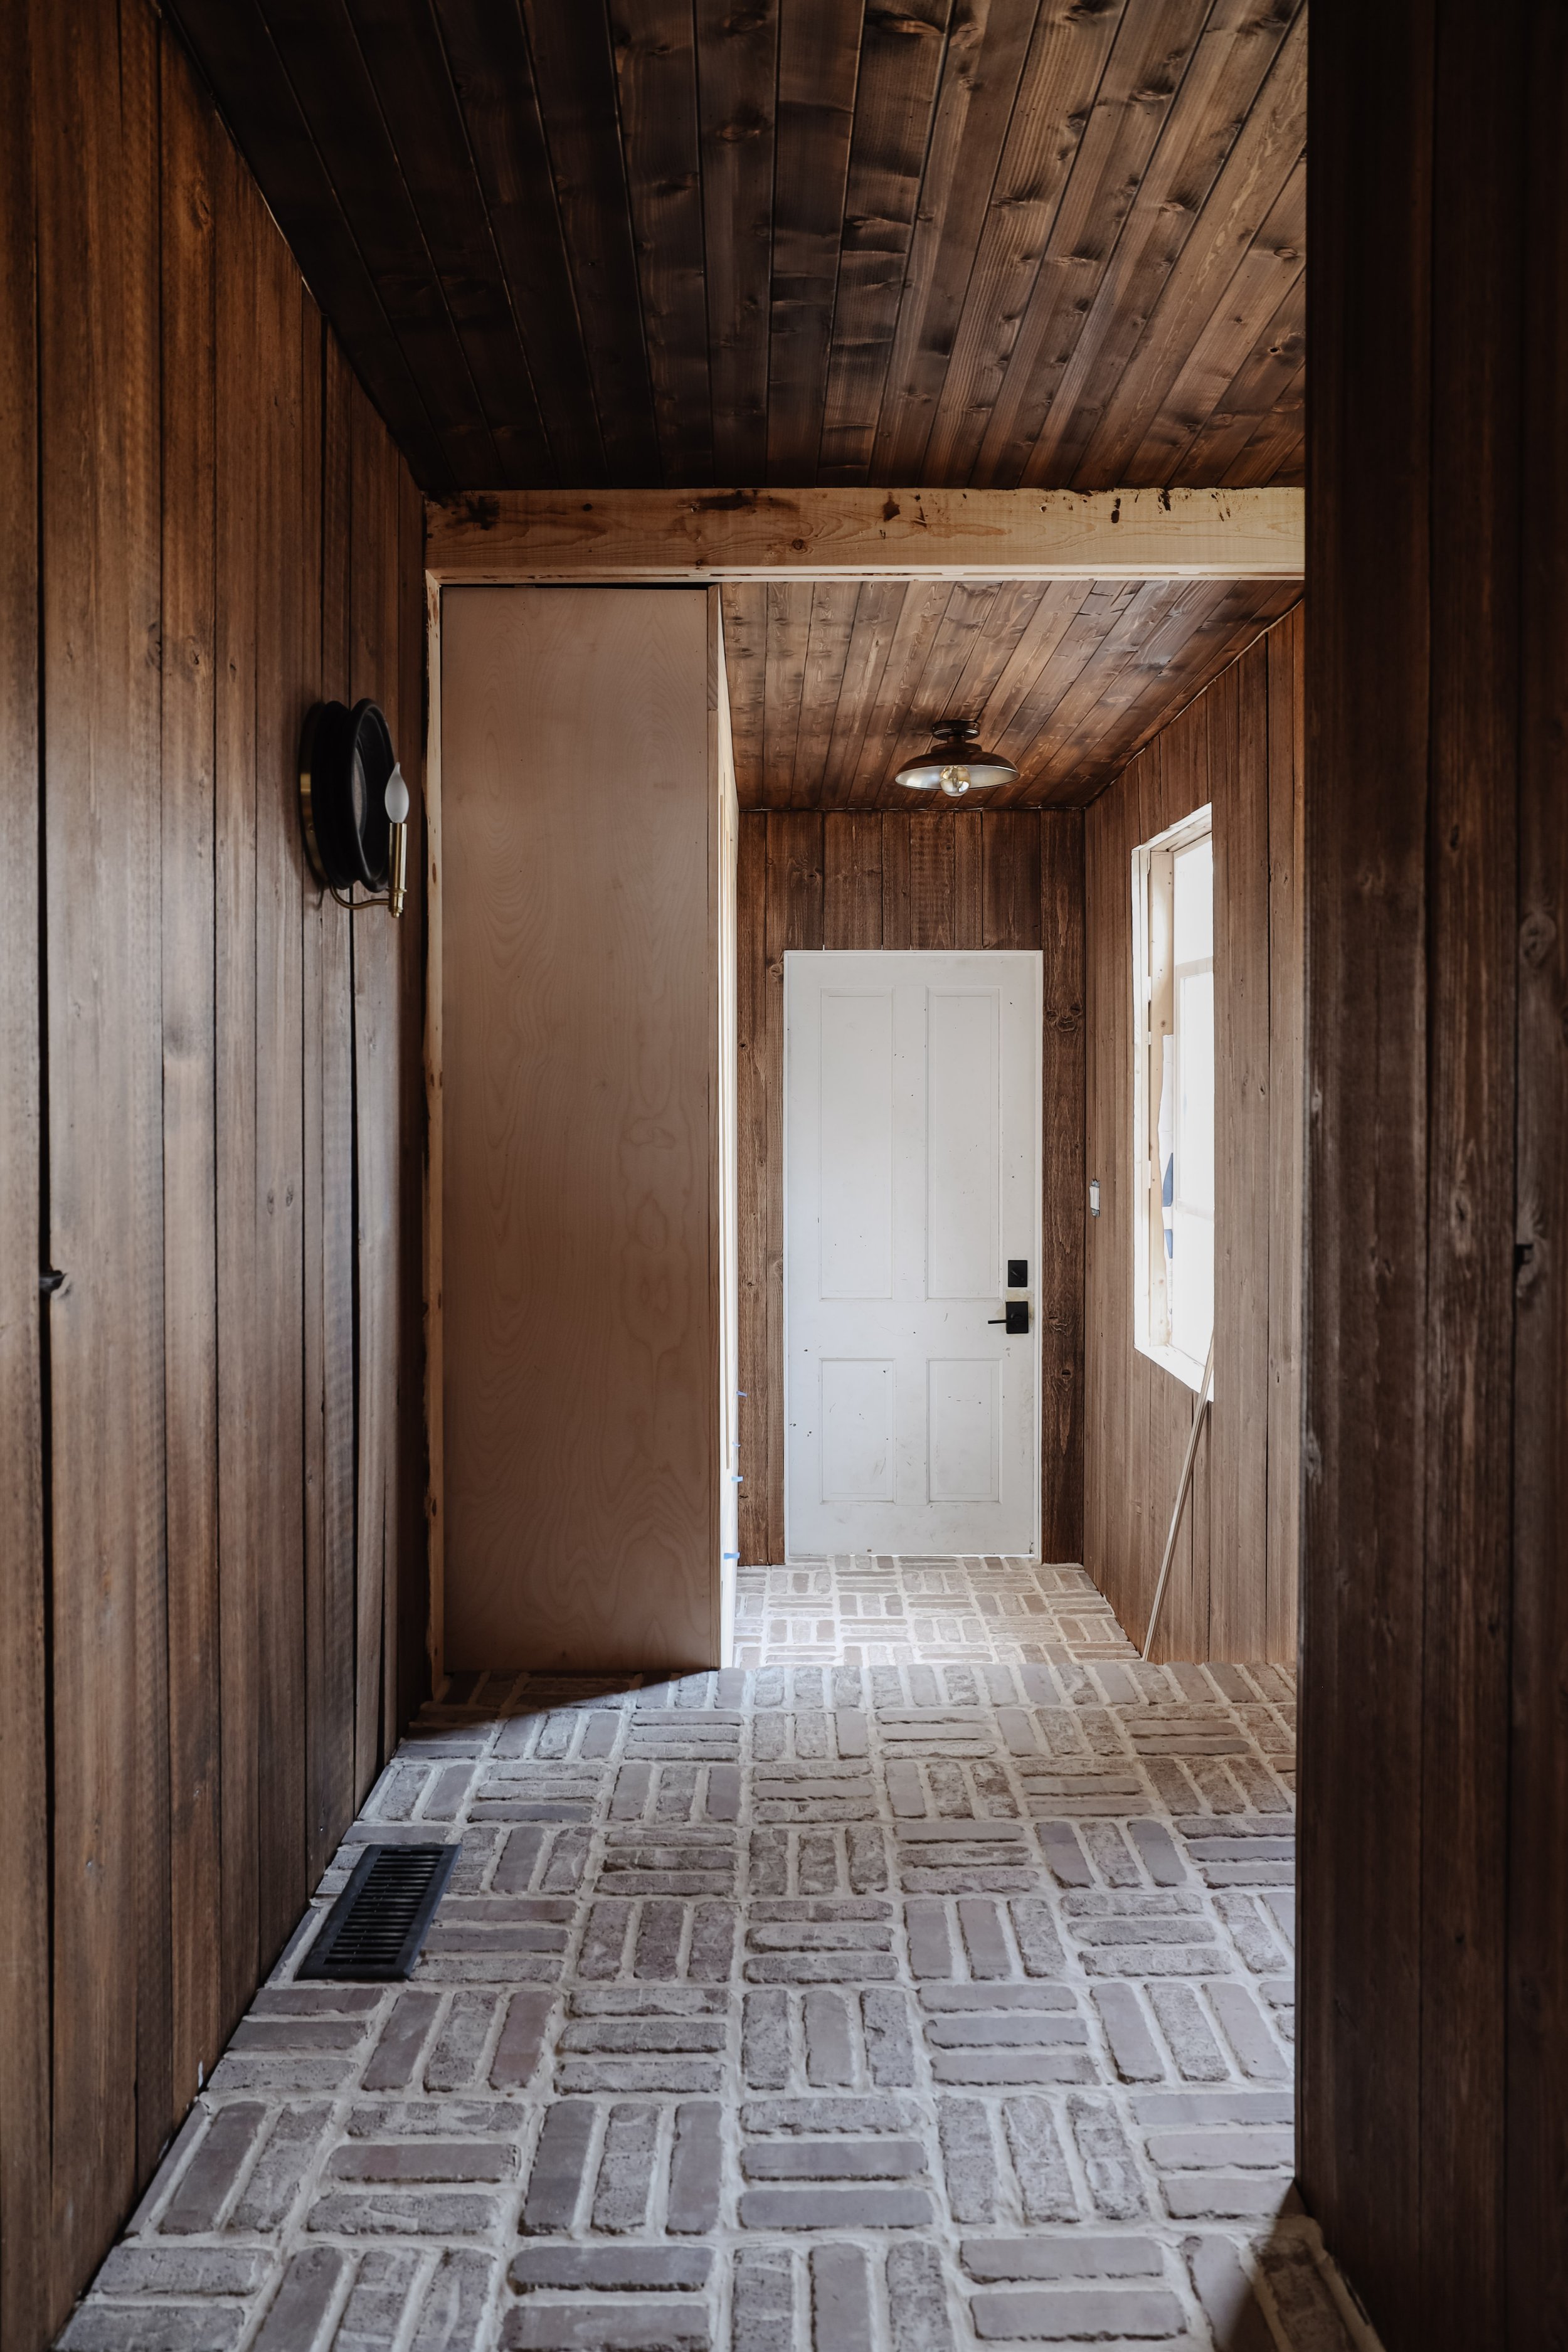
When we removed the dividing wall between the laundry room and passthrough, we replaced it with a beam. It was an ugly beam and I knew once we installed it that we would need to build a hollow beam (also called a box beam) to cover it.
We debated between several different types of wood and ended up using 1/2” oak plywood since we already had some on hand. And honestly, after stain it’s a perfect match to the rest of the room and we couldn’t be happier with the final look. Here’s how we built our box beam out of plywood.
STEP 1: Cut The Wood
To ensure that this beam looked solid (aka a solid wood beam) we knew we needed to miter the edges for a flush connection. After measuring how tall and wide we wanted the beam, we ripped the edges (the long way) at a 45° angle on our table saw.
The bottom board which is the width of your beam will have a 45° on both sides. The side boards should have one 45° cut on one side and a flat cut on the other. As shown below –
NOTE: Normally you’ll have two side boards that are the same height, but we had a bit of a unique situation on our ceiling so our side boards were two different heights.
If you have an existing beam you’re trying to cover up, measure that first and ensure that the inside of the new beam is slightly bigger. You don’t want the box beam to be too snug that it doesn’t slide over it easily.
STEP 2: Tape The Seams & Glue
With your boards in the correct order, flip them face up and push your 45° edges tight against each other. Then add painters tape along the seams, ensuring there isn’t a gap between the boards as you go. Then flip the whole thing back over. The point of the painters tape is to ensure that when you fold the sides up, the tape will hold the seams tight.
Before folding the sides up however, add plenty of wood glue inside the mitered edges. Once you’ve taped and glued, fold the sides up and either clamp or tape it in place until the glue dries,
STEP 3: Sand & Close Any Gaps
We let the glue dry overnight and in the morning we removed the tape to see how our edges turned out. Not bad! A few gaps in the middle but nothing we couldn’t fix. I started off by sanding the whole beam with 220 grit sandpaper to remove excess glue and to round the edges of the beam. Rounding the edges helped close the gaps in the seams. You can also roll the side of a screwdriver over the seam to close any gaps.
STEP 4: Stain
I used the color “Antique Walnut” by General Finishes for the beam, the same color that I used on our walls. Brush on, wait a couple minutes, and wipe off the excess with an absorbent paper towel. I let that dry for about 5 hours before installing it. I chose not to use a clear protective coat but if you choose to do this, I recommend either Minwax Finishing Wax or Polycrylic in Flat.
STEP 5: Install
To install the beam, we held it in place over the existing beam and nailed it on with a brad nailer and 18 gauge brad nails. A few nails on each side is all that’s needed and the holes just disappeared so we didn’t bother with wood filler.
I love that the beam looks solid. I love that it blends in so seamlessly with the existing wood in the room. I love the rich tone. And I love looking at it. 🙂
SUPPLIES NEEDED

DO YOU WANT
The Inside Scoop
Where behind the scenes, exclusive advice, and candid conversations are sent straight to your inbox every week.


