Progress Report: A Peek At Our Cedar Shingle Siding (So Far) & How We’re Installing It
·
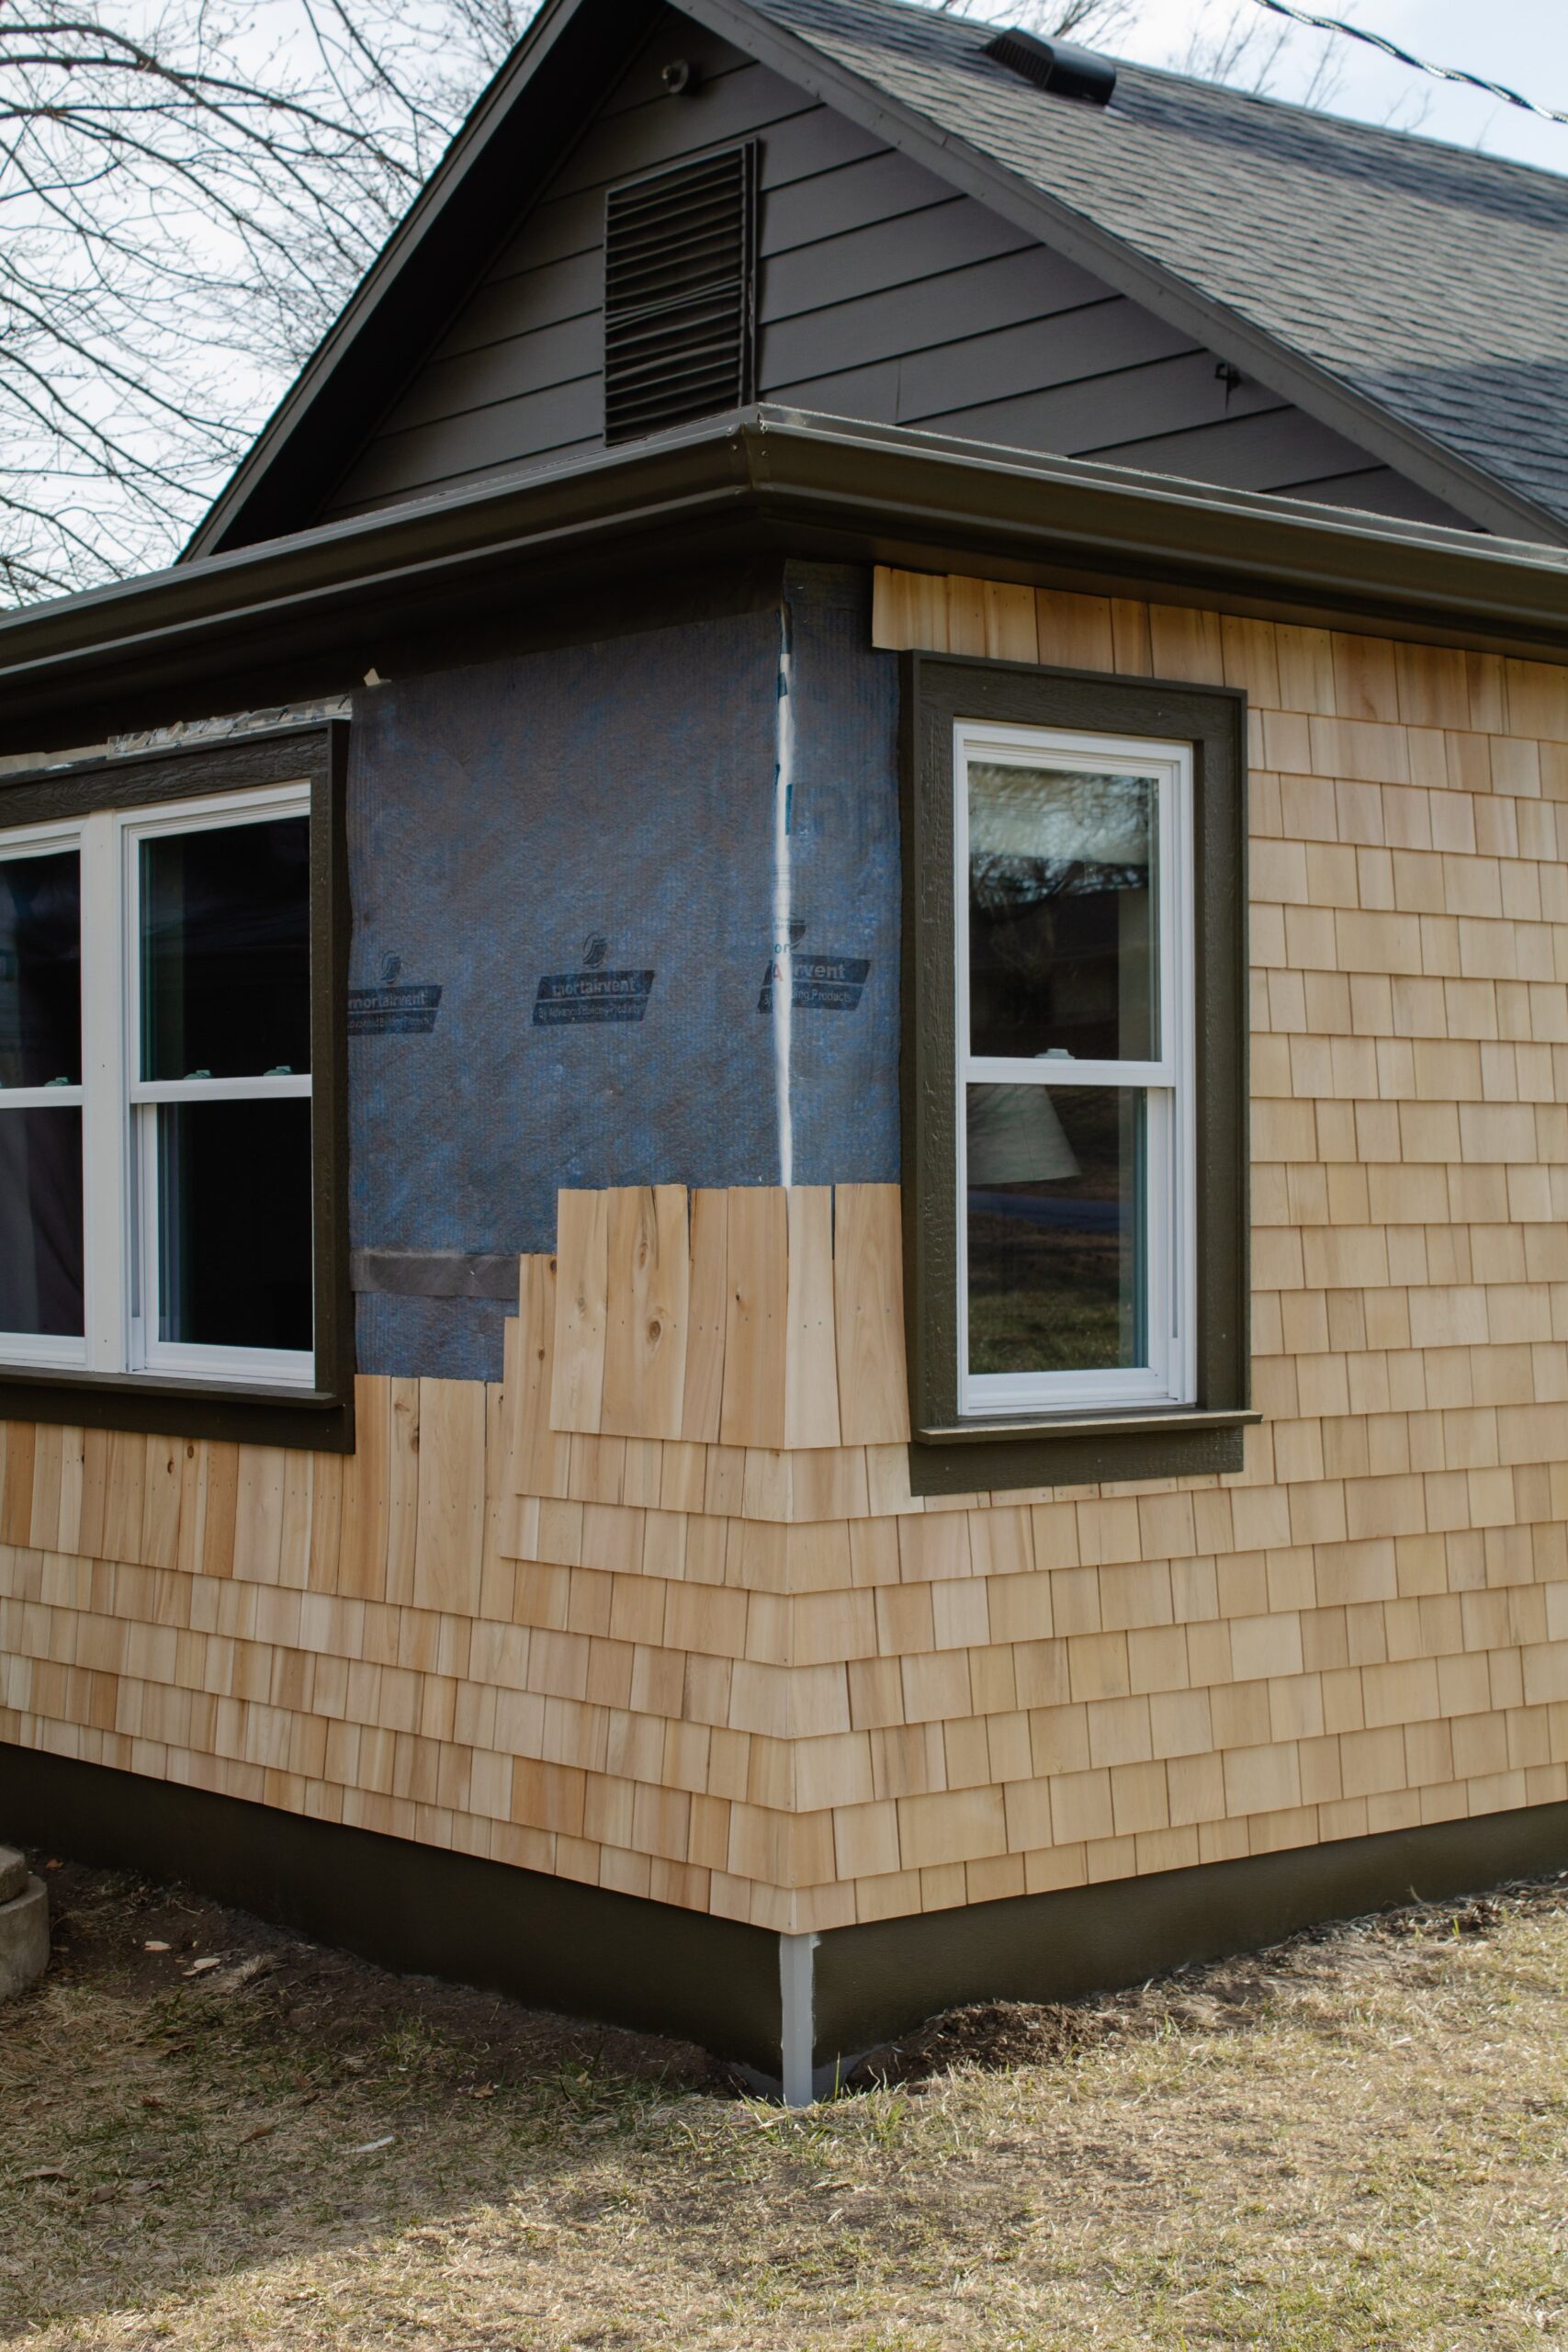
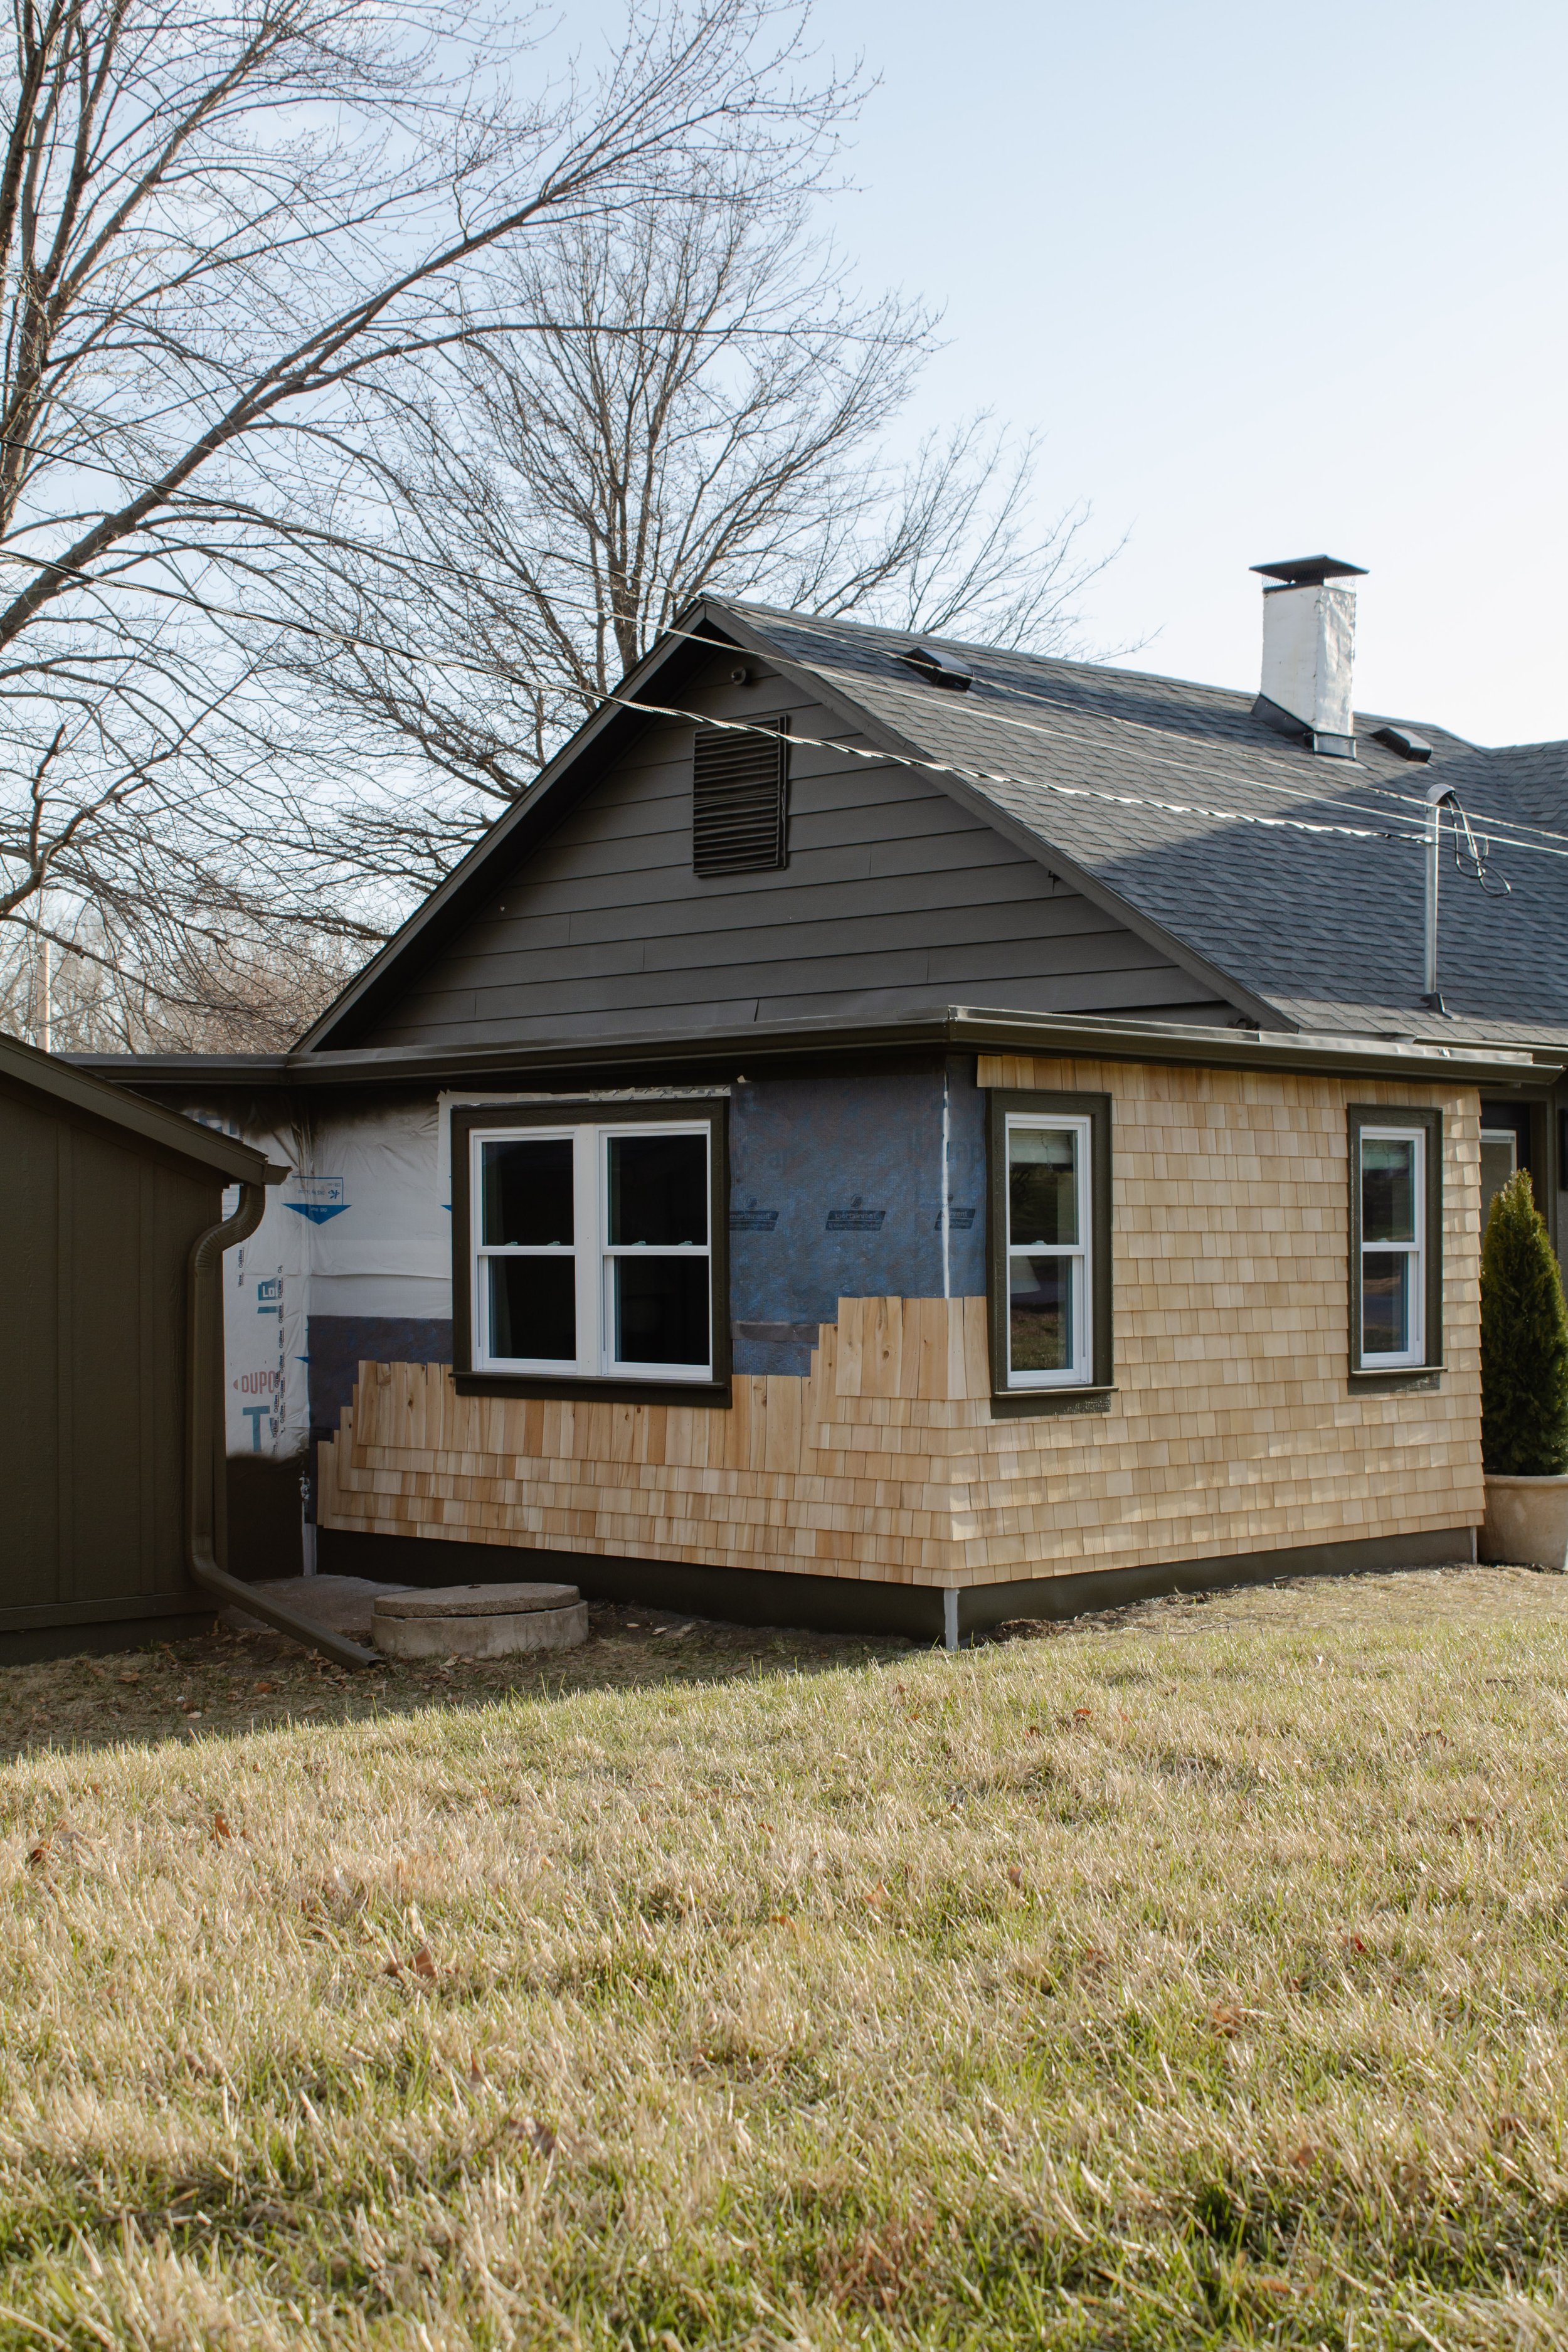
Over the past few weeks we’ve been installing cedar shingle siding on the last section of our unfinished exterior, and I’m *squealing* with excitement to finally see our ideas come to fruition 2 years after making the plans…if you know you know.
When we resided the rest of our house 2 years ago in board and batten, there were numerous suggestions to just continue the board and batten on this flat roof room too and it would’ve been so easy to do that. But I knew it could be something special if we highlighted its quirkiness rather than disguise it and THANK GOODNESS I stuck to my guns!
We already have a peek-a-boo moment with cedar shingle siding on the front of our house and I like having a repeat moment to tie it all together so it was an easy decision to do cedar shingles in the back too.
44% of you requested more information on the cedar product we’re using and how we’re installing it so I’m taking this opportunity to share all the specs. And for the 56% who are just here to watch this unfold…well I’ve got a lot of pretty progress photos for you!
SPECS ON THE PRODUCT:
We have Eastern White Cedar Sidewall Select Grade Shingles from SBC Cedar….what a mouth full. 🙂
I’ve heard from a lot of you that you’ve also been on the hunt for cedar shingles and they’re impossible to find…which I can confirm! 2 years ago we purchased a couple bundles of cedar shingles through Home Depot for another project, but after Covid, the supply virtually disappeared. The brand of those shingles were SBC Cedar so I went directly to the source and asked where I could purchase more. SBC Cedar’s customer support is fantastic and they connected me with one of their distributors in the USA, who then connected me with a local lumber yard who I could order through. Long story short: if you’re looking for cedar shingles, email SBC Cedar and ask them where you can purchase some.
Our order took around 4 months to arrive despite the initial 4-6 week estimate, so if you’re planning on doing a cedar shingle project this year, order now!
INSTALLATION:
This is Chris’ second time installing cedar shingle siding but this is our first time doing it around corners, which was a bit of a learning curve. We were both adamant on doing weaved corners (where the shingles go all the way to the corner opposed to a solid board that wraps around the corner and the shingles butt up to that) and it took about 5 or 6 rows before we found a technique that worked! Chris holds the corner shingle level, I mark, cut, and nail each one on flush, and then he nails a finish nail in the corners to hold everything snug.
NOTE: Hammering a finish nail in the corners worked one day and didn’t the next. For some reason, the wood kept splitting the second day so we switched to brad nails and it worked much better.
We’ve been using this installation guide to a tee and the instructions are pretty easy to understand and execute…it’s just a slow going process. Corners take forever, but open walls feel quick comparatively. I’ll let you dive into the SBC installation guide for the most up to date information on their product.
A couple notes that aren’t in the installation guide:
-
Assuming you already have Tyvek on your exterior, you can start by putting your window trim on first. Chris built our trim as a whole off site and then nailed them on in one piece to ensure everything was squared up and fit snug together. I also painted them pre-installation and will touch up paint after.
-
The installation guide recommends installing a breathable membrane over Tyvek and we chose this product. Easy to cut and easy to tack on with staples.
-
To start the shingle installation, we began on a corner (at the bottom) and worked our way up, around, and out.
-
Your bottom row should have a 6” clearance from the ground. In our case, we found the highest point on the ground and measured up 6”, made a mark, and did a level chalk line around the entire perimeter. That was where our bottom row started.
We’re using a ledger board to install the cedar shingles which also helps ensure each row is level. To hold the board on the wall, we’re using these hooks…100% worth buying. Without these hooks, you have to temporarily nail the ledger board onto your new cedar wood leaving a lot of tiny nail holes as you go. But the hooks just slide under your cedar shingles leaving no trace behind and they make installation SO much faster.
We’re also using a nail gun to install the shingles this time around. When Chris installed cedar shingles on the front of our house, he hammered each nail in by hand. And while that worked just fine for that small section, we knew 4 walls would take months if we hand nailed. We’re using this siding nailer and these nails.
A COUPLE THINGS I MESSED UP
We wanted a 5” reveal so we measured and planned accordingly to avoid tiny slivers of shingles at the top or under window sills. Well….I didn’t fully read the directions for our ledger board hooks and about 4 rows in, I realized we were doing a 4.25” reveal instead. This meant that we were going to use significantly more shingles than planned and all our measurements (to avoid small pieces under the windows) were off. Low and behold, we had to nail on 1” shingles under our window trim.
I’ve done the math since and we should still have enough to side the whole room so in that regard we’re ok, but mistakes were made and we’re pivoting to make it work. In the end, I don’t think we’ll ever notice!
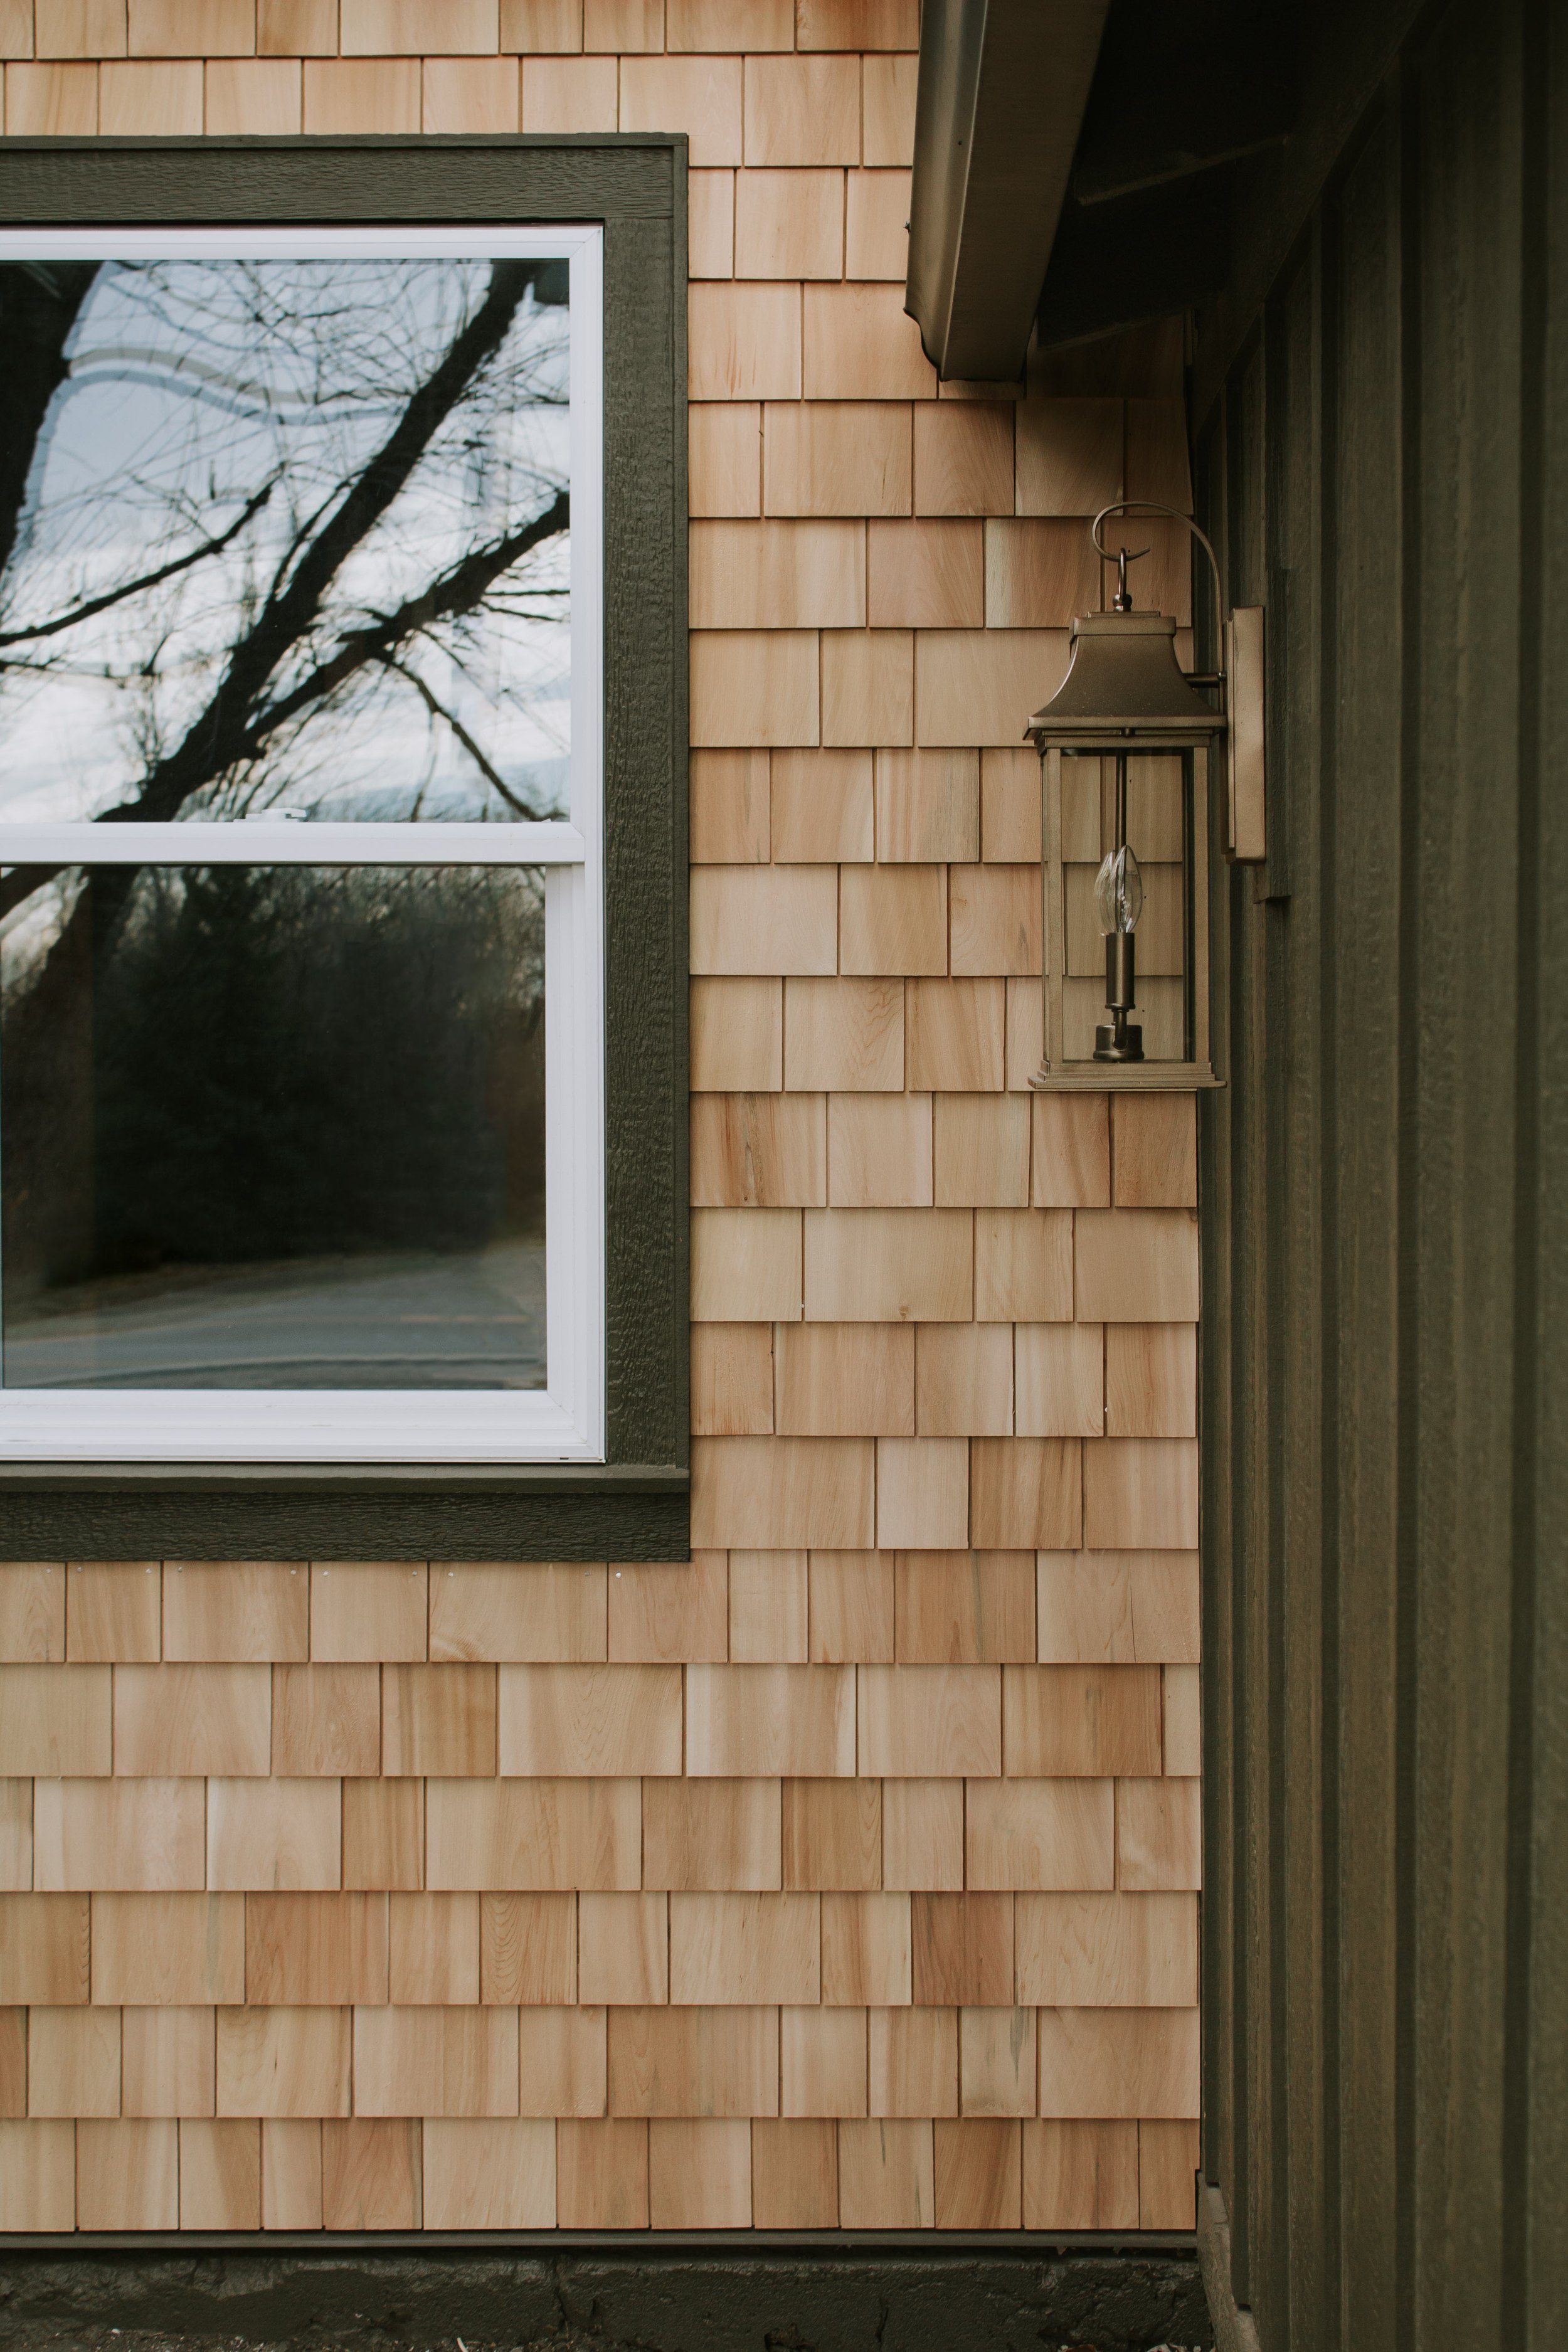
Cedar shingle color right after installation.
Cedar shingle color 1 1/2 years after installation.
THE PLAN FOR THE WOOD COLOR
When it comes to the finished color, you have options with cedar shingles. You can order factory finished shingles in solid & stained colors or natural shingles. We chose natural shingles with the intention of letting them gray over time. I don’t mind the orangey color for a moment, but authentically weathered silvery, gray shingles speak to me in a way that no other color does! You can see in the photos above that the cedar shingles on the front of our house have started to gray after 1.5 years and it excites me so much! And they’ll continue to gray with more sun and rain exposure.
WHAT’S TO COME
We still have 1.5 walls left to install so we’re not quite done yet. But beside that we still need to paint the corner pieces on our foundation water barrier, add cedar trim to the top row, caulk, and I have plans for simple landscaping to make this little flat roof room look as charming as can be! So stay tuned because there’s plenty more to come. Follow along in real time in my Instagram stories @nadine_stay.
Leave a Reply Cancel reply
Where behind the scenes, exclusive advice, and candid conversations are sent straight to your inbox every week.



Building a potting shed and it’s my plan to use shingles. Absolutely love the look of them weathered. Character is not over rated!
Excellent choice! Cedar shingles have a level of charm that no other siding has!
Hi,
What type of paint/stain did you use on the finished shingles?
Thank you!
Richard
I mean, maybe it’s good to leave an air gap between the wall and the shingle
Very nice project! Nice picture too! Thank you for this article. Very much appreciated 🙂 – Team SBC
Absolutely, and thank you! We’ve been more than happy with your shingles!