I have a secret to share….I LOVE wrapping gifts! One of my favorite things to do each year is to sit down, put on a cheesy Hallmark movie, and wrap all the gifts in one night! (And yes, I am a major perfectionist so I do NOT let Chris help me wrap….gosh that’s just an argument waiting to happen!)
So each year I pick a theme for the wrapping paper and this year I’ve decided on black, red, and white. Obviously plaid is the most Christmasy pattern of all time so I have to include that; but I’ll also sprinkle in solid color wrapping paper with big bows to break up the heavy patterns! Ok, I can already tell you think I’m taking this too seriously. 😉
Anyways, as I was thinking about my Christmas wrapping paper theme, I decided to make these personalized clay name tags. I whipped up a handful in an afternoon and I LOVE how they turned out. And the best part is…they can also double as awesome ornaments after you’re done using them as gift tags!
So let’s dive in…
HERE’S WHAT YOU’LL NEED:
Rolling Pin (one that you don’t use for food) or a cylinder object
Cardstock Paper
String
STEP 1 – ROLL OUT THE CLAY
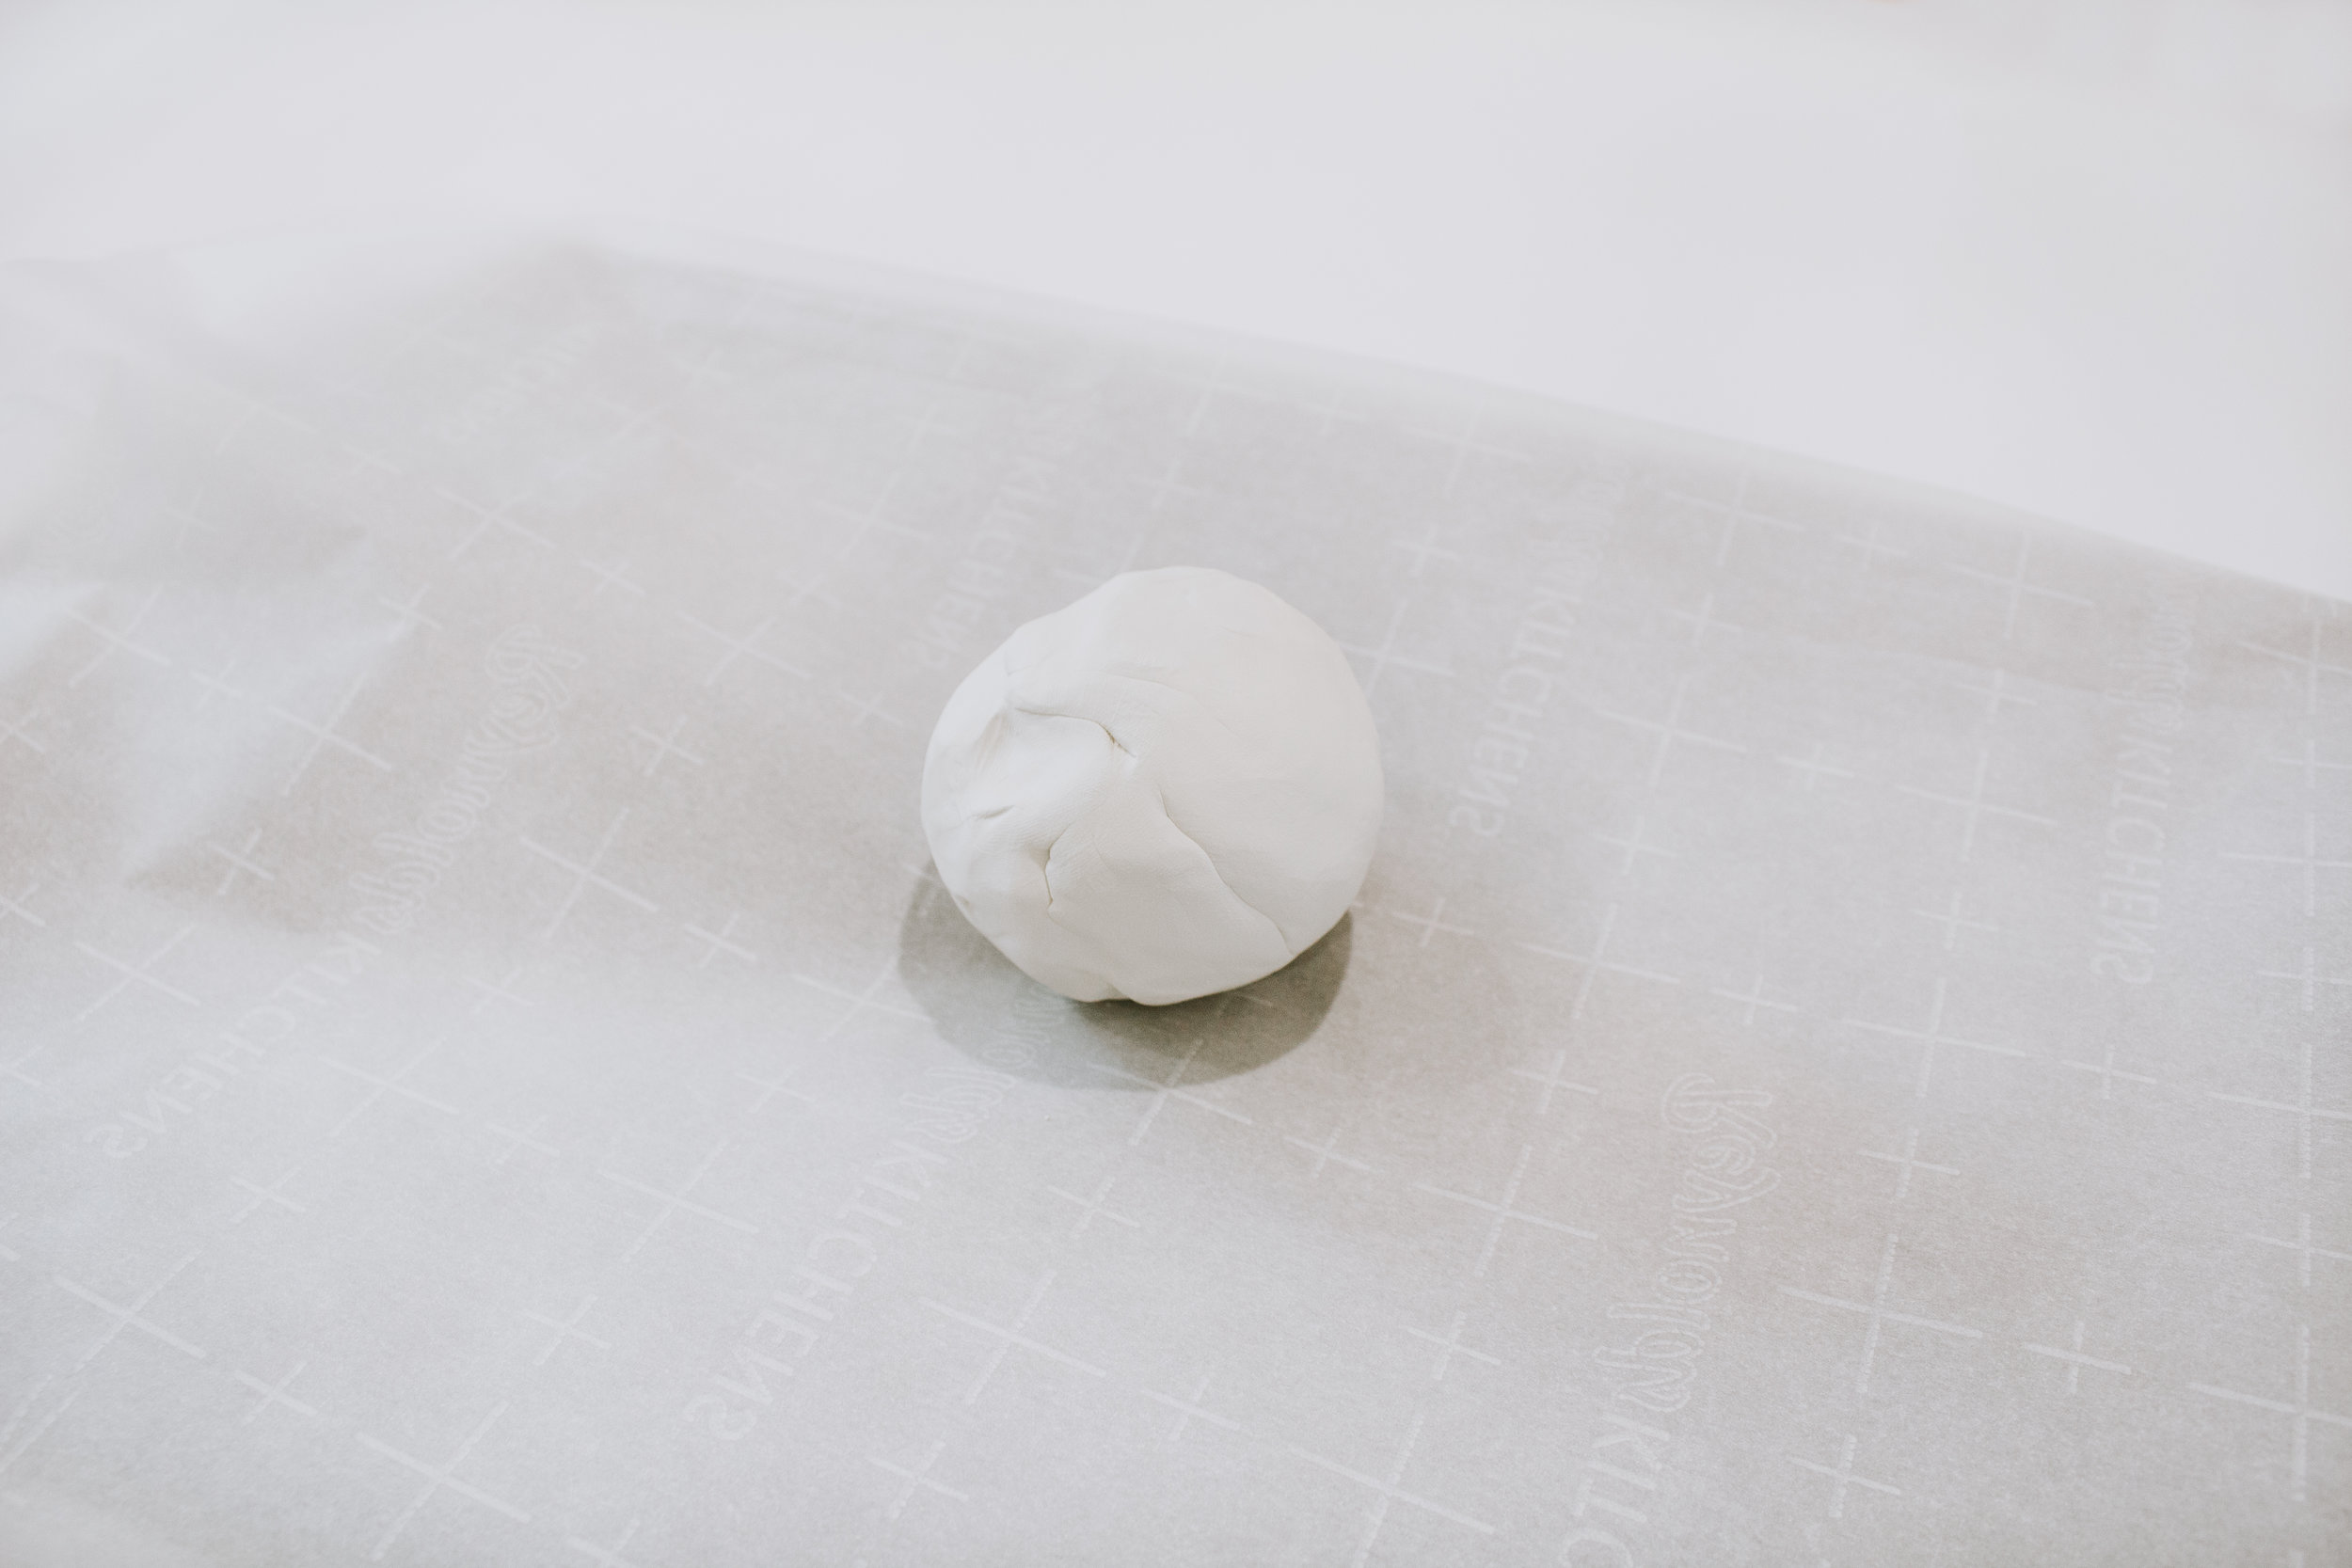
Grab your clay and start working it into a play-doh like consistency. Roll it into a ball and use a smooth cylinder object (I used a spray paint can) to flatten the clay. Roll it out until you get it to your desired thickness. I rolled mine to approximately 1/4” thick.
STEP 2 – CUT OUT THE SHAPE
Grab a sheet of cardstock paper and cut out the shape that you want your tags to have. Then cut your clay along the edge of the paper using an x-acto knife.
STEP 3 – STAMP WITH LETTERS
It’s time to start stamping some names! I’d suggest practicing on scrap clay to make sure you get the spacing and pressure right.
STEP 4 – CUT OUT A HOLE
Using a small knife, cut a whole at the top of the tag for your string to go through. You may want to try gently pushing your string through the hole to ensure that it will fit. Once done, smooth out the edges along the whole tag for a polished look.
STEP 5 – BAKE
In order for the clay to harden you’ll need to bake the tags. Bake them according to package instructions. For the Sculpey clay I used, I baked them at 275° for 15 minutes. (The instructions suggest 15 minutes for every 1/4” thick so if you make your tags thicker you’ll need to adjust the time as necessary)
Just a heads up, your tags will still be slightly flexible after baking but will harden more as they cool.
STEP 6 – ADD THE STRING
All that’s left is to add your string. I found some suede string in my craft drawer from Hobby Lobby but you can use whatever string you happen to have on hand!
And now you’re done! Aren’t they just the cutest?
Tie them onto a gift or hang them on your Christmas tree. Then snap a photo and share it with me on Instagram @nadine_stay so I can see!
By the way, I also made personalized clay coasters this year and they turned out awesome!
Leave a Reply Cancel reply
Where behind the scenes, exclusive advice, and candid conversations are sent straight to your inbox every week.


These are such z great idea!!! What suze of stamp letters did you use? Thanks!
I believe they were less than a 1/2". I linked the exact stamps I used above!