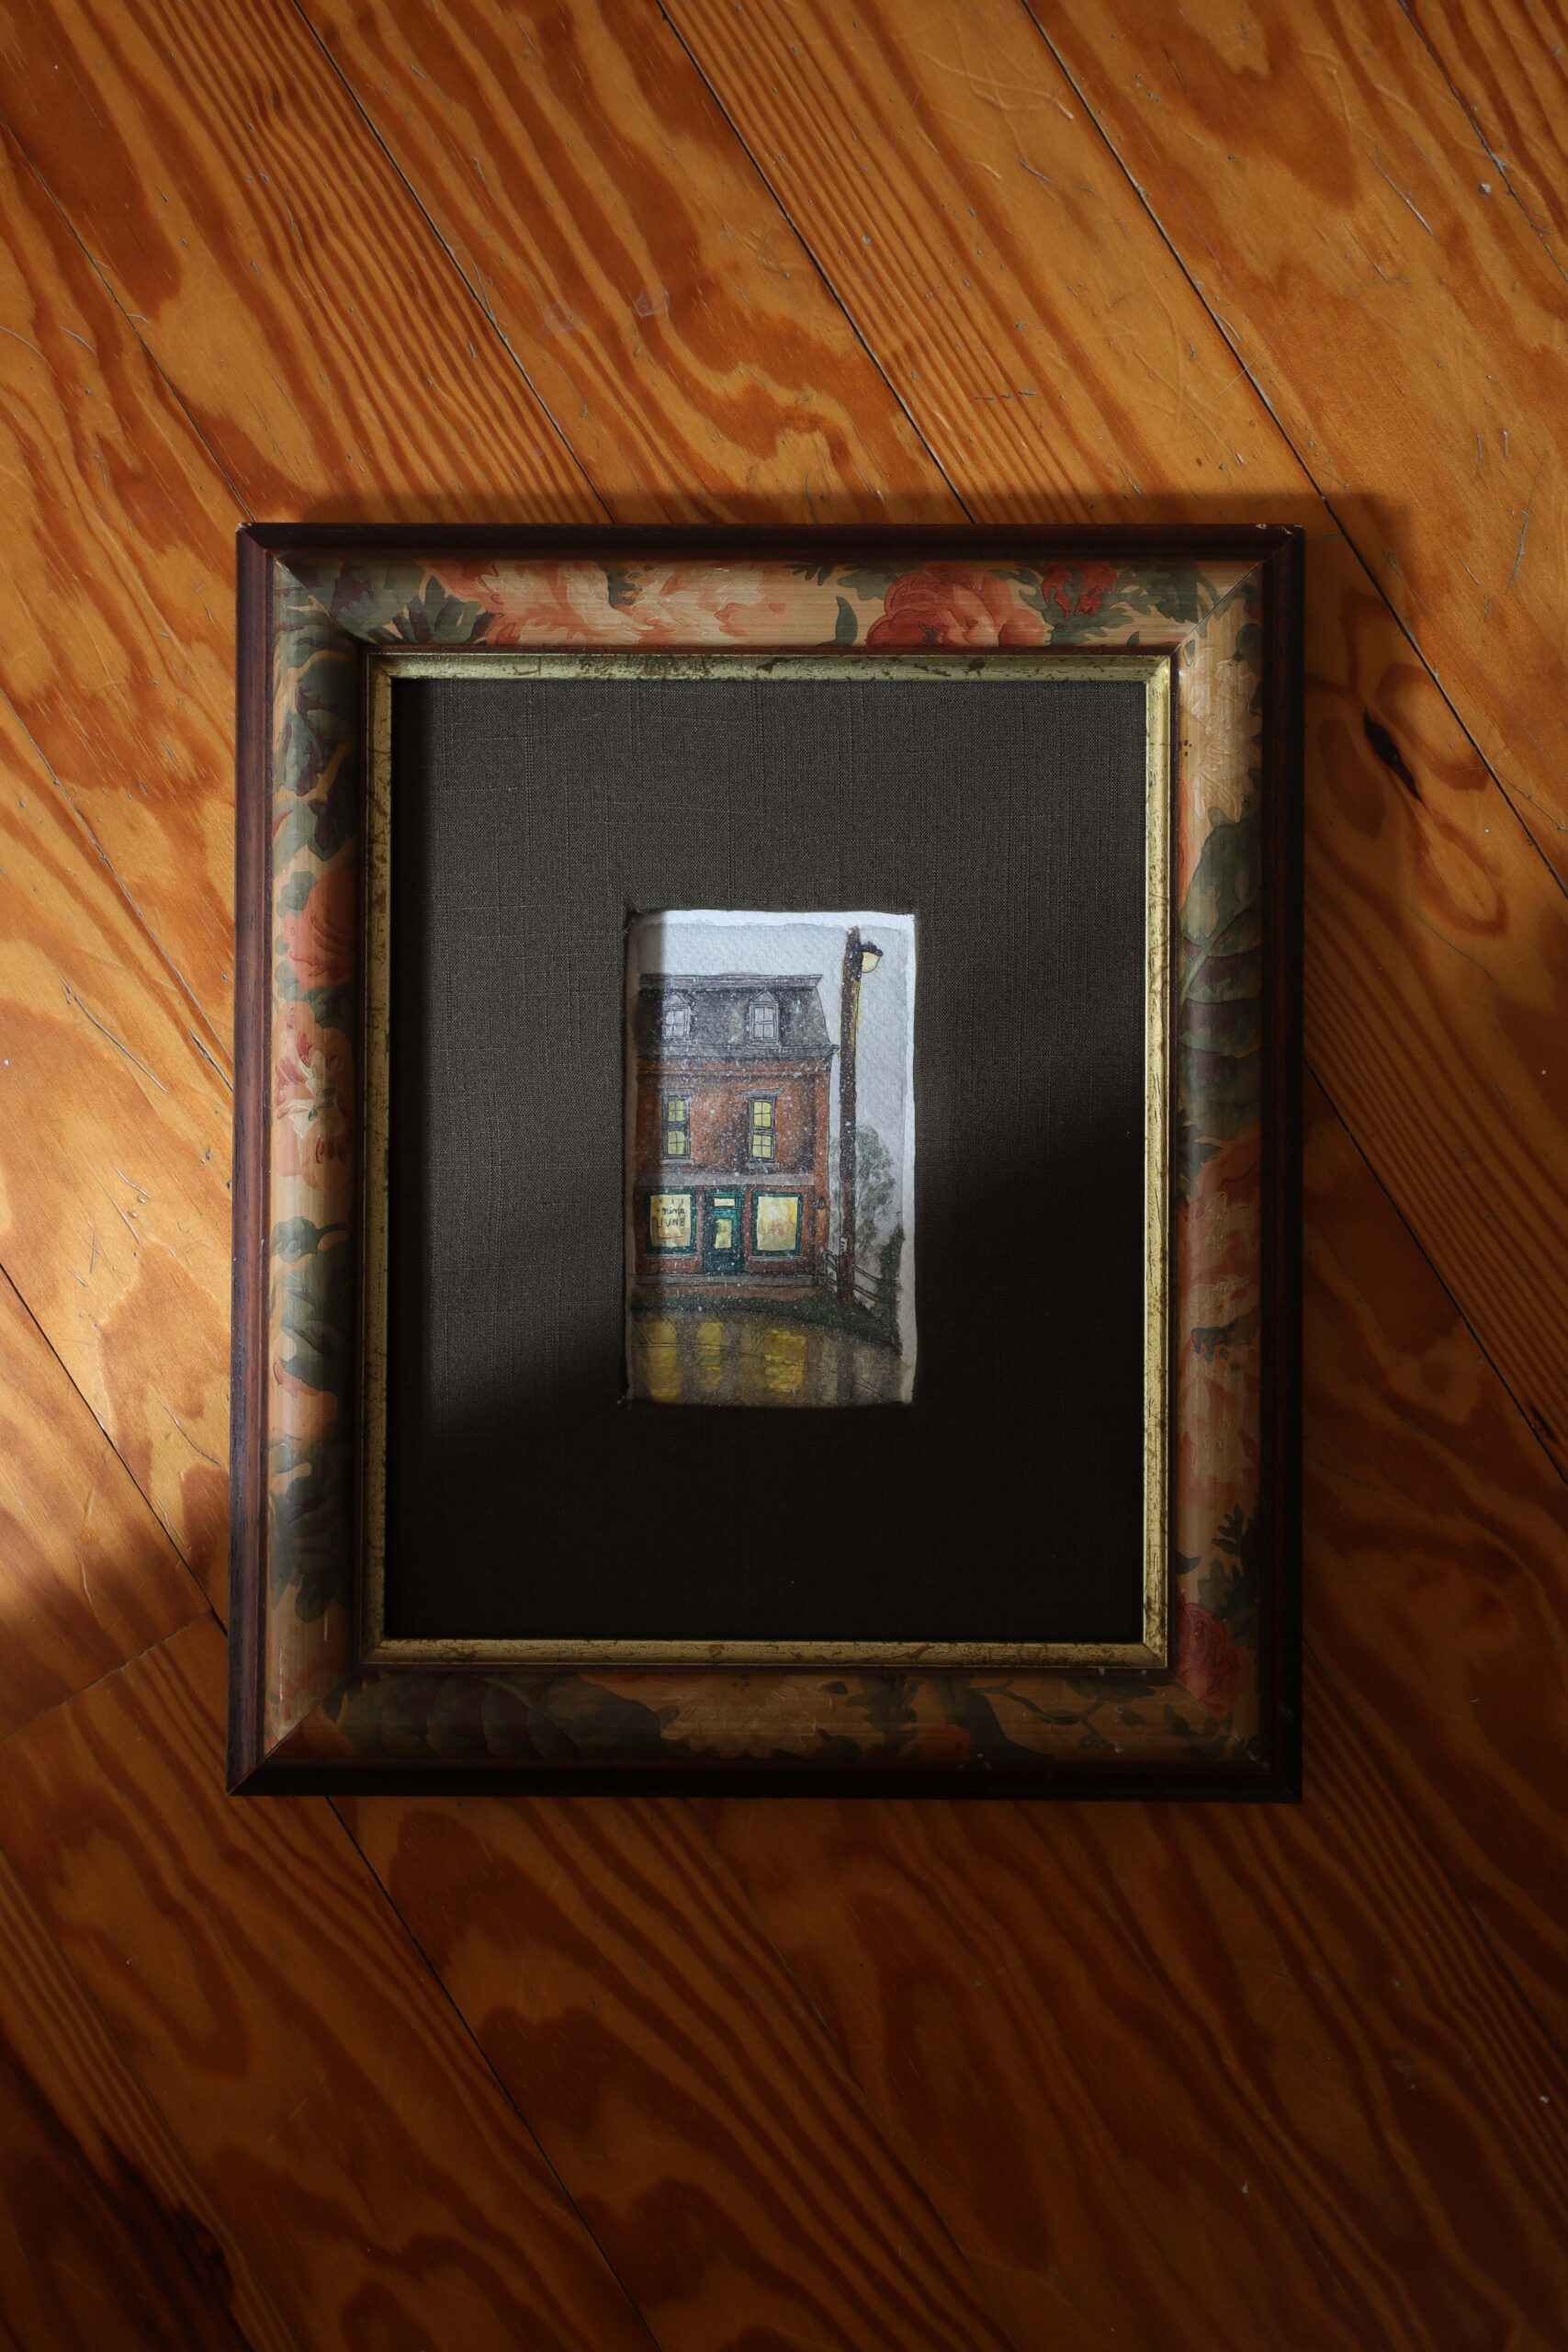

Last winter, Chris took up watercolor painting and created some of the most precious pieces of art that I will cherish forever. I’ve been meaning to frame them for 9 months, and it wasn’t until I found the perfect frames that I got around to it. Two of the frames required a mat, and rather than using a matboard, I made my own linen mats. It took less than an hour and cost me $0. (I already had fabric on hand!) They’re incredibly easy to make, and the results look both elevated and beautifully custom. So today I thought I’d share how to make a fabric picture frame mat.
This post contains affiliate links.


Supplies Needed:
- Cardboard
- Box cutting knife
- Fabric of your choice
- Scissors
- Hot glue gun & hot glue sticks

1. Cut A Piece Of Cardboard To Size
Find a scrap piece of cardboard and measure the opening of your frame. Mark and cut the cardboard to size using a box cutter.
To create the center opening in the mat, measure the size of your artwork and subtract 1/8″ from each side. (This ensures that the edge of the paper is not visible.) Find the center of the cardboard and mark the opening with a pencil. Cut out the opening with a box cutter.

2. Cut A Piece Of Fabric
Lay out your fabric and cut it 1 inch wider than the cardboard on each side. Then cut an “X” in the center opening, extending from corner to corner.

3. Glue The Fabric To The Cardboard
Lay the fabric face down and place the cardboard on top. Starting on one side, fold the fabric over the cardboard and glue it down. Then move to the opposite side of the cardboard, pull the fabric taut, and glue it down. Repeat with the remaining two sides.
In the corners, fold the fabric neatly, much like a Christmas present, and glue them down.

In the center opening, pull and fold each fabric triangle taut and glue it down. Cut off any excess fabric. The back side will look rough, but that’s ok! The front is all that matters.
Flip it over and pop it in a frame. That’s it! It’s incredibly easy, very inexpensive, and it looks really high-end. Do you see yourself making your own fabric picture frame mat now?



Where behind the scenes, exclusive advice, and candid conversations are sent straight to your inbox every week.
The Inside Scoop
DO YOU WANT