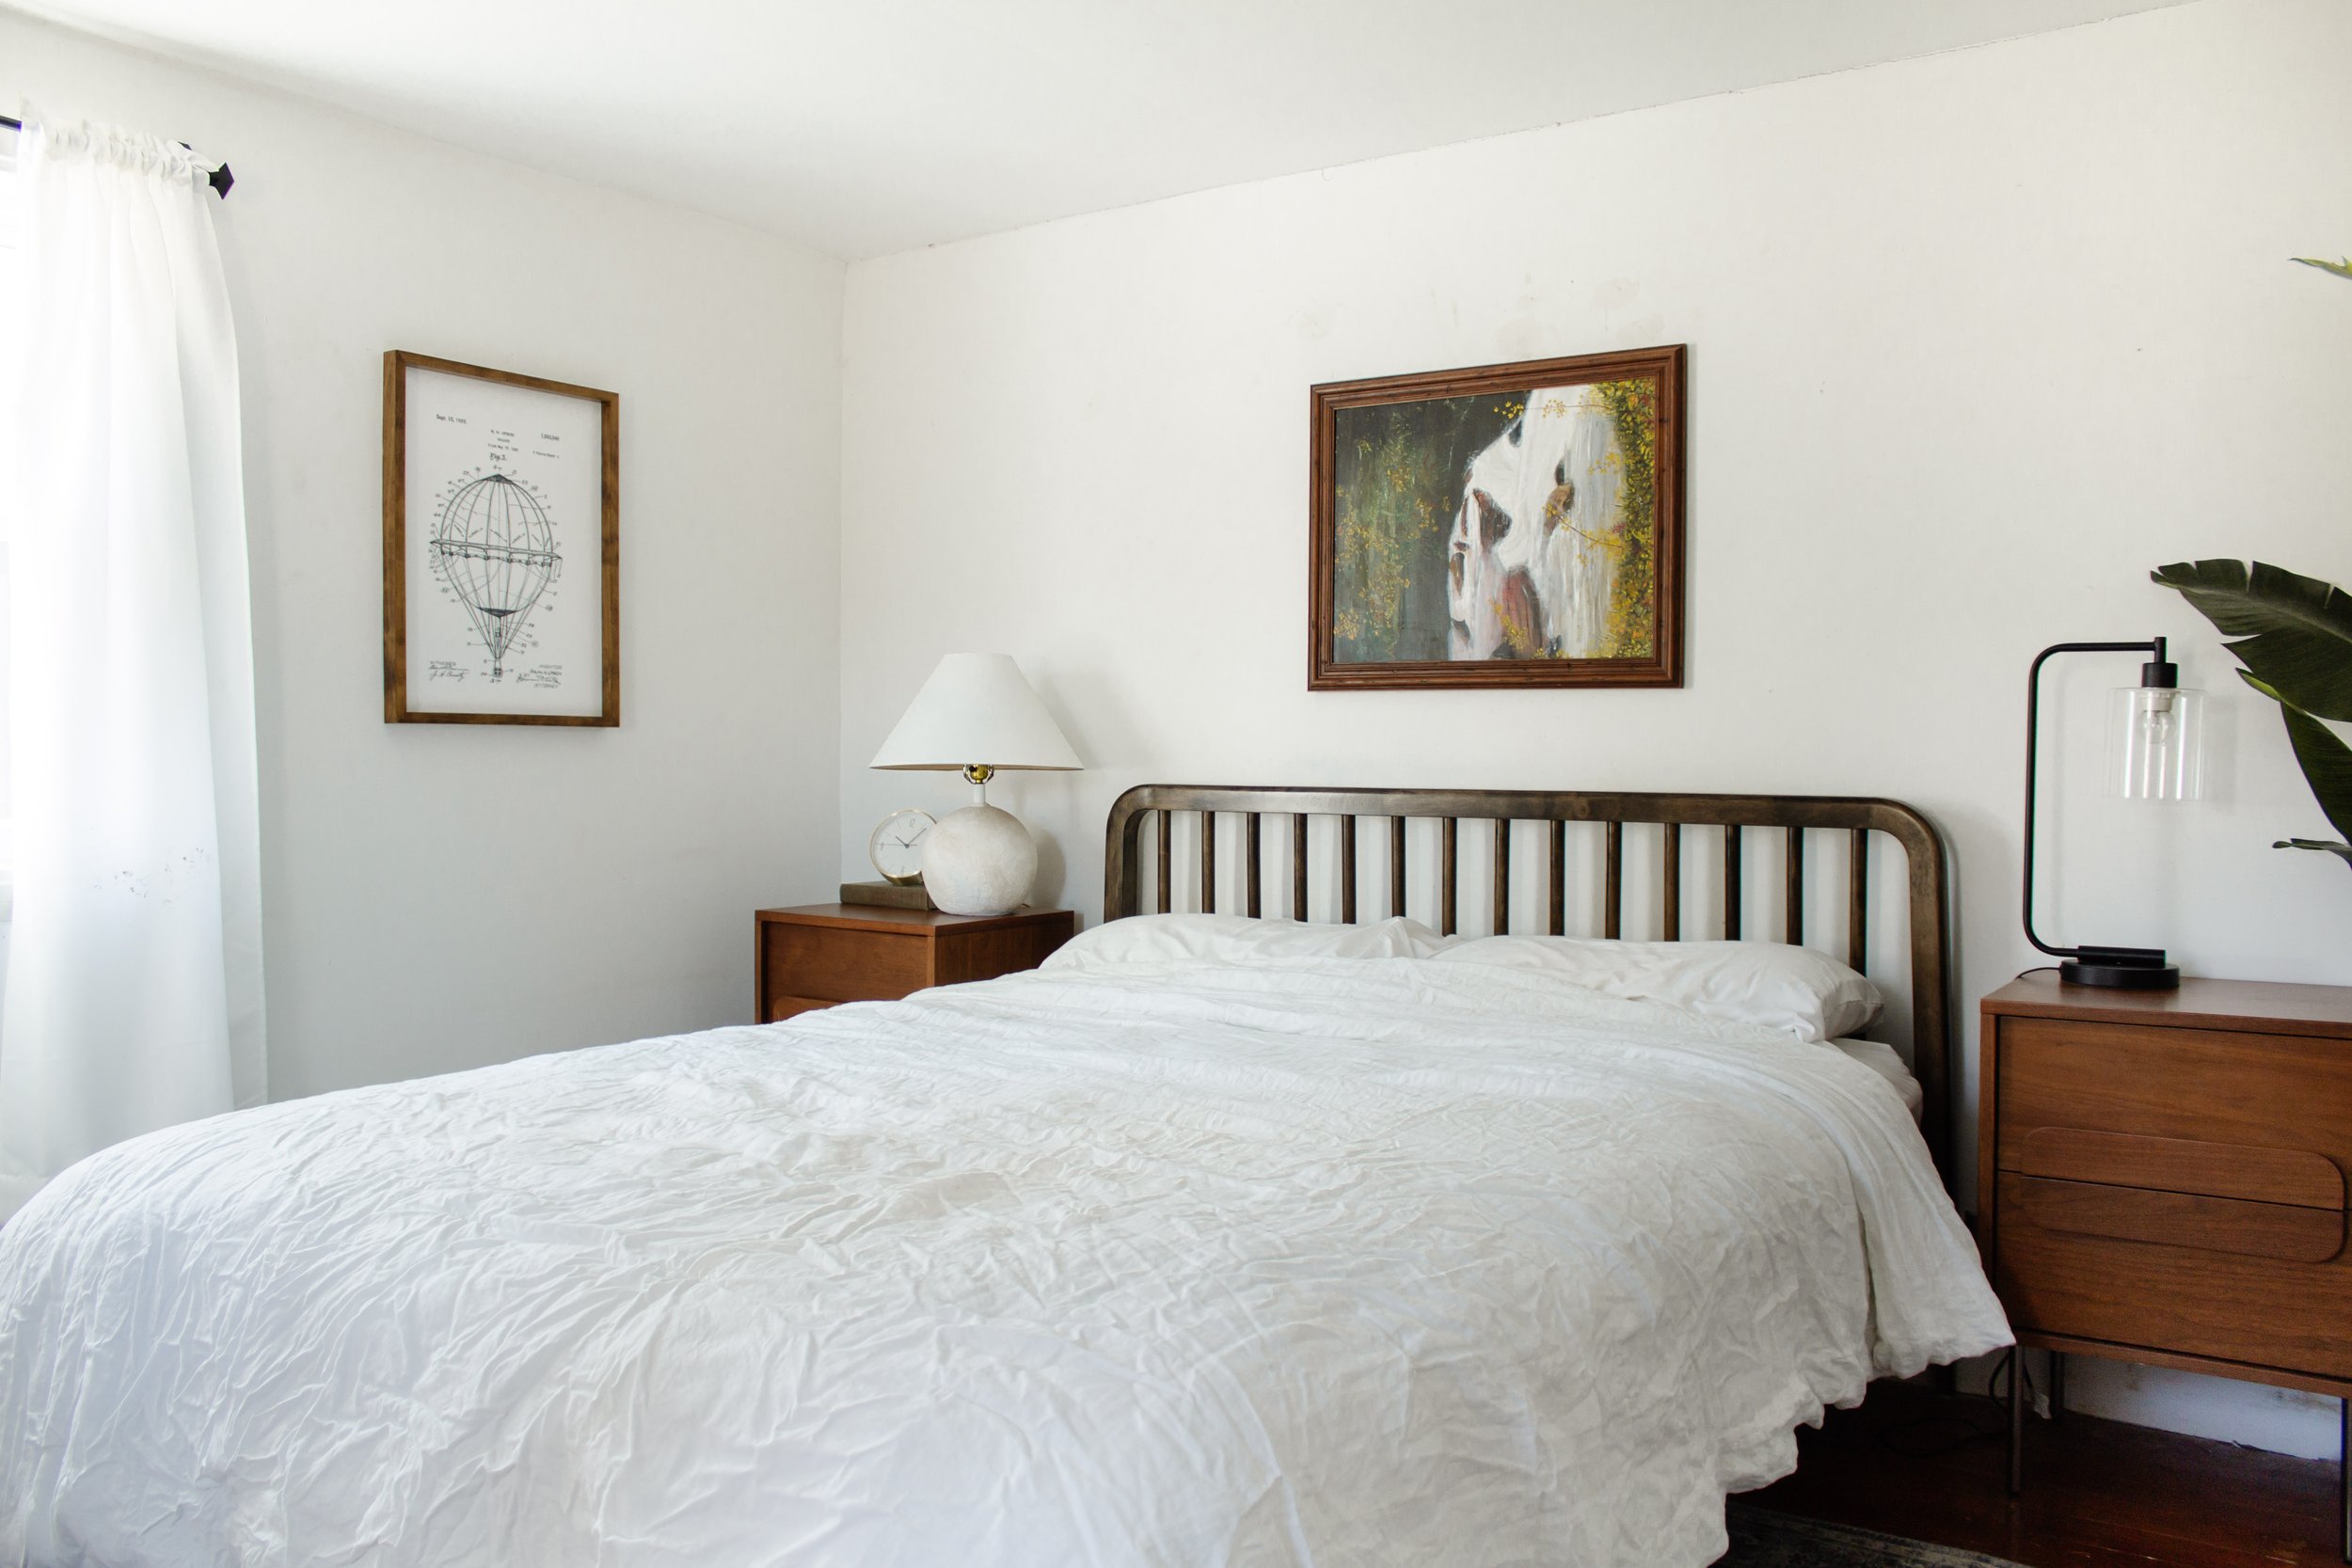
Well I definitely didn’t imagine this project would take as long as it did, but here I am sharing a reveal exactly one year after we started demo. If I’m being totally honest, I’m really proud of this one. Before I get into the details let’s start with a before and after.
Our primary bedroom was always a project that we assumed would happen years down the road. If our assumptions are correct, our bedroom was once a porch (or some type of outdoor deck space). The floors sloped away from the house (like a porch would). The roof is flat and low (like you would see on a covered porch). And we uncovered siding on the inside walls where the house ended at one point. In summary, we think our bedroom (and laundry room next door) were converted to an indoor addition and it looked like a bit of an afterthought.
Because of the flat roof and low ceiling, we assumed we would need to build an entirely new roof that connected to the original house. All of which required significant creativity for the construction of joining two oddly positioned roof lines along with significant money to pay for it. Hence why we didn’t think this project would happen for a while.
Well! Last year Chris was poking around and discovered that we could gain an addition 6+ inches of ceiling height if we followed the (very gradual) slope of the roof. Read more about that discovery here and how we saved $15k. The ceiling would still be slightly lower than standard 8’ ceilings (6’10 at the lowest points and 7’5 at the highest), but if it meant we didn’t need to build a new roof, I was open to the idea.
I had a few conditions though:
-
I didn’t want to try to make this room look like it blended in with the rest of the house. It was clearly different, clearly an addition, and hanging drywall on the walls & ceiling would just seem like I was trying to cover up the obvious. Rather than trying to mask the differences, I decided to highlight them. We needed to pack as much character into this room (some of which was original) and since we weren’t spending thousands of dollars on a new roof, some of that money needed to be invested in character.
-
If we couldn’t make the room bigger or taller in reality, I needed to make it feel bigger by adding more windows. We had 2 small (and oddly placed) windows originally and I wanted new, bigger windows (in better locations) to pack in as much natural light as we could while maintaining functionality.
Bedroom Sources & Links

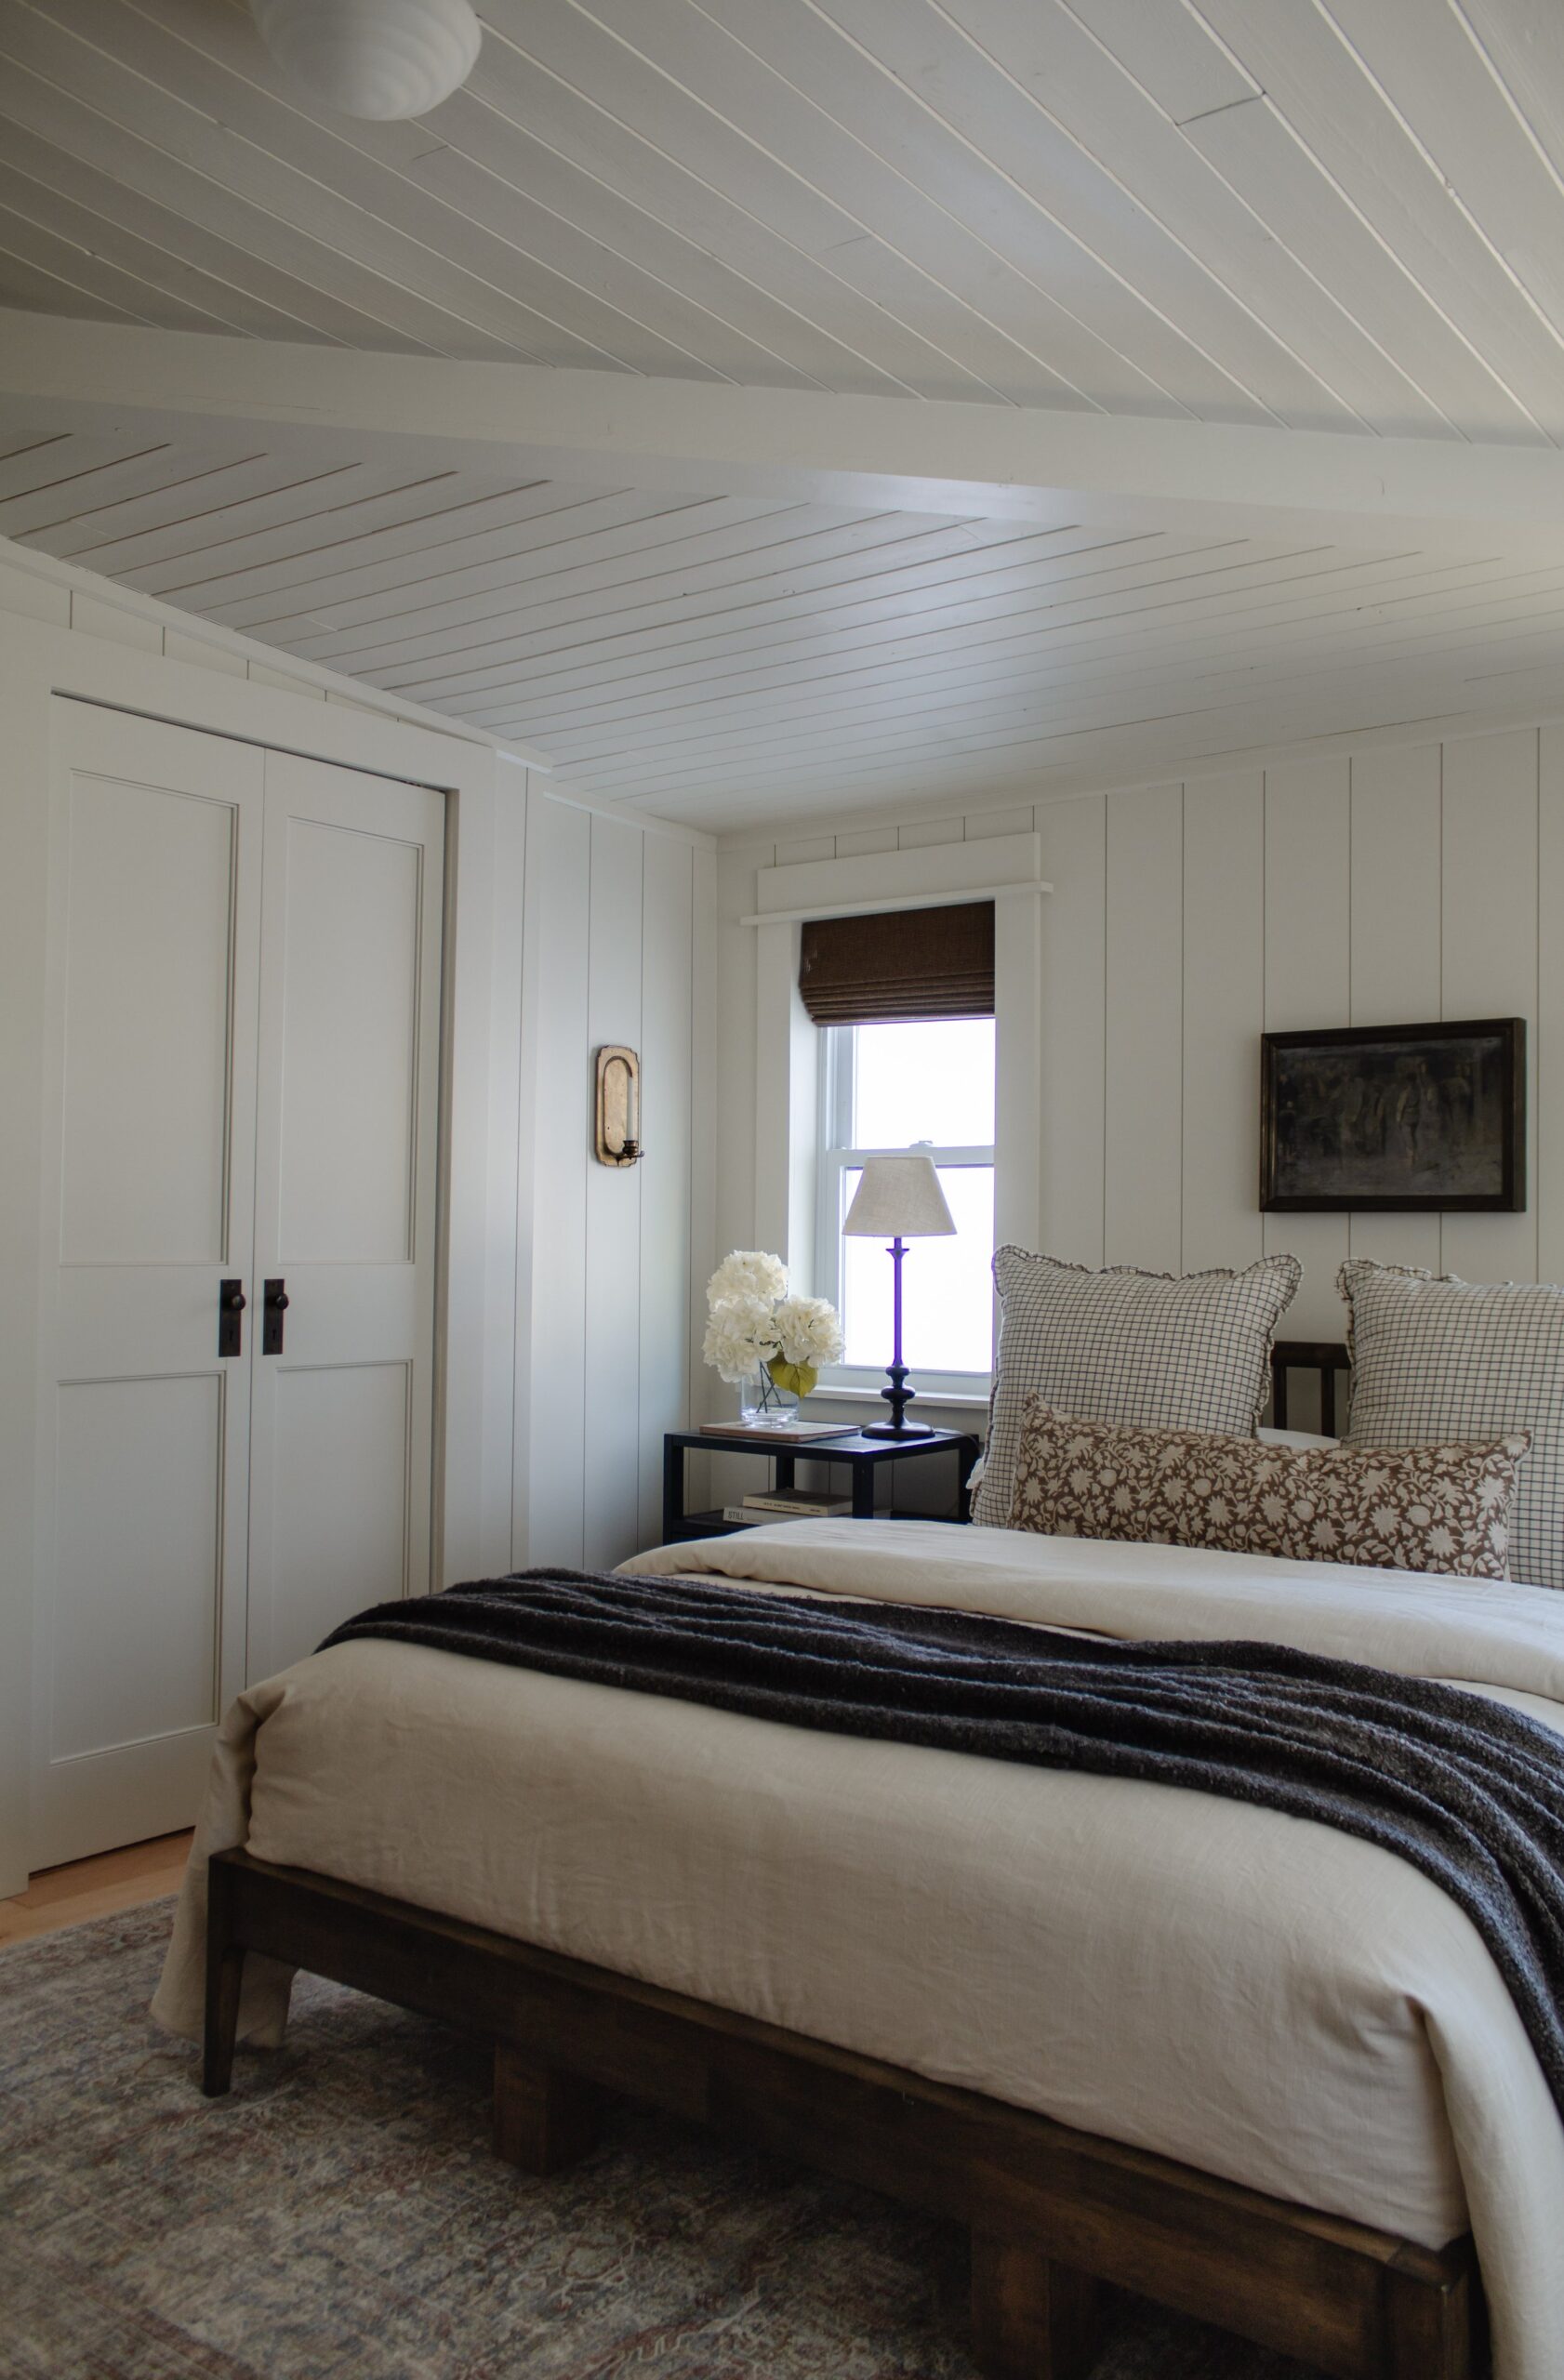
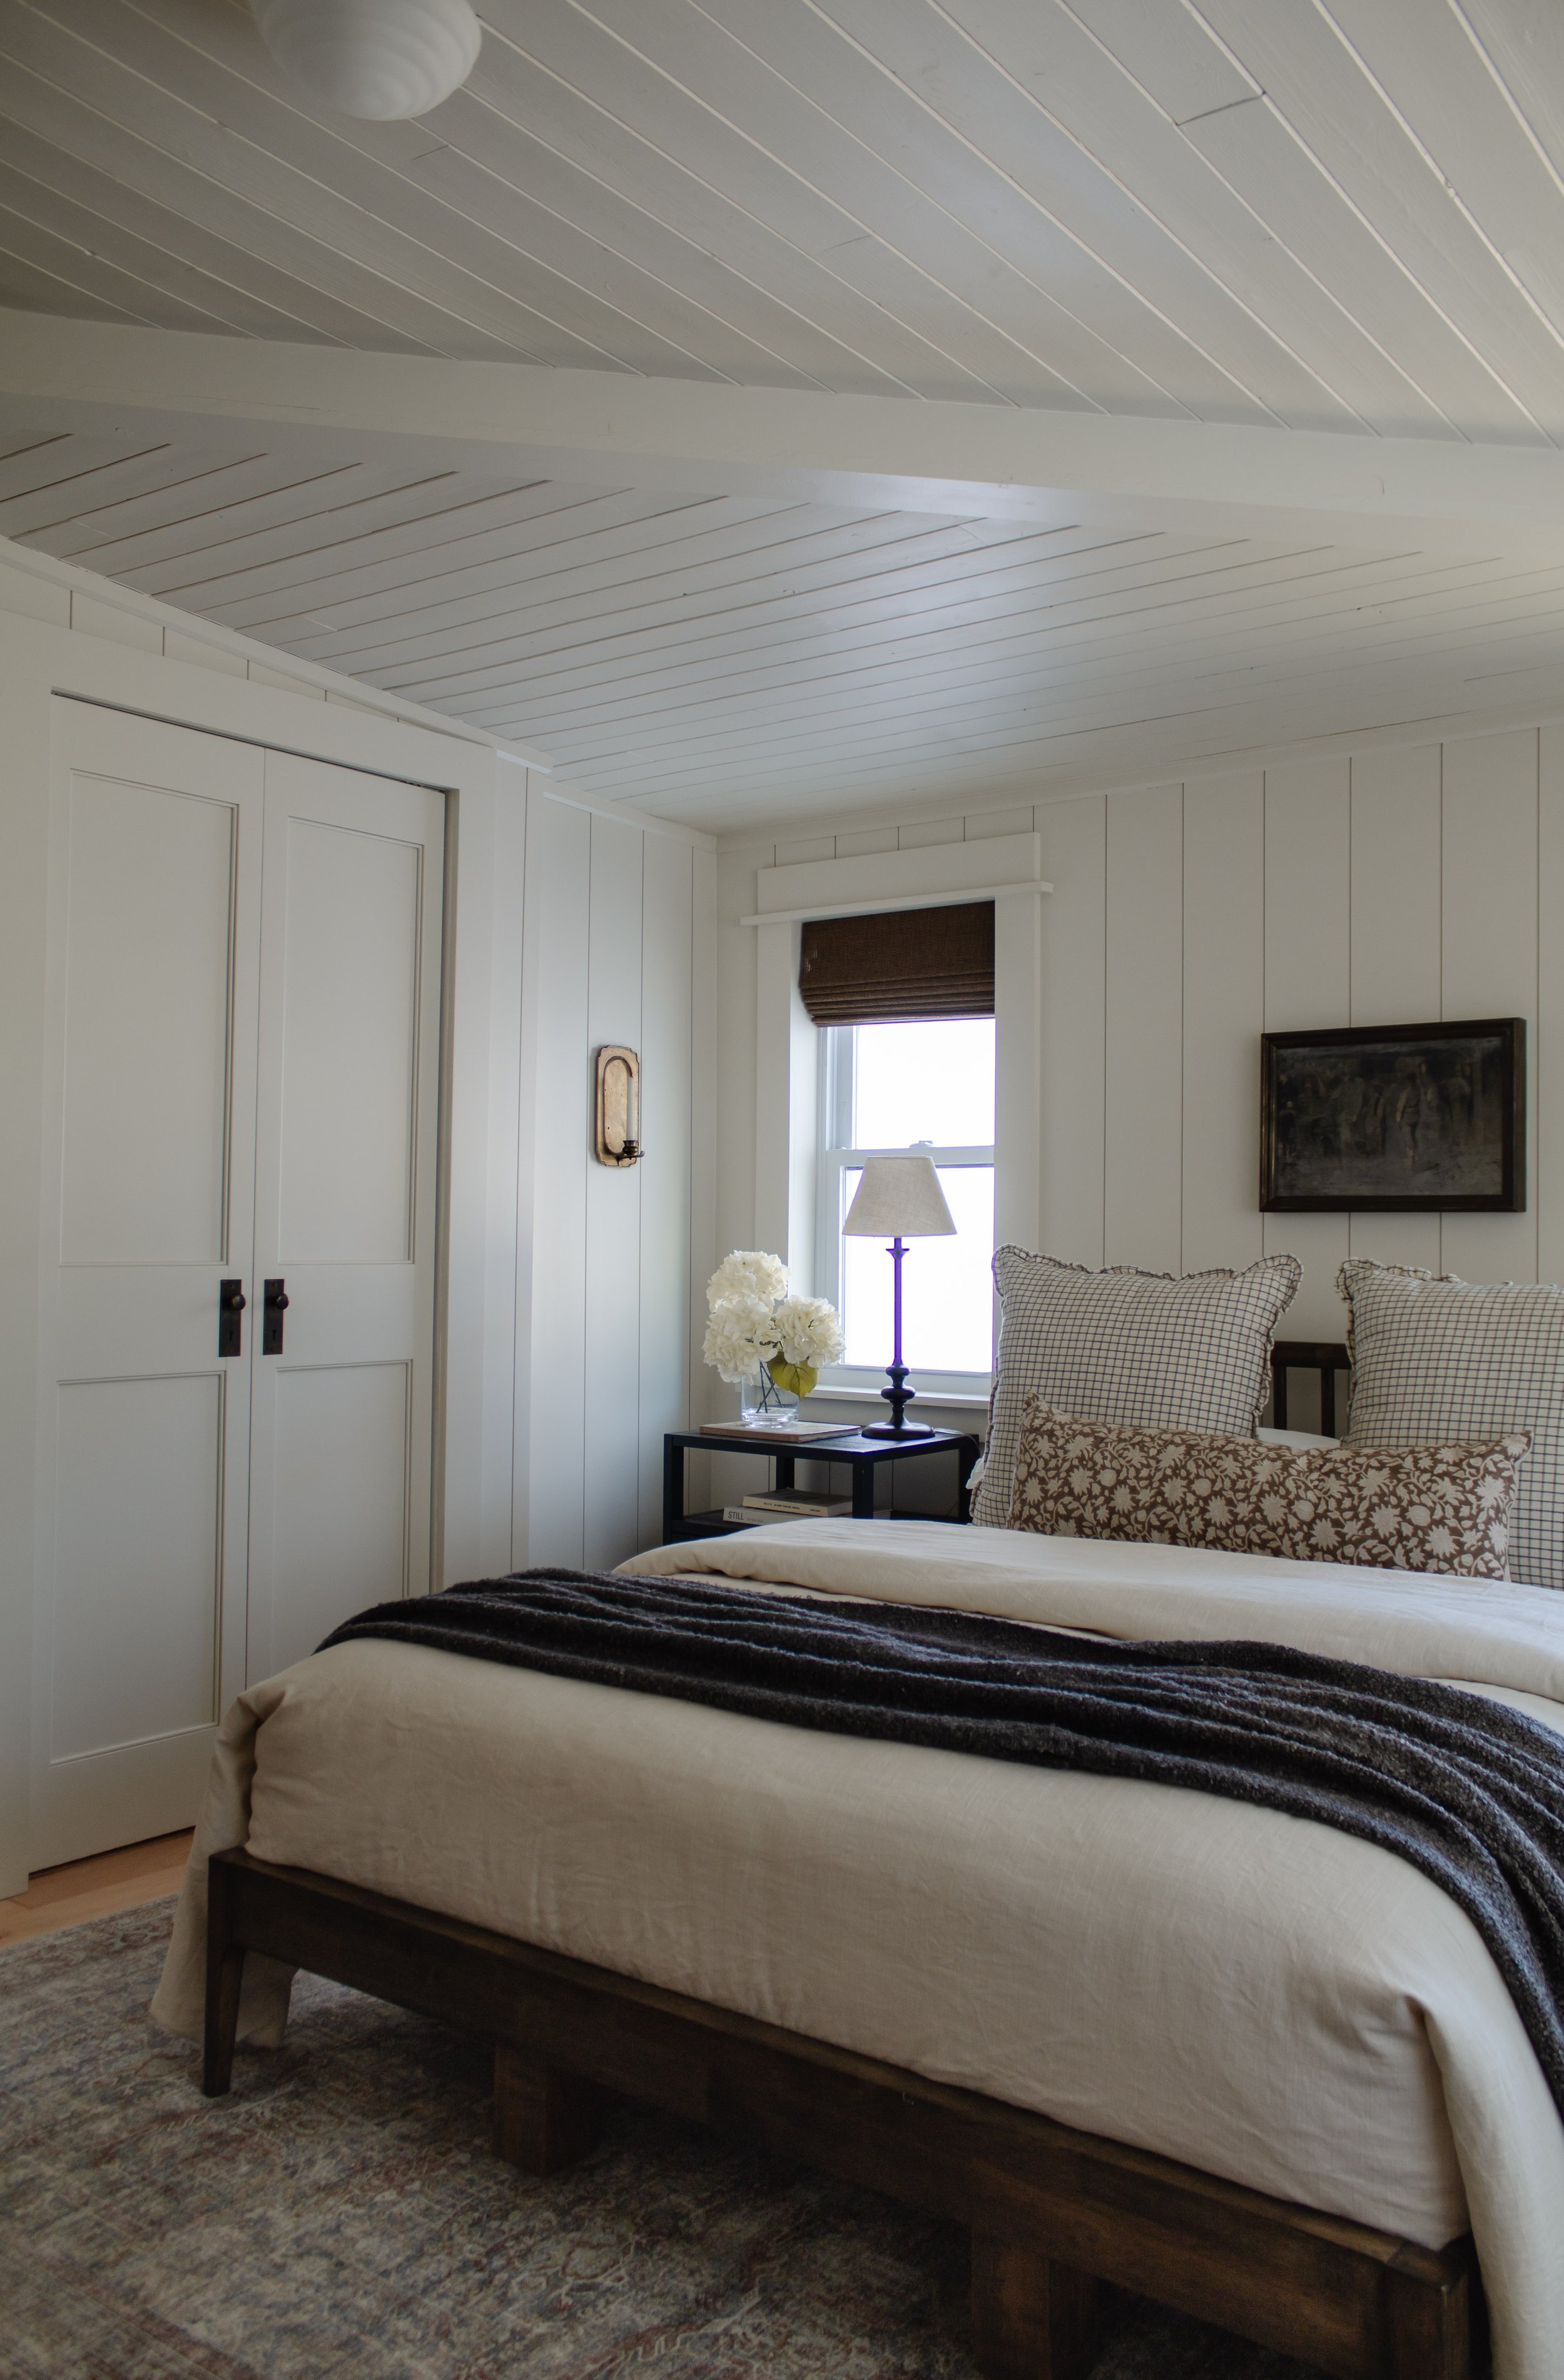
To add character, I decided on textured wood planks for the ceiling. Imperfections were welcome! If our assumptions are correct, we think that’s what was on the the ceiling prior to the room being converted to an indoor space. And to bring in a variety of textures, I chose smooth MDF nickel gap planks for the walls. Those two projects deserve a post of their own and I have tutorials and links for those coming in the next couple of weeks.
The paint color is another long story that you can ready about here. It’s a custom mix and the putty color is that perfect light, but not white combination. View the custom color code here.
It took about 2 months to do demo, insulate, re-wire, install the ceiling, walls, flooring, and paint. It took another 9-10 months to finish the rest. I say this because I practiced slow design. I actively chose not to settle for pieces, furniture, paint colors, lighting, and decor that didn’t 100% fit the look and style that I was going for. I didn’t want to settle on anything that I was 60% in love with only to later find something I was 100% in love with and then regret my decisions. So I took my time and as I’ve learned, waiting for perfect takes a long time.
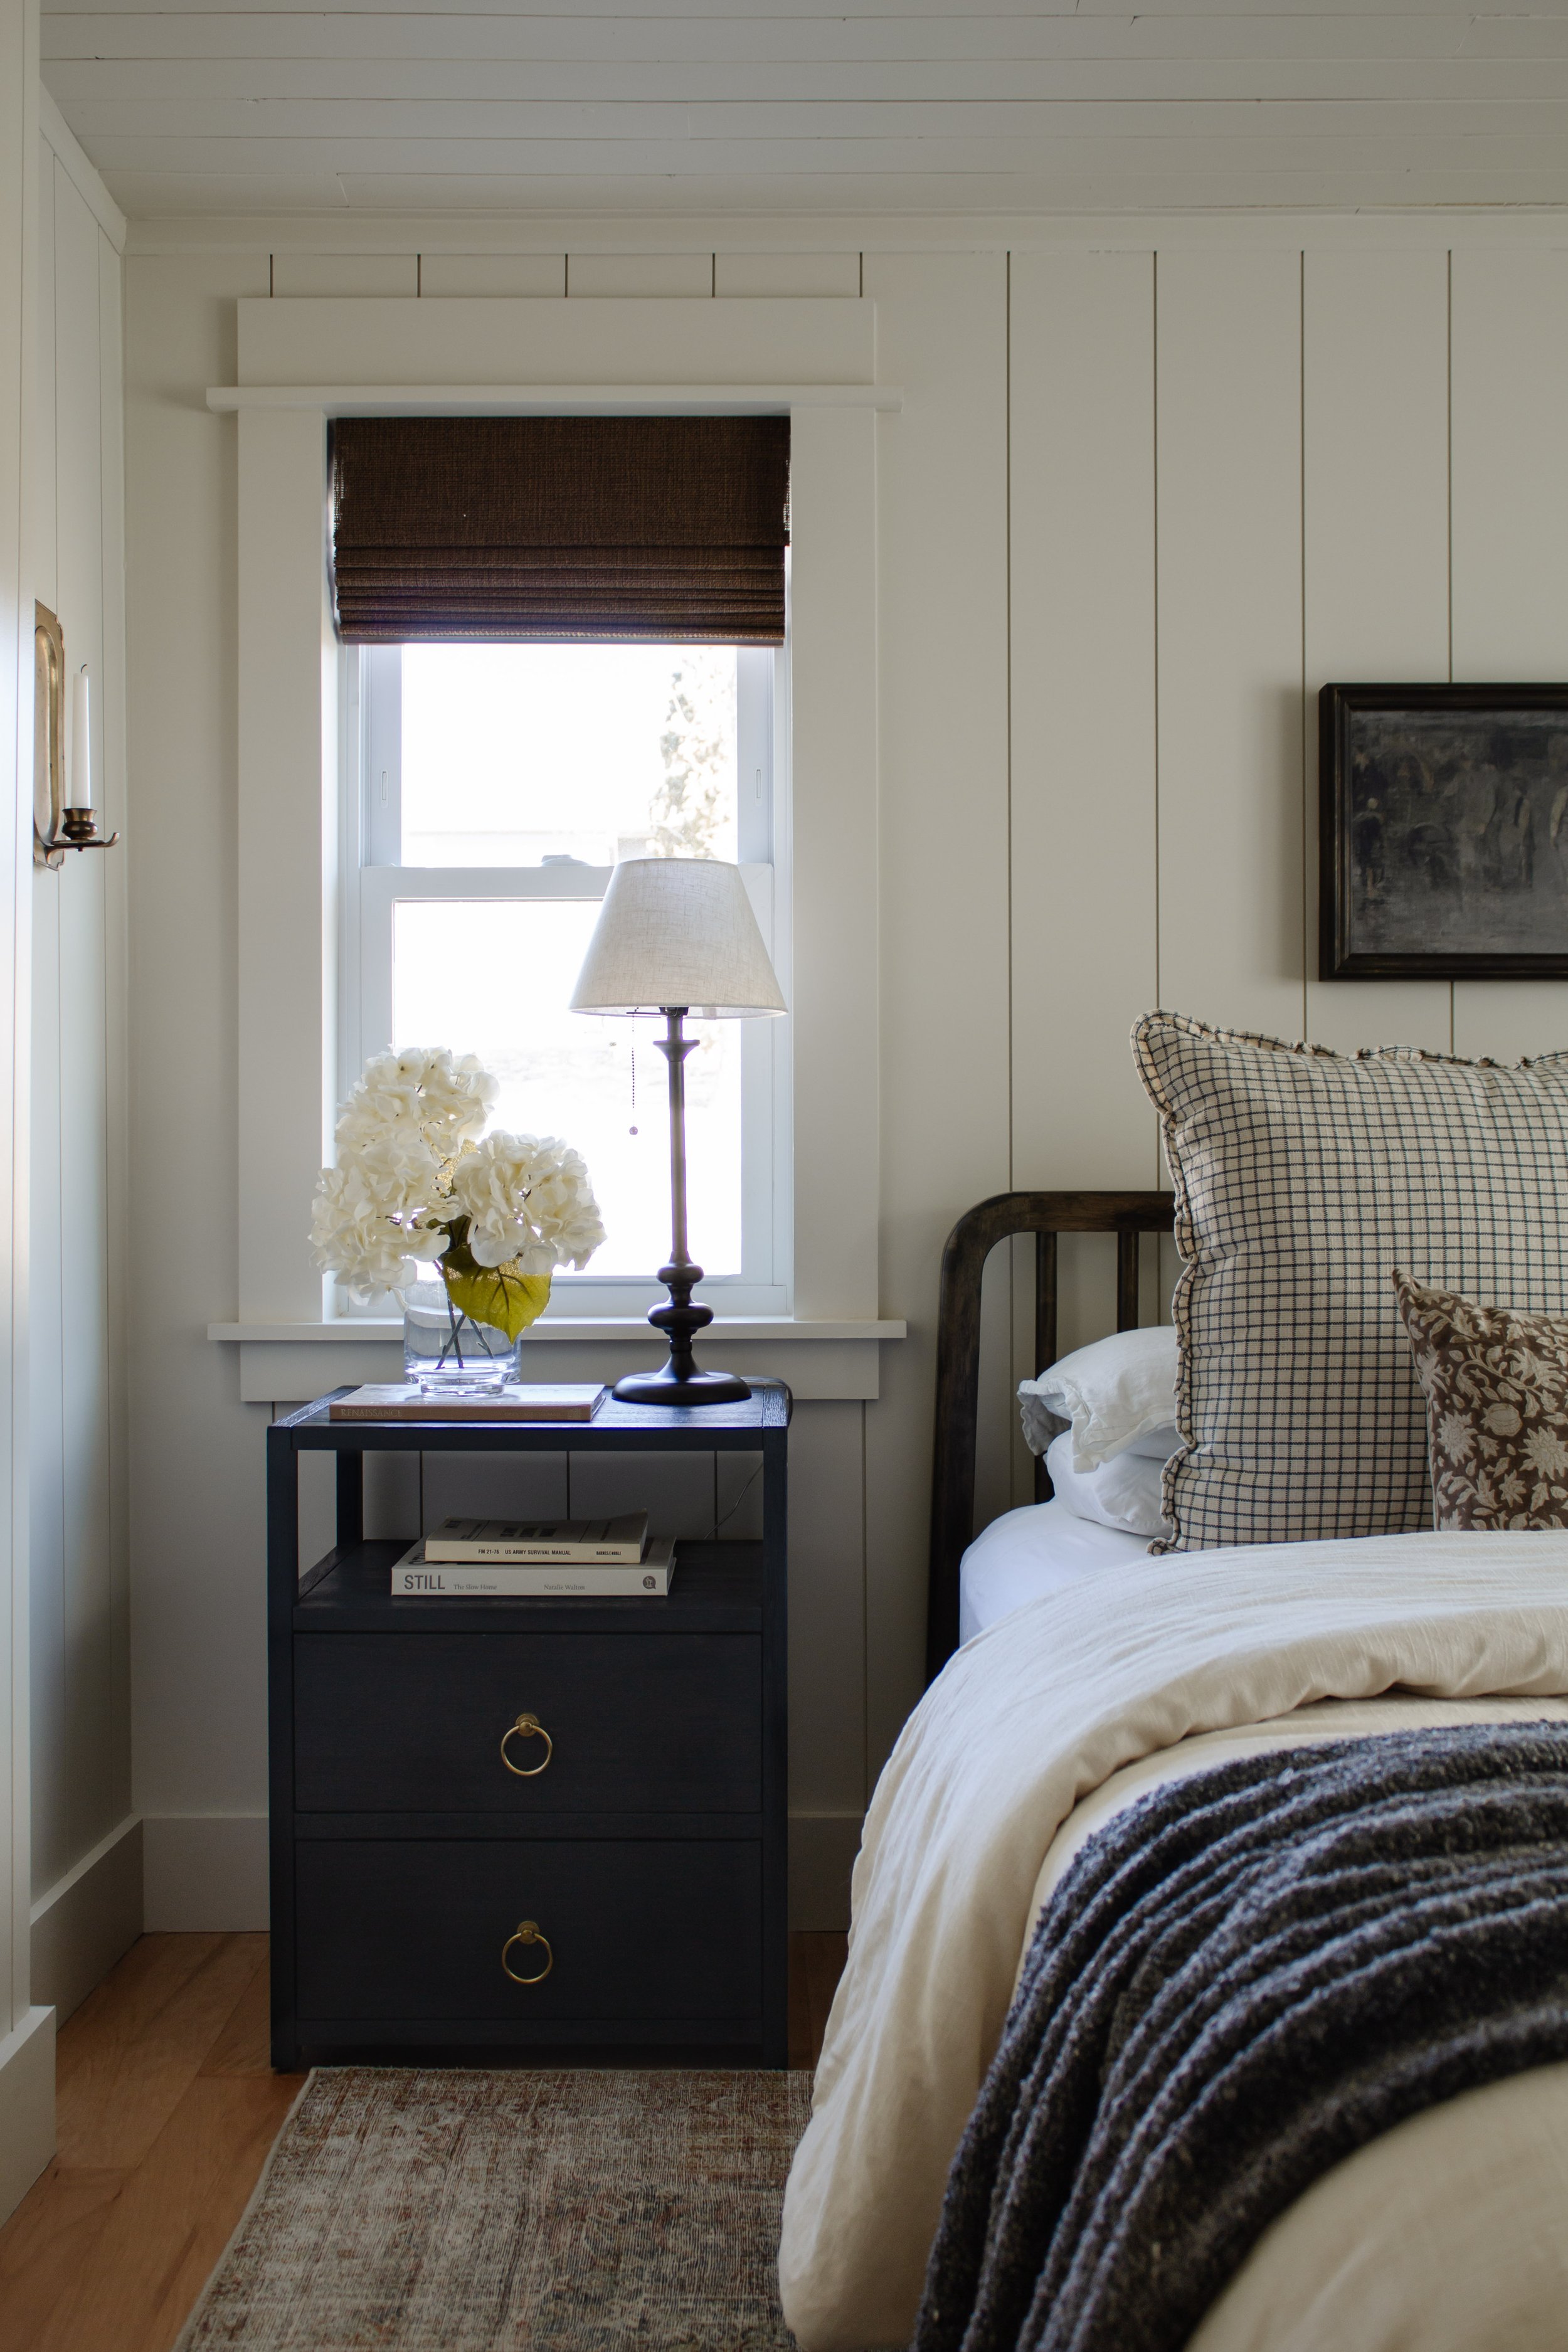
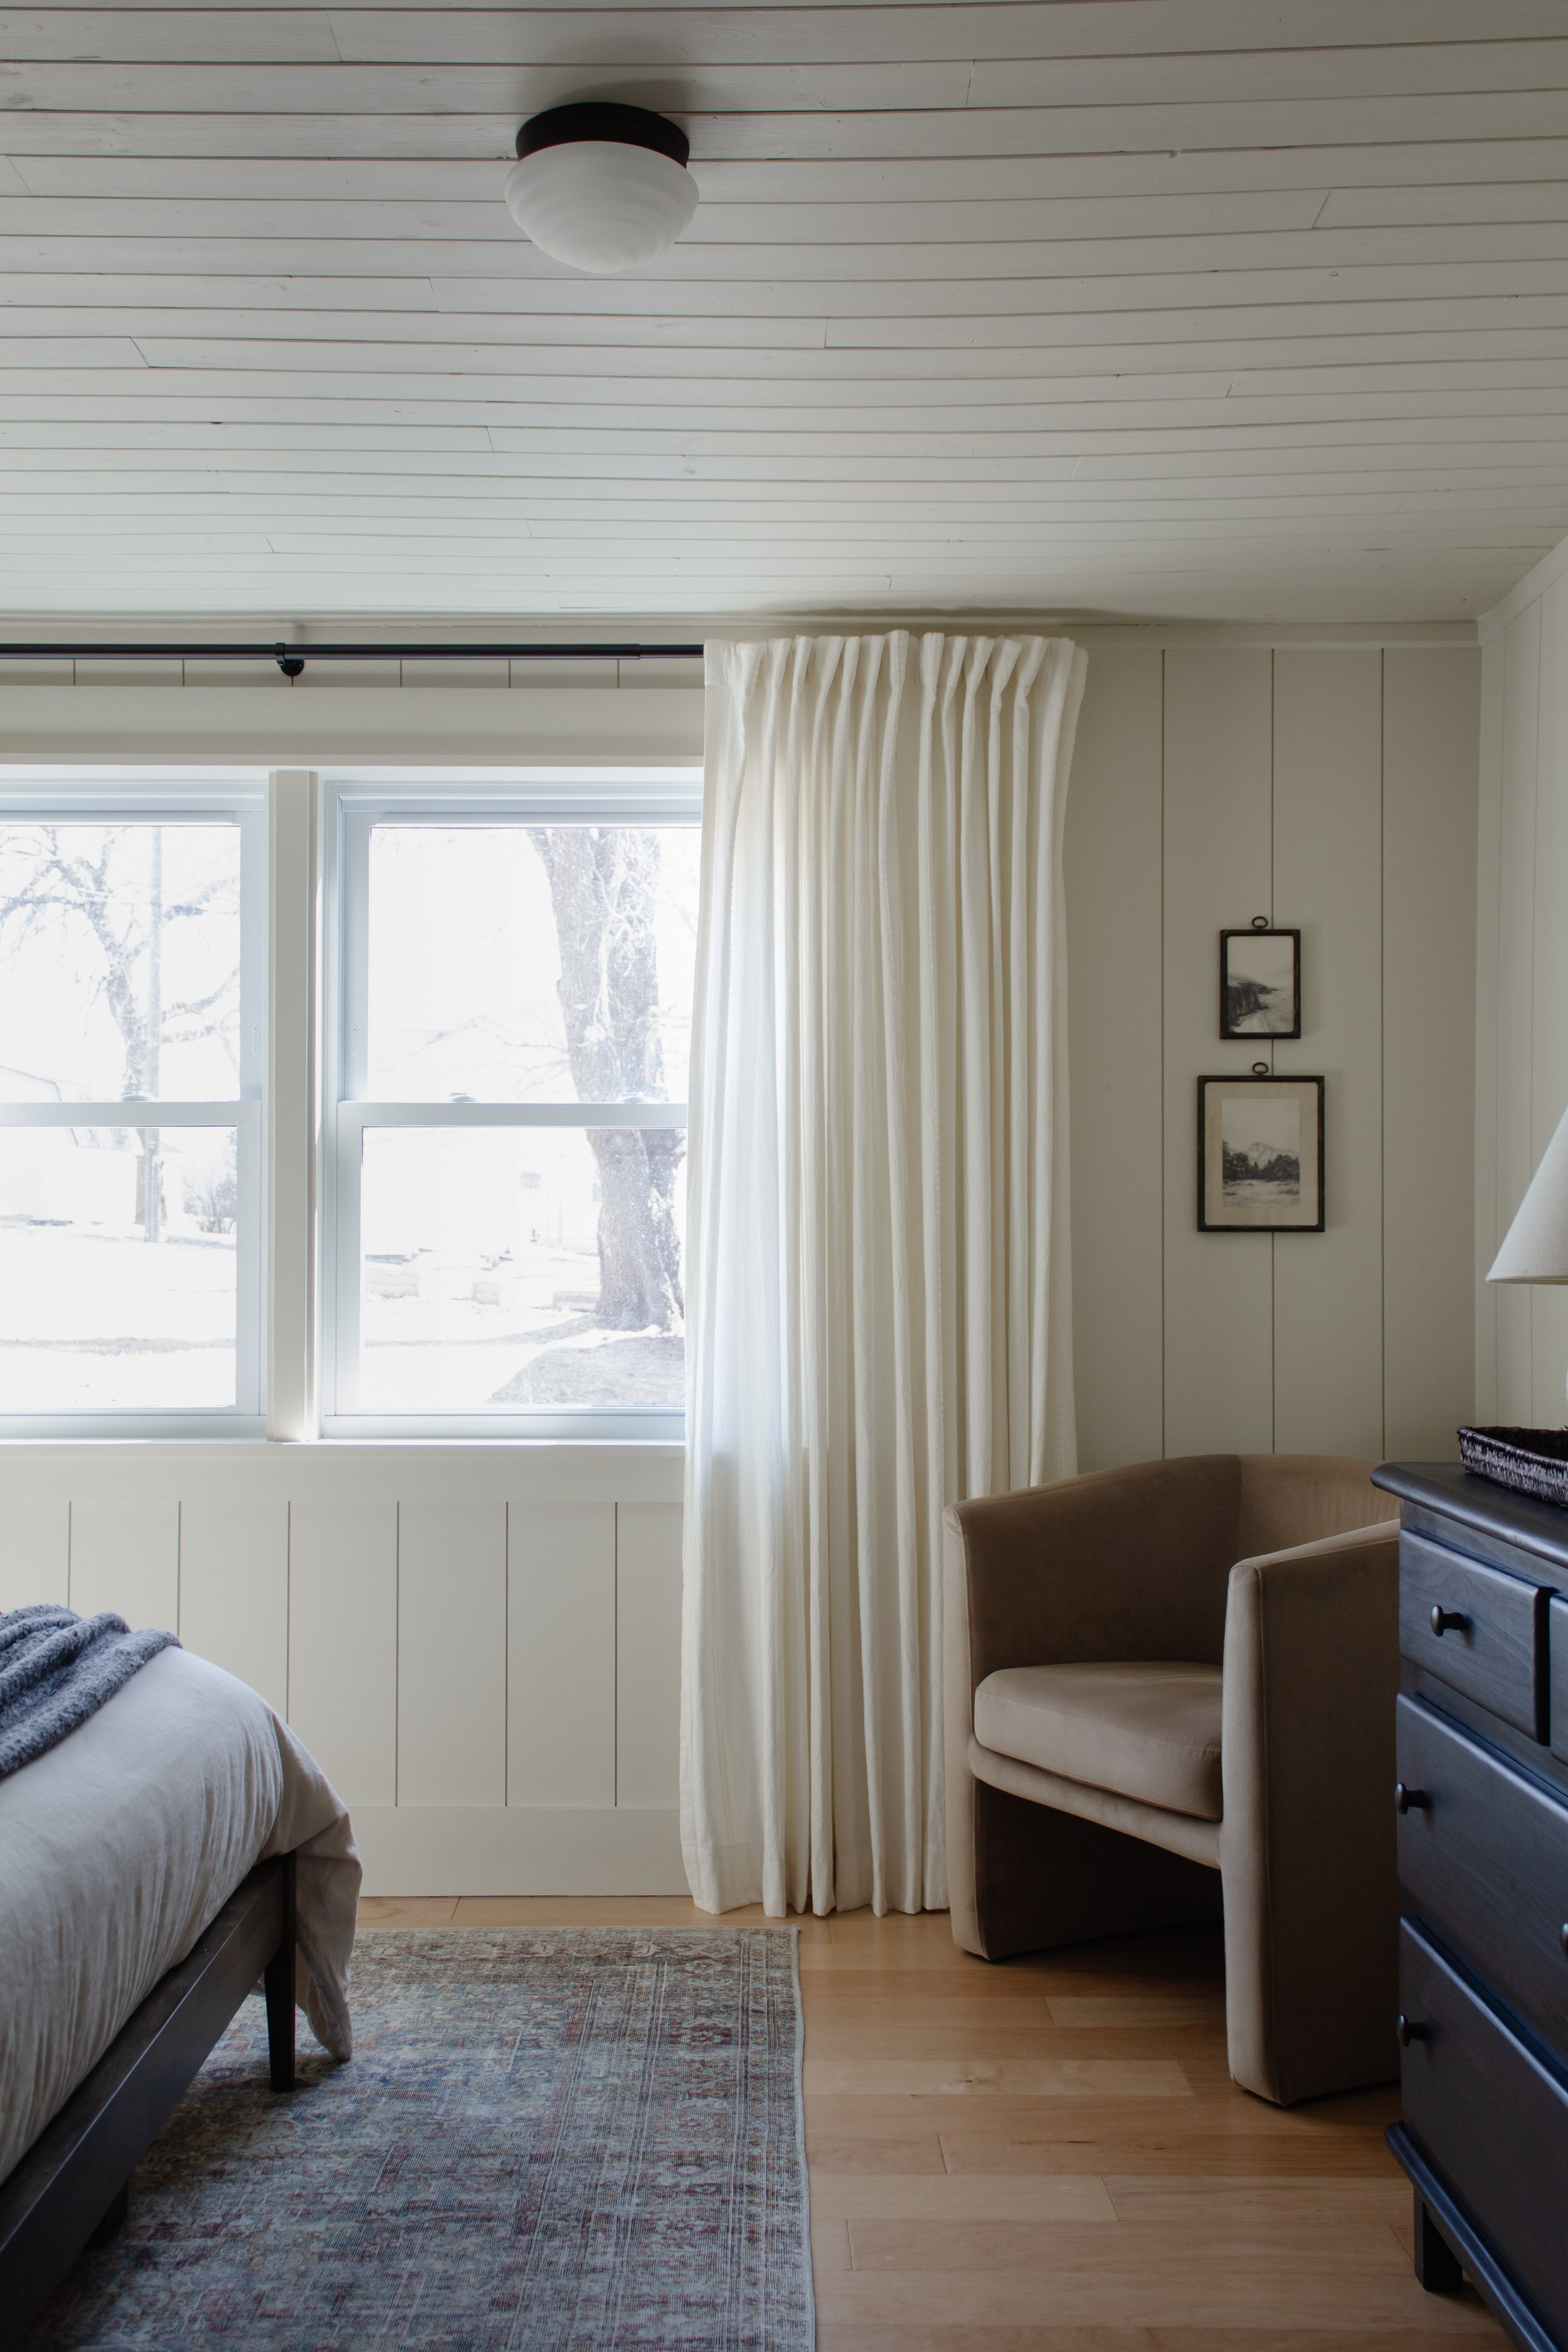
I started with one piece of furniture that we’ve had for years – our wood bed frame. It has a low headboard which is perfect for our low ceiling. From there I purchased a couple staple pieces. The rug, which has a dreamy color palette that I worked from. And the nightstands.
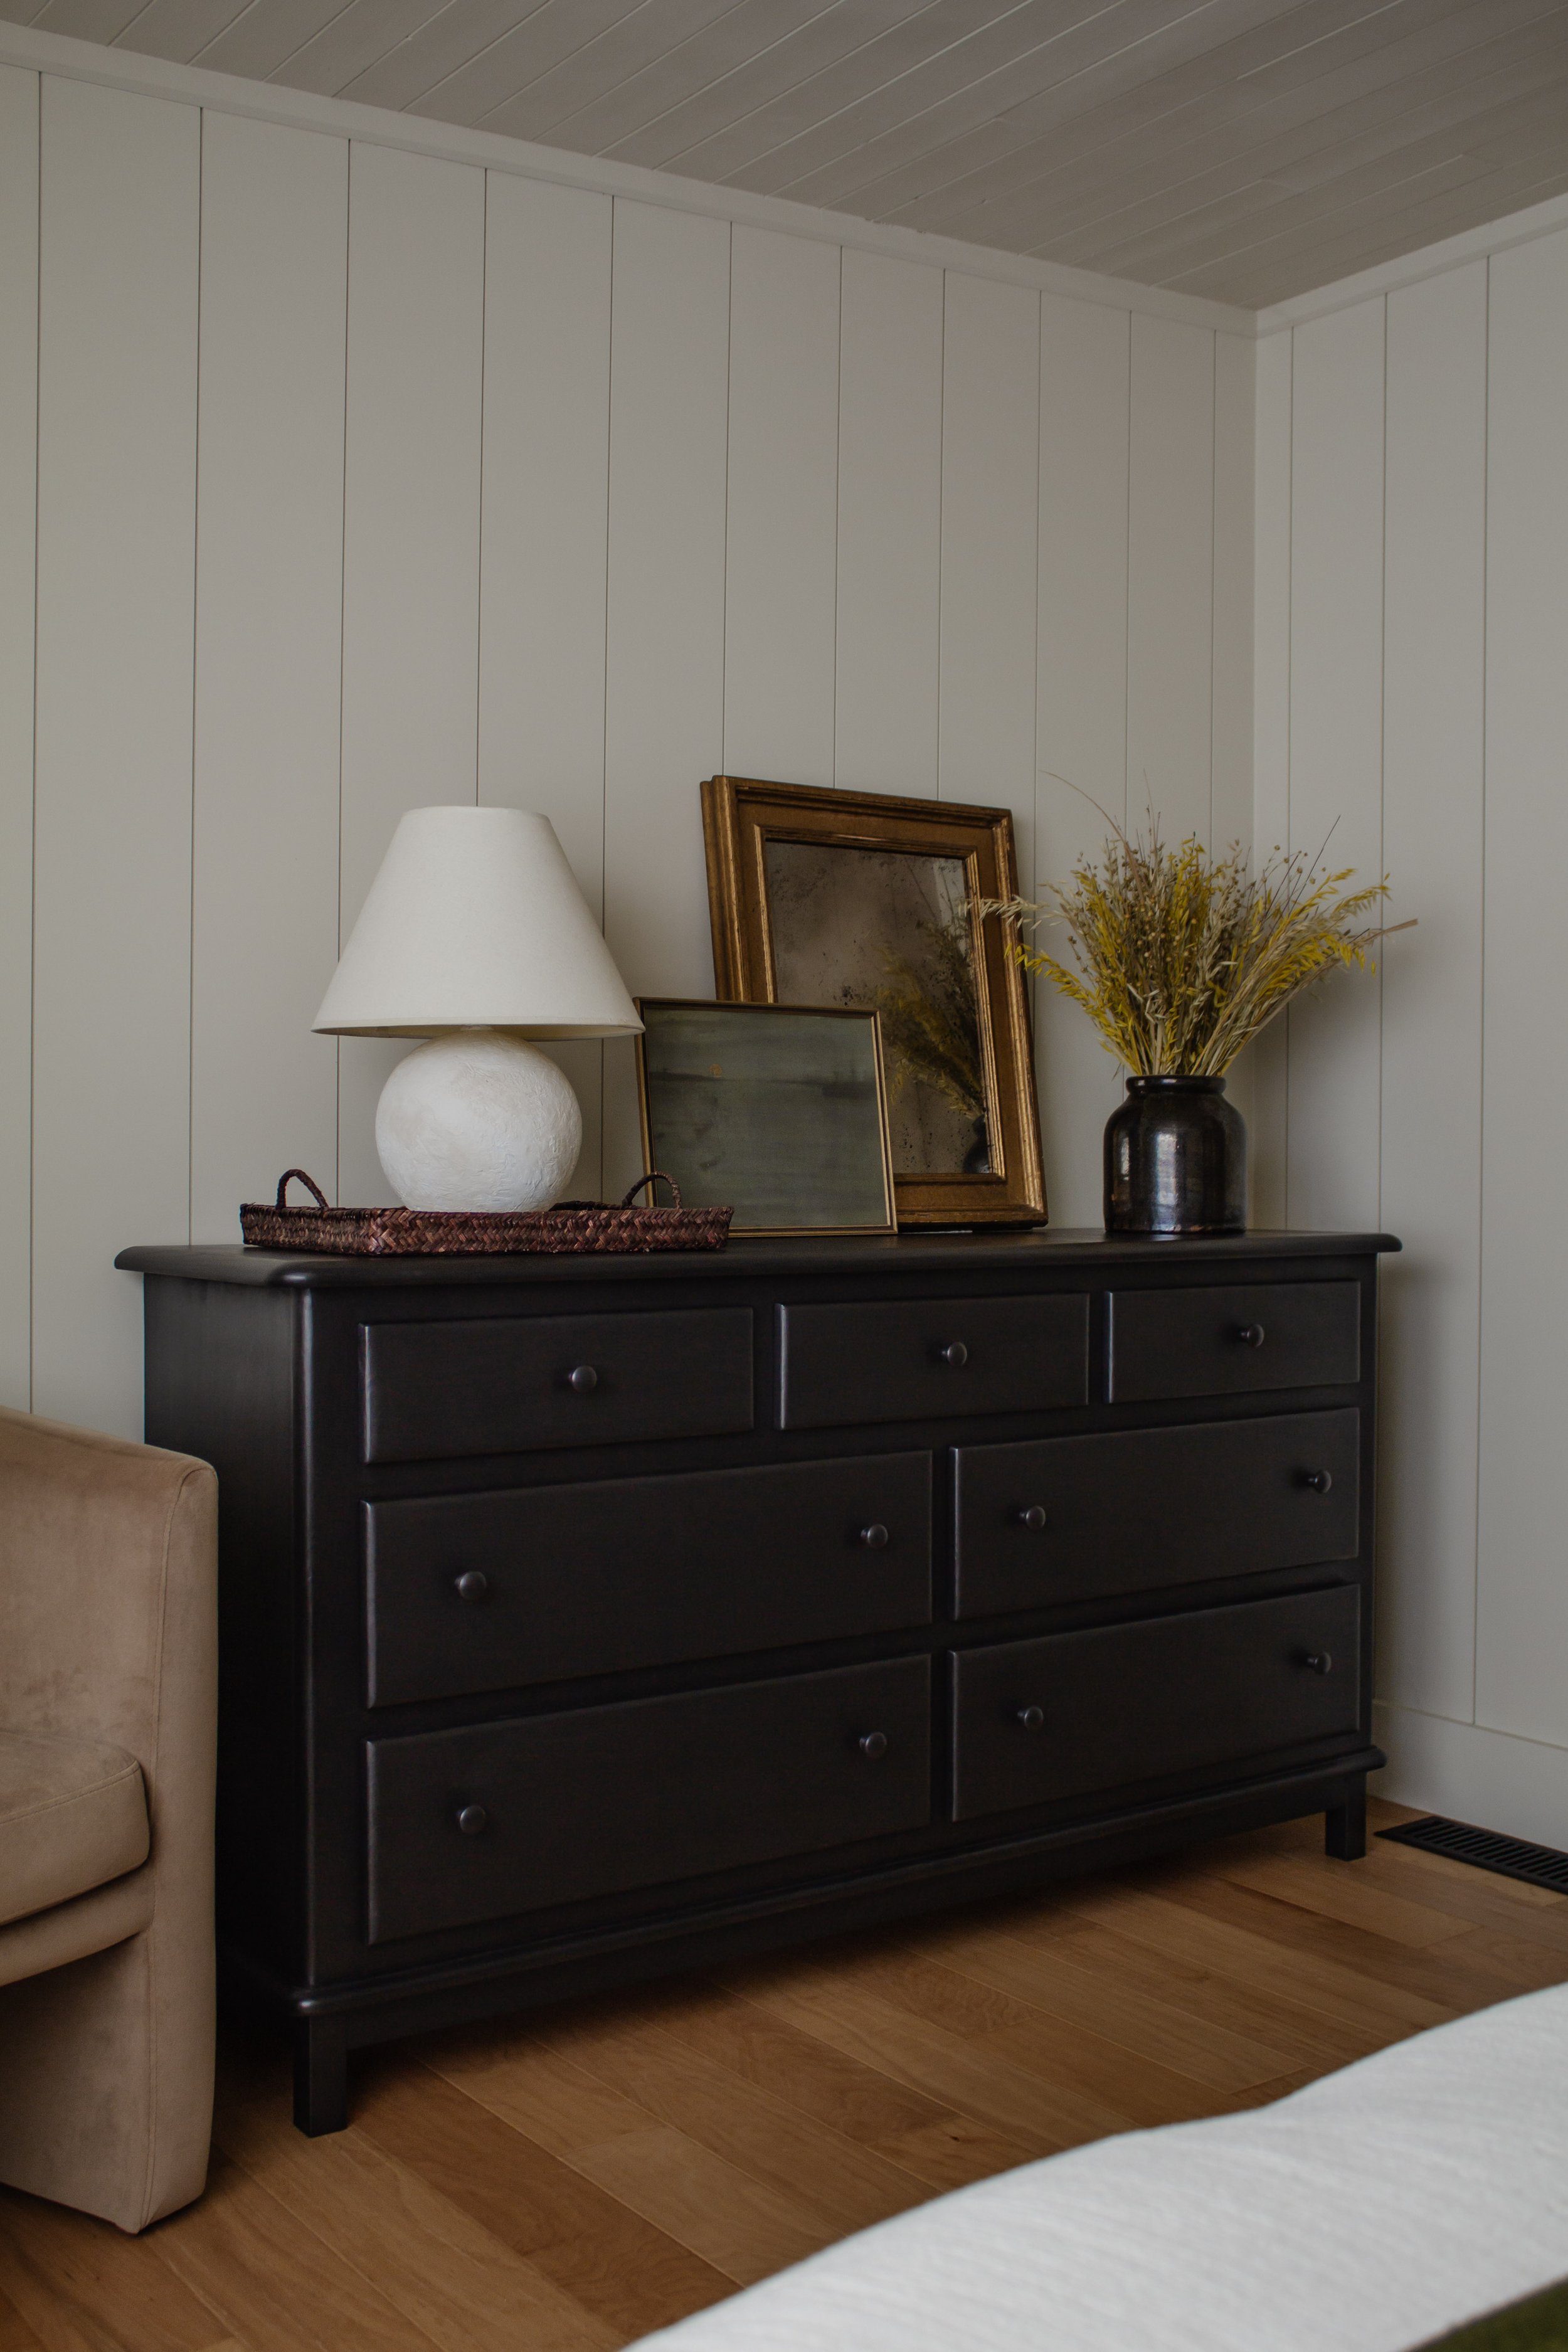
If you’ve been here for a minute, you know how long it took to find a dresser for our room. I was adamant on finding a used one and staining it dark to match the wood bed frame. But after so much trial and error, I ended up flipping and painting one black that I found on Facebook Marketplace and honestly I love it more this way! The wood grains still show through the paint and the little knobs are exactly the style I was going for.
The closet door is one of my favorite projects to date. I took a standard bifold door, added some trimwork, painted it, and added 2 antique knobs with back plates to make it look like double doors. A $25 project that I outlined here. And the closet interior was a project we tackled a couple years back. Adding floor to ceiling storage for our tiny little closet was a game changer. That before still makes me cringe.
Bedroom Sources & Links

Window treatment decisions were fairly straight forward. I wanted textural tone on tone curtains for the big window that nearly went from wall to wall. As for the windows on either side of the bed, there isn’t space for curtains so I opted for dark woven roman shades instead and I love the depth that they add to the eyeline.
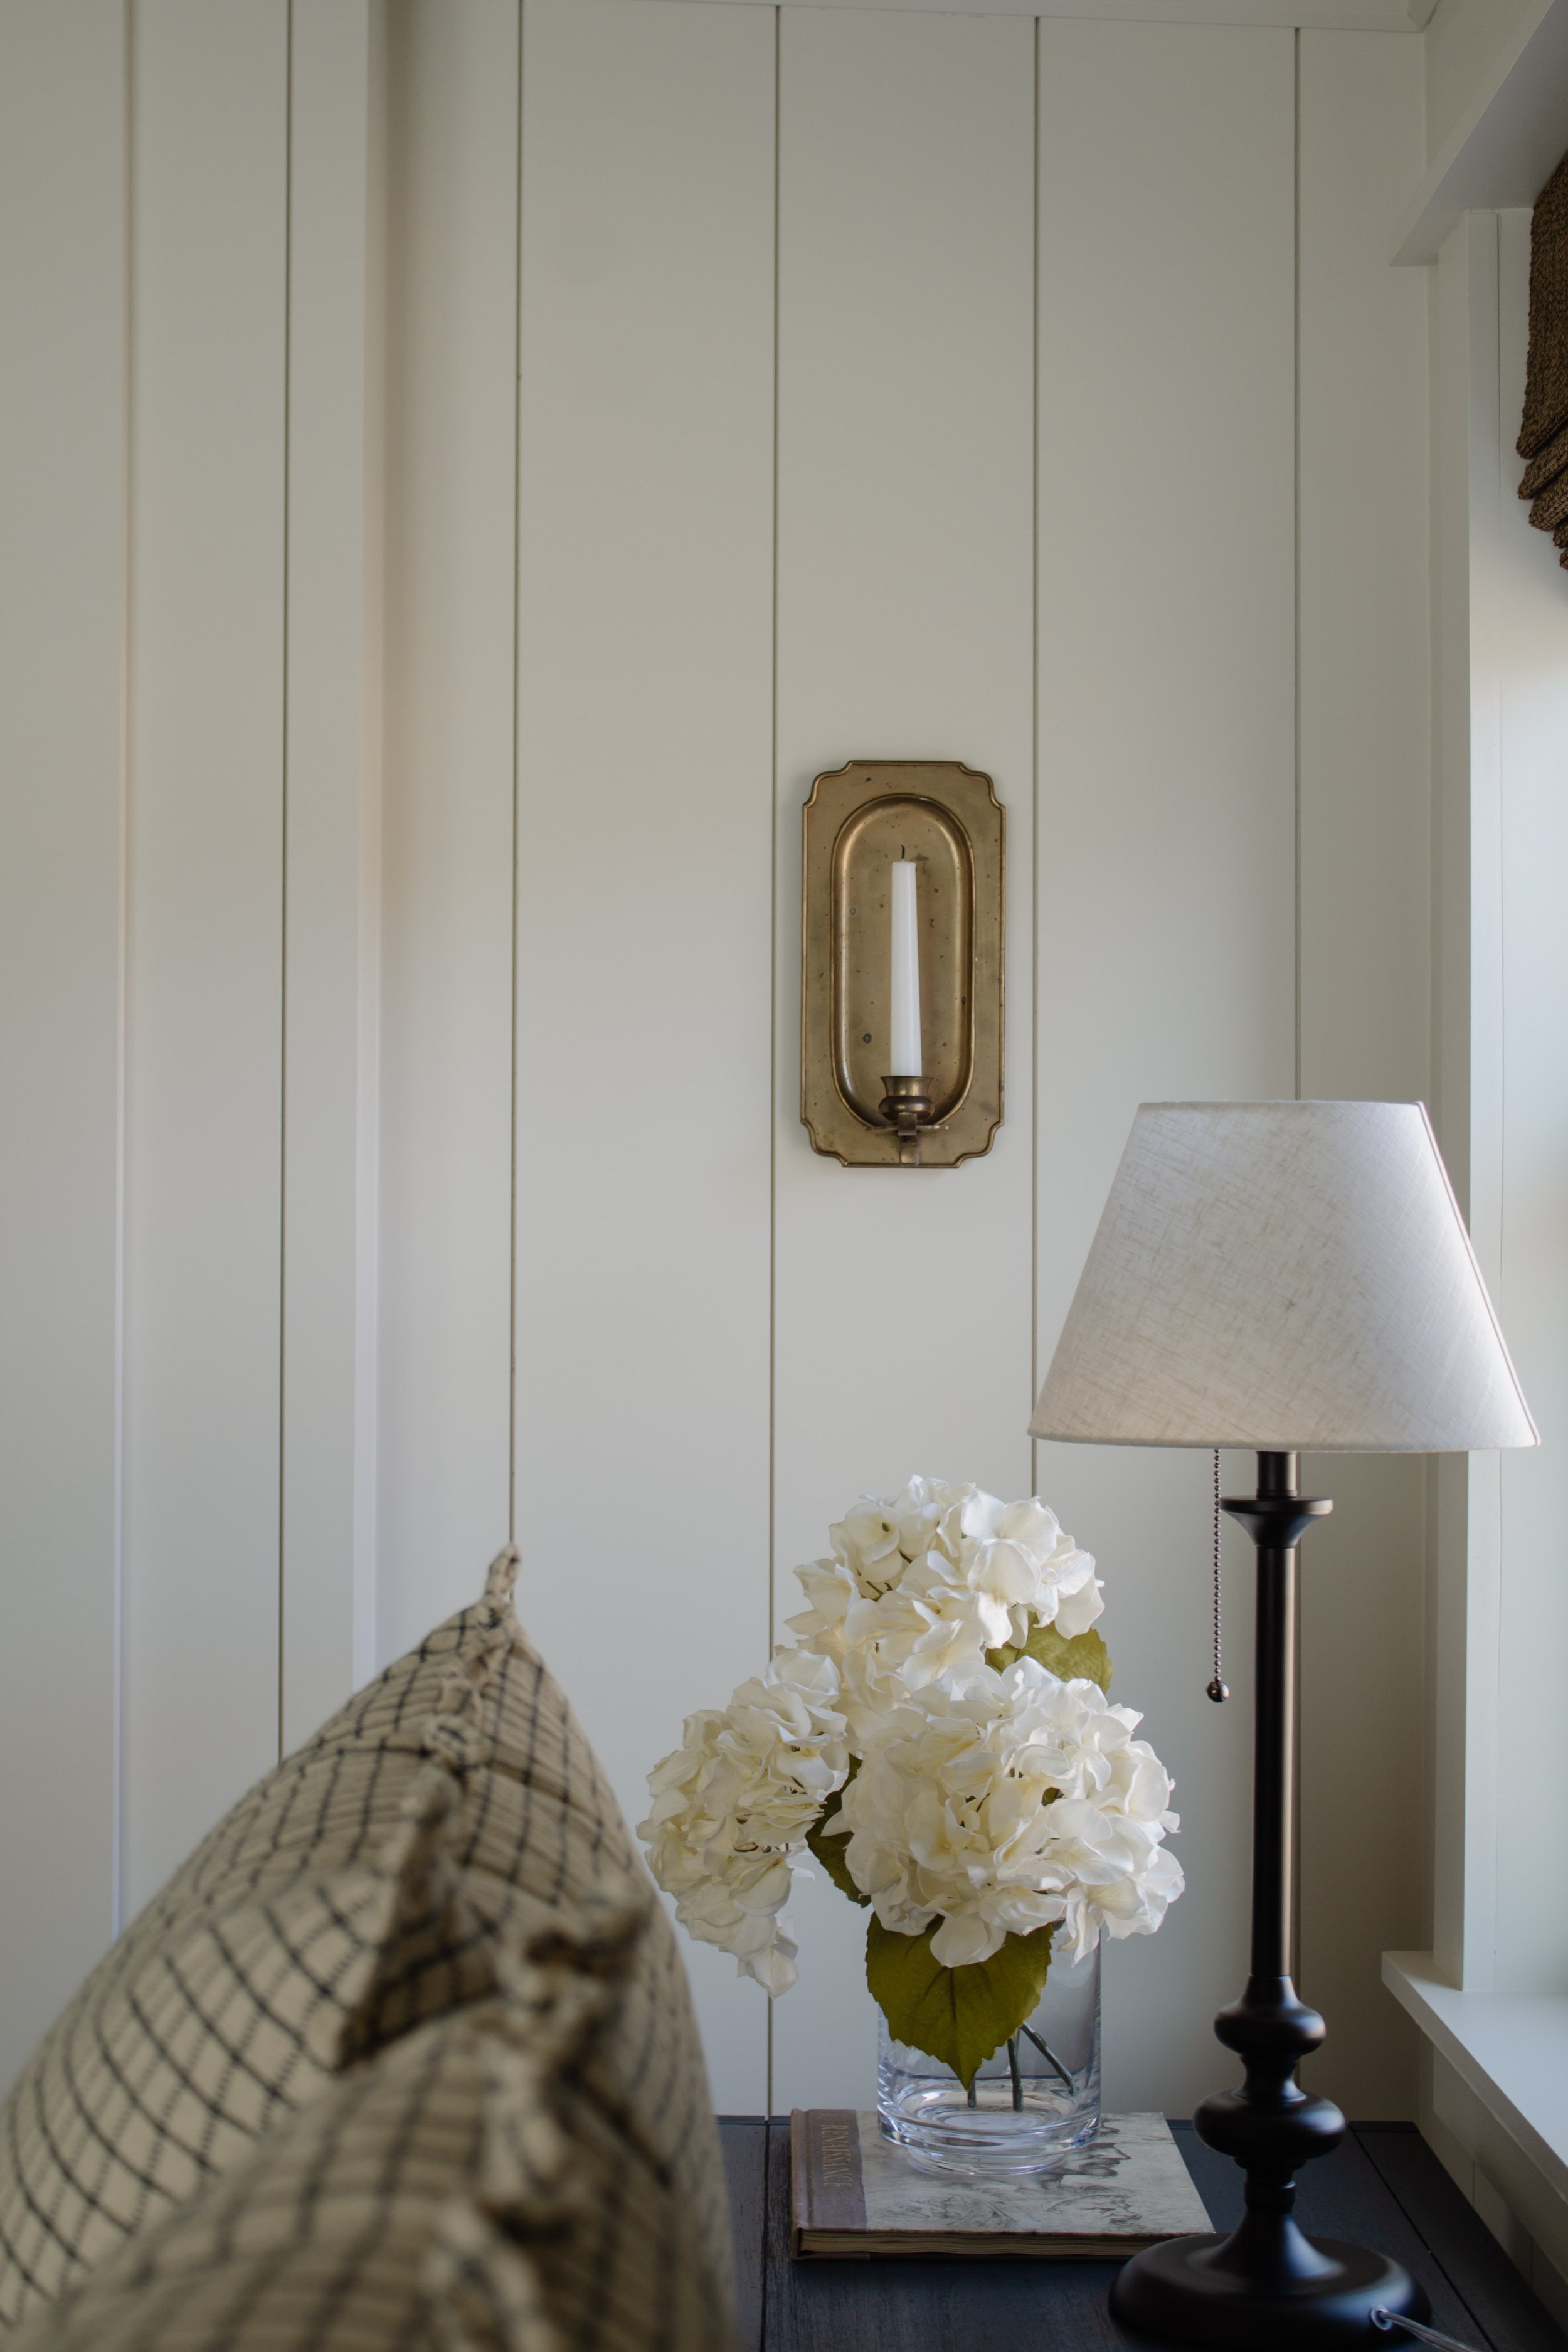
From there I started filling in the room with artwork and decor ever so slowly. Vintage frames, a DIY antique mirror, and a handprinted lumbar pillow with the most beautiful floral pattern. My favorite decorative piece in the room? The antique brass candle sconce next to Chris’ bedside table. Every room needs at least one vintage piece and it’s the perfect alternative to framed art.
This is my favorite room of the house. Not because it’s so spectacular, but because it required the most amount of problem solving I have ever had to deal with. Every inch of this room required extensive thought. Every decision we made was intentional and I’m proud of each little detail from the thickness of the ceiling planks to the bevel on the crown moulding. I suppose that’s the beauty of intentional slow design.
One more before/after for good measure? Deal.
Bedroom Sources & Links

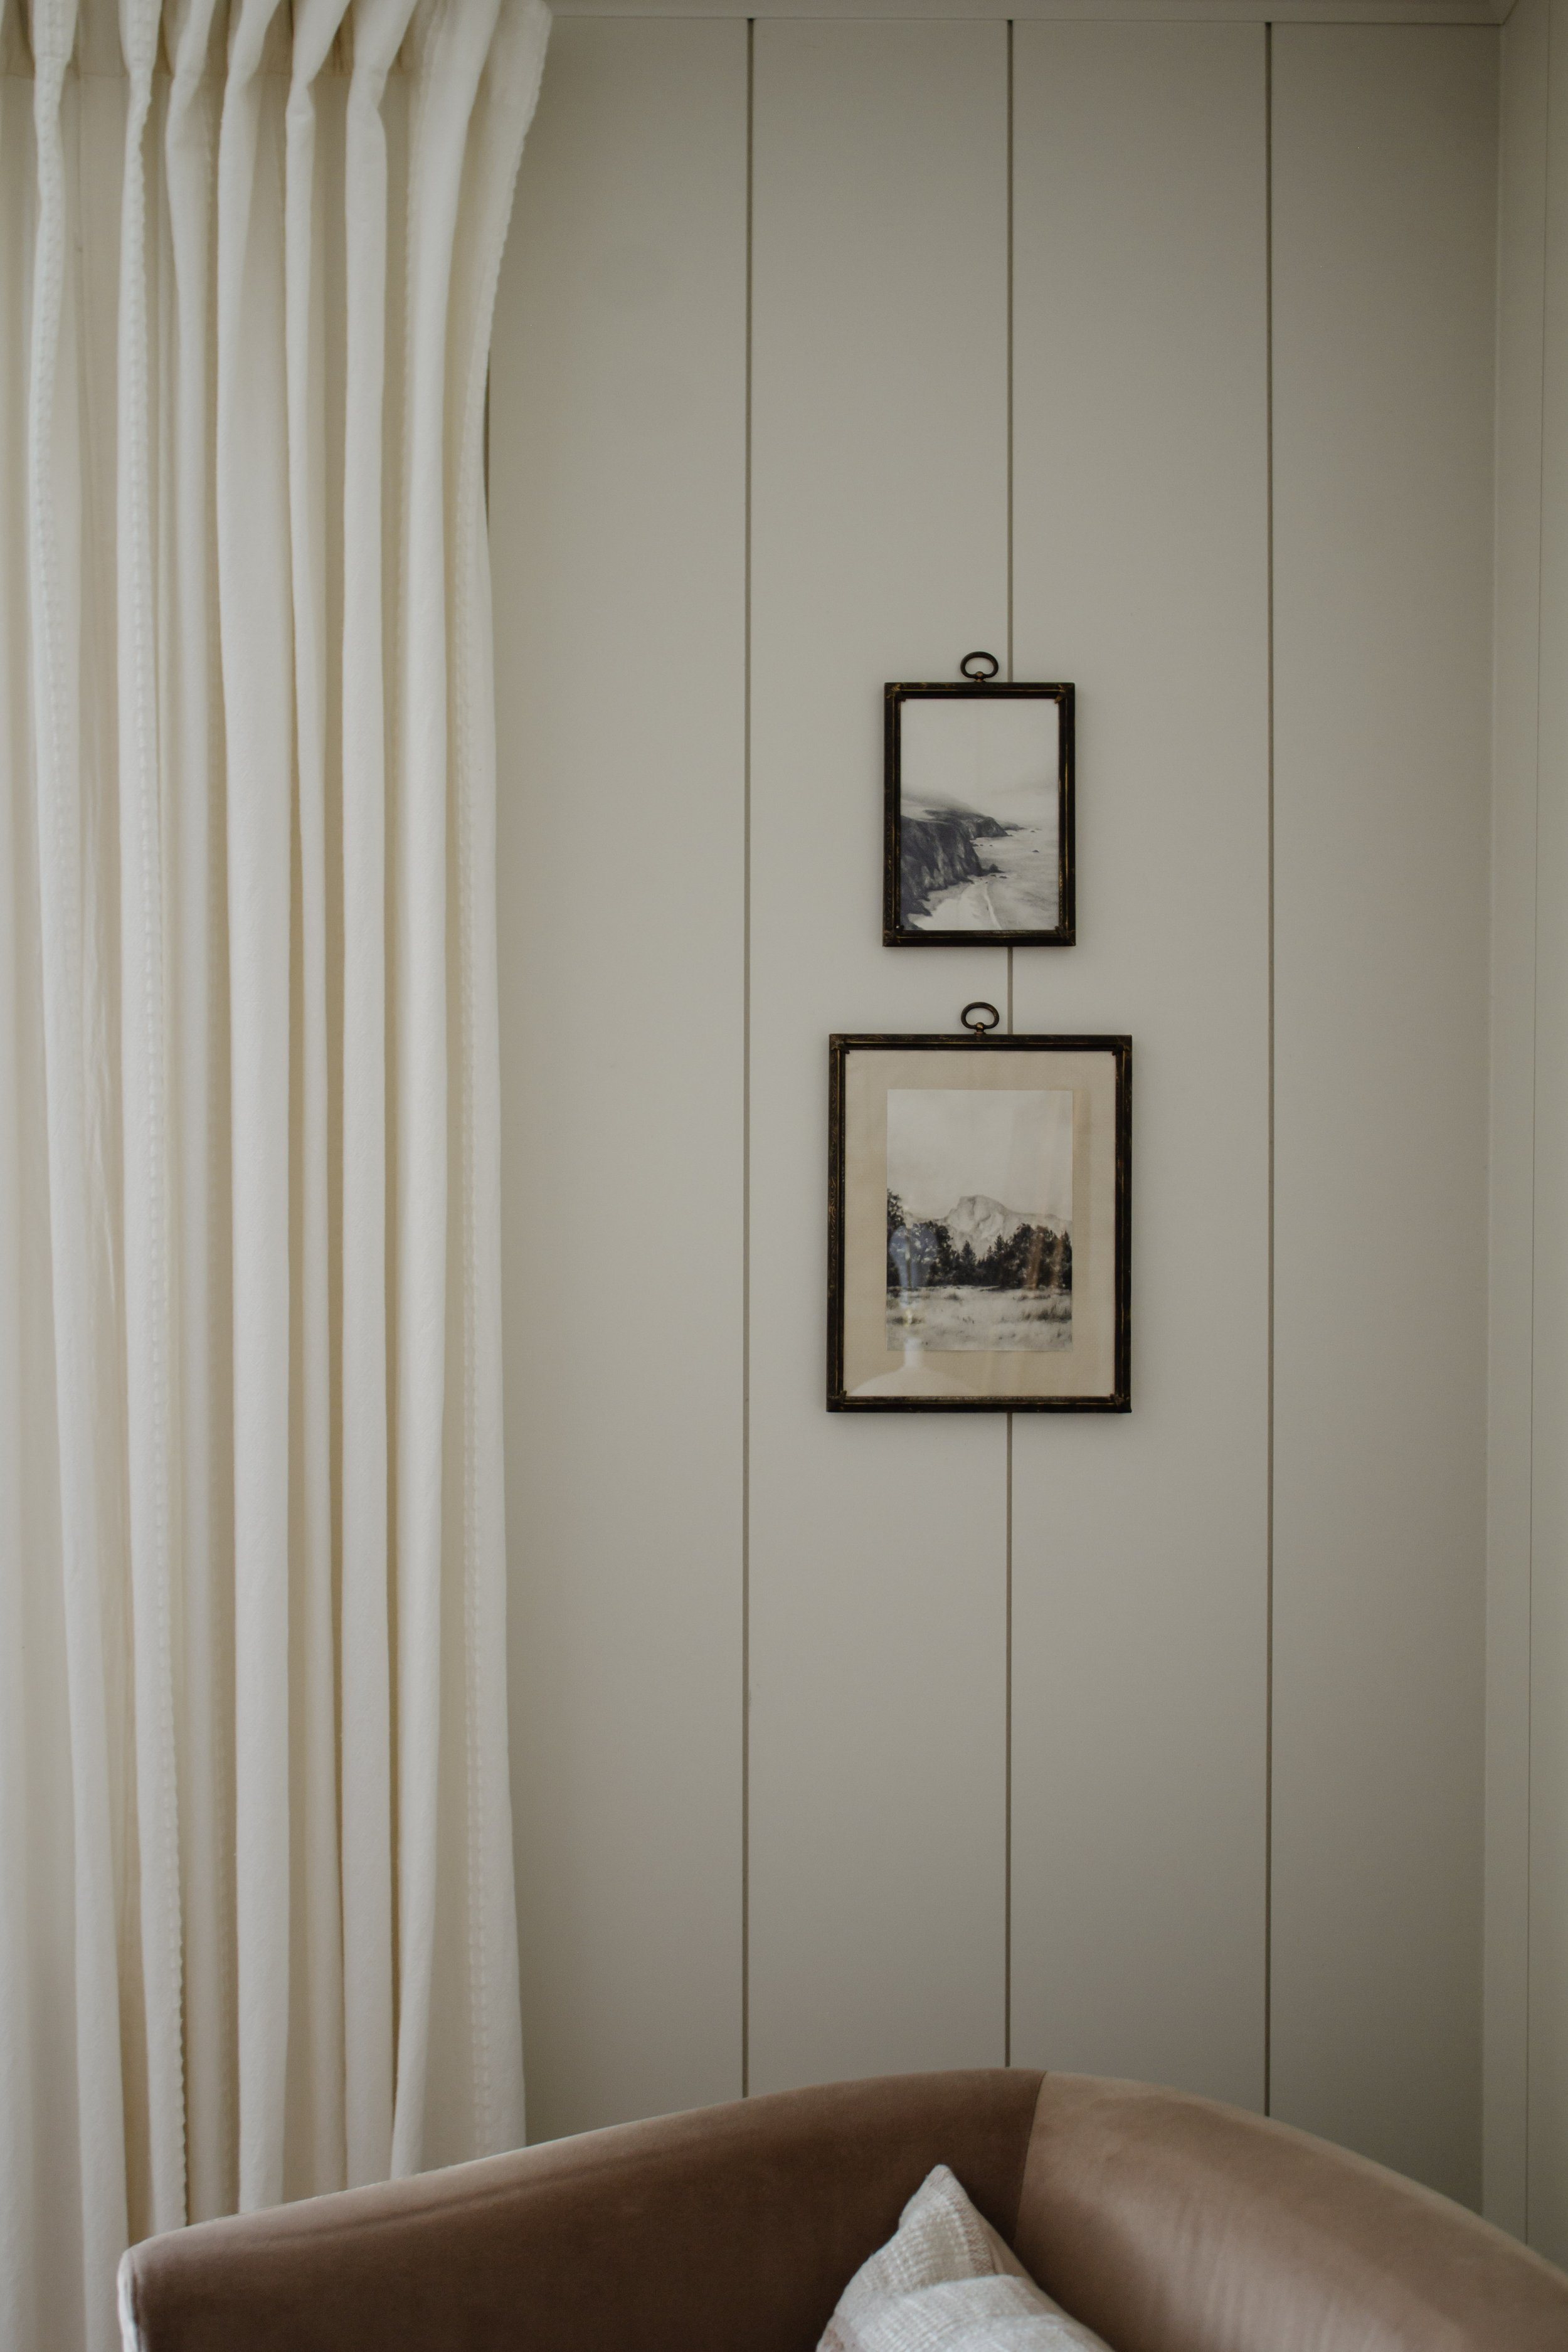
ART LINKS: Graphite Art 1 | Graphite Art 2 | Art Above Bed | Art on Dresser
ADDITIONAL RESOURCES: Flush Mount Light | Antique Mirror DIY | Lamp DIY | Dresser DIY
Leave a Reply Cancel reply
Where behind the scenes, exclusive advice, and candid conversations are sent straight to your inbox every week.











Where is your bed frame from
Love this! What color Roman shade did you use here? Thank you!
Unfortunately the color I ordered is no longer available 🙁
Love how this turned out! Can you share the square footage of your bedroom – were looking to add wood planks to our ceilings as well!
Thank you! It’s about 143 sq ft. 10/10 recommend wood planked ceilings!
Hi there! Can you let me know what color paint your tongue and groove wall and ceiling is? I LOVE it!!! 🙂 Great post!
Hi Katie! The paint color is a custom mix but you can find the custom color code in this post – nadinestay.com/blog/all-the-colors-in-our-house
Gorgeous! I love your 1st condition, embracing the fact that the bedroom was different. I admire the efforts and tremendous amount of thoughts you put in the project, it paid off!
Thank you so much Jade! I’ve learned that design tends to work best when I work WITH the home rather than against it! 🙂
I love this room! I am 100% recreating as we speak, trying to source everything you have! Would you mind sharing what the tapered lamp is on the dresser with the white bulbous bottom?
Love that!! The white lamp was a DIY project actually but Target has a similar option here – https://rstyle.me/+vg-VUNo-1t-E0UYa2rSx-w
Hello! This is so beautiful! I’m dying to know where that gorgeous antique looking candle wall sconce is from? Would appreciate any info. Thanks in advance 🙂
Thank you! I found that on Facebook Marketplace actually!
Oh lucky find!! So beautiful 🙂
it’s so beautiful nice blog
Thank you so much! 🙂
I absolutely love the look of the room. The closet door is one thing I hope to copy.I’m in the first stages of a big remodel and I needed to hear that perfection takes time but is worth the effort. I have a tendency to want to hurry and shop for what seems like the right piece and if it’s on sale…… it usually comes home with me. I sometimes spend more money on several pieces when I could have waited until I found the perfect one. Words of wisdom.Thanks for the inspiration.
So pretty!
🙂 Thank you so much!
So pretty! Do you ever decorate with family photos? Trying to decide between art and family photos for our bedroom and just curious if you have them anywhere in your house 🙂
Chris and I aren’t big picture takers so I don’t decorate with family photos. But I do love a cute family photo on the nightstand or dresser to bring in a piece of personalization!
Where do you get the source for inspiration?
It’s so gorgeous!! I love it! ❤
🙂 Thank you so much Jessica! Means so much to me!
It’s really beautiful!! Awesome job 😊
Thank you so much Erin! 🙂
How did you dress the bed? What size bed is it and what size duvet did you use that you can both fold it down at the top and tuck it under at the bottom? Love the look!
Hi Kathy! We have a queen size bed and a queen comforter. I pulled the comforter up as high as I could so there was just enough to tuck in the end which allowed me to fold over the top end twice for that fluffy look! I linked the comforter above if you’d like to check it out! (The color is "Natural")