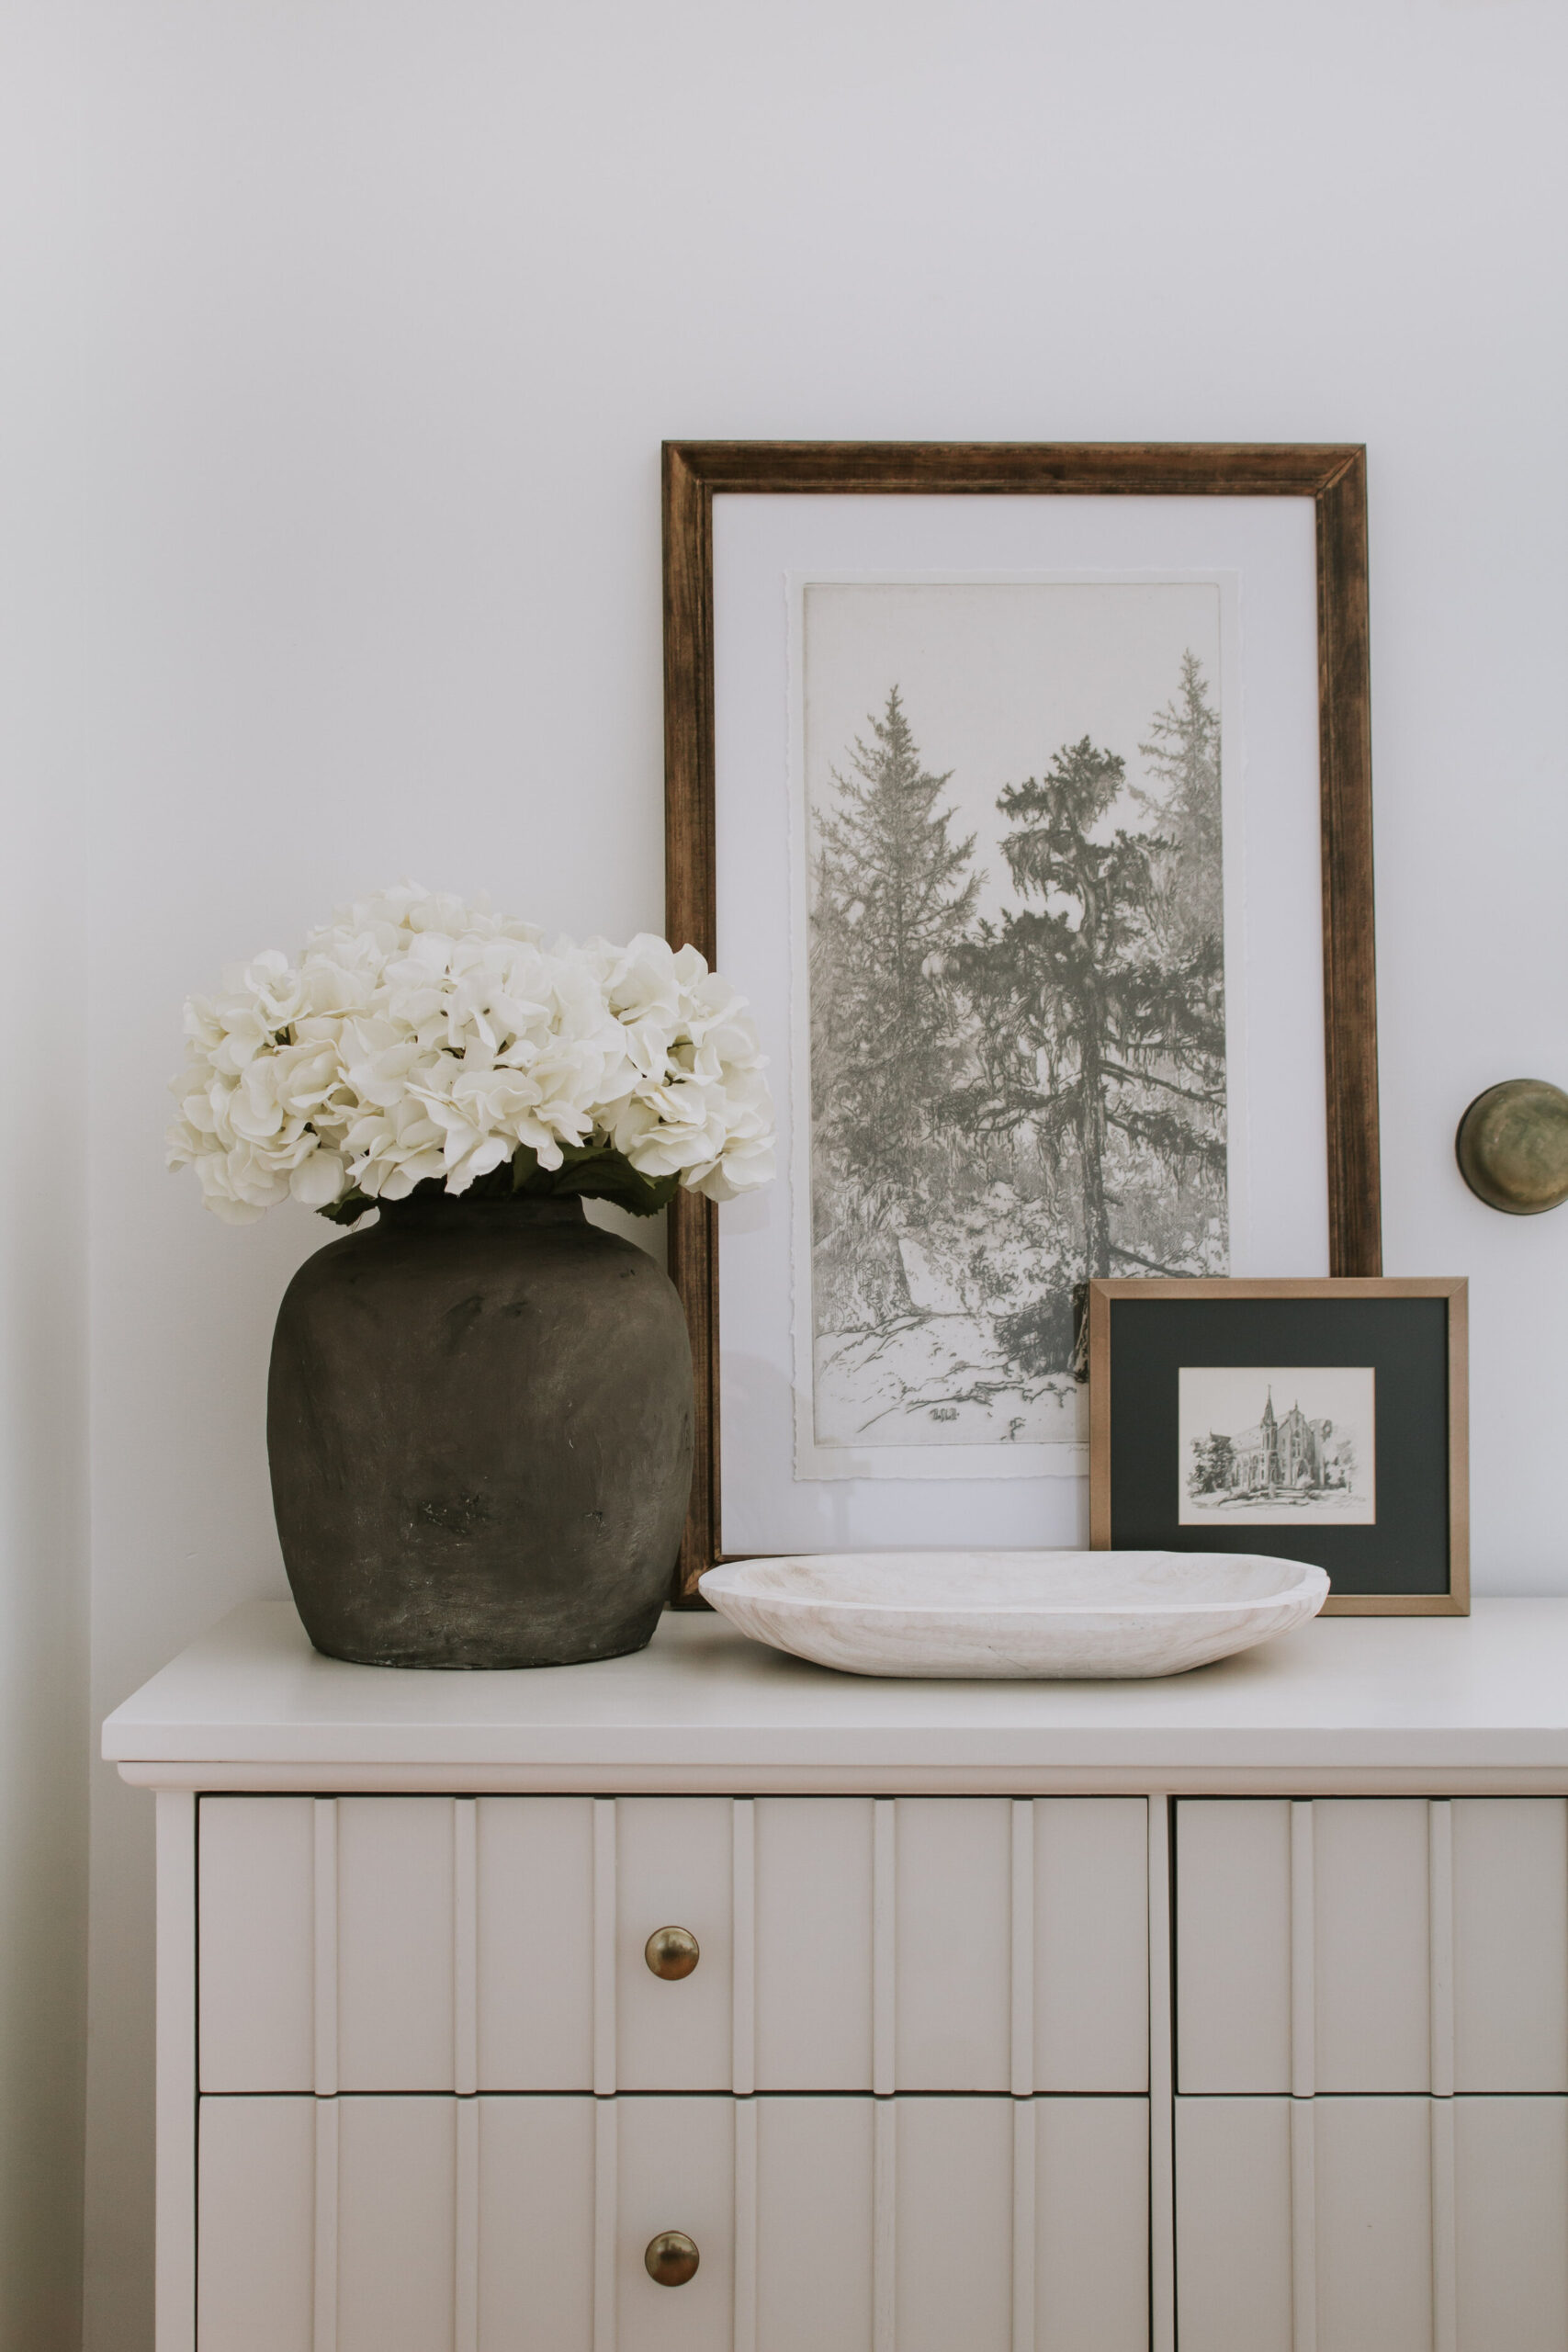
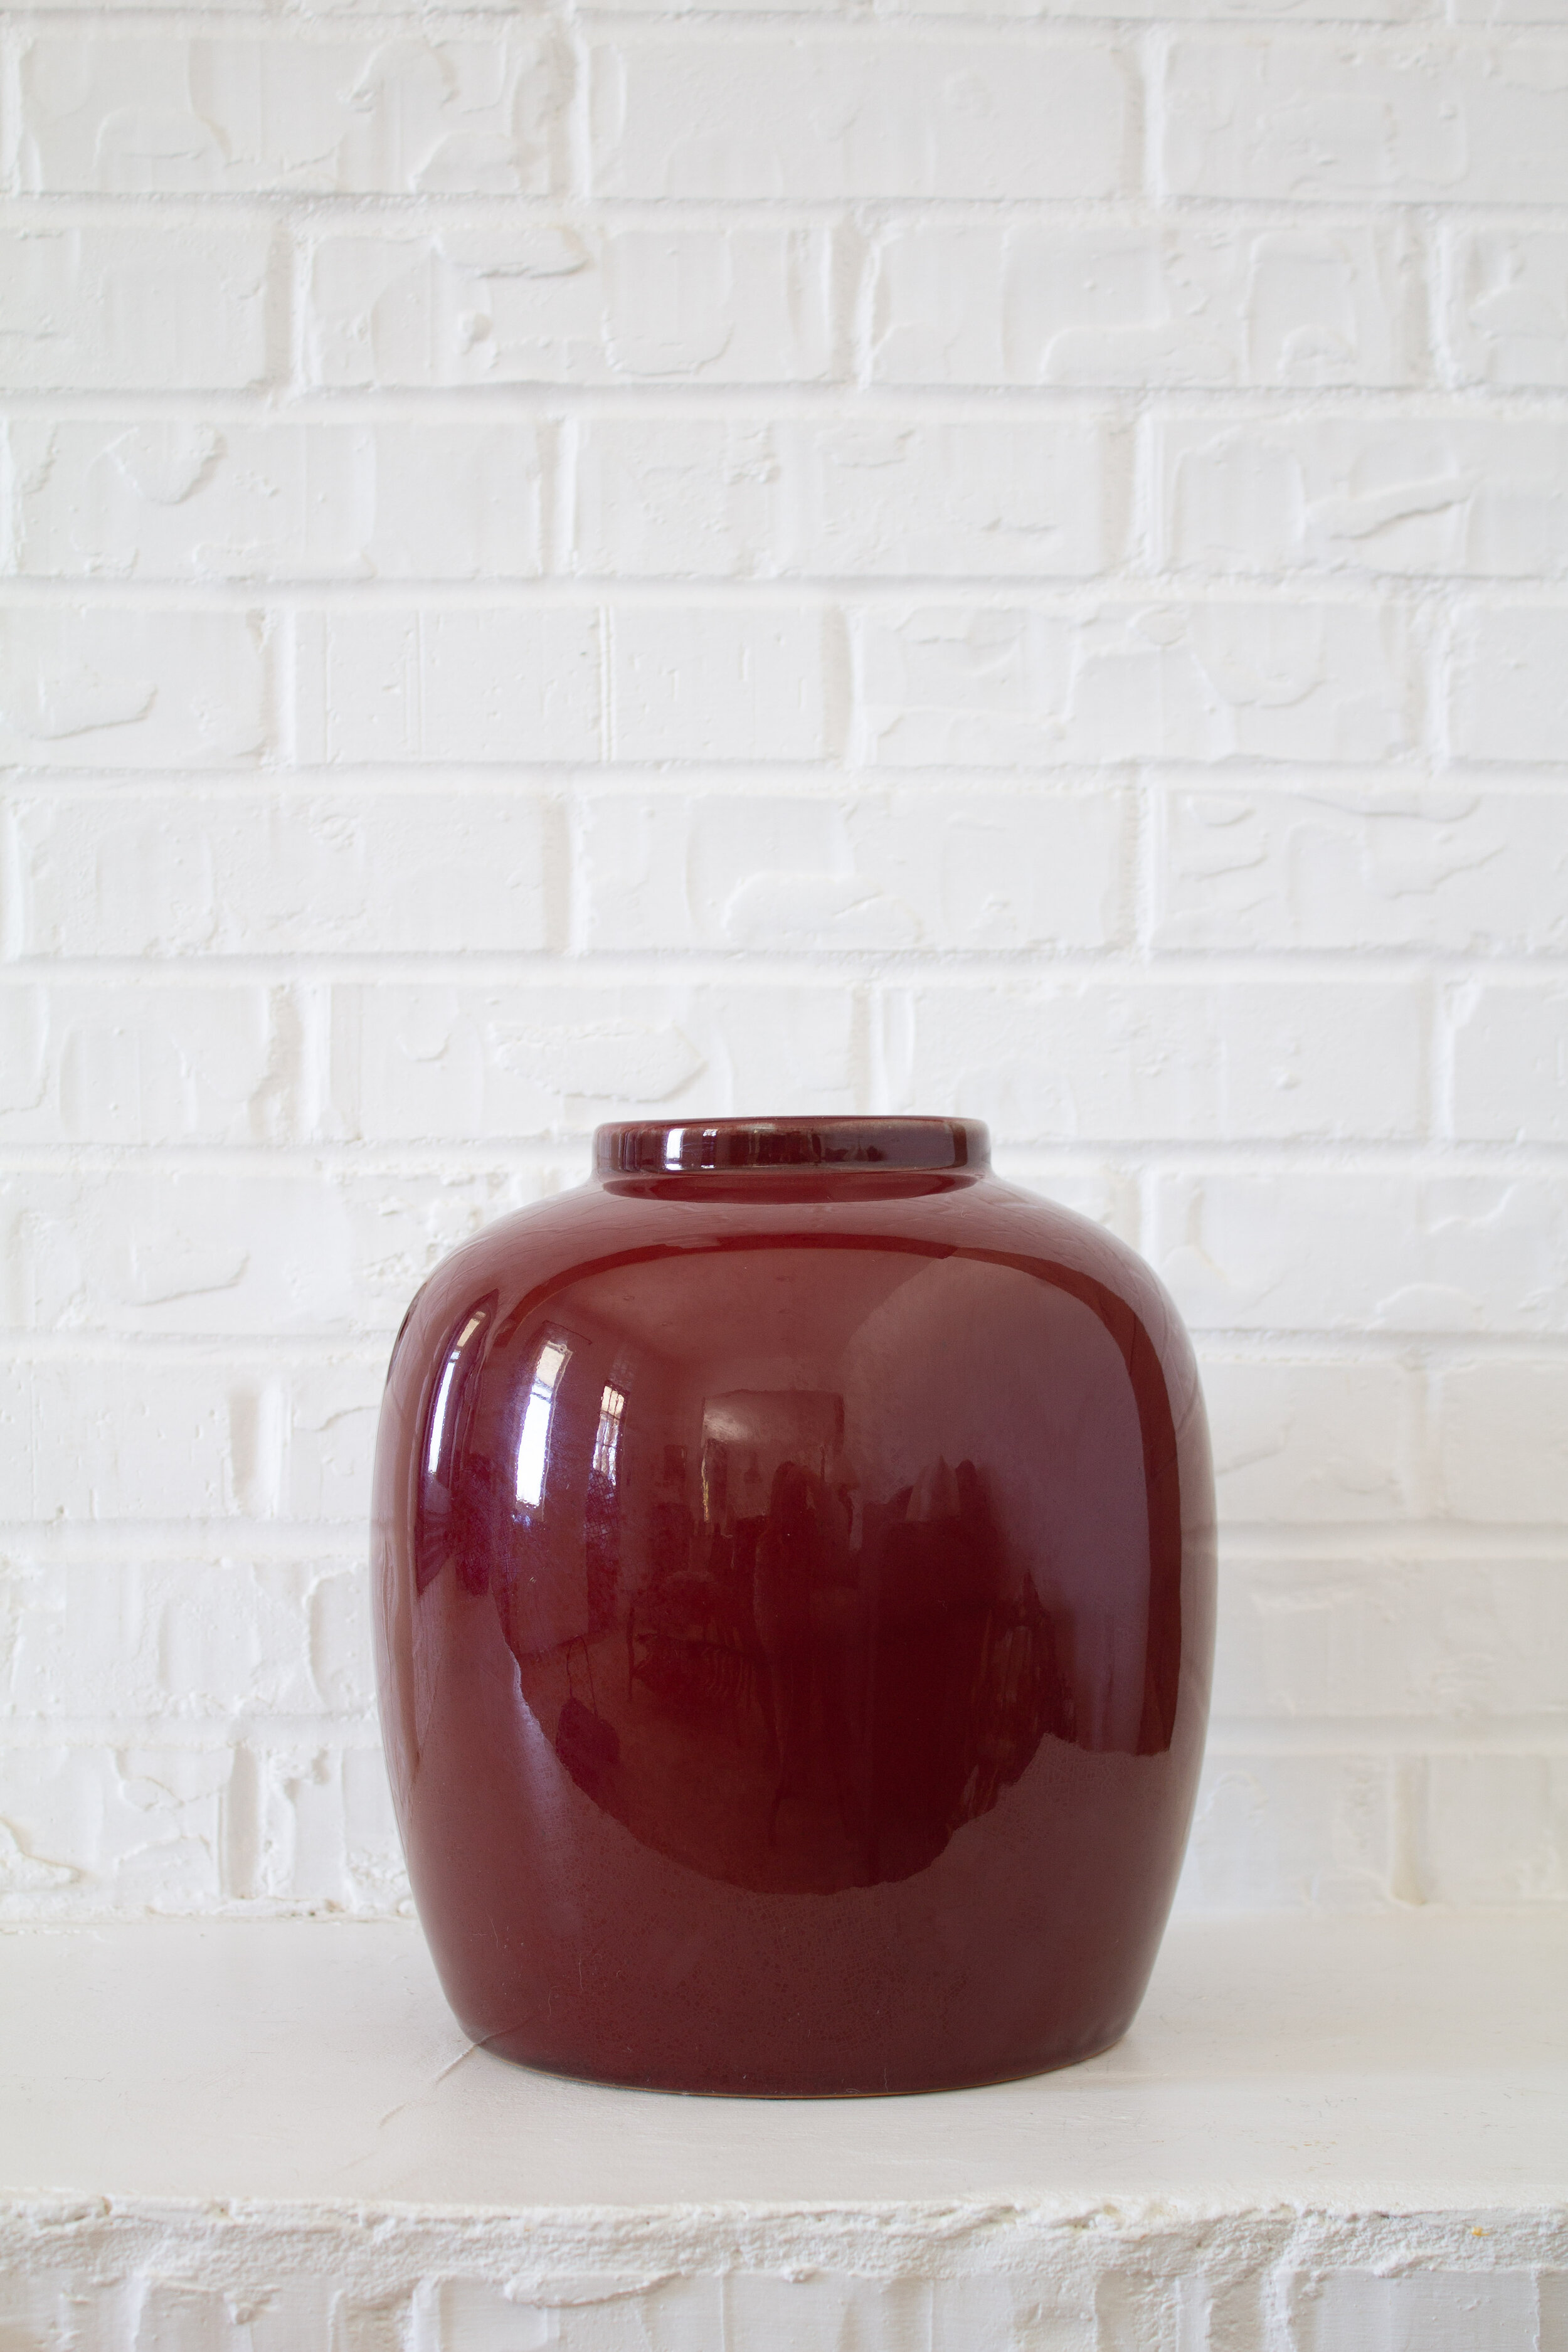
I’ve done my fair share of vase makeovers in my day, but this one….this one wins first place prize for most improved! I can’t tell you how surprised I am with how good my thrifted vases turned out…and it’s not nearly as difficult as it looks.
In fact, I did a second vase with a similar technique and that turned out beautiful too so I’m outlining all the steps in today’s post.
Here’s how I made my dark and moody old world vases –
MATERIALS NEEDED:
-
Thrifted Vase
-
Drywall Sponge (Optional)
-
Paper Towels
Step 1 – Prime the Vase
I usually use Zinsser Primer because it has the best adhesion to smooth and glossy surfaces…especially vases. But my can wasn’t working so I opted to use this Rustoleum Black paint and primer in one. It seemed to do the job just fine and I liked having a black base in case any of that color shows through later on.
Step 2 – Apply Plaster of Paris
I wish I could take credit for the ingenuity behind the Plaster of Paris hack, but I first saw Jenny Komenda do this to some lamps and it gave them the most beautiful natural pottery finish. So, for a more handmade textured look, I applied two coats of Plaster of Paris on both of the vases.
On the vase without handles, I wanted a really soft and subtle texture so I mixed the Plaster of Paris with water until it was a creamy peanut butter consistency (slightly more creamy than thick). I wiped it on in sections with my hands and dipped my fingers in water and smoothed it out as I went along. I allowed my first coat to dry completely before applying a second coat.
For the vase with handles, I wanted a more textured look so I mixed the Plaster of Paris with slightly less water making it a thick and chunky consistency. With less water, the paste dried incredibly fast so I worked with really small batches at a time. And as I wiped the plaster on, I also dipped my fingers in water to smooth out the excessive texture. A thinner first coat is best to avoid crumbling. I let it dry and applied a second coat.
Step 3 – Wet Sand (Optional)
This step is entirely optional, but once my second coat dried I saw a few spots that had too much texture for my liking. To smooth that out, I wiped my vases with a wet drywall sponge and gently sanded the spots with fine grit sandpaper. The difference was very subtle which is why this step is optional.
Step 4 – Paint Away!
I wanted a dimensional, worn look so I worked in layers. First I sprayed a really thin coat of matte brown paint over the vases leaving some of the white plaster showing through. I can’t rave about this brown spray paint enough! It dried with somewhat of a chalky finish which made the vases feel incredibly authentic.
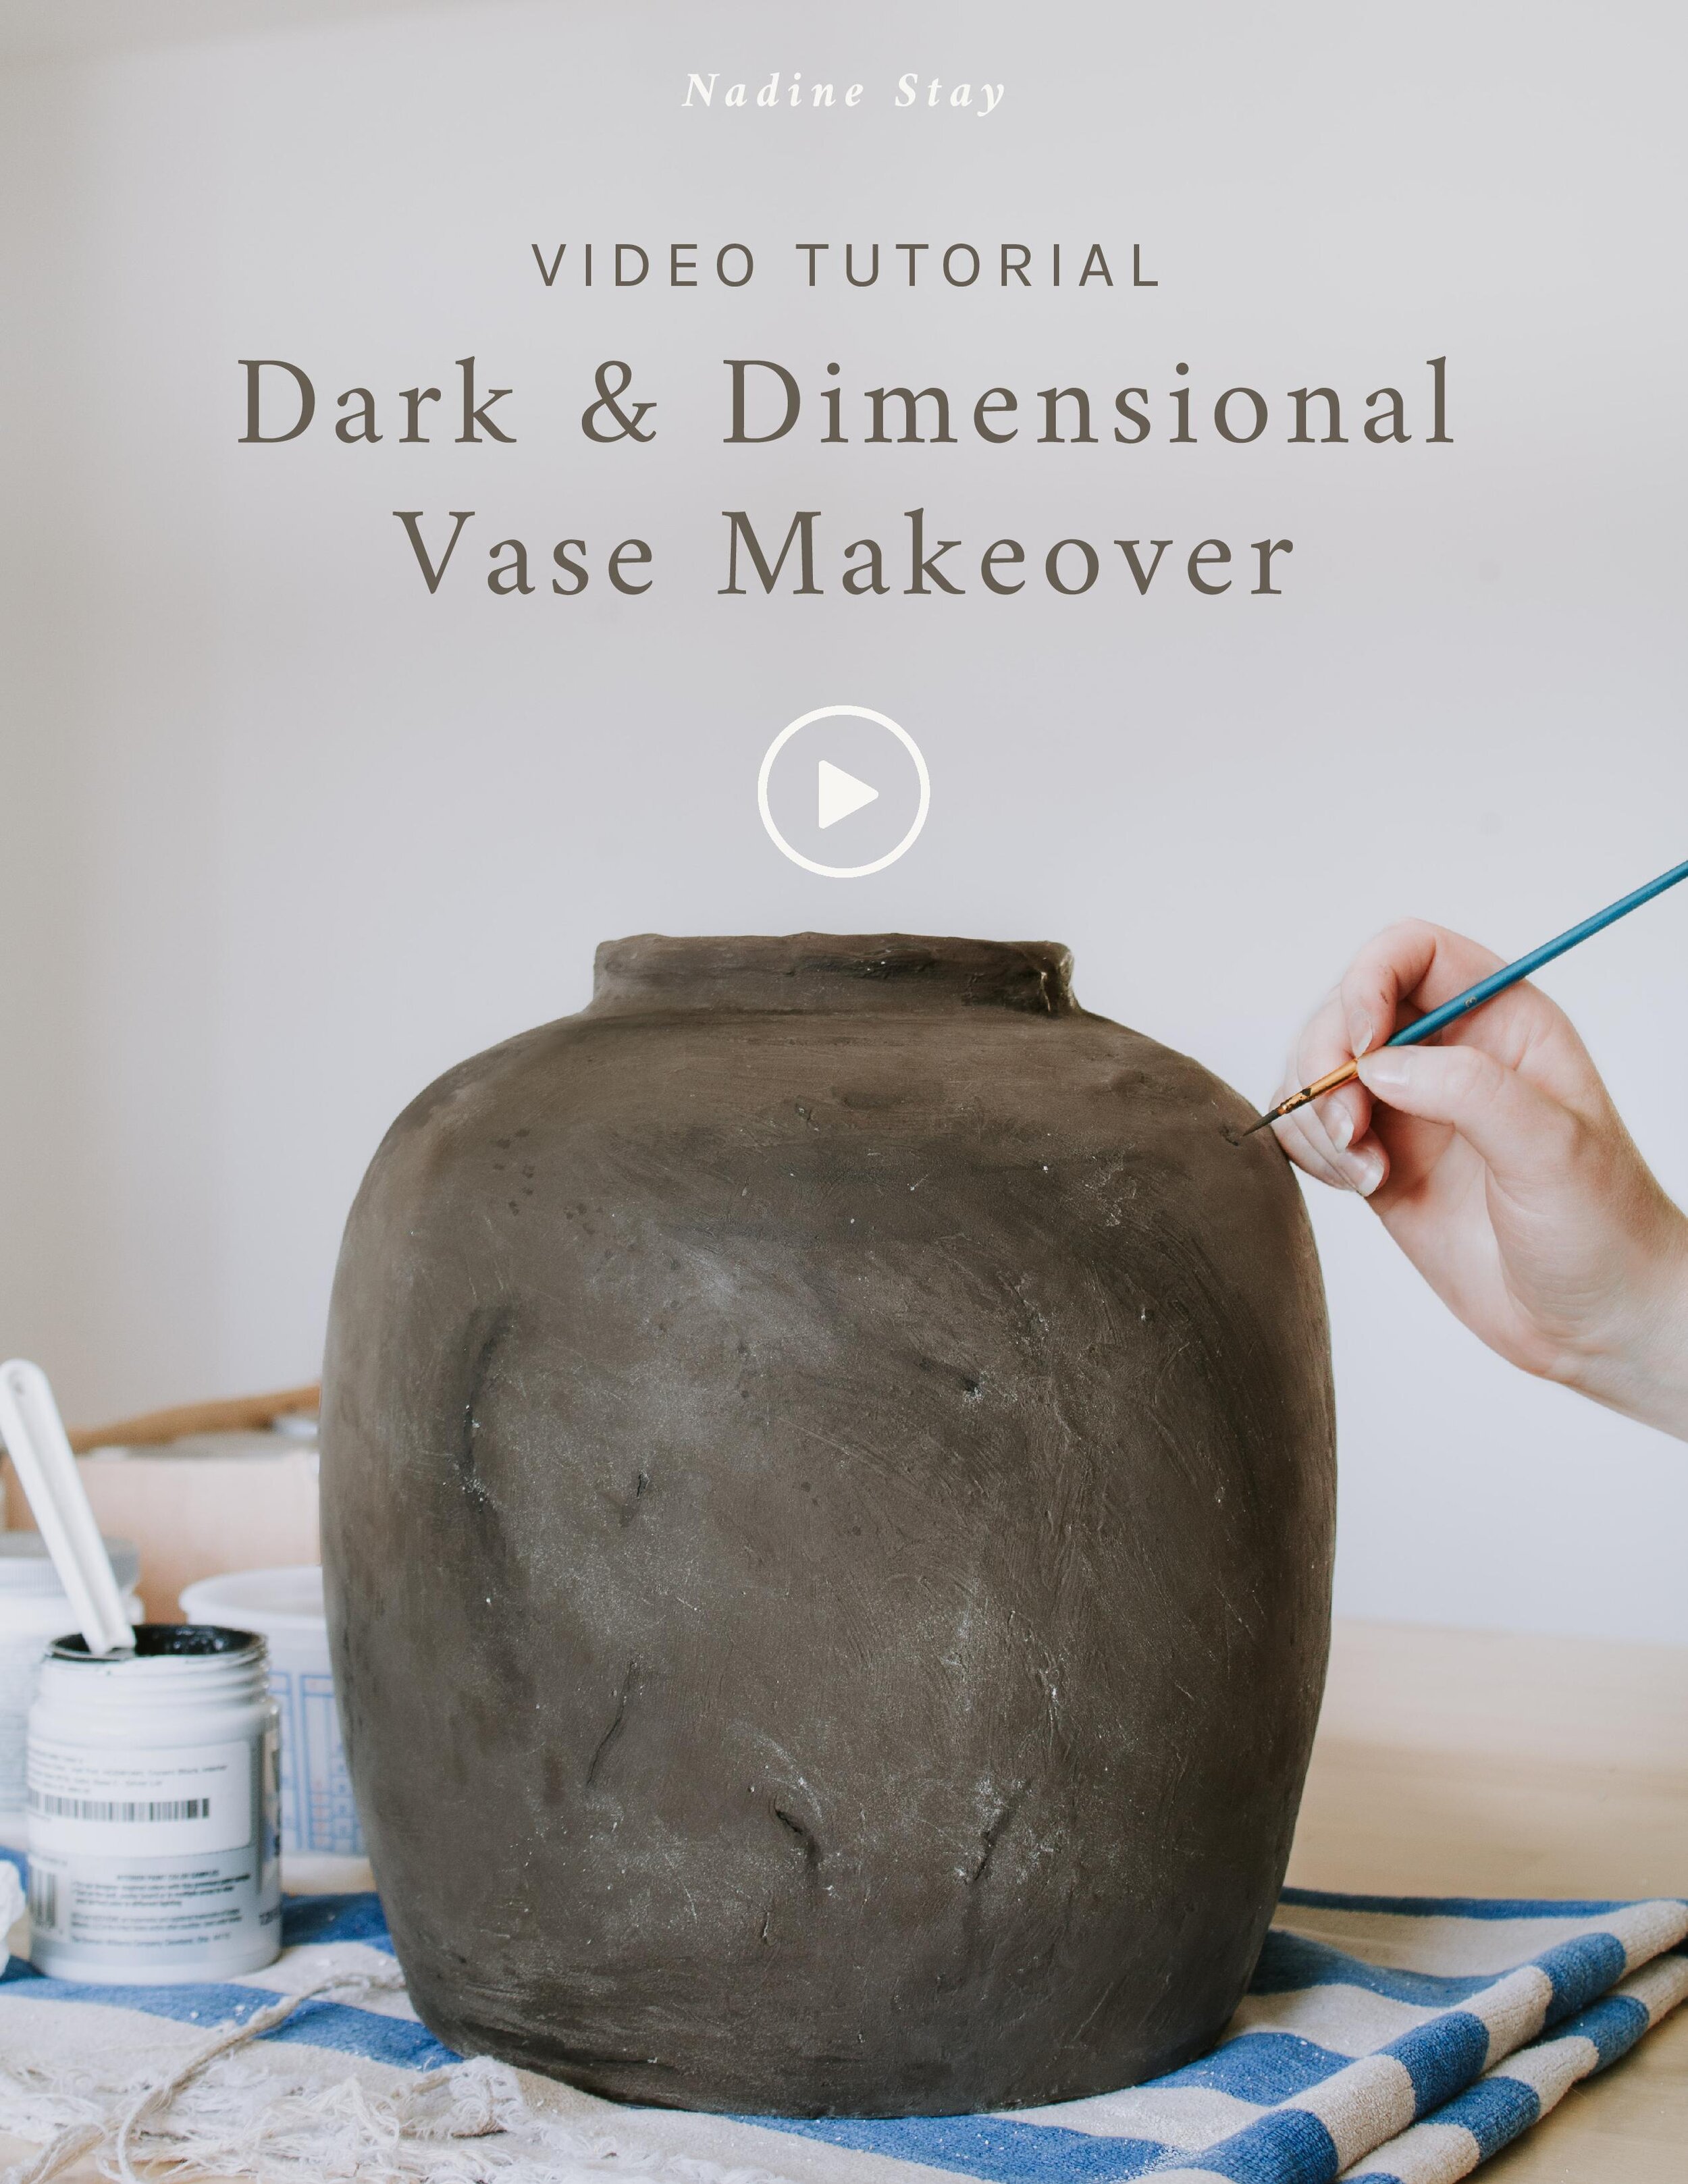
Once that was dry, I grabbed some leftover black paint (in the color Tricorn Black) and I started working in layers. First, I focussed on adding a bit of black paint to the “cracks” and crevices. I brushed a little on and then with a wet paper towel, I dabbed it out so there weren’t any harsh lines. I also focussed on adding depth at both the rim and the base of the vases using the same technique – brush on, dab it out. I kept going little by little around the vases probably 5-7 times until it felt right.
For the vase with the handles, I also added a touch of light brown paint (“Cowboy Boots” by Dutch Boy) to highlight some of the texture on the vase. A little went a long ways.
Feel free to play around with colors since it’s the layers that make these so naturally worn and dimensional!
And that’s all…couldn’t love them more! If you’re more of a visual learner, I documented a quick video tutorial of each step below! Click and enjoy friends. 🙂
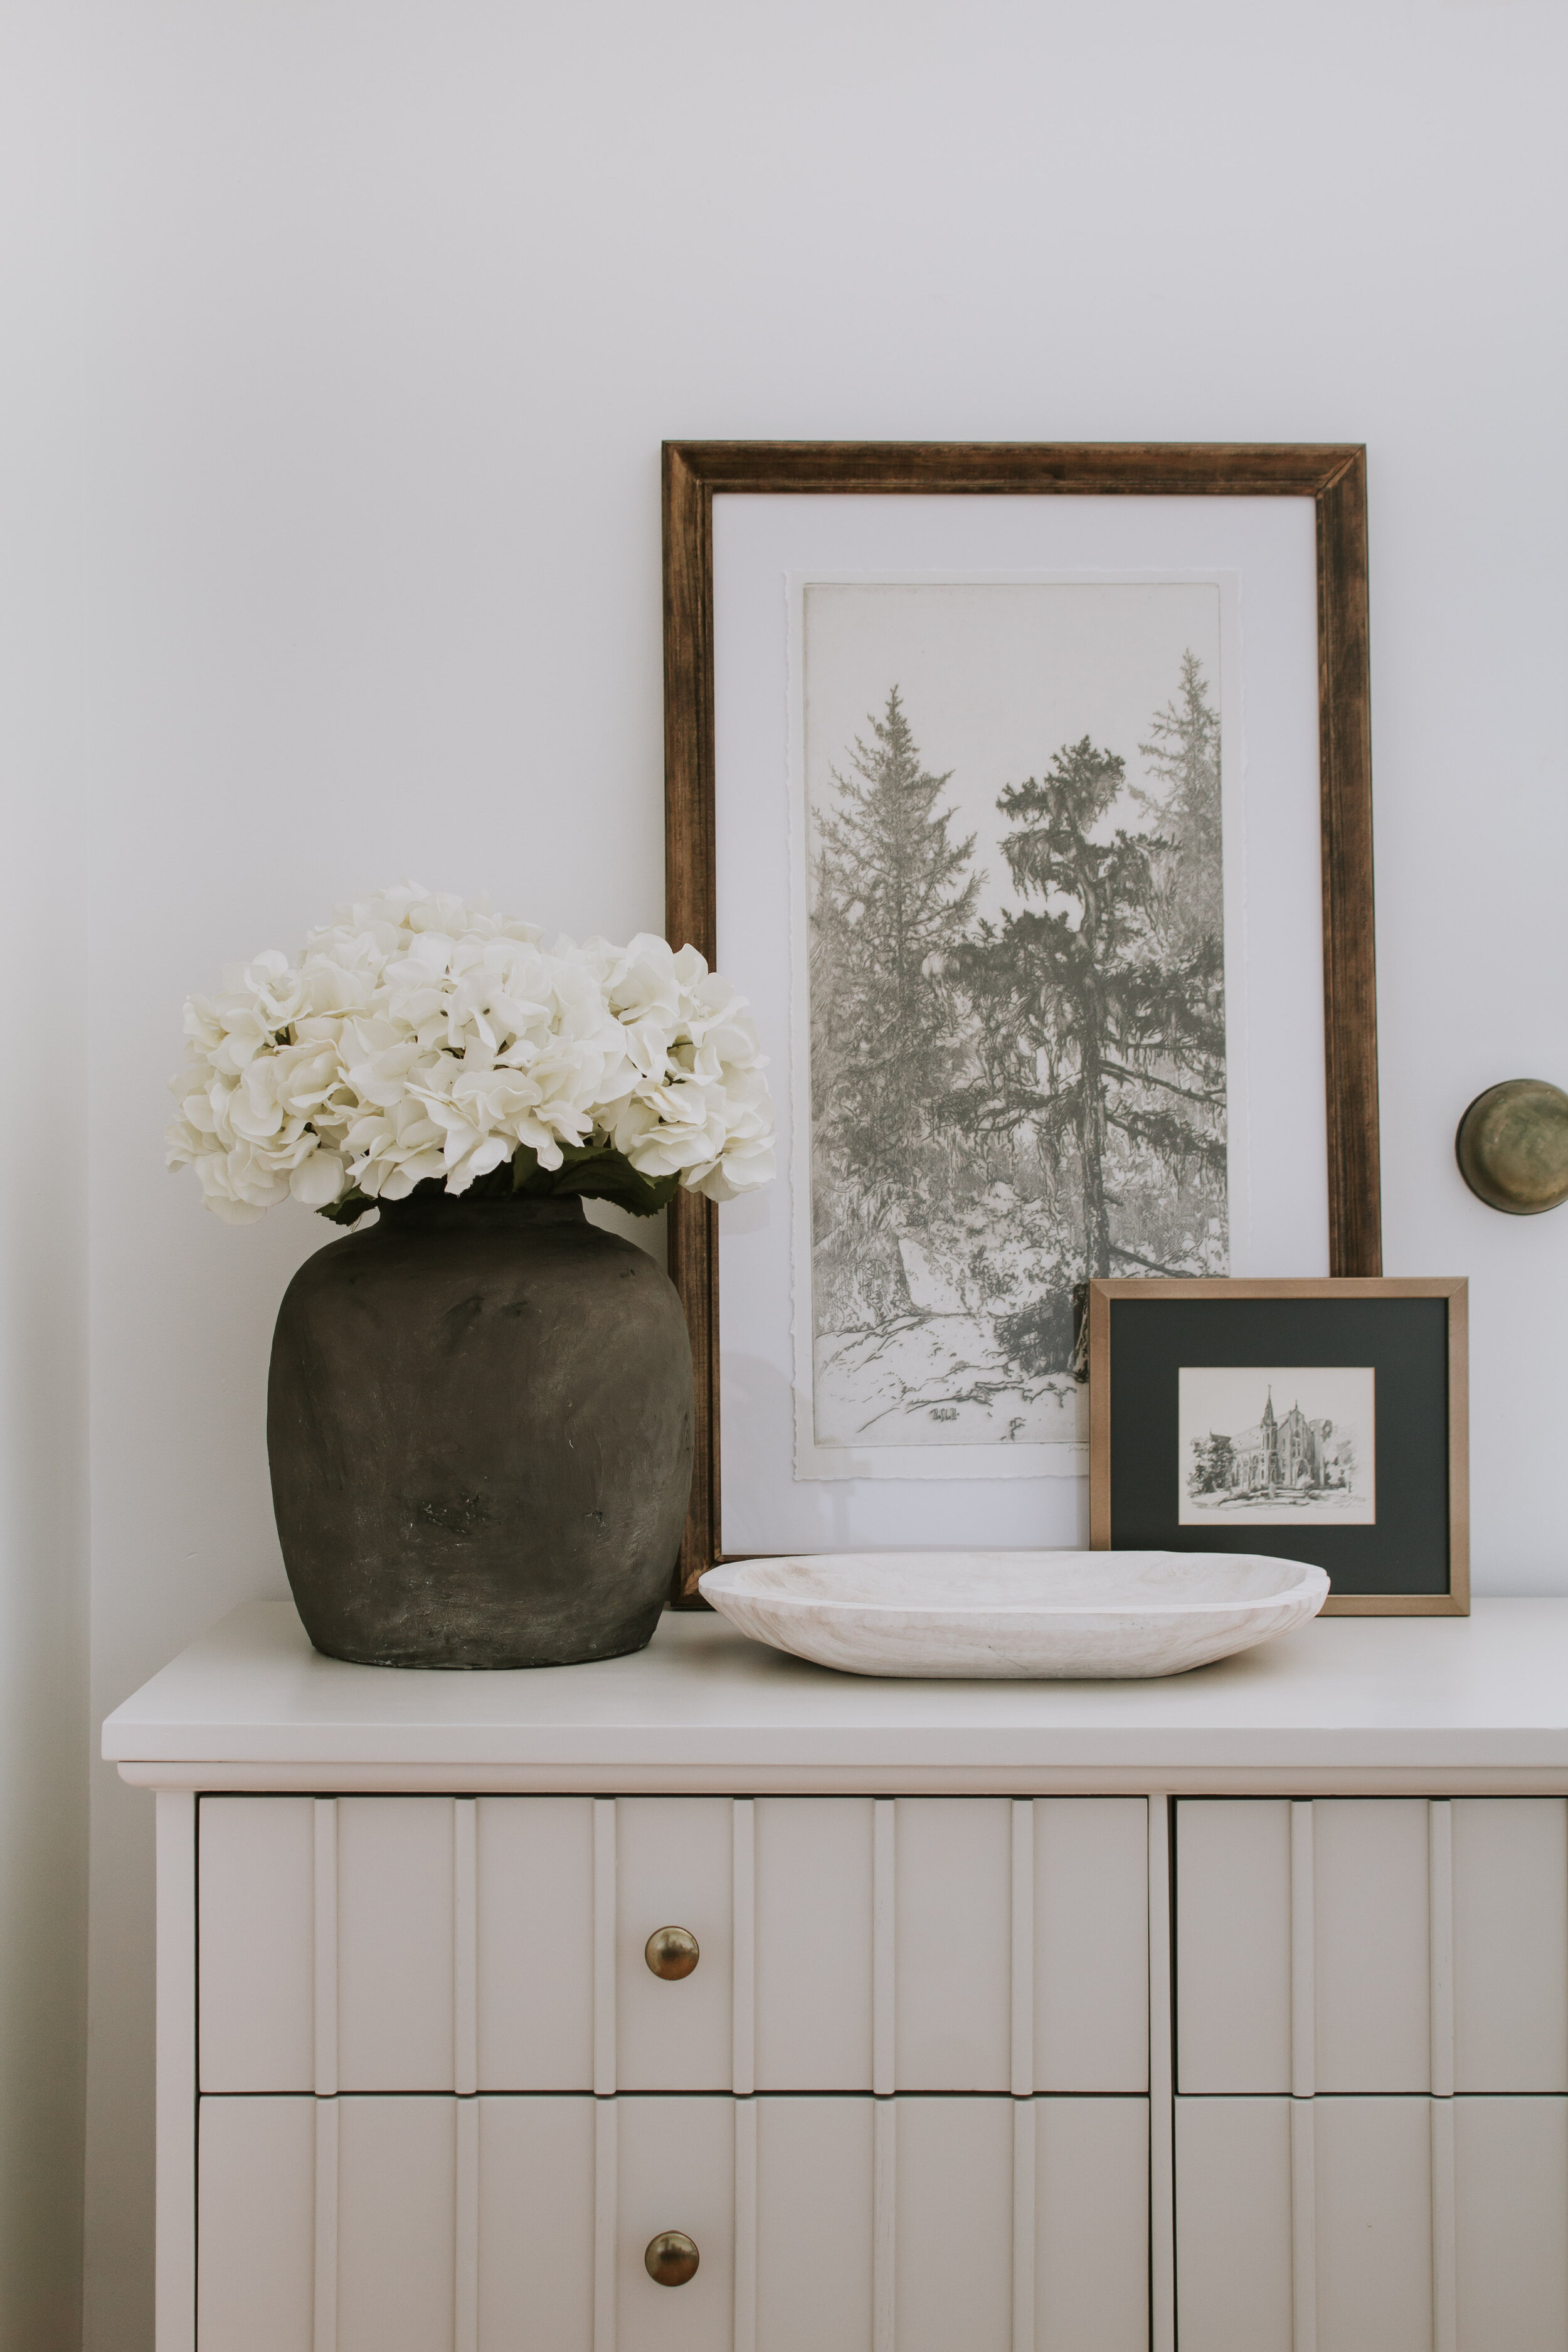
SOURCES: Tree Etching Art | Church Sketch (Thrifted) | Hydrangeas | Whitewashed Wood Bowl | Dresser (DIY) | Dresser Knobs
Which is your favorite? The smooth and subtle vase with a chalky texture or the rough textured vase with handles?
SOURCES: Bird Art | Faux Knotweed Spray | Faux Spirea Spray | Whitewashed Wood Bowl | Dresser (DIY) | Dresser Knobs
Feeling inspired? I’ve got more pottery makeovers and tutorials below!
Leave a Reply Cancel reply
Where behind the scenes, exclusive advice, and candid conversations are sent straight to your inbox every week.




Couldn’t get the video to work!
Does the plaster of Paris crumble off at all?
I haven’t had an issue with that. But if I were rough with it, I imagine it could crumble.
Can this be done to glass vases? In particular I have two glass lamps that I would love to transform. Just curious if you have ever applied plaster of paris to glass vases or lamps and if so would you prime them with spray paint as well?
I have done this to glass vases and you’ll definitely want to apply a good spray primer first. Zinsser is my go-to. The plaster may be a bit more fragile so I’d handle with care. Good luck!
The vases are gorgeous! What color matte brown spray did you use? You didn’t mention the name or brand.
Thanks Dakota! 🙂 The color is Bittersweet by Rustoleum. You can find a direct link to it above under "Materials Needed"
Great results! What sheen of paint did you use?
The spray paint I chose had an ultra matte finish, especially when applied directly over the plaster.
The vases do, indeed, look ancient. Good work.
Jane in Tucson, Arizona, USA
Thanks Jane! I kinda surprised myself with this DIY project. 🙂