Let’s start from the beginning. The photo below is where our laundry closet started…mostly. Aside from the bifold doors that we took out because they didn’t close and the temporary shelves we added for storage, this was the state of our laundry closet at it’s best. At it’s worst, there were 5 more comforters and a stack of towels that weighed down the top shelf. Can’t forget the mound of dirty laundry on the floor piling higher than the washer and dryer.
Let’s do a before and after!
Before
After
We had 2 necessities for our laundry closet remodel:
-
More shelving for towels, blankets, and sheets.
-
A spot to hide dirty laundry.
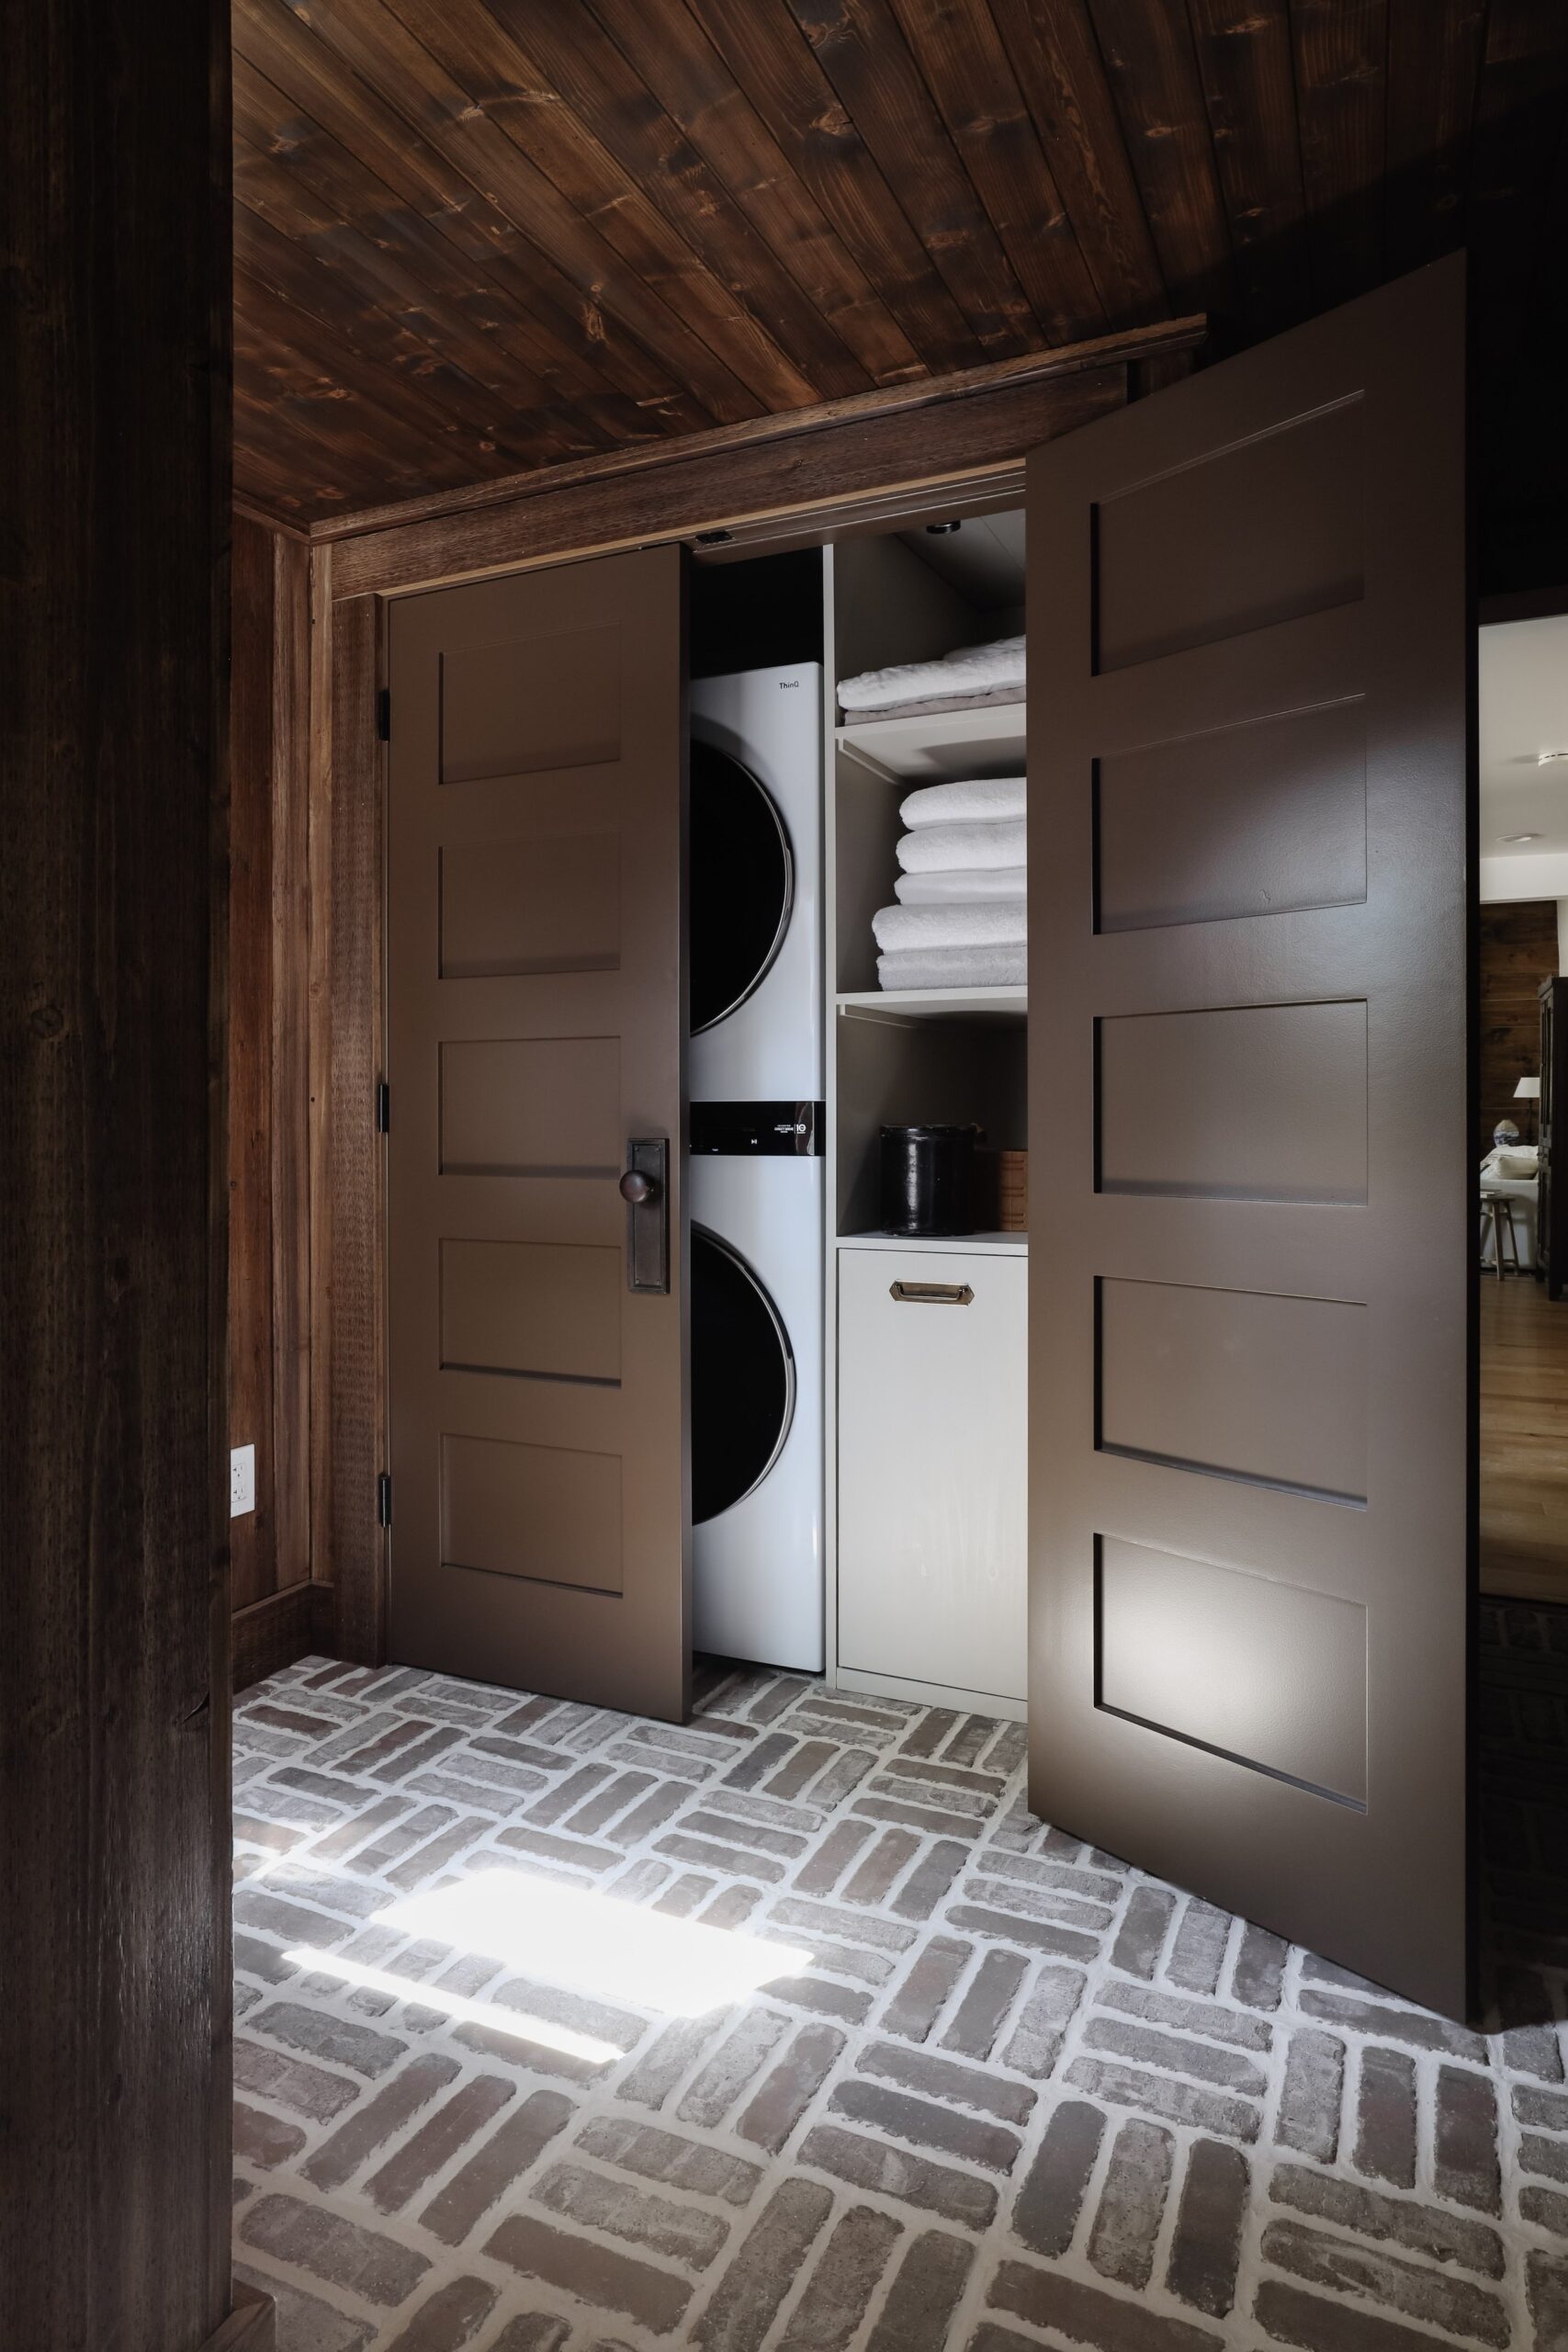
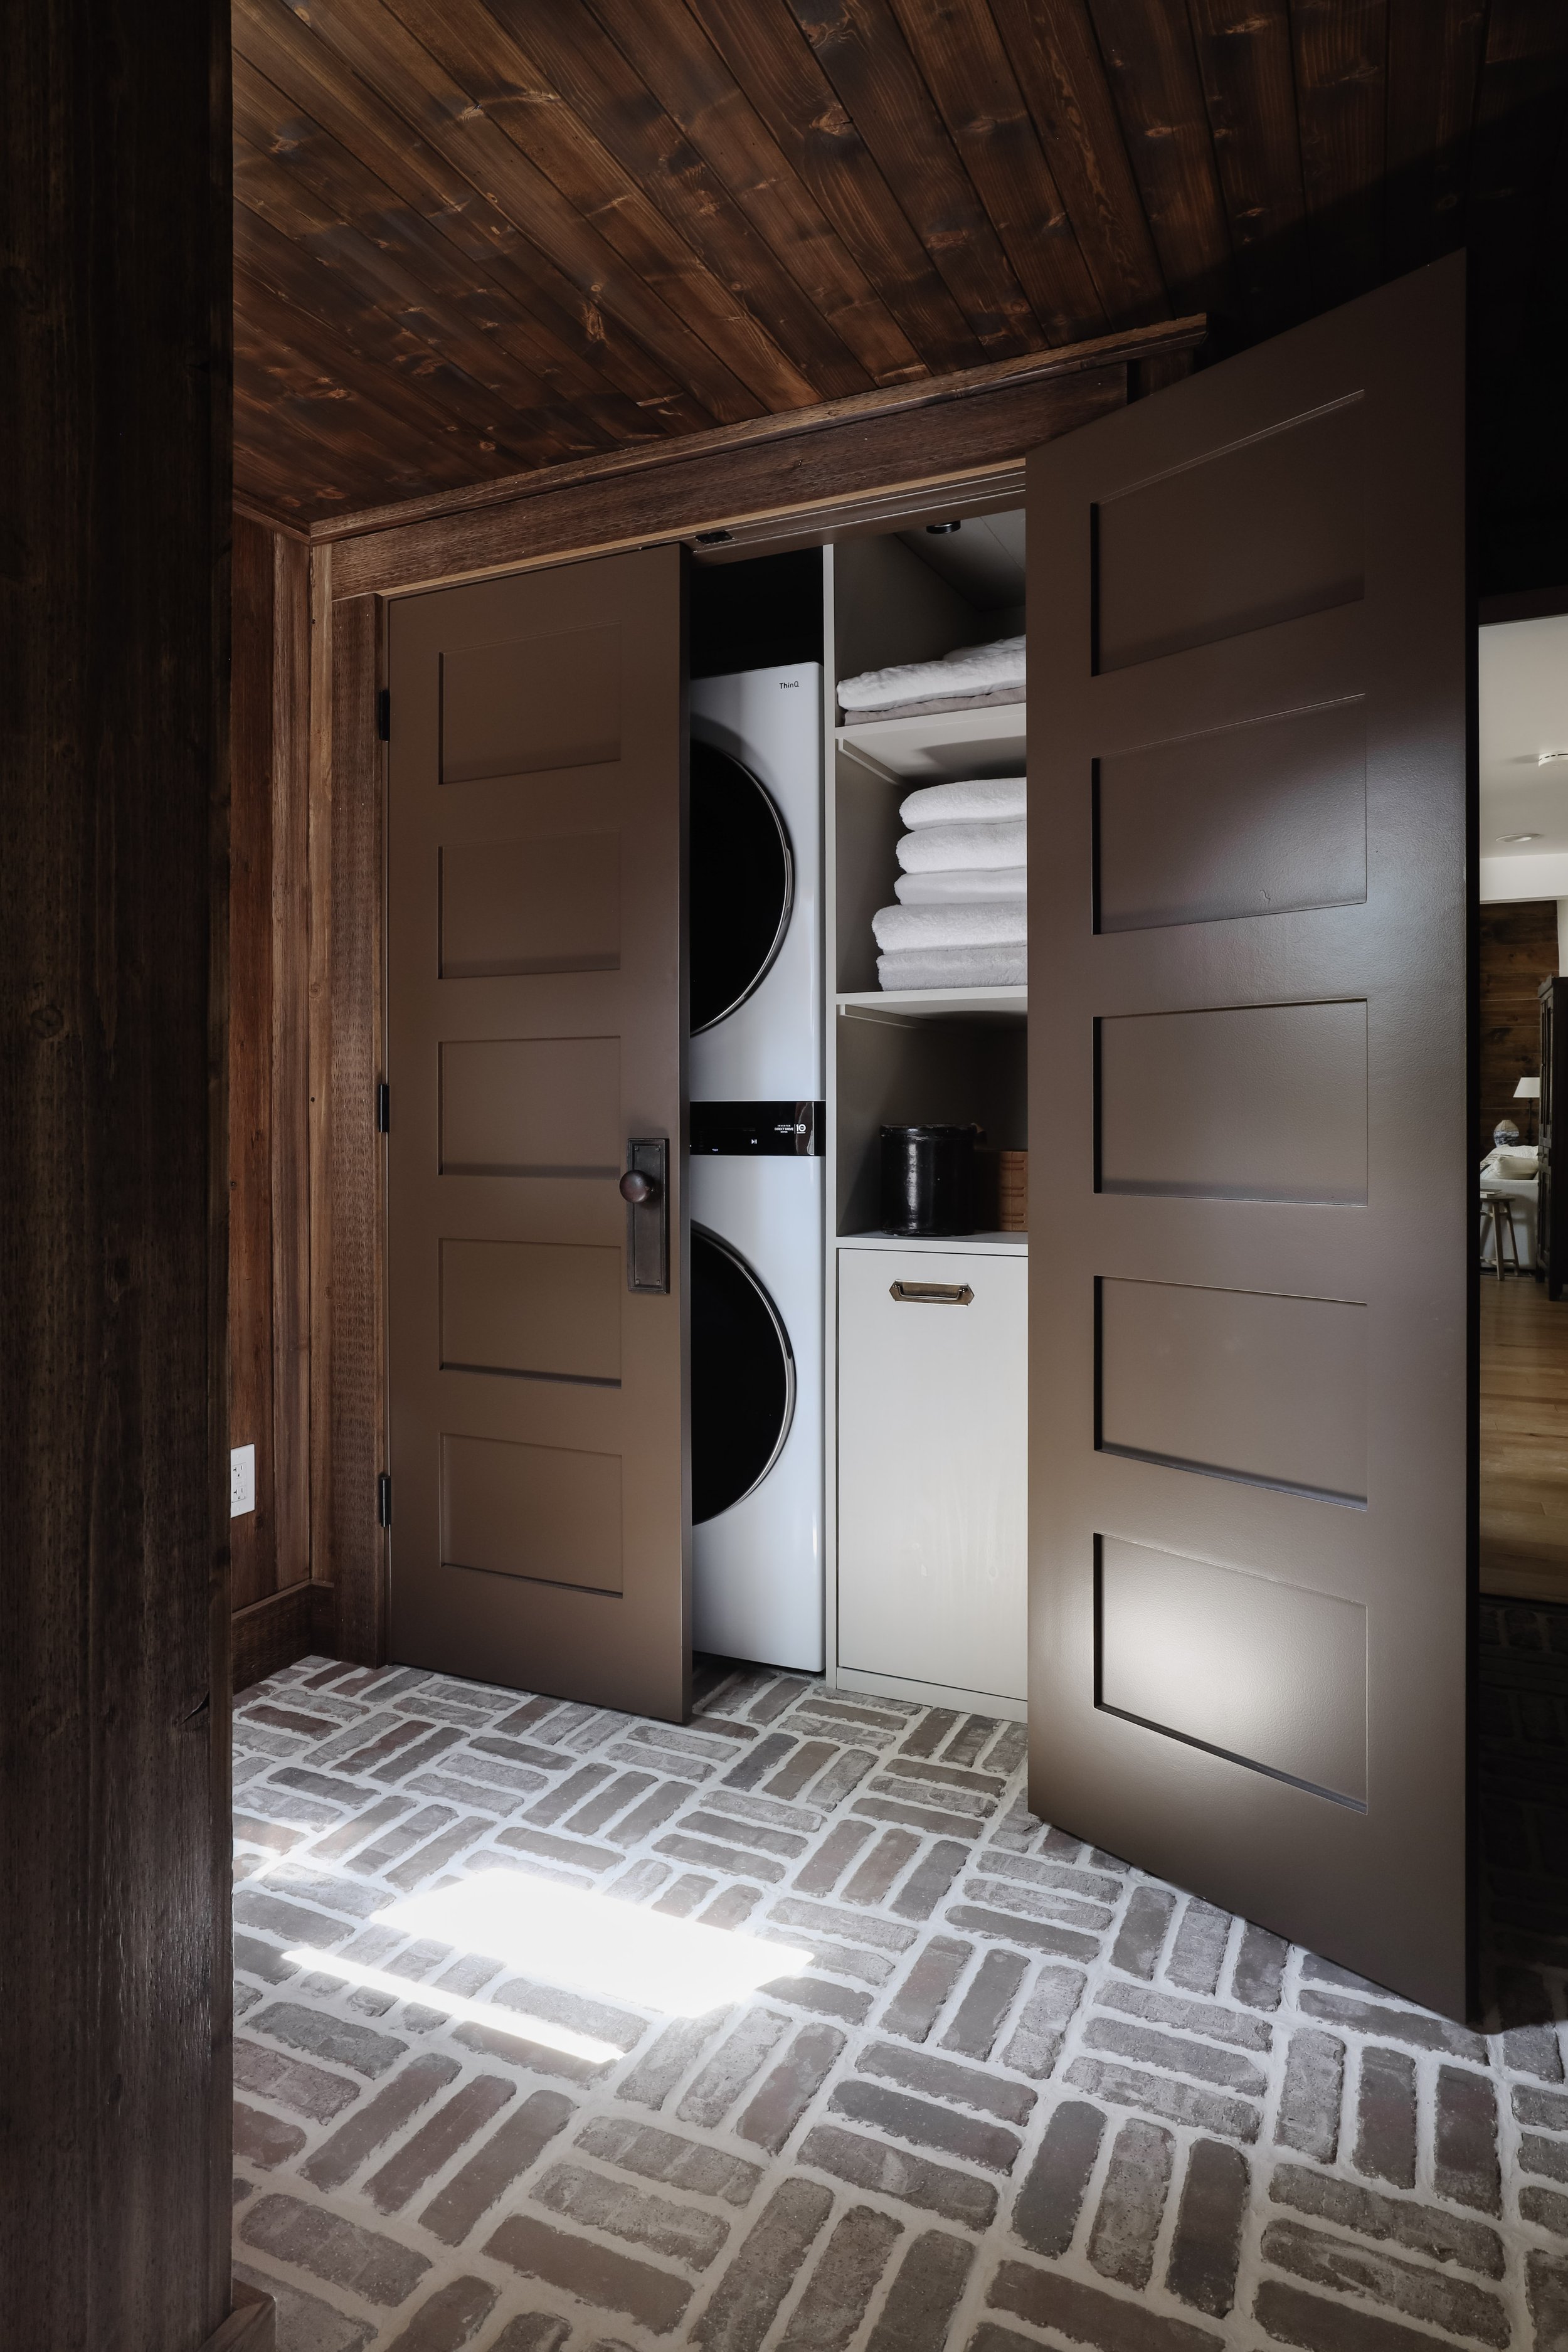
In order to make either of those things happen, a change in layout was necessary. We started from scratch and reframed the closet to our exact size needs. We swapped our top load washer and dryer for this washtower to maximize space and it was the best decision we could’ve made. Holds a ton of laundry, it’s super quiet, the controls are easy to reach, and it fits with ease in our small little closet.
I wanted to replicate the texture of the walls and ceiling that are in the rest of the laundry room within the closet as well so we installed the same rough sawn pine boards on the walls and pine tongue and groove boards on the ceiling. (Btw you can see the rest of our finished laundry room here!)
Instead of bifold doors, we opted for 5 panel double doors that match the doors in the rest of our house. I spray painted them Muted Mahogany from HGTV by Sherwin Williams in a satin sheen.
To play opposites, I decided to paint the closet interior in the color Oatbran by Valspar. The same paint color that we used on our built in cabinetry.
The next project in the closet was building the shelving unit and the pull out hamper.
We used 3/4” plywood to build the shelving and I applied thin strips of solid wood to the face of the plywood for a smooth finish! 3 shelves for towels, sheets, comforters, and laundry essentials. It’s a narrow shelf but it goes back pretty deep so while it may not look like much for storage, you’d be surprised how much it can hold! It can hold 6 comforters on the top shelf alone!
The pull out hamper is one of the most useful things in our house! I can’t tell you how nice it is to have a spot to hide the dirty clothes, blankets and sheets out of sight. We built the drawer box using this technique and we used heavy duty drawer slides that can hold up to 260 lbs. The finishing touch though is the antique drawer pull I found at a local shop!
Of course you have to have a trash can for the lint you pull out of the dryer, so an antique crock is serving that purpose. This ribbed ice bucket holds our Tide pods, and the the collapsible laundry baskets I bought fit perfect in the little nook next to the hamper.
Looking back on our goals for this project: We wanted more shelving for linens. CHECK! We wanted a place to hide dirty laundry. CHECK! I’d consider this project a success!
SHOP THE LAUNDRY CLOSET

Leave a Reply Cancel reply
Where behind the scenes, exclusive advice, and candid conversations are sent straight to your inbox every week.


how is the left side of the shelving unit connect? did you install it into the wall or the floor?
Hi Bianca, the left side of the shelving unit is nailed to the shelves, the back panel, and the bottom panel!
I’m curious about the lighting; wonderful natural light from a window is there any other lighting? I need task lighting in a utility area. I don’t like to use pods but they look so nice! It’s very beautiful.
We do have a window across from the closet but Chris also ran electrical so we could install a semi-hidden track light in the closet. So glad we did that!
Amazing how such a small (square-footage-wise) project can make such a huge impact on day-to-day living! Looks gorgeous!
So true! Having a spot for everything makes such a big difference!
Wow! Everything is just perfect. You’ve done such an amazing job!
Thank you so much!! I just can’t get over all the storage space we have now!