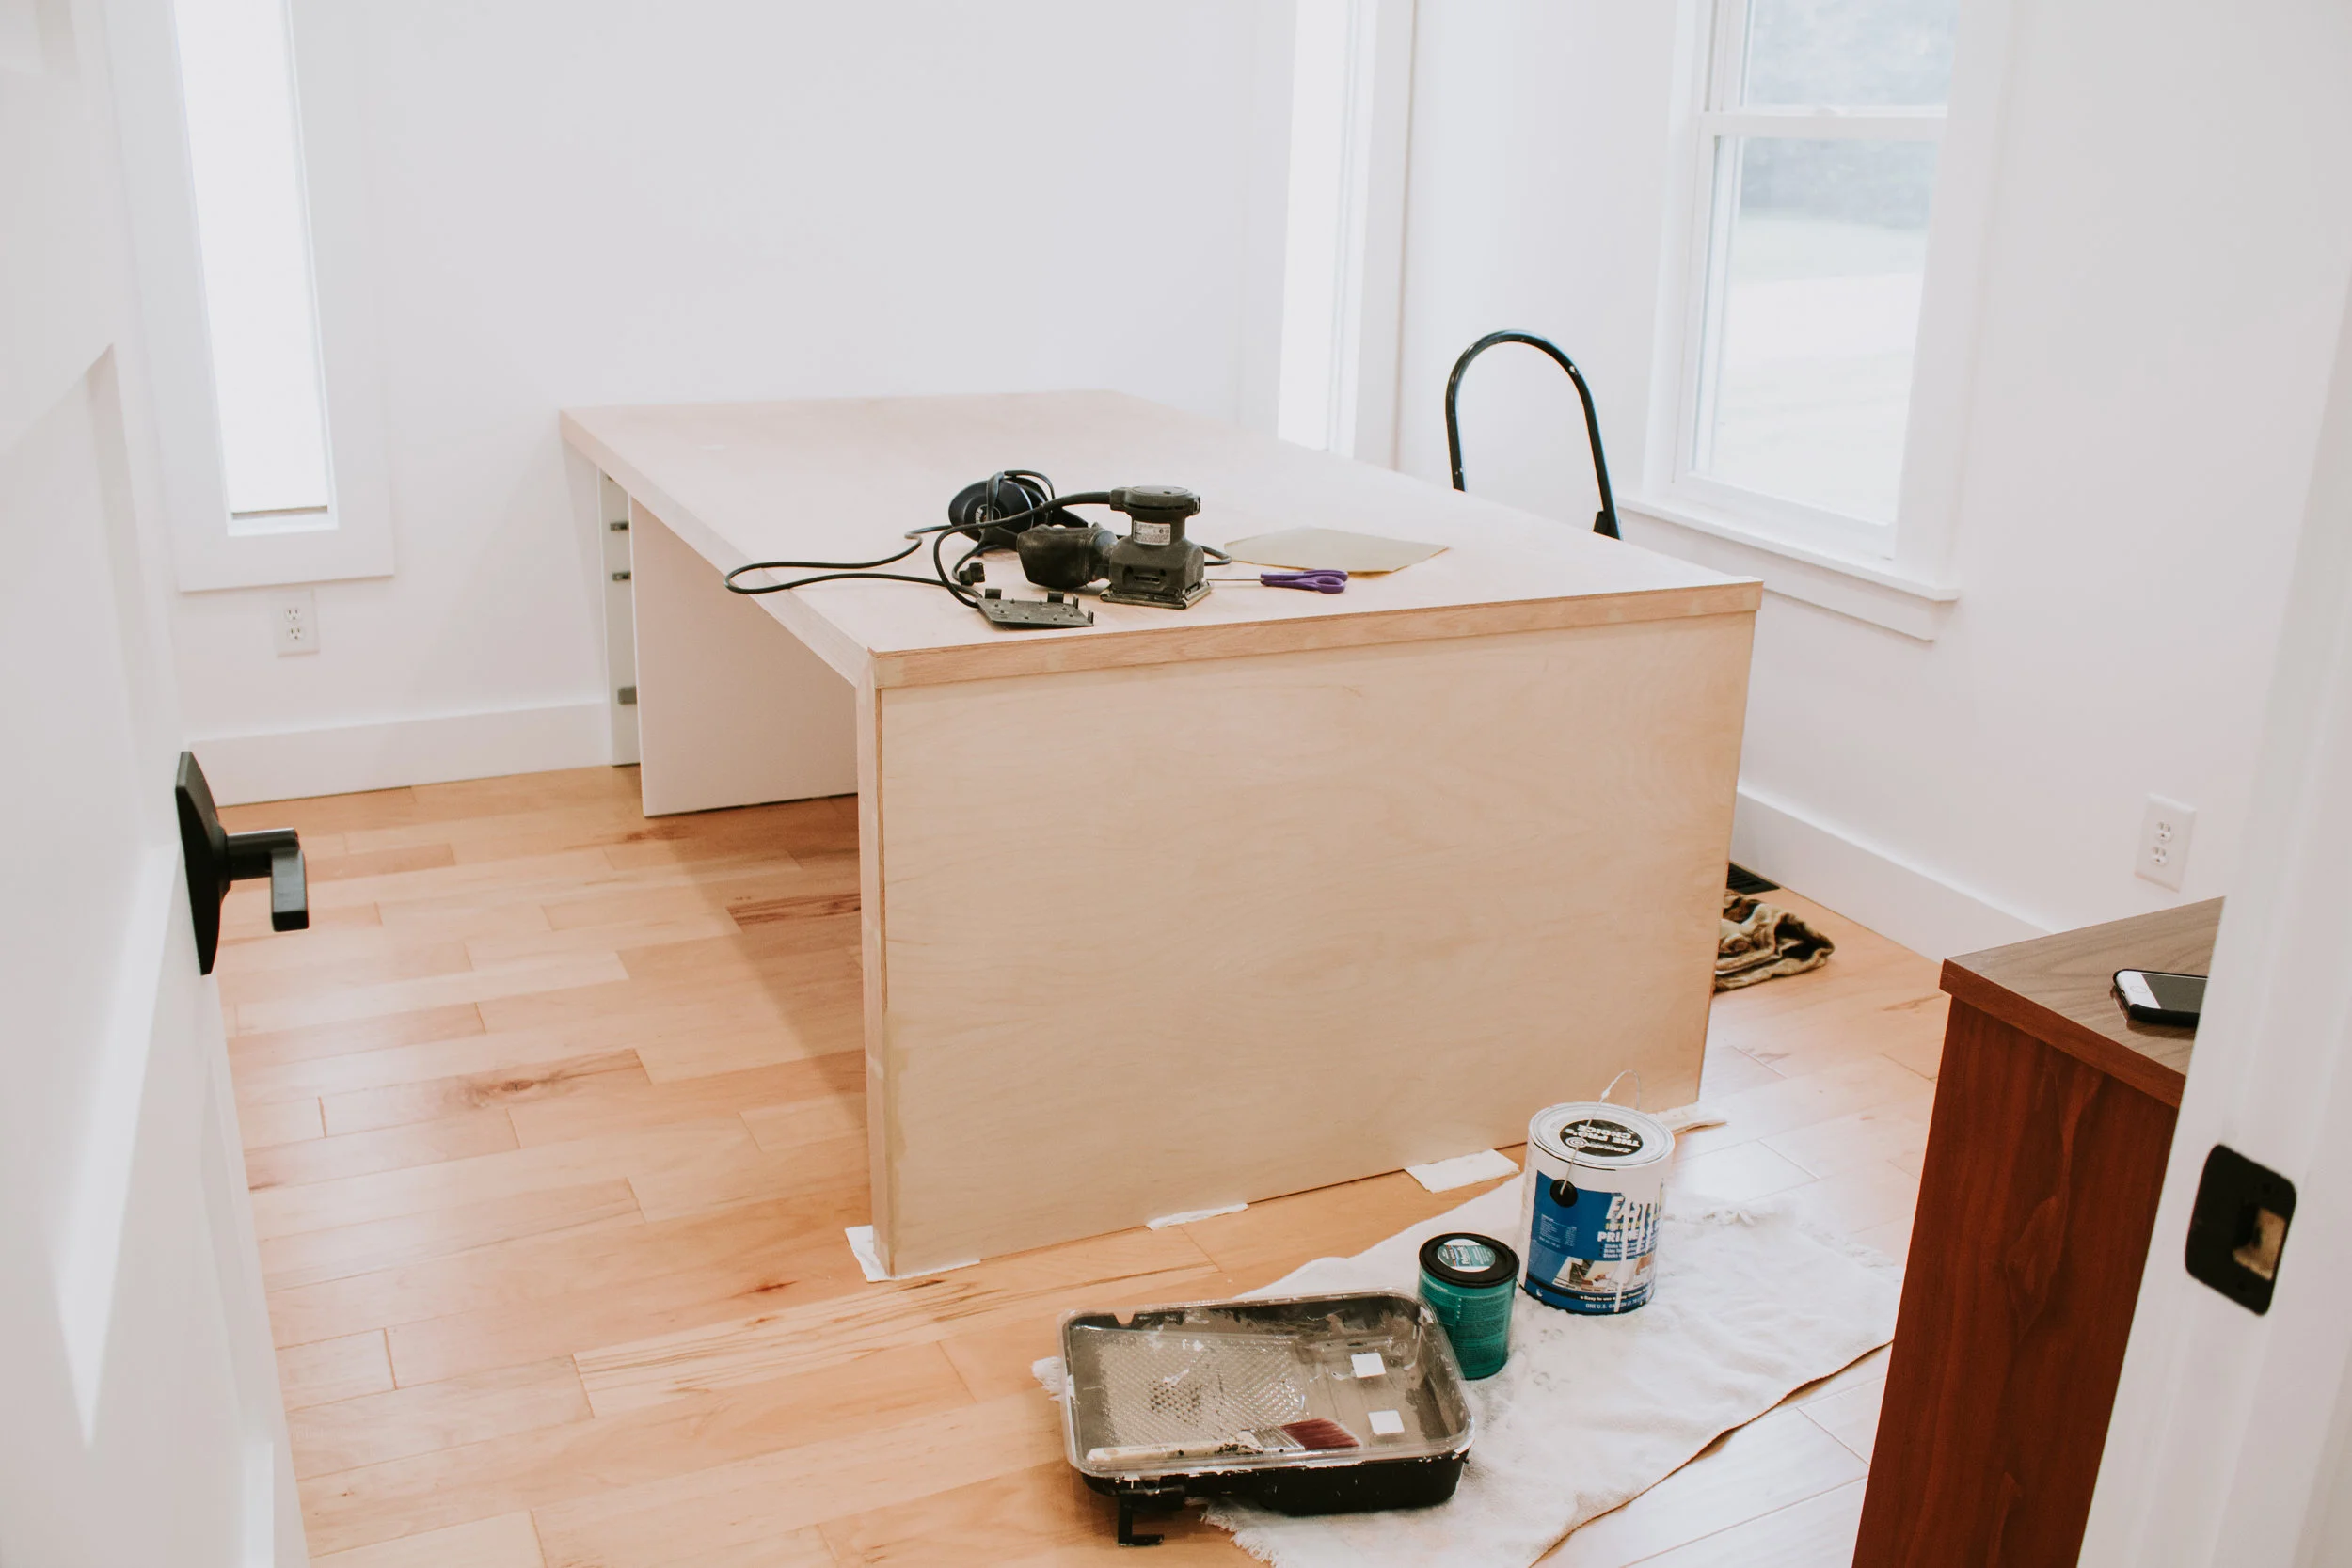
Ok so we converted our guest bedroom into an office like 3 months ago and then we abandoned the rest of our office makeover because we got #BUSY! Like we’re talking a new job, launching another business, and showing up to all 600 of the family festivities kind of busy.
But the chaos is (kinda) slowing down so we have a chance to work in the home office again. Several months ago we built a large waterfall desk and I tried 5 different paint colors on it before I landed on good ole’ white! The issue with the desk being white is that our walls, trim, and curtains are also white. It was feeling a little sterile in here and I needed a bit of contrast to break up the monotony of white.
Waterfall desk made with leftover 2×4’s and plywood
What our office looked like before
With some brainstorming, I landed on the idea of adding wainscoting to the walls in a contrasting color. But not the traditional board and batten or beadboard wainscoting that is most popular. I wanted something more modern that will blend with the style of the rest of our house better. So I decided on doing skinny vertical slats!
The first step to this project was selecting the material for our wood slats…and ironically enough we decided not to use wood! I didn’t want the grains to show through the paint so we decided on 1/2 in. x 4 ft. x 8 ft. MDF sheets. MDF has an incredibly smooth finish which is exactly what I wanted, plus it’s far cheaper than wood!
We decided that each slat would be 3/4″ wide by 48″ tall and spaced approximately 3/8″ apart on the wall. Our MDF sheets were already 48″ tall so all we had to do was run the sheets through the table saw and cut individual slats at 3/4″ wide.
Hot Tip: Using a new “finish” blade will help tremendously when cutting the MDF sheets! General construction blades (or an old finish blade that hasn’t been replaced in a while) will chip the edges quite a bit.
Once all the slats were cut, we sanded them smooth. I went over the edges with a power sander and 220 grit sandpaper. Chris then went over the face of the slats with a fine grit sanding block.
In order to maintain a level top line for the wainscoting, we decided to install our chair rail first. (This is especially necessary if your floors/floor trim aren’t perfectly level) Using a laser, we drew a level line at the height we wanted in the entire room and then we nailed the backband moulding onto the wall.
We chose a chair rail with a bit of a lip because we knew we were going to have to trim the height on some of the vertical slats to fit. In order to eliminate any height variations from one slat to the other, the lip on the chair rail covered any gaps or height variations we had (and there were plenty).
Now comes the fun part – nailing the slats on the wall! I used this nail gun and this air compressor and I popped 4 nails in each slat to secure it to the wall. (Note: If you’re having trouble with the slats not staying attached to the wall, use liquid nails first and then nail them on.)
I also used a scrap piece of wood between the slats that was 3/8″ thick so I stayed consistent with the spacing.
Gotta fill in those nail holes! We used this wood filler and sanded them smooth once the filler was dry. We also filled in any gaps along the chair rail with paintable caulking.
Next up, priming and painting! We went with my trusted primer – Zinsser Bulls Eye 1-2-3. I’ve used this primer for years and it always performs best! For the paint color, we chose “City Arboretum” by Valspar in a satin finish and I mixed it in the Infinity paint line from Lowe’s. It’s a beautiful rich hunter green that added major contrast to this space!
We decided to paint the wainscoting with a paint sprayer since that would be the easiest and fastest option. Of course, that meant that we had to tape and tarp every inch of the entire room! So worth it though!
Admittedly, the sprayer I used was too small for this job but it still gave me an incredibly smooth finish! Next time, I’ll probably upgrade to a larger sprayer though.
I applied one coat of primer over the face of the slats and then 2 coats of paint over everything! (And yes, I wore a mask so I wasn’t breathing in all the fumes.)
We love it! No more sterile hospital vibes in this room!
Next up for the office makeover – we’ll start working on the desk situation again. I’ve decided to paint the filing cabinets under the desk to match the wall and then we’ll build more storage under the desk for our printers to hide in. And then of course I will finally decorate this room! Can’t wait to take you along for the transformation! Stay tuned!
UPDATE: We’ve officially finished the office and the full reveal is on the blog! See the final look here!
For your reference here is our supplies list:
MATERIALS USED:
-
Paint – “City Arboretum” by Valspar in a satin finish
-
Painting Supplies (tape, tarps, etc)
TOOLS USED:
-
Table Saw (With a Finish Blade)
-
Chop Saw
-
Air Compressor & Hose (For the Nail Gun)
-
Power Sander (With 220 Grit Sandpaper)
Leave a Reply Cancel reply
Where behind the scenes, exclusive advice, and candid conversations are sent straight to your inbox every week.


Hey, love this tutorial. Just wondering though? Do the cut sides of the mdf swell with the bulls eye primer? Or is it okay?
Thanks
I didn’t have any issues with swelling!
looking to do this in my kitchen nook – where did you find the chair rail?
Hi Liza, I found ours at a local hardware store, but I believe Home Depot or Lowe’s would carry this as well.
Hi Danica! I absolutely love this project and am thinking of doing something similar in my home office. My question: how much wall does your wainscoting take up aka how high are your ceilings? I know the boards are 48” but wondering about ceiling height and how high I should go. My walls are 8’ tall so worried about cutting it in half. Thank you!!
Hi Samantha! Good call…our ceiling is 10ft high so I’d recommend lowering the height of your wainscoting so it doesn’t hit the wall halfway. Good luck! 🙂
Thanks so much!!
hi i want to try this in my childrens room, but i dont have a nail gun, do you think a glue would work instead.
I think you could get away with just glue, but you may need to spend more time holding each slat in place to ensure they don’t budge as you go along.
Thanks for sharing this. I’m looking do this in my 3 year son’s room. Do you think the MDF will hold up in a kids room, or should I use a plywood? I’m not sure how durable MDF is compared to a wood…
I think MDF would do alright! Plywood would probably be more durable but we haven’t had any issues with MDF and we’re not overly gentle on the slats either!
Were your windows already cased out and you worked around them? Or did you case them out after painting the MDF?
Our windows were already cased out and painted prior to installing the wainscoting!
Thanks a million for sharing this! We are redoing our office right now and this was exactly what we were looking for. We just need to do this and <a href="https://www.fabulousfloorsdenver.com/hardwood-floor-resurfacing-summit-county-co/">resurface the hardwood floor</a> to finish it off.
Hey I know it sounds a little silly. But how do you make sure you don’t end on a "half" thick piece or a piece thats like 1cm thick on the end if you start from one end, how is your measuring process so that you know you will have the right amount of pieces or do you just buy a huge sheet that fits the length of your walls and cut 3/8" along the way? Not sure if I’m making sense here, let me know!
Makes complete sense! Honestly, I didn’t measure first. I got really lucky in the corners but I was ok with making the slightest adjustments or joining two boards together in the corner to avoid any awkward spacing.
Hi Danica! What was the length of the nails you used? Also, did you use the studs for any of the nailing? I am always afraid that I will hit a pipe/electrical, so never know what length nails to use for these projects!
Hi Jill, I used 1" brad nails for the wood slats and I didn’t always hit a stud. I would recommend using a bit of liquid nails too to keep them in place.
Hi! What is the name of the white paint that you used in this room? I love how crisp it is!
It’s called "Nautica White" in the Nautica paint line. You can find it at Menards! 🙂
Hi Danica! Was the City Arboretum by Sherwin Williams limited edition? I’ve tried to find it everywhere and can only find a gray-er version of City Arboretum by Valspar. Love your office space!
Hi Simone! The color City Arboretum is from Valspar and I mixed it in the HGTV Home by Sherwin Williams paint line at Lowe’s. Hopefully that clarifies any confusion. As far as the color swatch, it really doesn’t do it any justice – I had to paint my wainscoting before I fell in love with the color! 🙂
When you say you mixed it in the Sherwin-Williams line.. did you mix two colors together than?