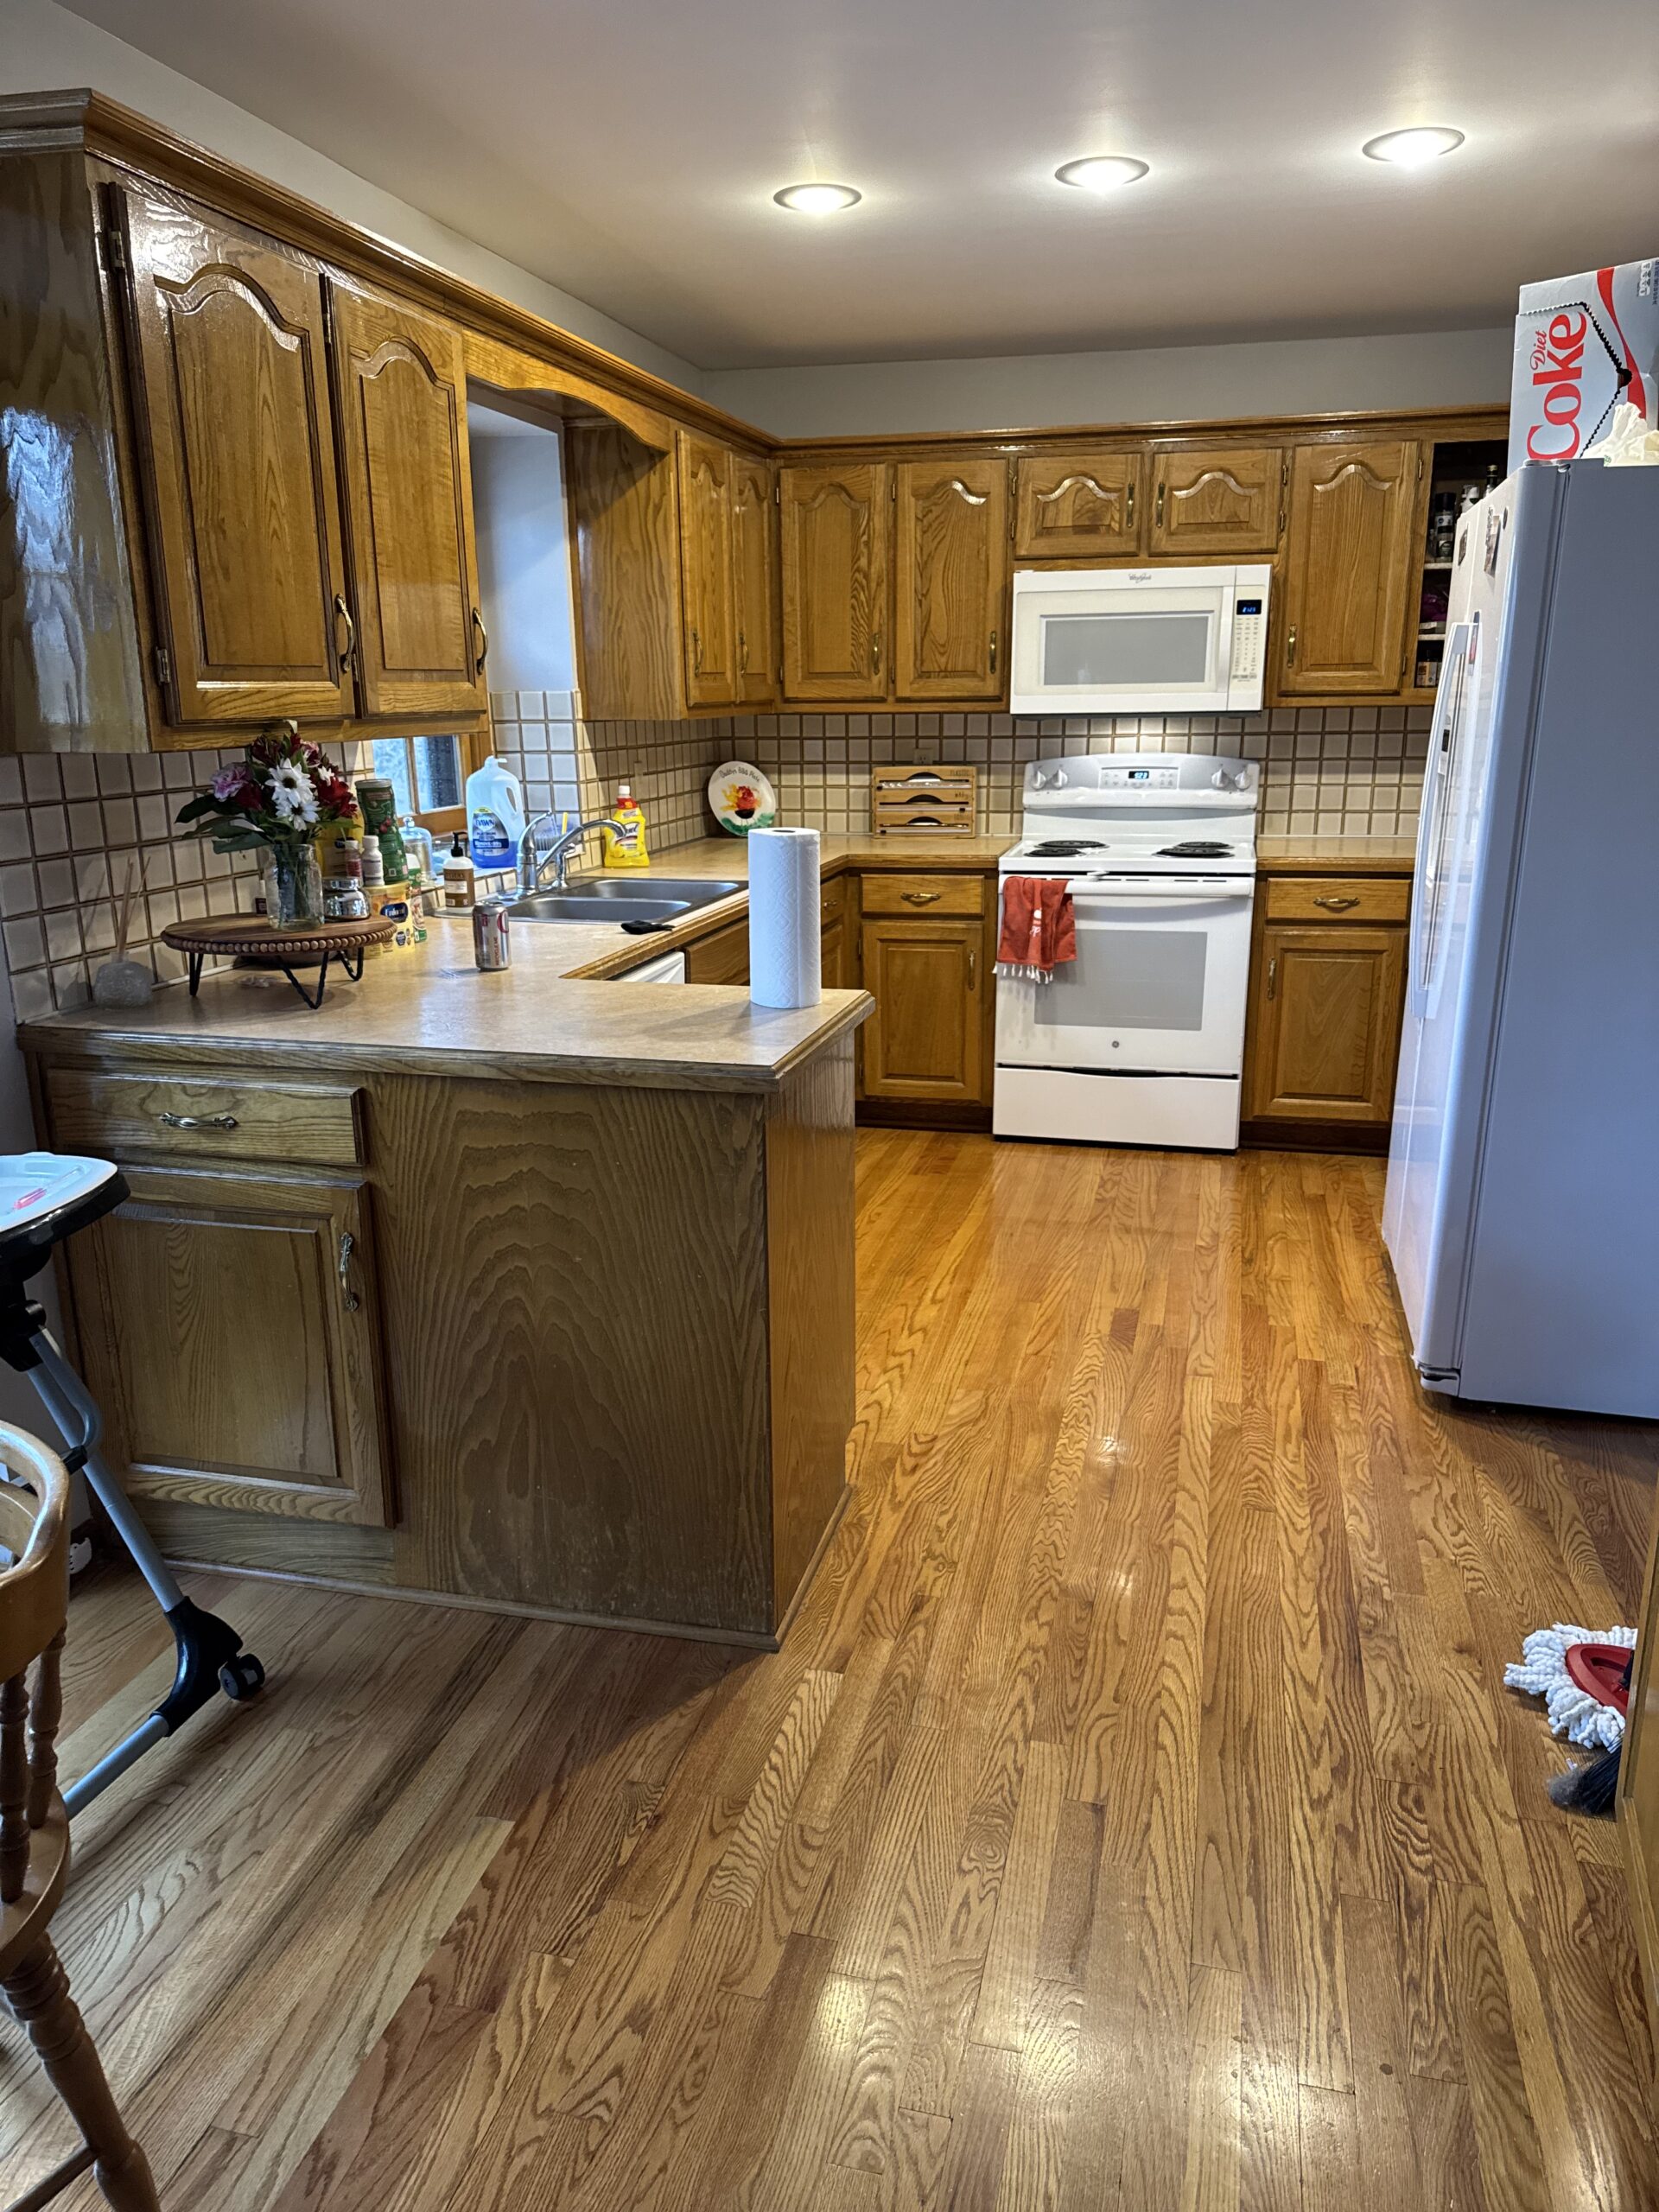
It was about a year and a half ago that we started this little bedroom makeover. It was just a basic room with a quirky raised floor, two oddly placed windows, and a low ceiling. It had zero pazzazz and I was very much excited to bring some life into this room.
BEFORE
Over the next year we slowly (emphasis on the slowly) transformed this tiny bedroom into a simple guest room oasis! We gutted the entire room and started from scratch. (More on the reno process here)
The bedroom was finally starting to come together and then…
Chris got a new job working from home and since this is the only spare bedroom in our house, we had two weeks to convert this bedroom into an office for not only Chris but myself as well. (I had been working at a desk next to our bed for 4 years and I was ready for a real office too!)
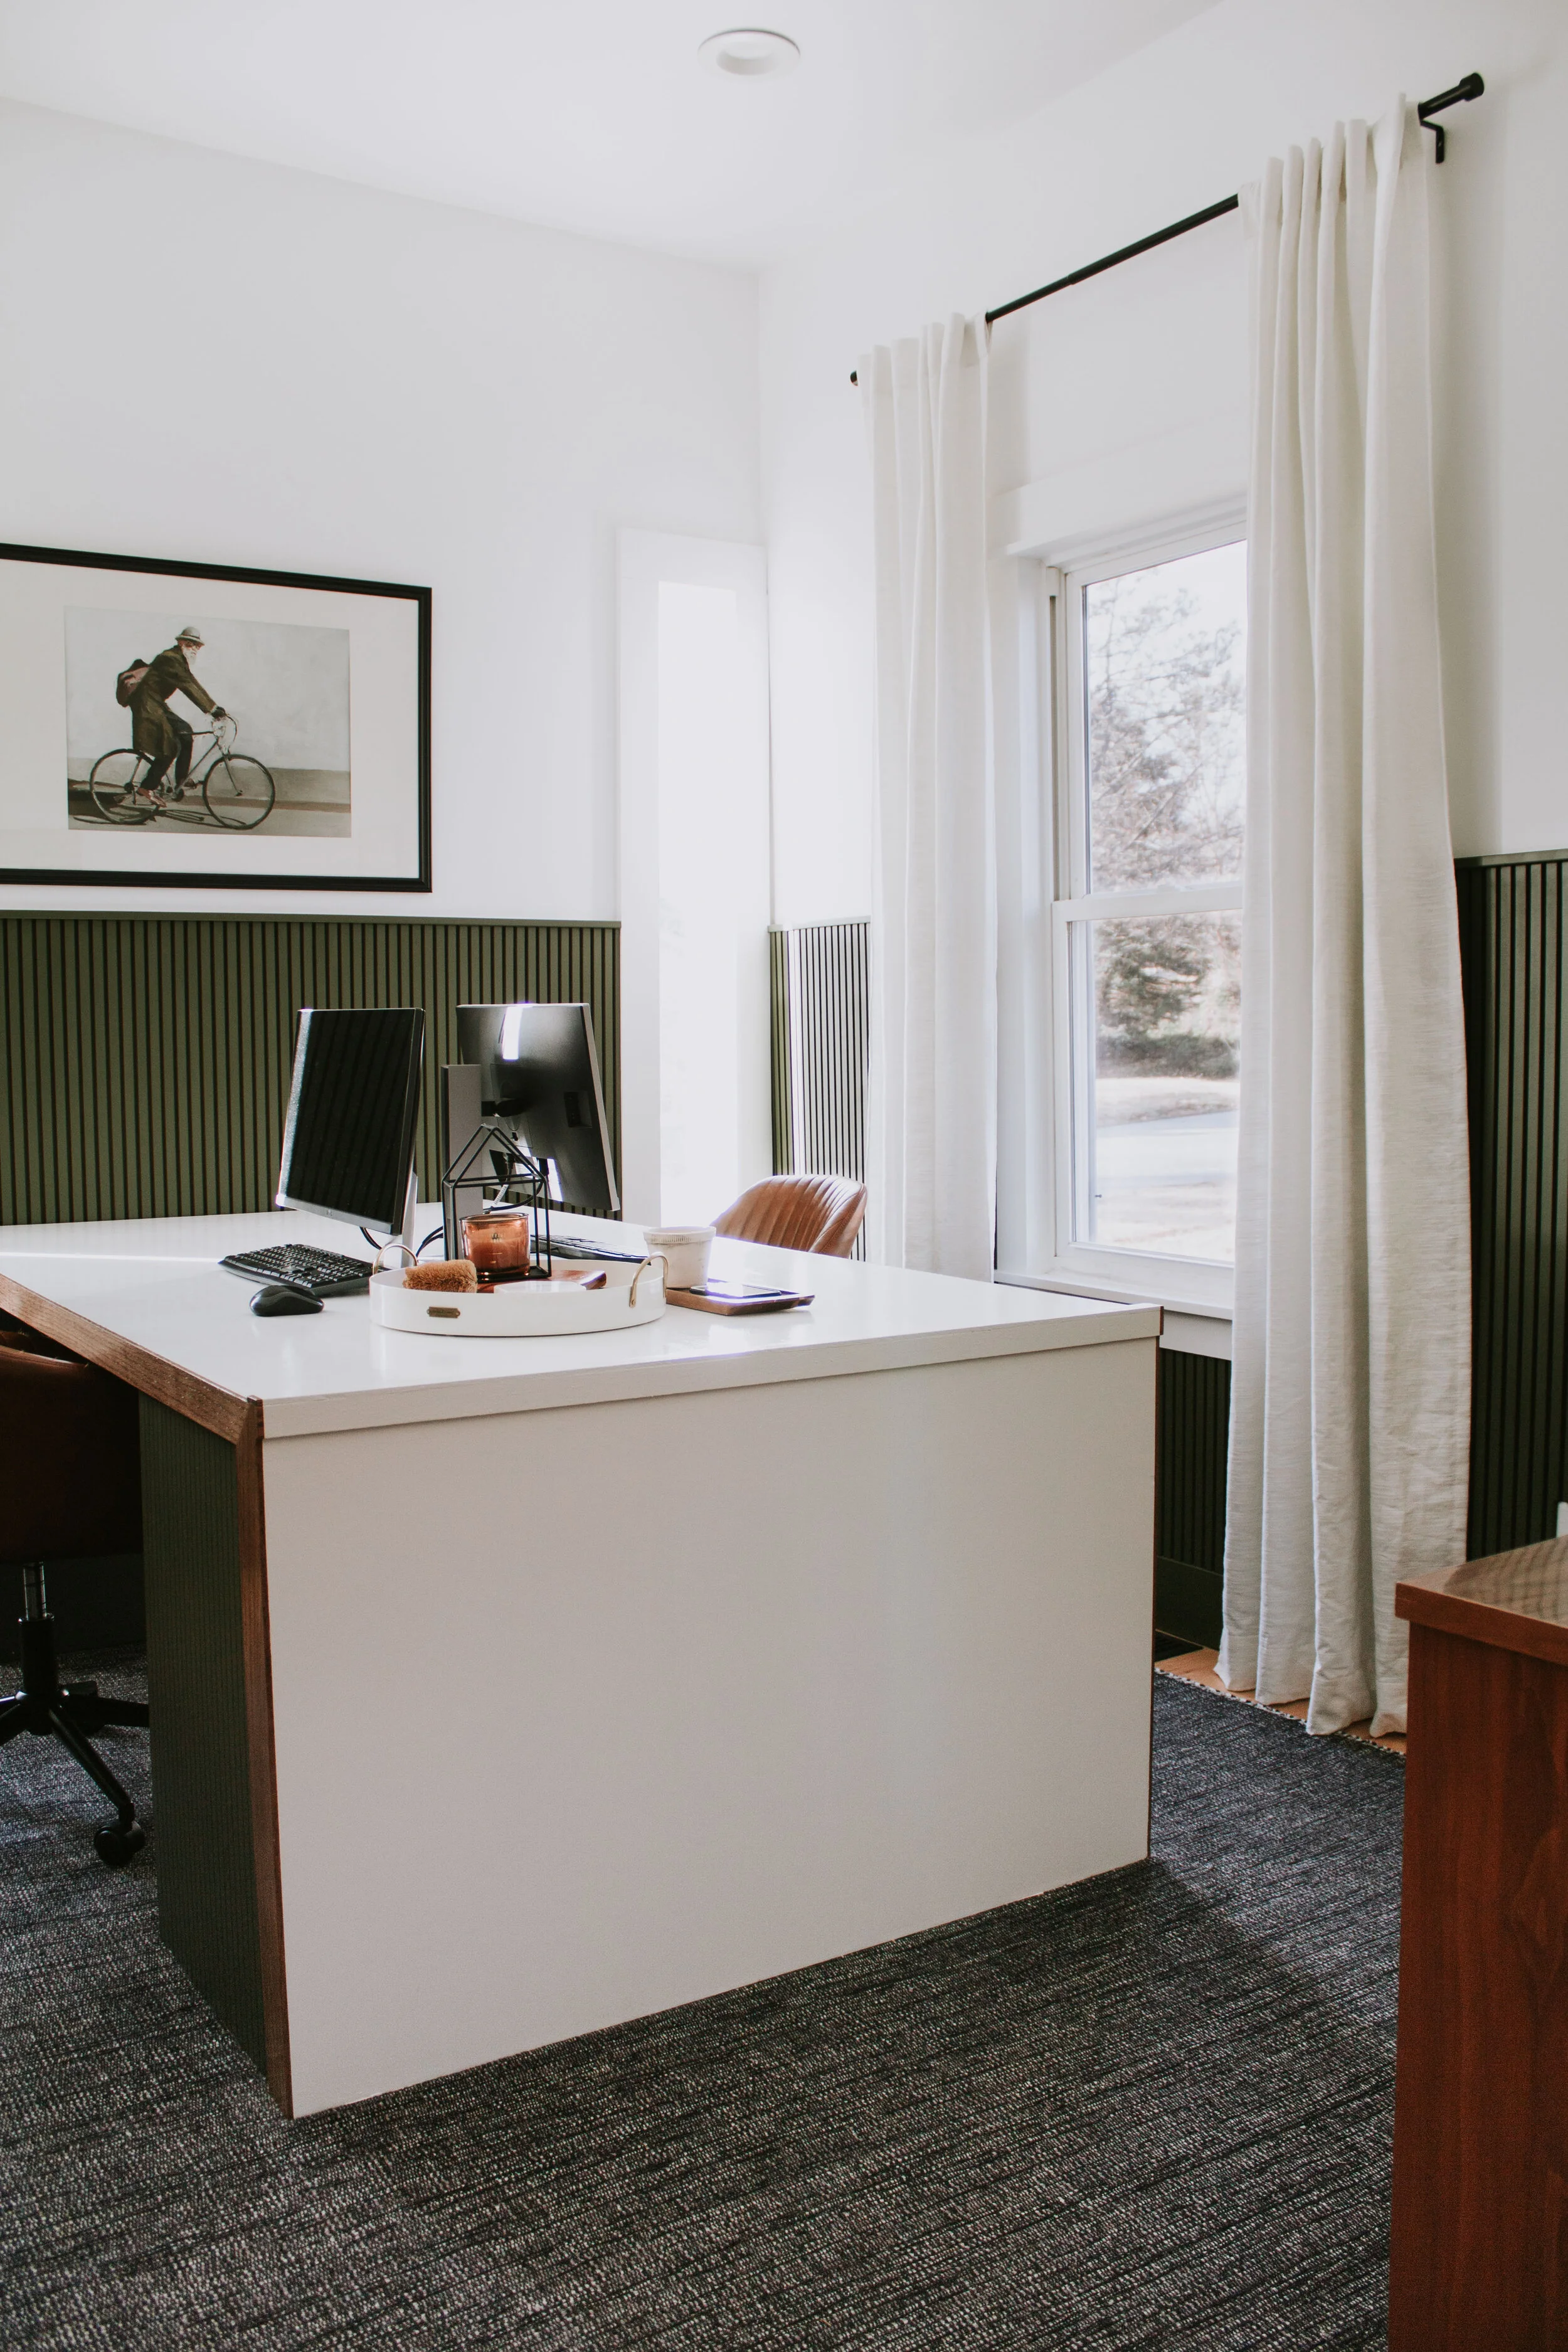
We built a waterfall desk out of leftover plywood and 2×4’s in our garage. The waterfall edge served a double purpose in beauty and function since it hid our cords and filing cabinets underneath. I painted it white and stained the edge trim a rich brown color to add a little interest the the desk.
I had a bit of decision paralysis after finishing the desk because there was just a lot of white. White walls, white curtains, and now a white desk. It felt very sterile. So after some deliberation I decided to add wainscoting. (More on how we made and installed the wainscoting here) For some major contrast, I painted the wainscoting a deep hunter green. I can’t speak highly enough of this color!! It’s called “City Arboretum” by Valspar from Lowe’s and I used the Lowe’s HGTV Infinity paint line which has incredible coverage. It’s the perfect amount of color for this cozy little room. (And yes, we individually cut, nailed, and painted 500+ wood slats. All in the name of beauty!)
From there it was all about the furnishings and decor. I found a stunning black and gray flatweave rug that has beautiful variation and the rich brown office chairs just felt right for this room.
The artwork I chose is a mix. I found a beautiful bicycle oil painting print on Etsy that has the most amazing color combination, a hand drawn mountain scene which I found at a thrift store, a word search poster, and a love note from Chris which I framed and float mounted.
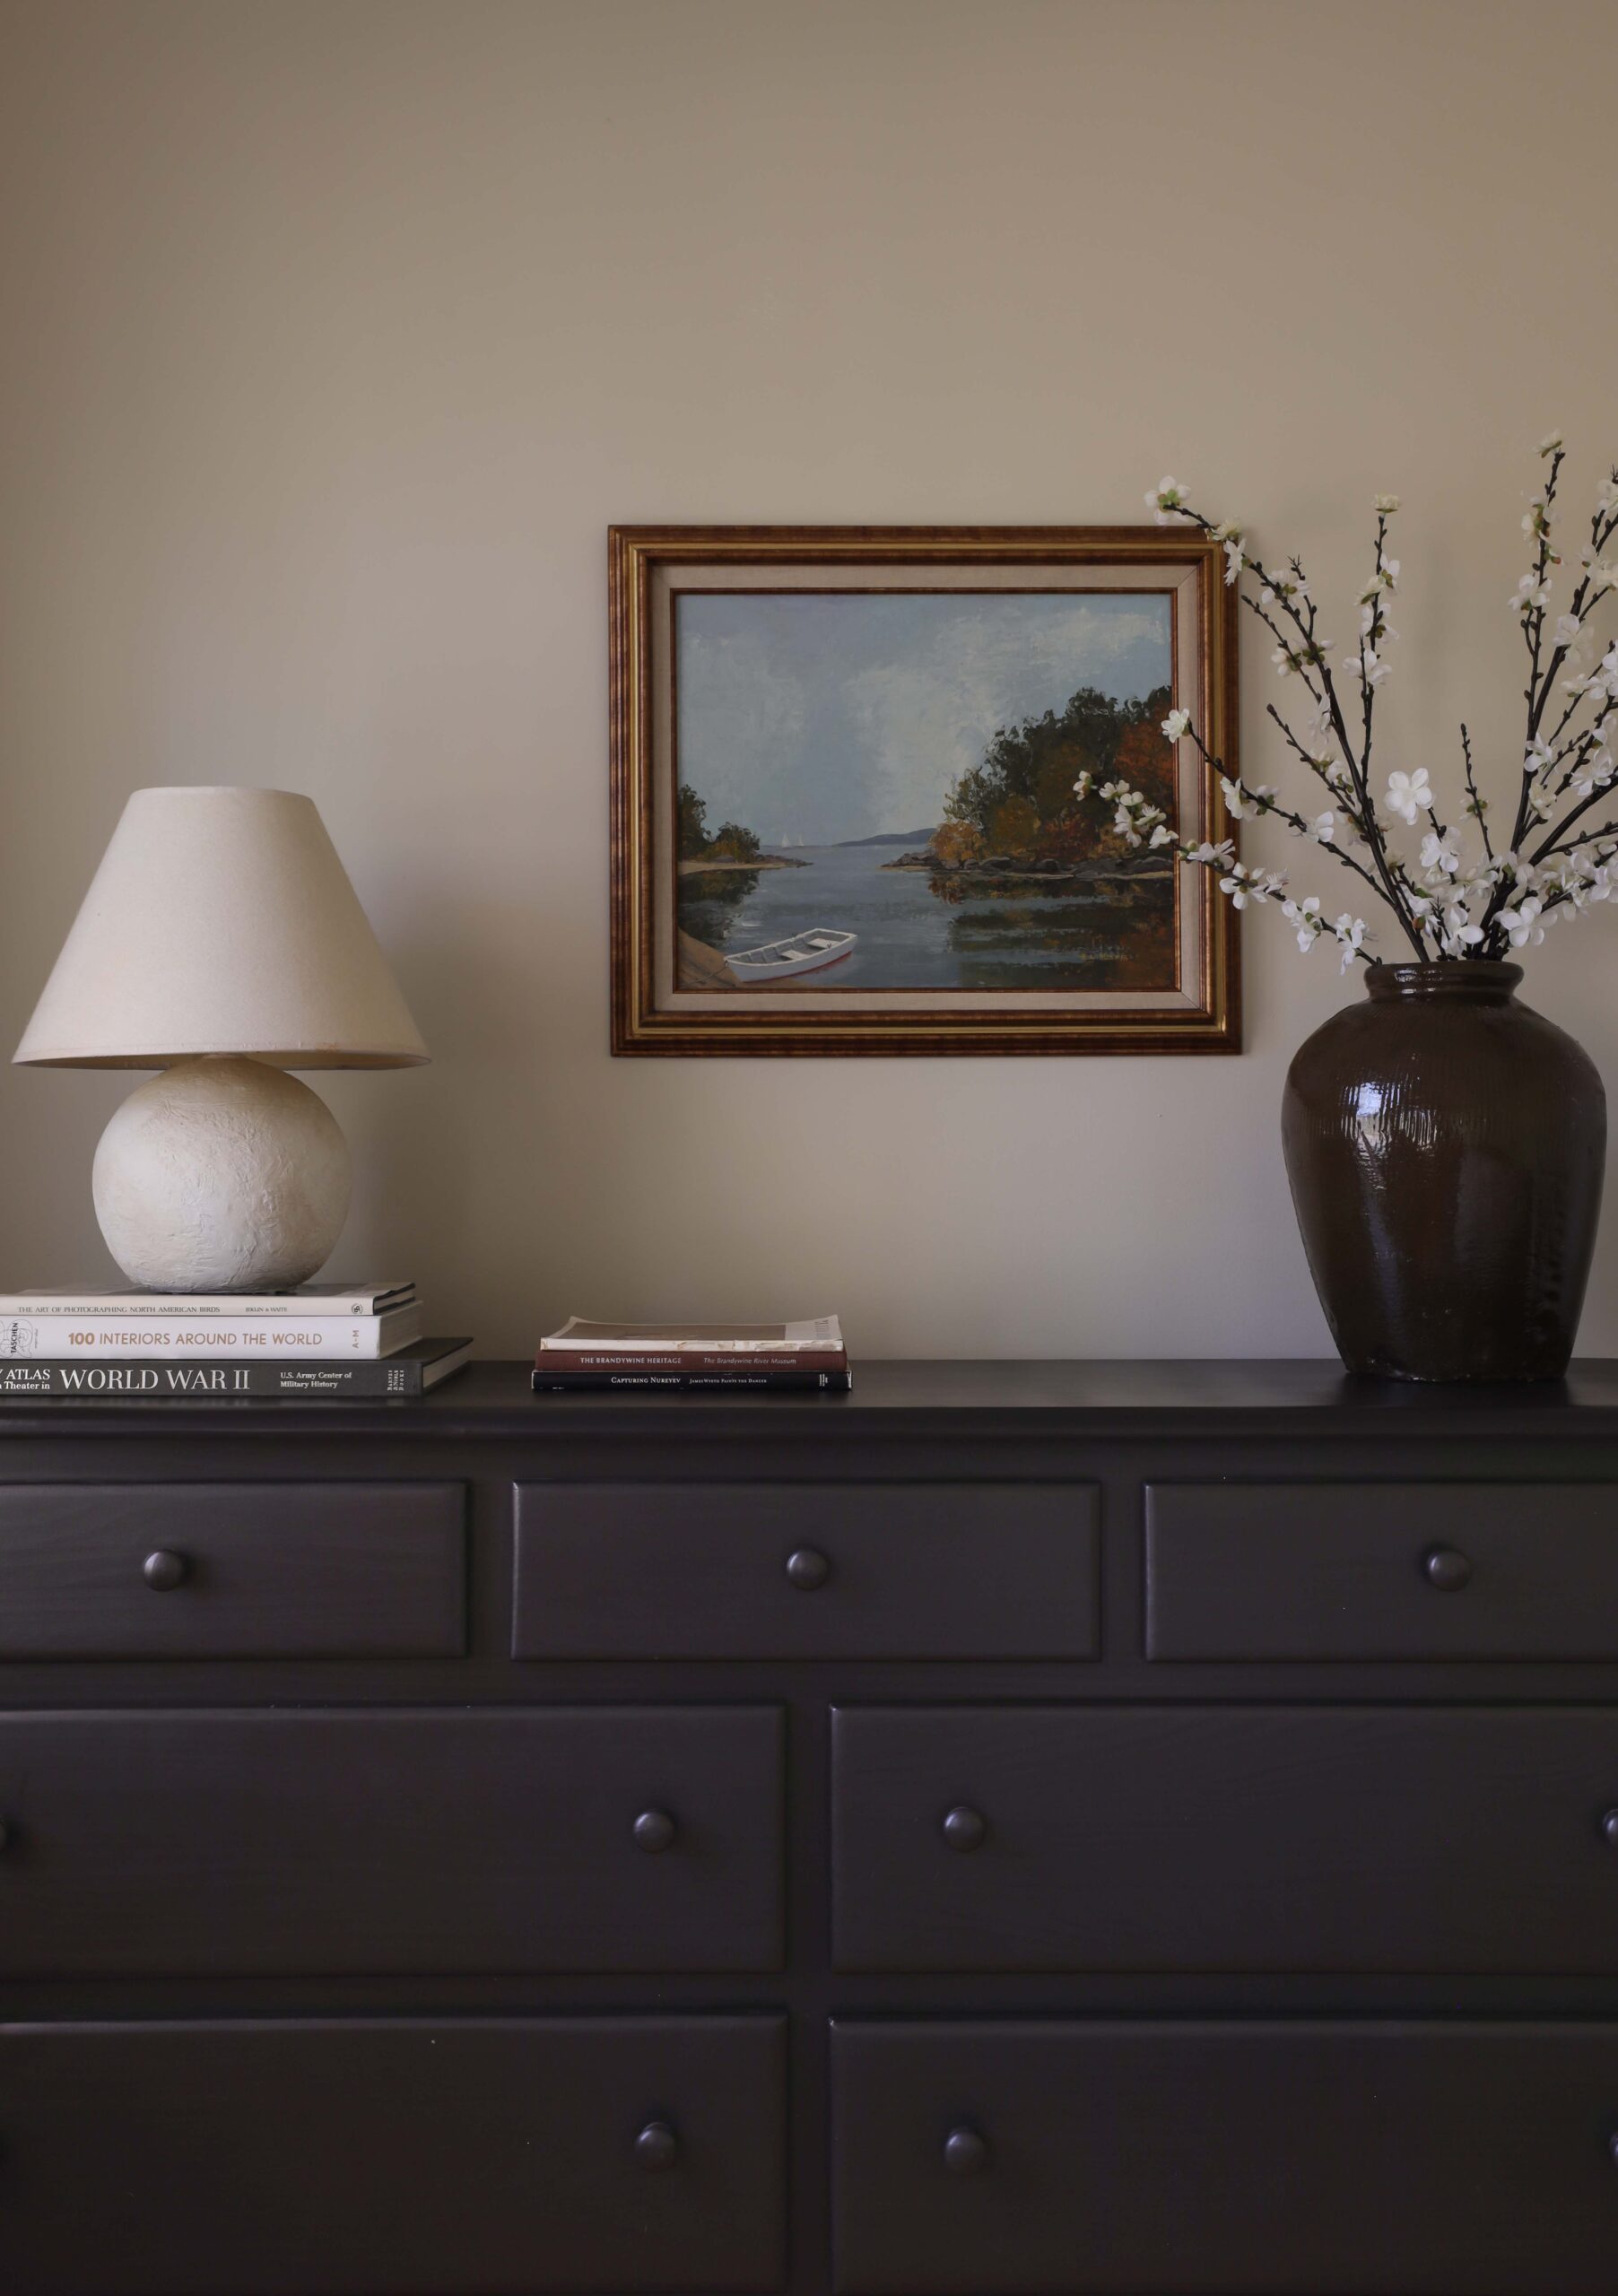
I kept the curtains (which I sewed) that were previously in the room as well as the mid century dresser (which I found at a local second hand store) that blends so well with every style change this room has endured!
And that’s it! Cheers to a new office and spending 75% of our life in this cozy little room! And for those of you who are wondering…yes we love sharing an office! 🙂
Now because I’m so obsessed with the transformation of this room…let’s glance at the before, during, and after looks one last time! 🙂
BEFORE
DURING – THE 2 WEEK PERIOD THAT IT WAS A BEDROOM
AFTER
SOURCES
A lot of the pieces I used are thrifted, but below are links to all the products available for purchase!
Leave a Reply Cancel reply
DO YOU WANT
The Inside Scoop
Where behind the scenes, exclusive advice, and candid conversations are sent straight to your inbox every week.


Hello! I’ve been in awe of this room for years. We finally bought a house in November and are gearing up to do these walls in our bedroom! I was just wondering. How high are the ceilings in your room? Is there anything you’d do differently? Thanks for the incredible inspo! You are so talented!
Hi Cassandra! Congratulations on your new home! So exciting! Our home office has 10 ft ceilings. When we first installed the wainscoting, we didn’t glue the slats to the drywall, and eventually the boards became loose. I later went back and glued each board to the wall. So my only advice would be to glue each slat to the wall as you’re installing it! Good luck!
Love the room!! I’m thinking of doing something like this as well. Do you happen to know what the dimensions were for the wood strips on the walls and the baseboards?
Thank you so much! The wood slats are 3/4″ wide by 48″ tall.
Where did you get the paint sprayer from. I love the green too!
I found it on amazon! Linking it here – https://rstyle.me/+E4kNh0nLAmscoGOUIVqpTA
I love this and am using it as inspiration for a current project! What sheen did you use for the paint on the wainscoting – semigloss?
That’s exciting to hear! I used a satin sheen for the wainscoting. Good luck with your project!
Hi, This office is gorgeous! This look is something I am hoping to achieve at home. I’m wondering why you gutted the room at first?
Thank you so much Leah! We raised the ceiling 2 feet, added and replaced windows, leveled out the floor, and added insulation so it needed a complete gut to get the bones of the room in good order!
I am in search of a new office chair and love the look of those you selected here. But tell me, in all honesty, are these comfortable to sit in for most of the day?
I use these daily and, with a pillow on the seat, don’t have a problem. However, if you need an office chair for all day use, I’d go with something that has a thicker cushion and back support.
Could you please share the width height and spacing of the vertical slats? I am getting this professionally done in my home and would love to mirror exactly what you did here – it is beautiful!
Hi Maegan! You can find all the details for our wainscoting in this post – nadinestay.com/blog/installing-modern-wainscoting-in-the-office
What is this green color used?
It’s City Arboretum by Valspar
Hi :-), I just want to say that your office is SO GOOD!!! I already got a ton of inspiration and I am an interior Designer…..absolutely beautiful!!!
Thank you Ulla! 🙂
Hi! I wanted to know what the cost was for the DIY wainscoting/ slat wall?
I don’t remember the exact number anymore but I’d guess somewhere around $250-$300
I adore this color!! Are the white wall color from natica, i think i saw that from another one of your posts!? Am going to Vite the bullet and do this for my office. Picking up paint this weekend!
How exciting! Yes, all our white walls are "Nautica White" from the Nautica at Home collection. Good luck!
I just found your site on Pinterest – I love your style choices, advice and links to products. Well done. This is my new favorite design site!
Wow, that is so kind of you! Thank you!
I have just been browsing your blog, due to seeing your gorgeous wainscoting. This has got to be the best wainscoting job I have ever seen. What an amazing idea! You are definitely one of my new favorites to follow! Thank you so much for sharing. You are so inspiring!
Well this just made my day! Thank you so much Eliza! 🙂 So glad you could find a little inspiration while browsing my blog!
Great job! I can’t believe you did all the wood paneling yourself!
It was a labor of love, but so worth it!
Beautiful job! Love this color so much!!!
Thank you Erin! I don’t know if I’ll ever get tired of the green! 🙂
I’m flabbergasted, it’s the most brilliant makeover I couldn’t have come up with in my wildest of dreams. Truly stunning!!
Wow! Thank you so much for that encouragement!! Means the world to me!! 🙂