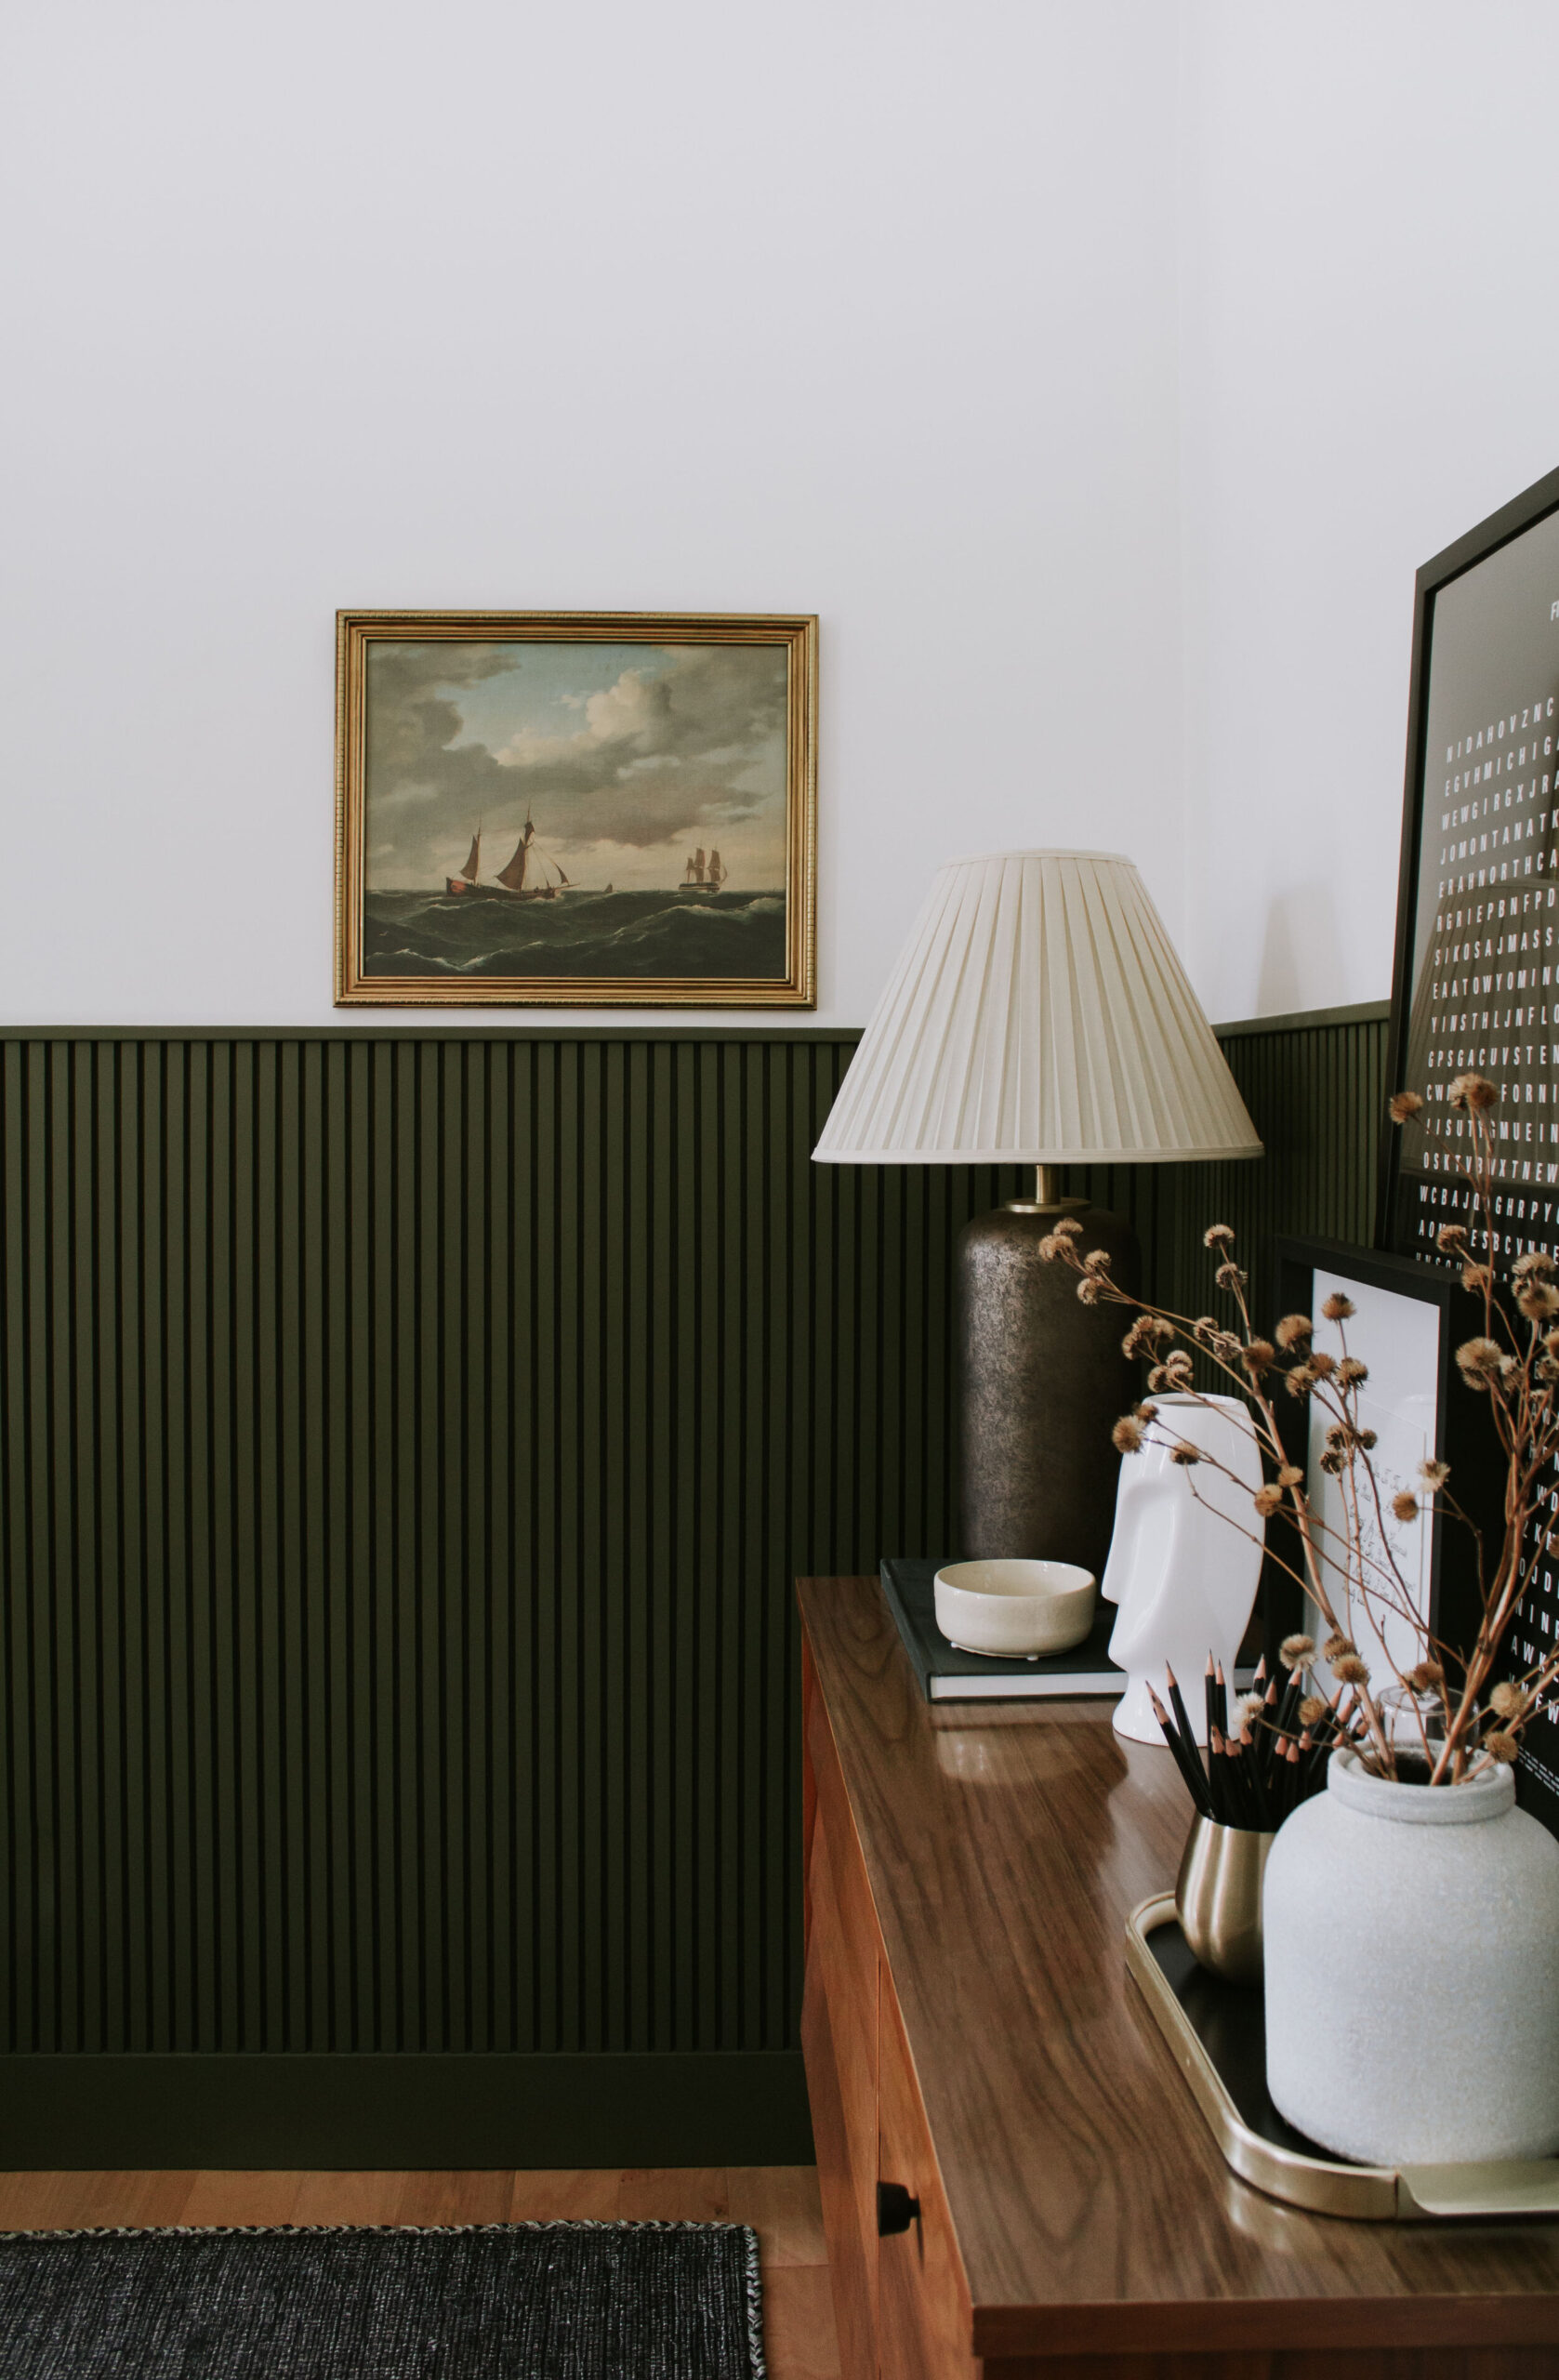
I was recently gifted the most beautiful vintage print from Foggyst Prints and I fell in love with the color palette!!
I was planning on making my own frame because I had a very specific look in mind, but I opted to stop at a thrift store first. Low and behold I found the exact style frame I wanted in the exact size I needed. It was a framing miracle! (Don’t worry, I went shopping several weeks ago before the Coronavirus quarantine happened.)
Here’s how the frame looked before –

Ok so maybe the maroon color wasn’t exactly what I wanted, but the picture and mat board was gonna go and the frame detail gave it so much potential!
I’ve seen many bloggers use Rub ‘n Buff on frames, (Francois et Moi and I Spy DIY are two that come to my mind) but until now I hadn’t tried it myself. This frame was the perfect piece to test the product on and hubba hubba…it turned out soooo good!
Here’s how it looks now –

Might I add that it only took 45 minutes to get this perfect aged brassy/gold look! *Insert gasp here*
Here’s how it’s done –
First I cleaned the frame thoroughly and removed the glass.
I ordered an assortment of Rub ‘n Buff colors and after some testing I ended up choosing “Gold Leaf”.
Applying the Rub n Buff was incredibly easy! I simply squeezed a pea size amount onto my finger and rubbed it on the frame. (Wear gloves to protect your hands!) In some of the spots that had more detail, I used a paper towel to get the product in the cracks. However, I wanted a somewhat worn look so I purposefully did a thin coat and allowed some of the color underneath to show through. If you want to copy this worn look, just make sure your frame is dark before you start. If it’s not, a black or brown spray paint would do the job.

NOTE: A little goes a long ways…I didn’t even use 1/8 of a tube to cover the entire frame.
Once the frame was covered, I allowed it to dry for about 20 minutes. Once dry, I buffed the frame with a clean towel to wipe off any excess paint and to give it a soft sheen. If you want a full coverage color, just apply a second coat of Rub ‘n Buff. Otherwise if you’re happy with how it looks, you’re done!
I recorded the whole process on Instagram so click here if you want to watch the frame makeover in action!

Drooling! That gold luster is everything! Here’s a closer look at the ribbed detailing and aged finish.

Try this project for yourself and share your frame makeover with me on Instagram @nadine_stay! I’d love to the transformation!
SOURCES:
-
Rub n’ Buff (5 Colors) or just Gold Leaf
-
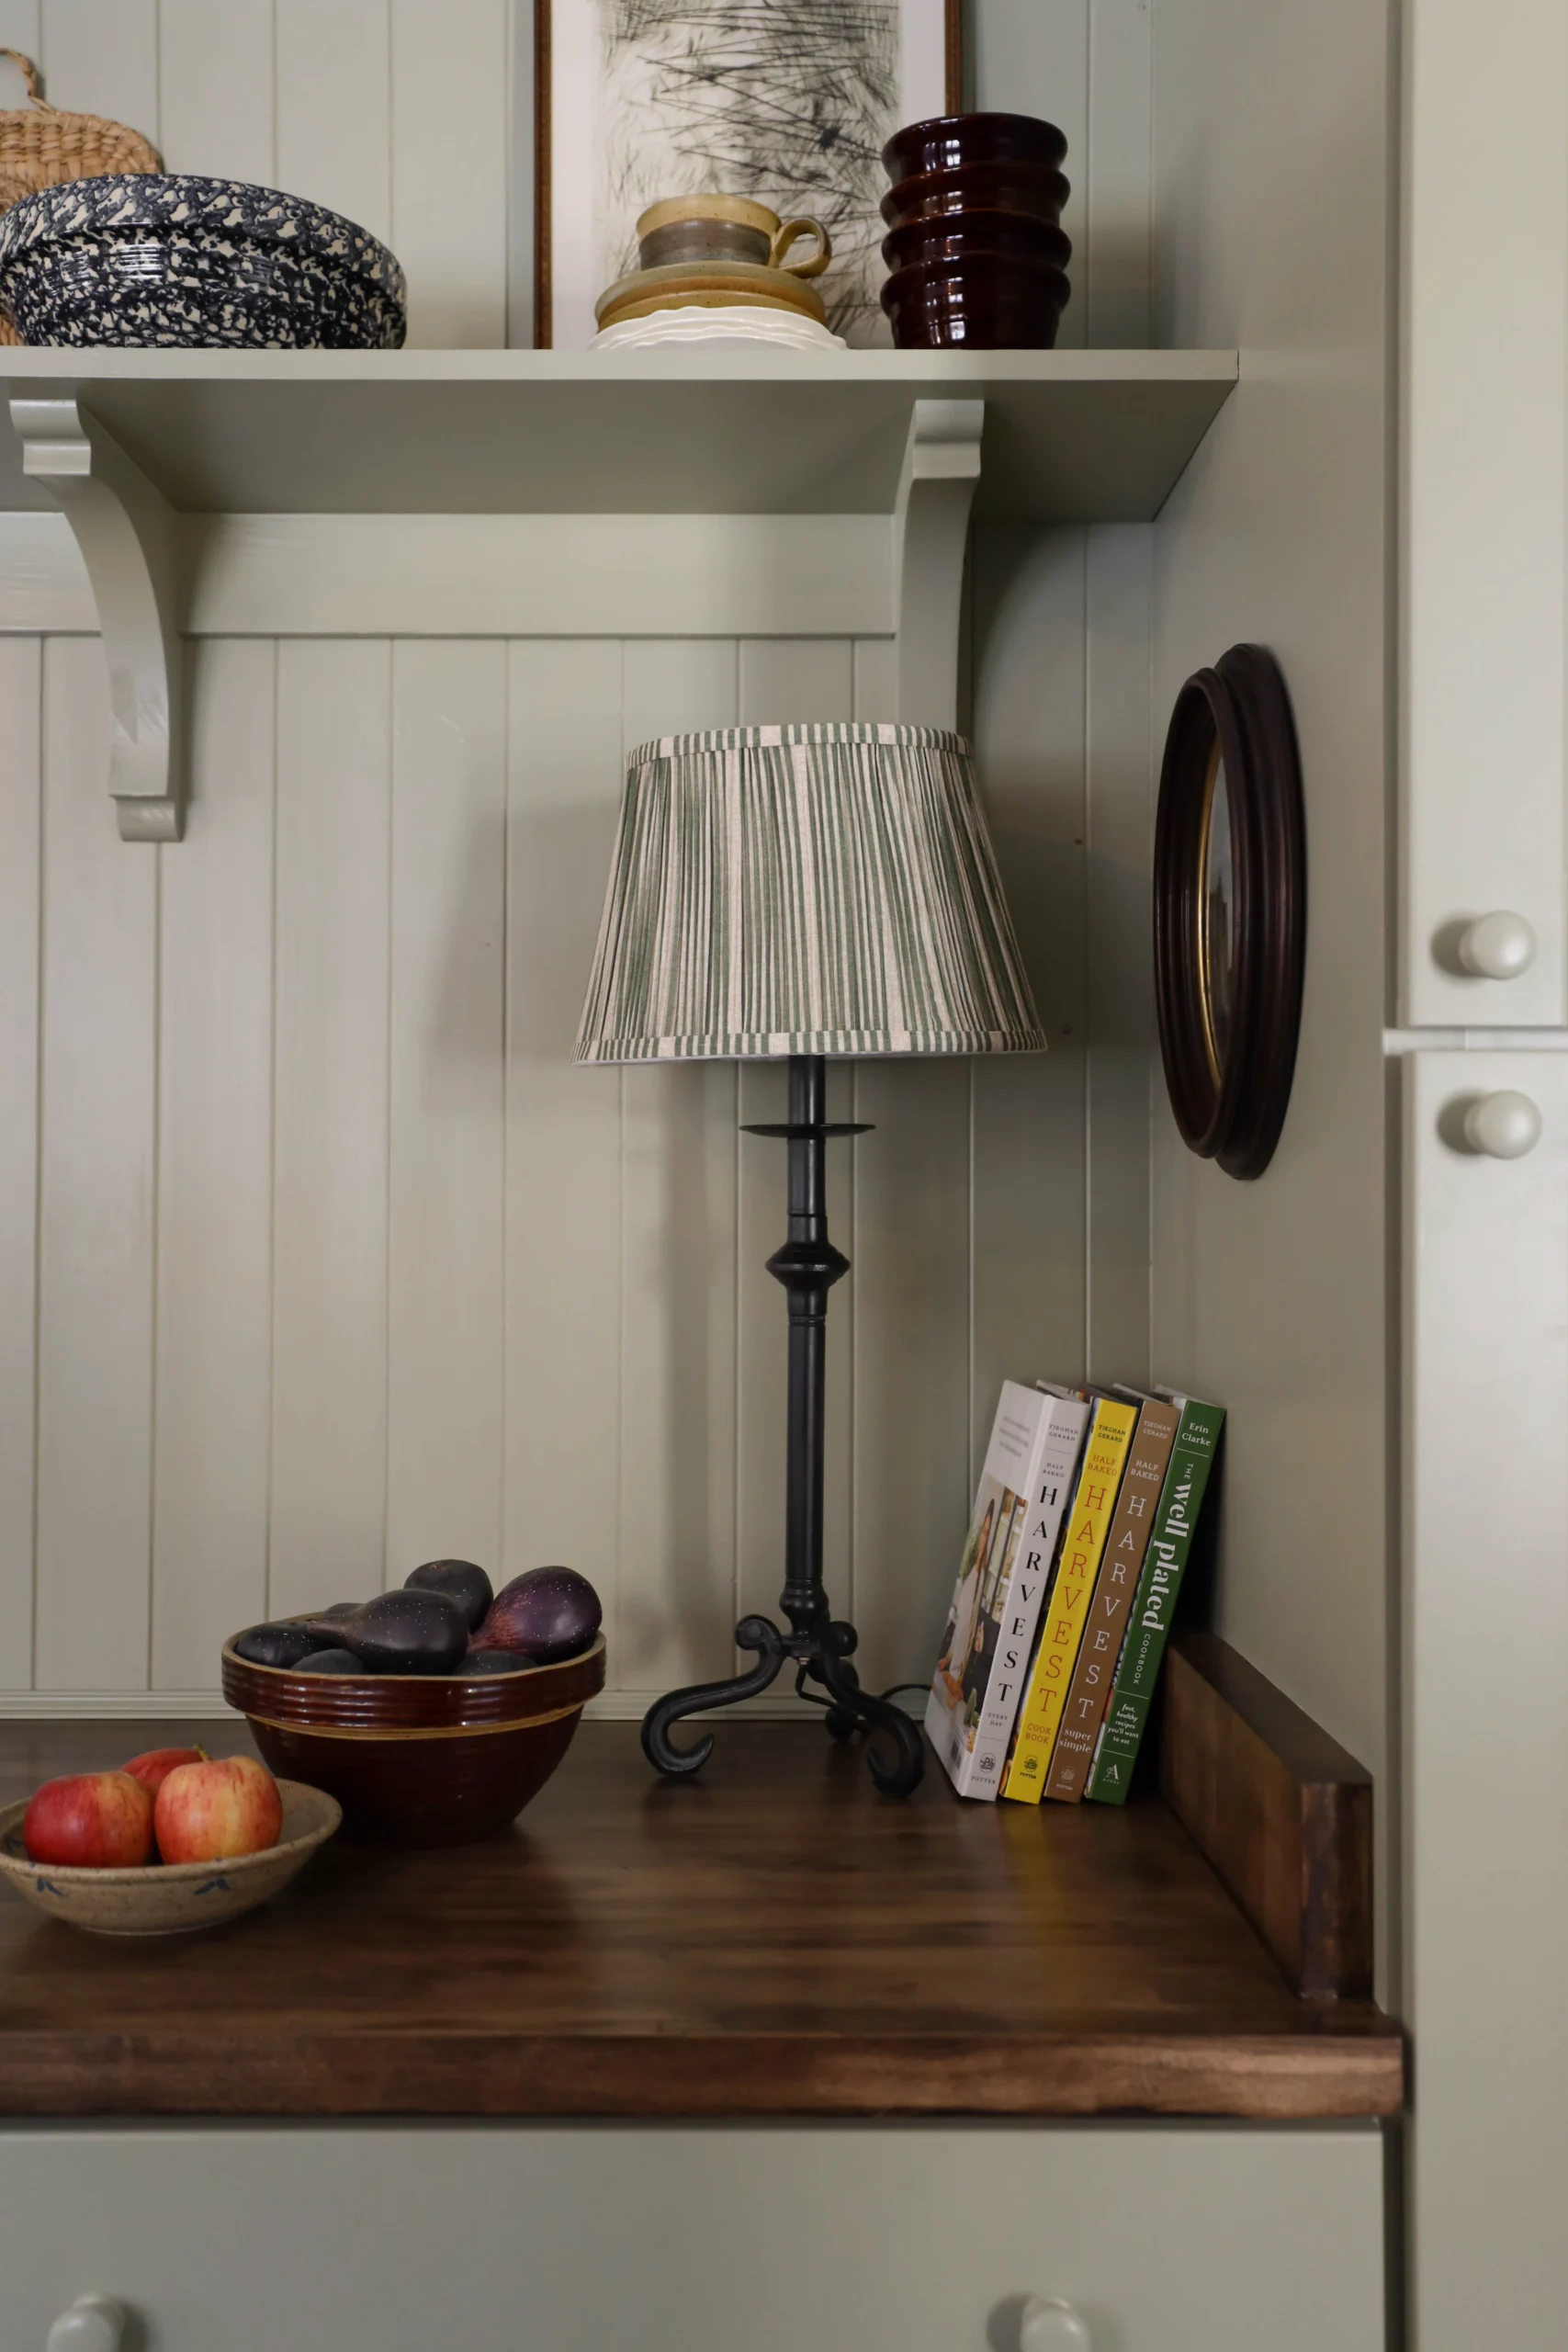
Lamp Shade – Thrifted
-
Dresser – Thrifted
Leave a Reply Cancel reply
Where behind the scenes, exclusive advice, and candid conversations are sent straight to your inbox every week.


I just rubbed and buffed a Goodwill frame. There was paper on the back which hid a problem. Someone had glued the glass in with something horribly sticky. I removed it with Goo Gone. It was a sticky gooey mess. It could have been hot glue–I don’t know. It took a few hours to do. Then I chose a gold (Gold Leaf) and rubbed it on with my fingers and a small old paint brush. However it took a while, since I did back and front. After I was done, I realized that I was not breathing well. I should have used it in a more ventilated place.. I did not read all the directions first, stupid me. The stuff is also flammable. SO BEWARE! This product was around in the 70’s. It does a good job, however.
HI Nadine, I wanted to give a gold finish to a second hand mirror frame and I thought of using rub n Buff.To give it that antique finish , I have Annie Sloane athenic black chalk paint left. Could I first paint the black chalk paint over the wooden frame and then apply gold leaf Rub n Buff for the antique gold finish?the mirror frame is currently copper in color.I am a beginner and this project will redo my console mirror so need your advice.ThanksBhamini
Hi Bhamini! Yes, feel free to paint the frame before applying Rub n Buff. Good luck with your project! 🙂