SOURCES:
Frame | Art | Wood Beads | Dried Grass (Similar) | Wood Pedestal
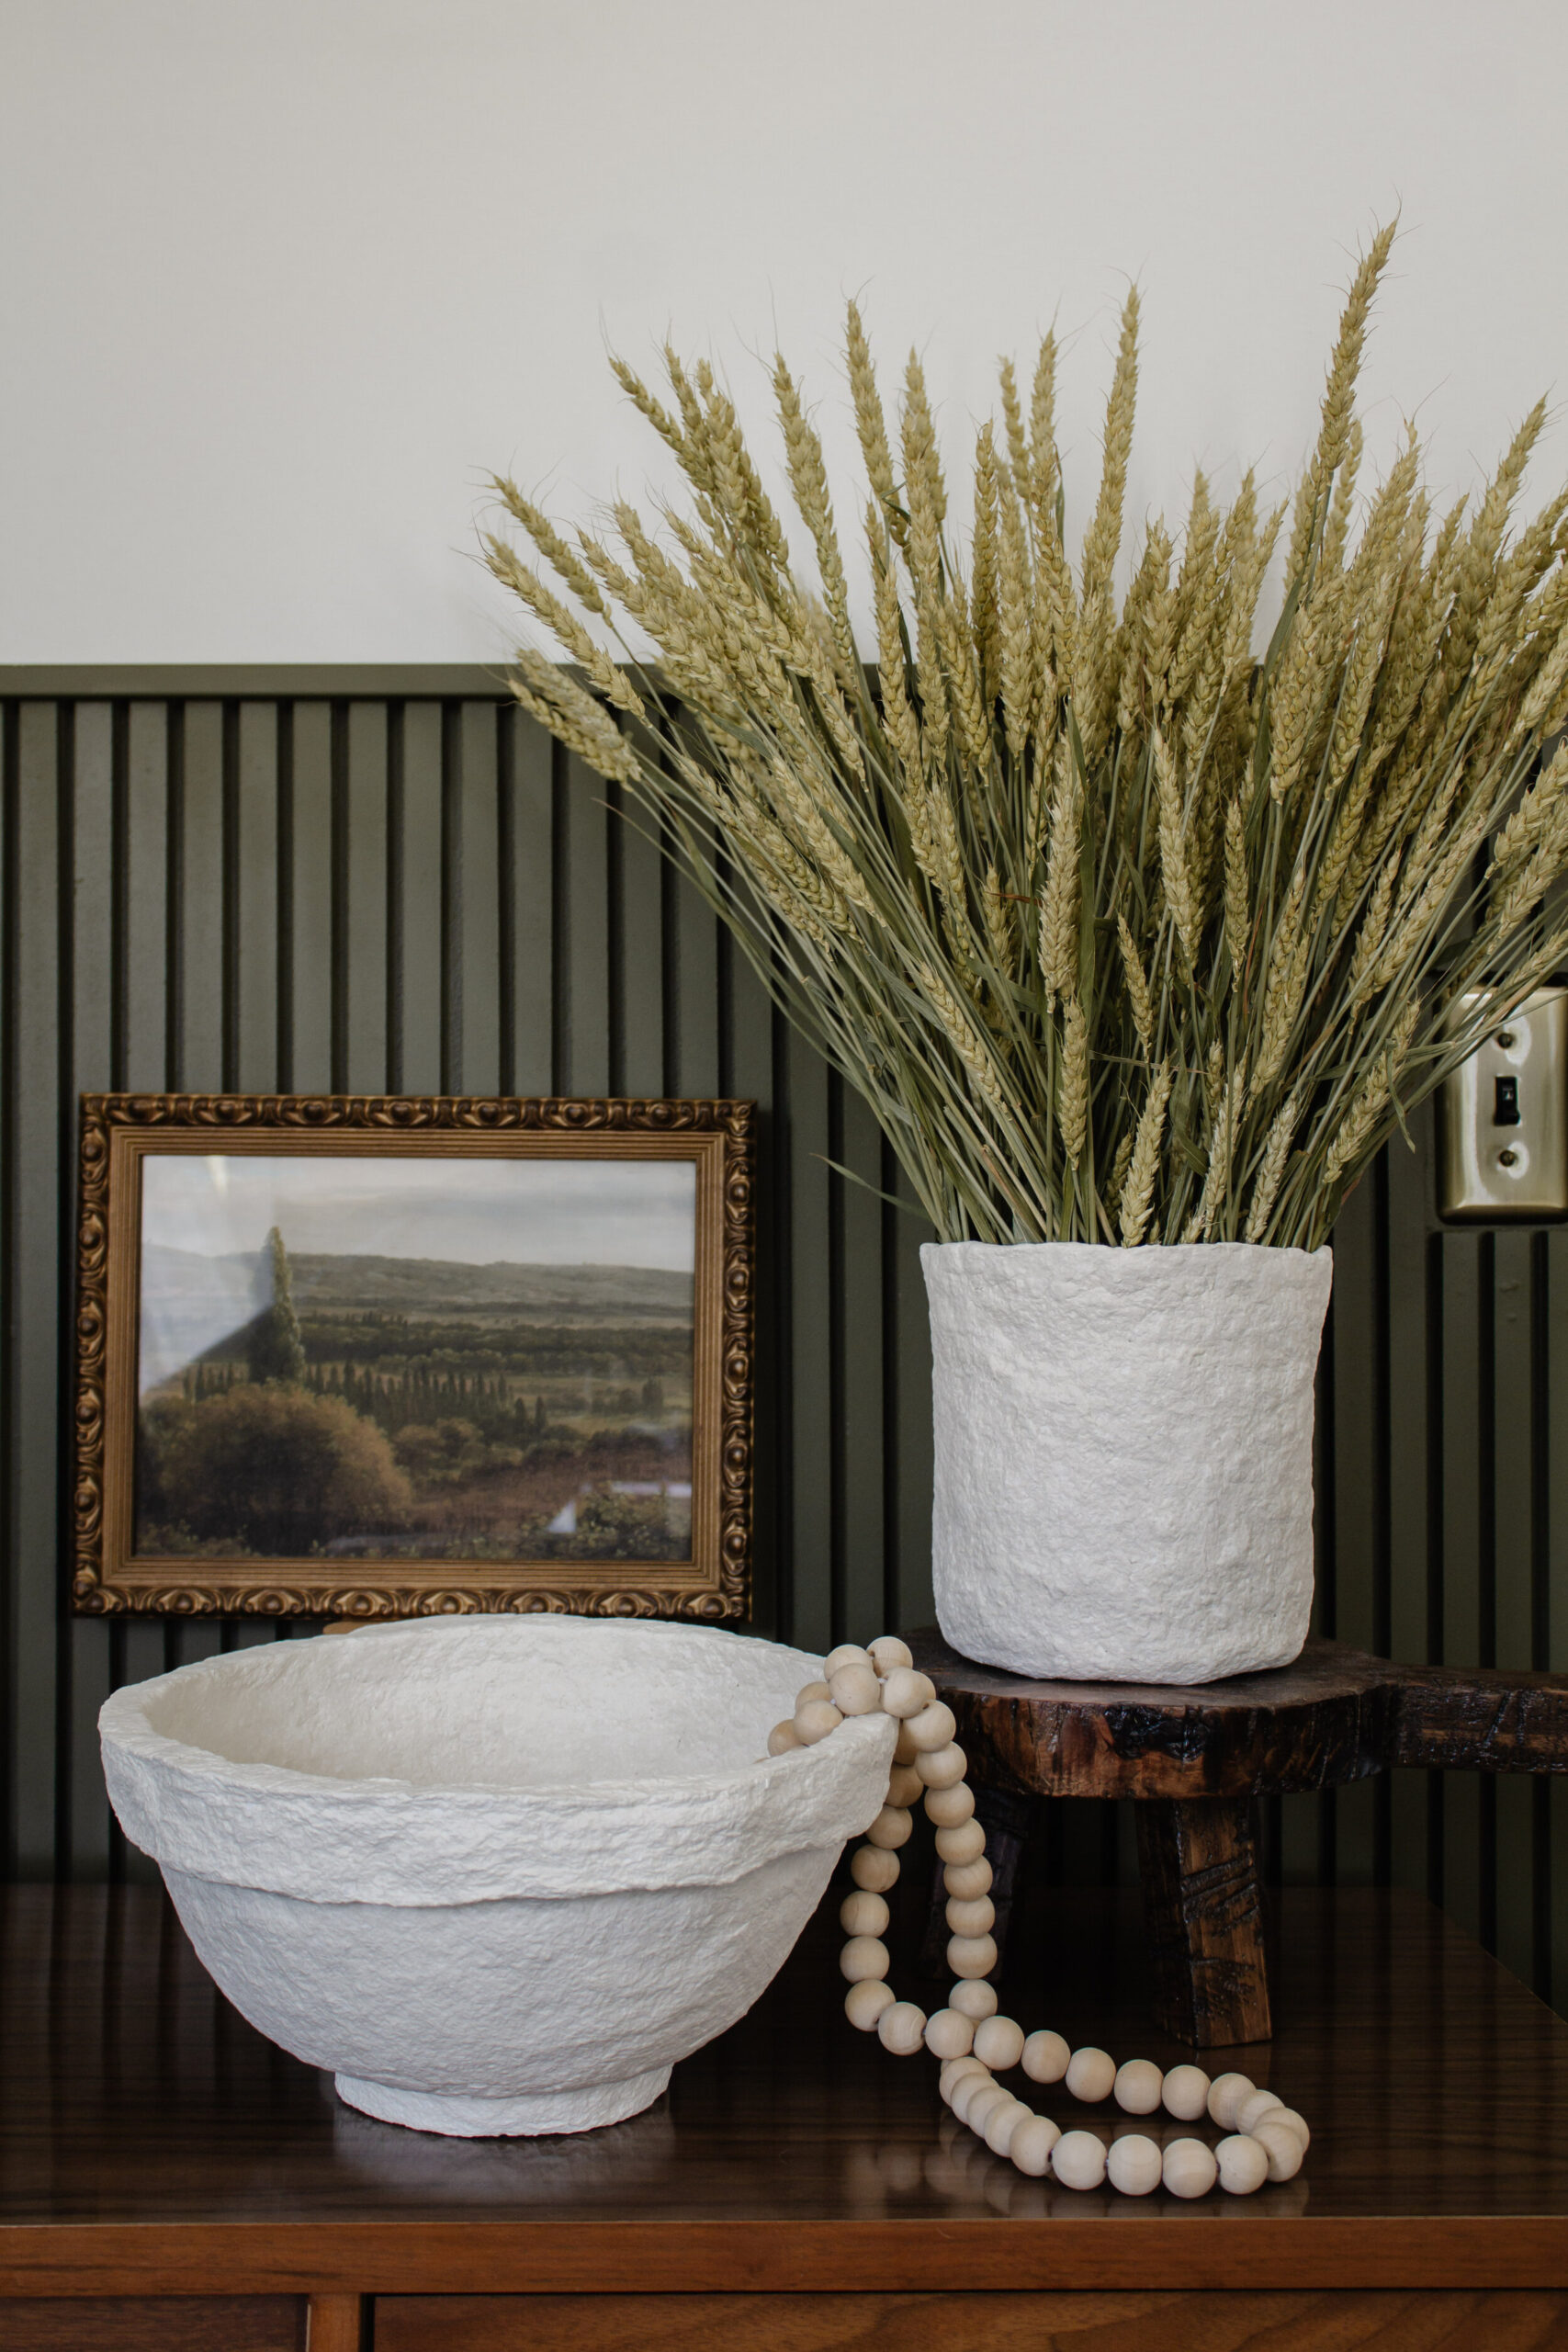
I’ve been seeing these paper mache bowls EVERYWHERE and while I’m totally obsessed, I just can’t justify spending $130 on one when I can make one for $7. I thought I had a super original idea to DIY a paper mache bowl, but then out of nowhere I stumbled upon two other tutorials online so I guess my idea isn’t as original as I thought! 🙂
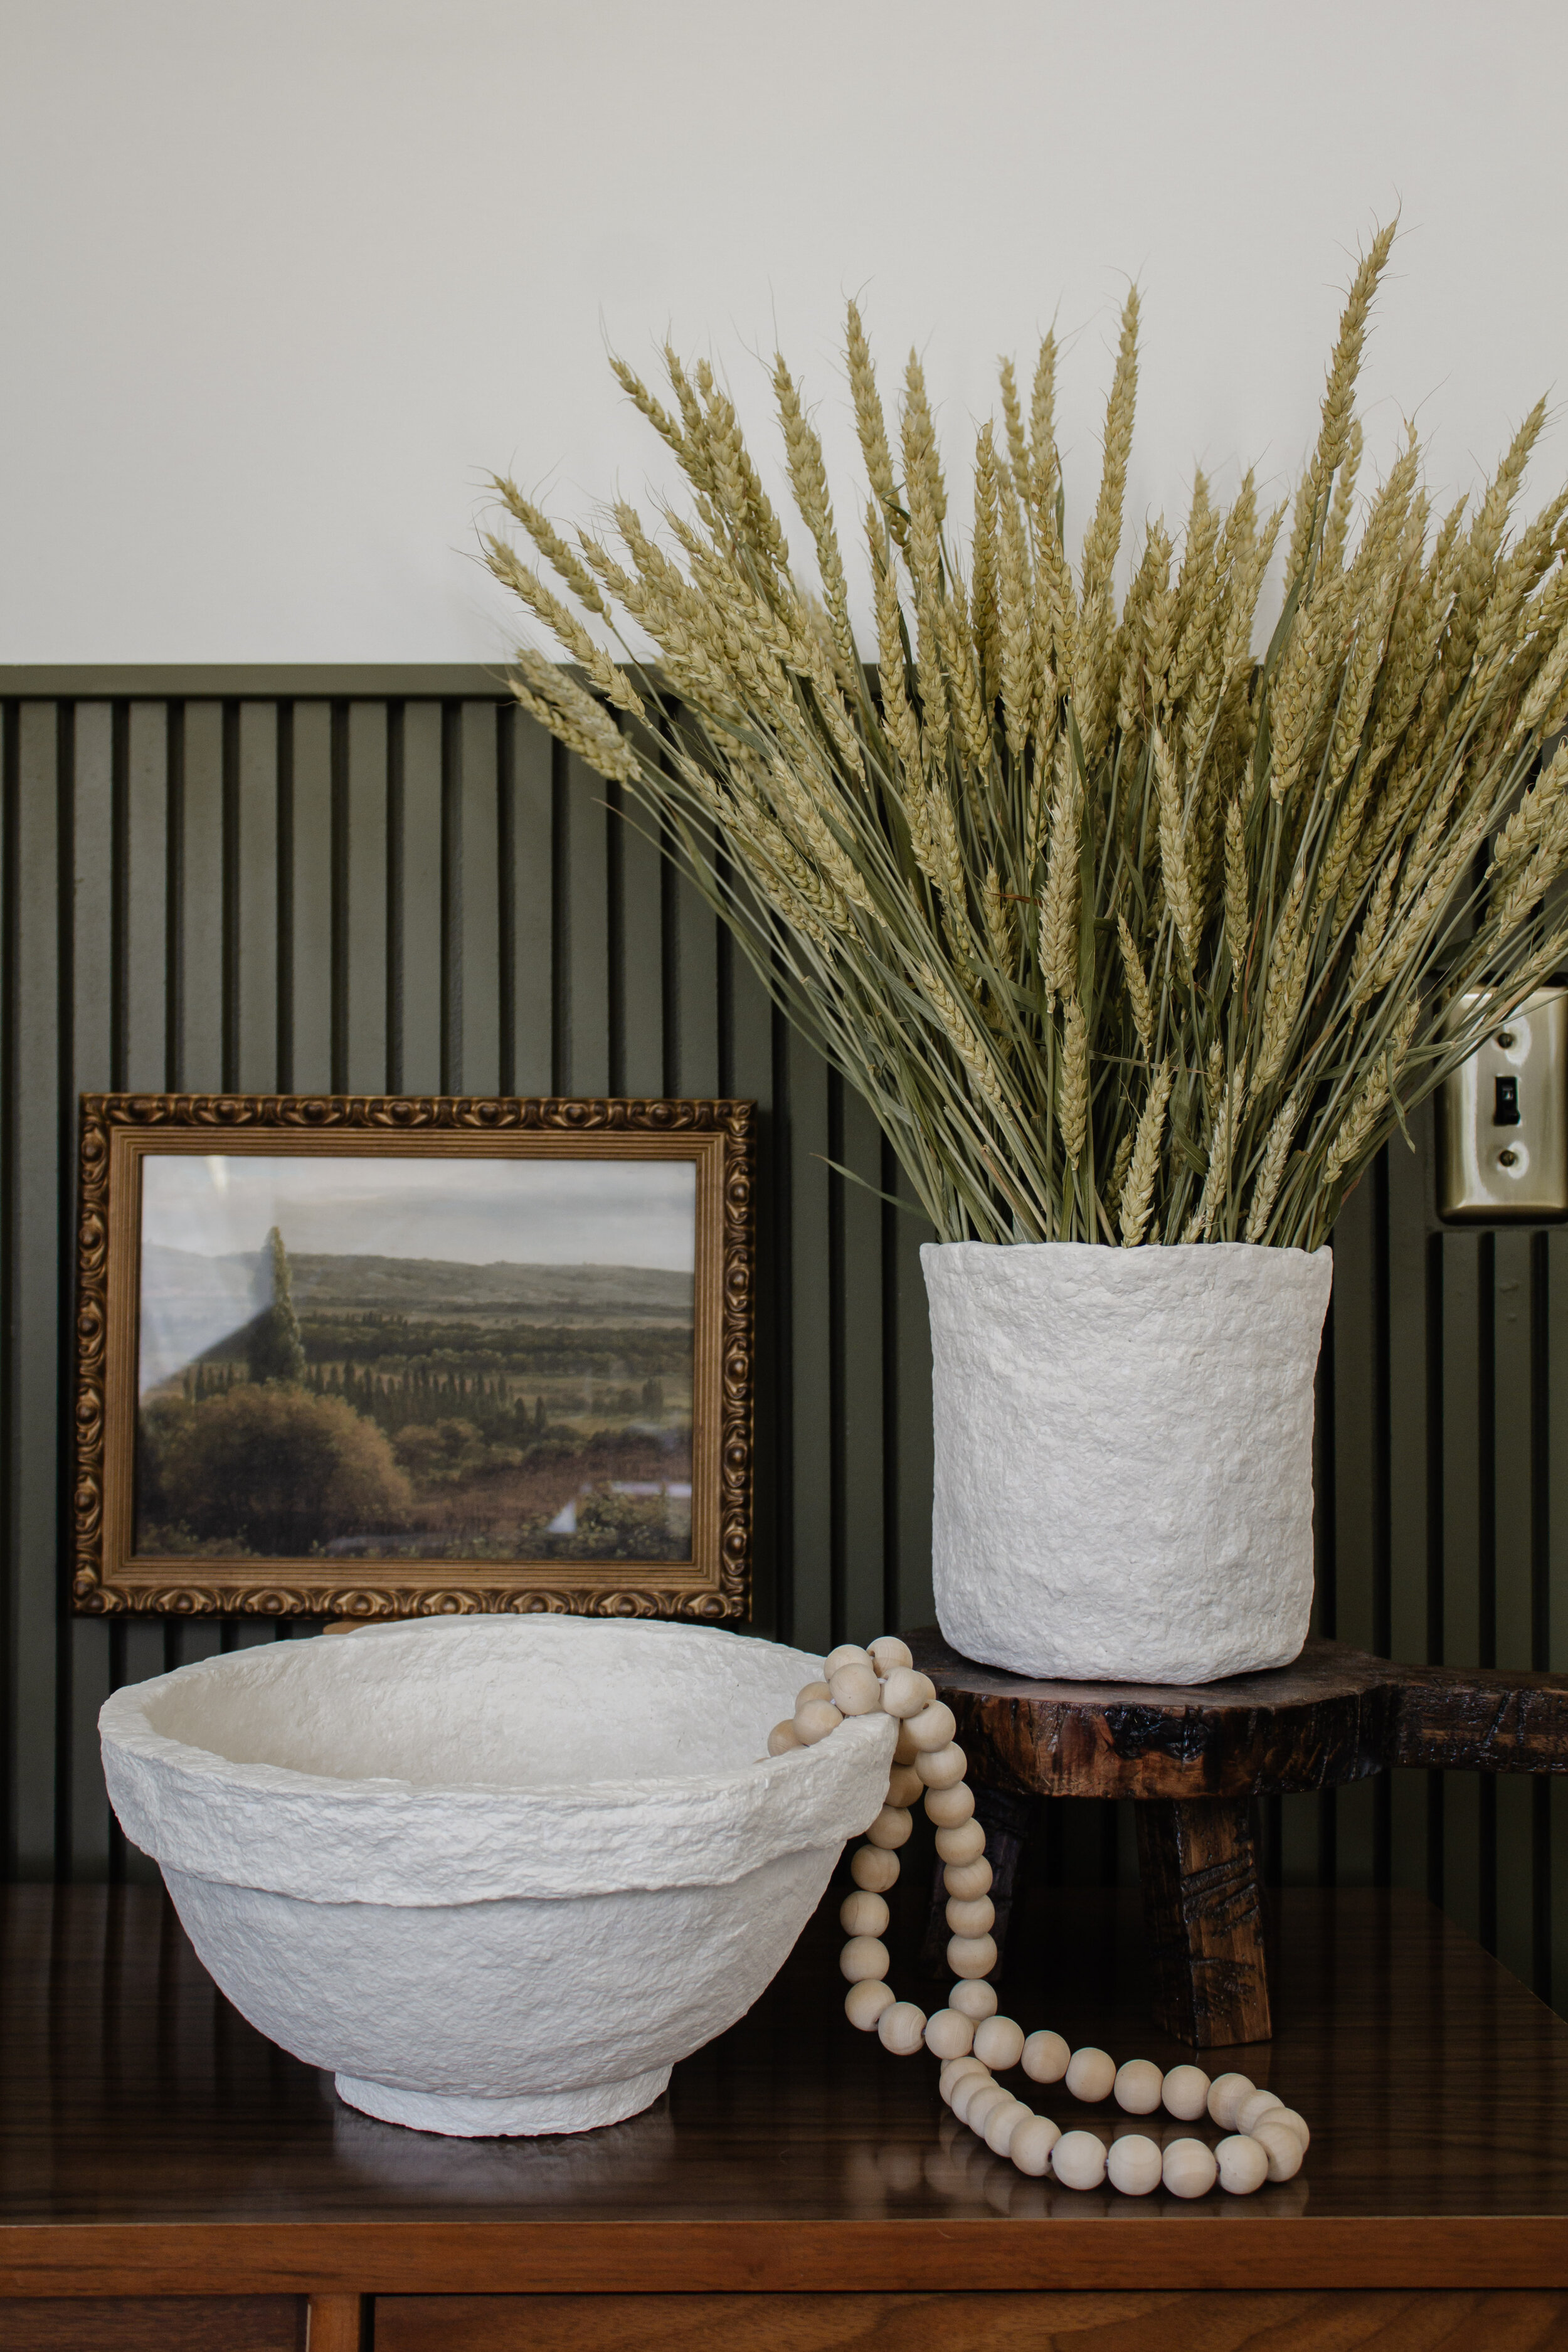
Nonetheless, I made my own paper mache bowl (and a vase – maybe that’s a semi original idea!?) and I’m sharing the process because it’s actually one of the easiest DIY’s I’ve ever done!
Here’s my inspiration –
I wanted my bowl to be big and chunky like the first photo but a soft ivory color like the second. And the vase in the third photo is actually terracotta but the texture resembles paper mache so I felt like I could replicate it. For now, I’m keeping my bowl and vase ivory, but maybe for my next attempt I can try some aging techniques.
But first, I gotta give credit where credit is due. @kinandkasa had the idea to use ready made paper mache pulp and I used the same product for mine.
MATERIALS NEEDED:
-
Bowl to use as a form
-
Tray to work on
Steps –
1. Mix the paper mache pulp.
Poor the pulp into a mixing bowl and add water until it has a firm but wet consistency. The directions recommend 1/8 cup of water per 2 tablespoons of paper mache.
I ended up making several batches and used nearly the entire bag for one 10” bowl.

2. Find an object to use as a form & wrap it in plastic wrap.
I used a 10” mixing bowl (my niece did this project with me and used the wood bowl you see above) and a utensil canister as my forms. I wrapped them in plastic wrap so that the paper mache could be removed easier once they dried.

3. Apply the paper mache.
With the form upside down (and ideally sitting on a tray lined with wax paper) I just pressed on sections of paper mache and smoothed it out with my hands. It buffed out pretty easily when my hands were wet and getting a smooth finish was easier than I thought it would be.
For the bowl, I added the circle base and rim last. It seemed easier to form the shapes on the wax paper first and then stick them onto the bowl and smooth out the seams.
TIP: I tried two techniques, one with a thick layer and one with a thin layer. I learned that it’s better to start thin so it dries faster. Once it’s dry, you can add more paper mache to thicken it up.

4. Let it dry & Touch up if necessary
Be patient, this takes a couple days…longer if your edges are thick. I let mine sit with a fan on them for a couple days until the outside felt pretty dry. Then I removed them from the forms (with the fan still on them) to let the insides dry out.
Once it’s completely dry, you can touch up any areas with more paper mache mix. I filled in a couple cracks, thin areas, and cleaned up the edges. The touched up areas seemed to blend in pretty easily with the rest and weren’t obvious when it dried again.
Done! And for less than $10 might I add. There’s something so fulfilling and rewarding about seeing something you love and making it with your own hands. I foresee a few more paper mache projects in my future!
Leave a Reply Cancel reply
Where behind the scenes, exclusive advice, and candid conversations are sent straight to your inbox every week.


Hi I love your paper mache, love your vase and your bowl too. I wanted to ask you did you use egg cartons ? Love how your look. I did a small shelf for my bathroom and I make the paper mache with egg cartons and it’s took between 4 to 7 day to dry. This is why I ask . Thank you🙋♀️
Thank you for providing this info. because I was literally just thinking how much O would love a paper mache bowl, but I refuse to spend a fortune on a craft we did as children maybe just not in this shape. I did want tell you about something regarding using dried florals since you also mentioned going that route.. I started looking into dried florals in the spring because I don’t love the look of most faux ones. I soon discovered most of the companies that sell these spray some not so good dyes and toxic stuff on these to try to help them keep longer. I am not talking about hairspray because I know that is how some individuals try to make them last longer especially if the florals will be in the sunlight since that can really make them fade. You usually cannot detect these toxic sprays by looking. If you have pets, it can be very dangerous for them. Also, popular plants like Eucalyptus that are toxic to dogs and cats are still toxic to them even if they are dry.
I spent a decent amount of dried florals with Roxy’s, which now provides some dried stems and bunches for Anthropology. I emailed them twice trying to find out if they use toxins on their dried florals, and they wouldn’t answer me, which probably means the affirmative.
I am just telling you this, so you are aware and can act with information. These toxins are harmful to humans and animals. I am personally going to look to Etsy sellers who are more likely to answer my questions honestly.