4 months ago (wow has it really been that long??) we set out to renovate our front porch. This week…exactly 17 weeks later, we put the final touches on the project and what perfect timing to finish – just in time to decorate for the holidays! Our honest thoughts? It is THE most charming addition to our exterior!
I think because we were so accustom to what our porch has looked like for the past 3 years, we didn’t realize how bare it was until we added a path leading up to it, stone steps, a brick floor, and a railing. Looking back at photos now, it looks so exposed and unfinished. But sitting on the porch now feels cozy and private. It’s been a thrilling transformation!
You know the drill…let’s do a before and after.
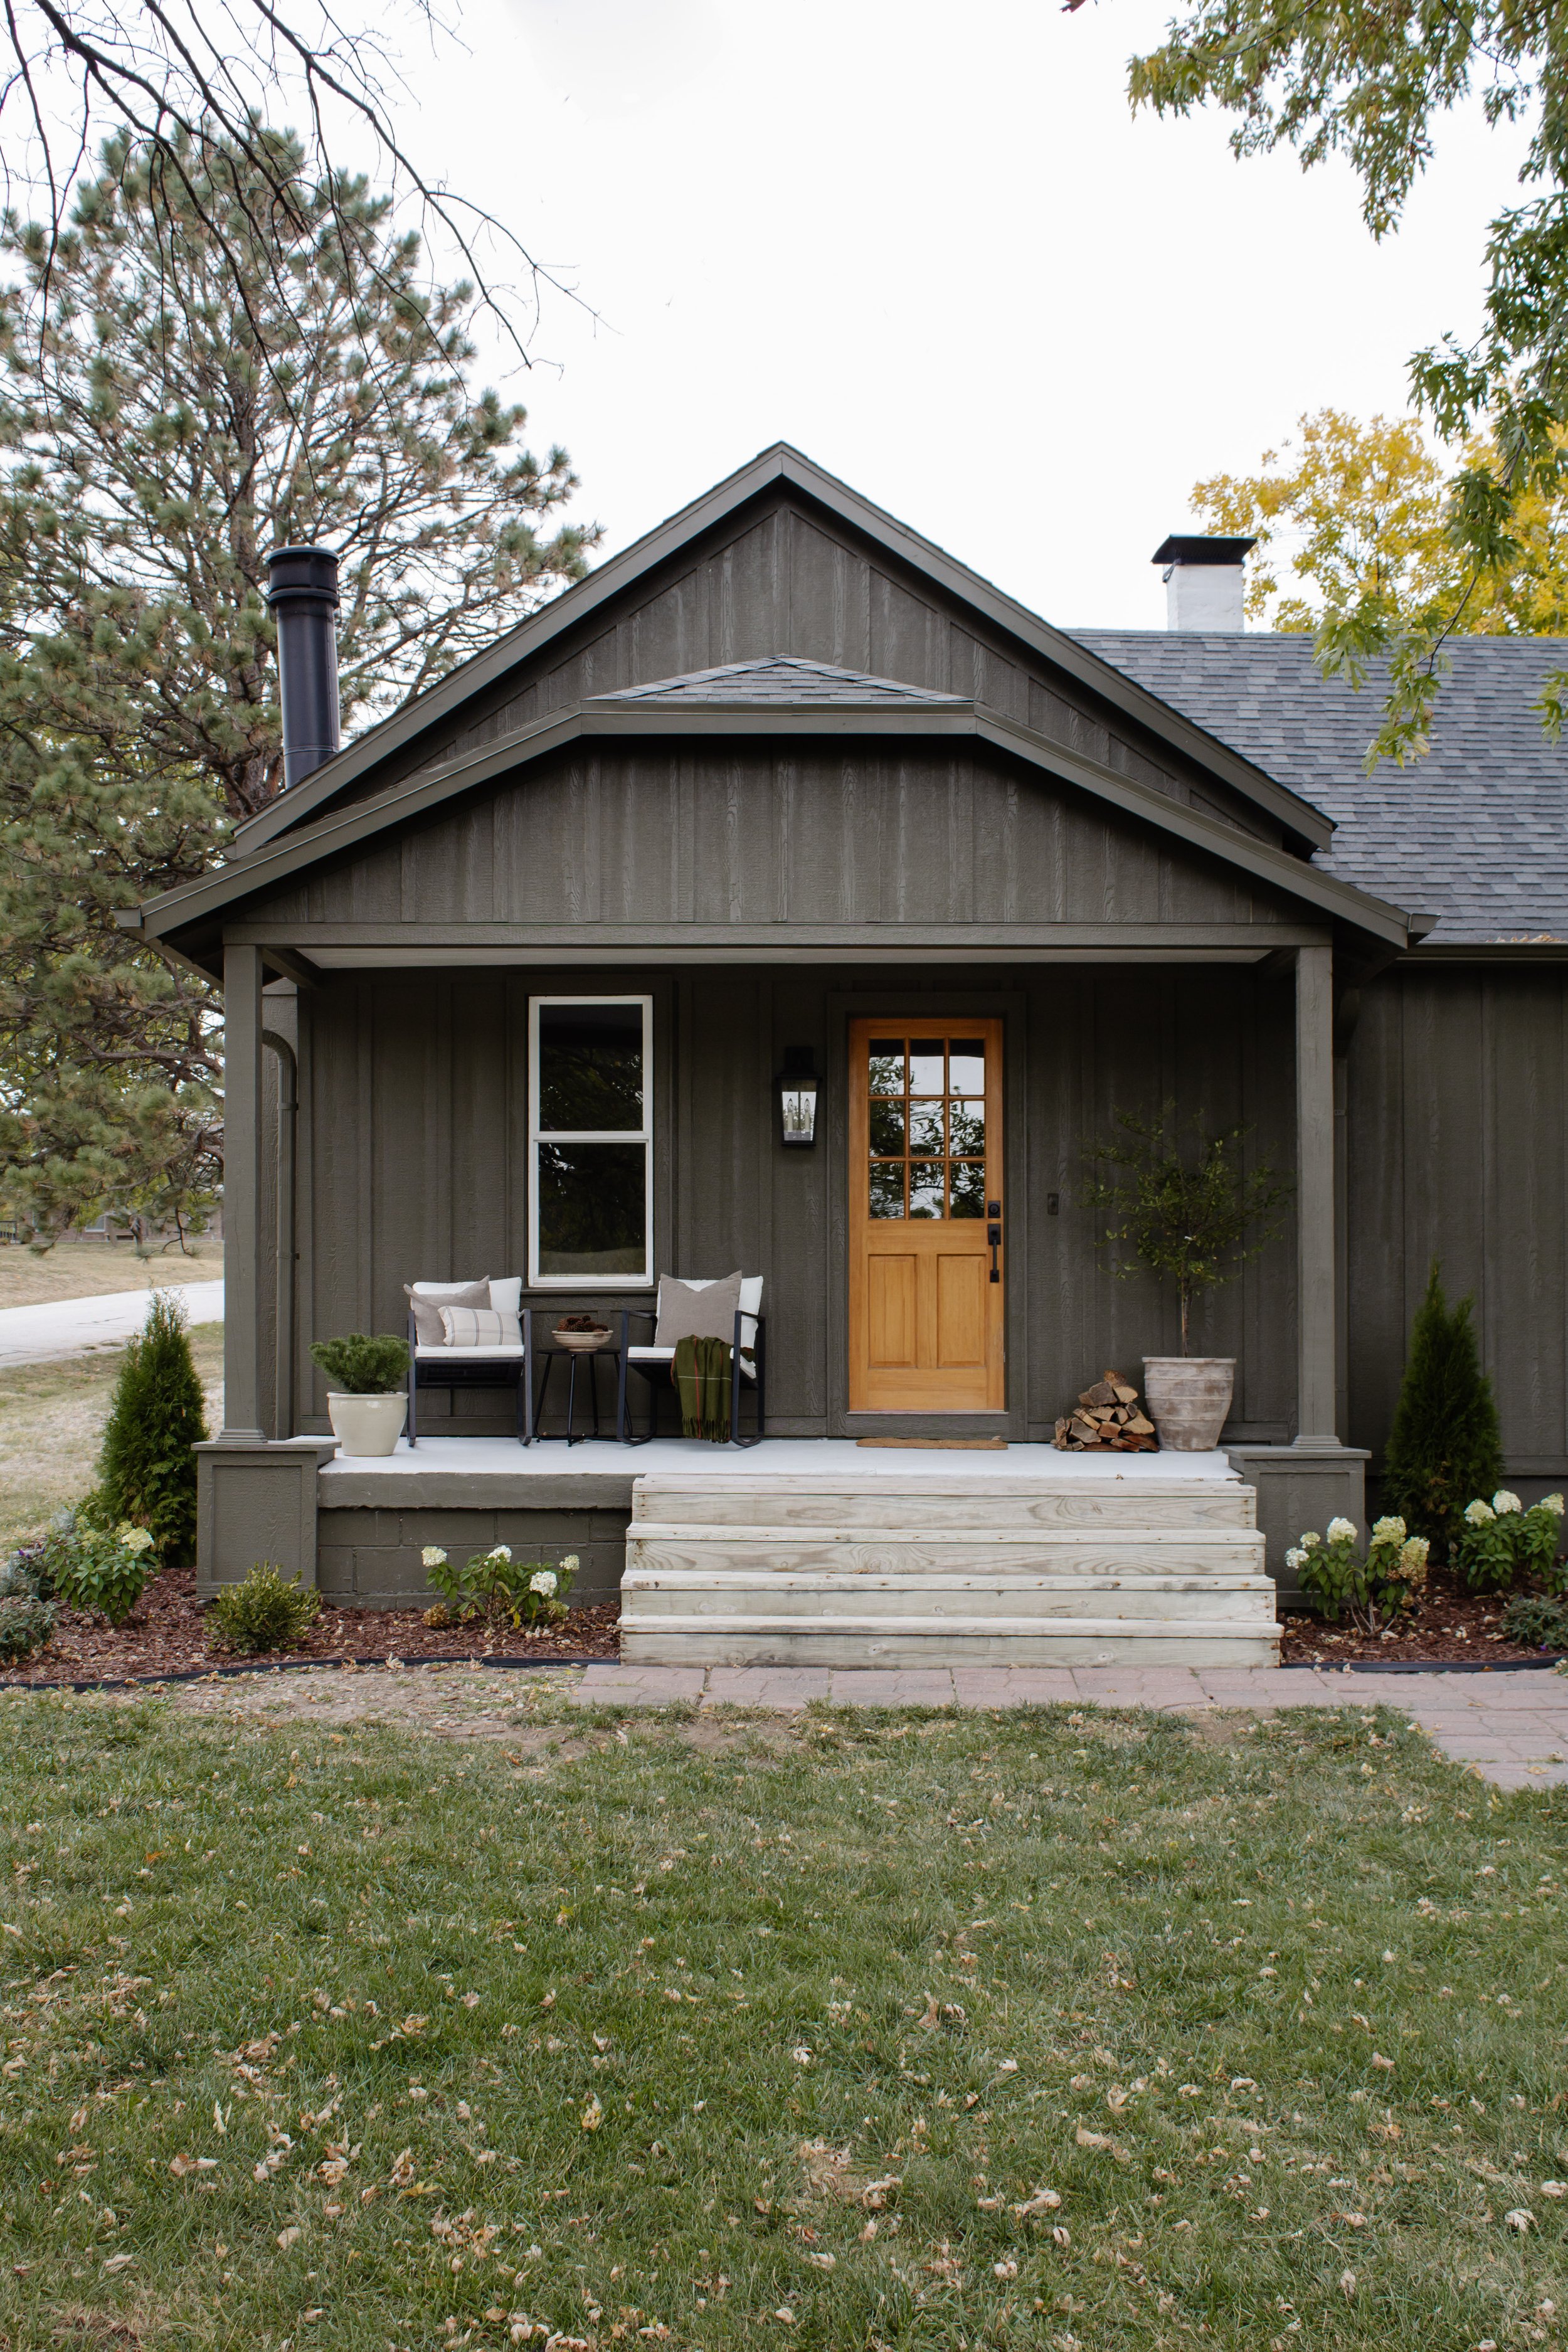
Above: Before
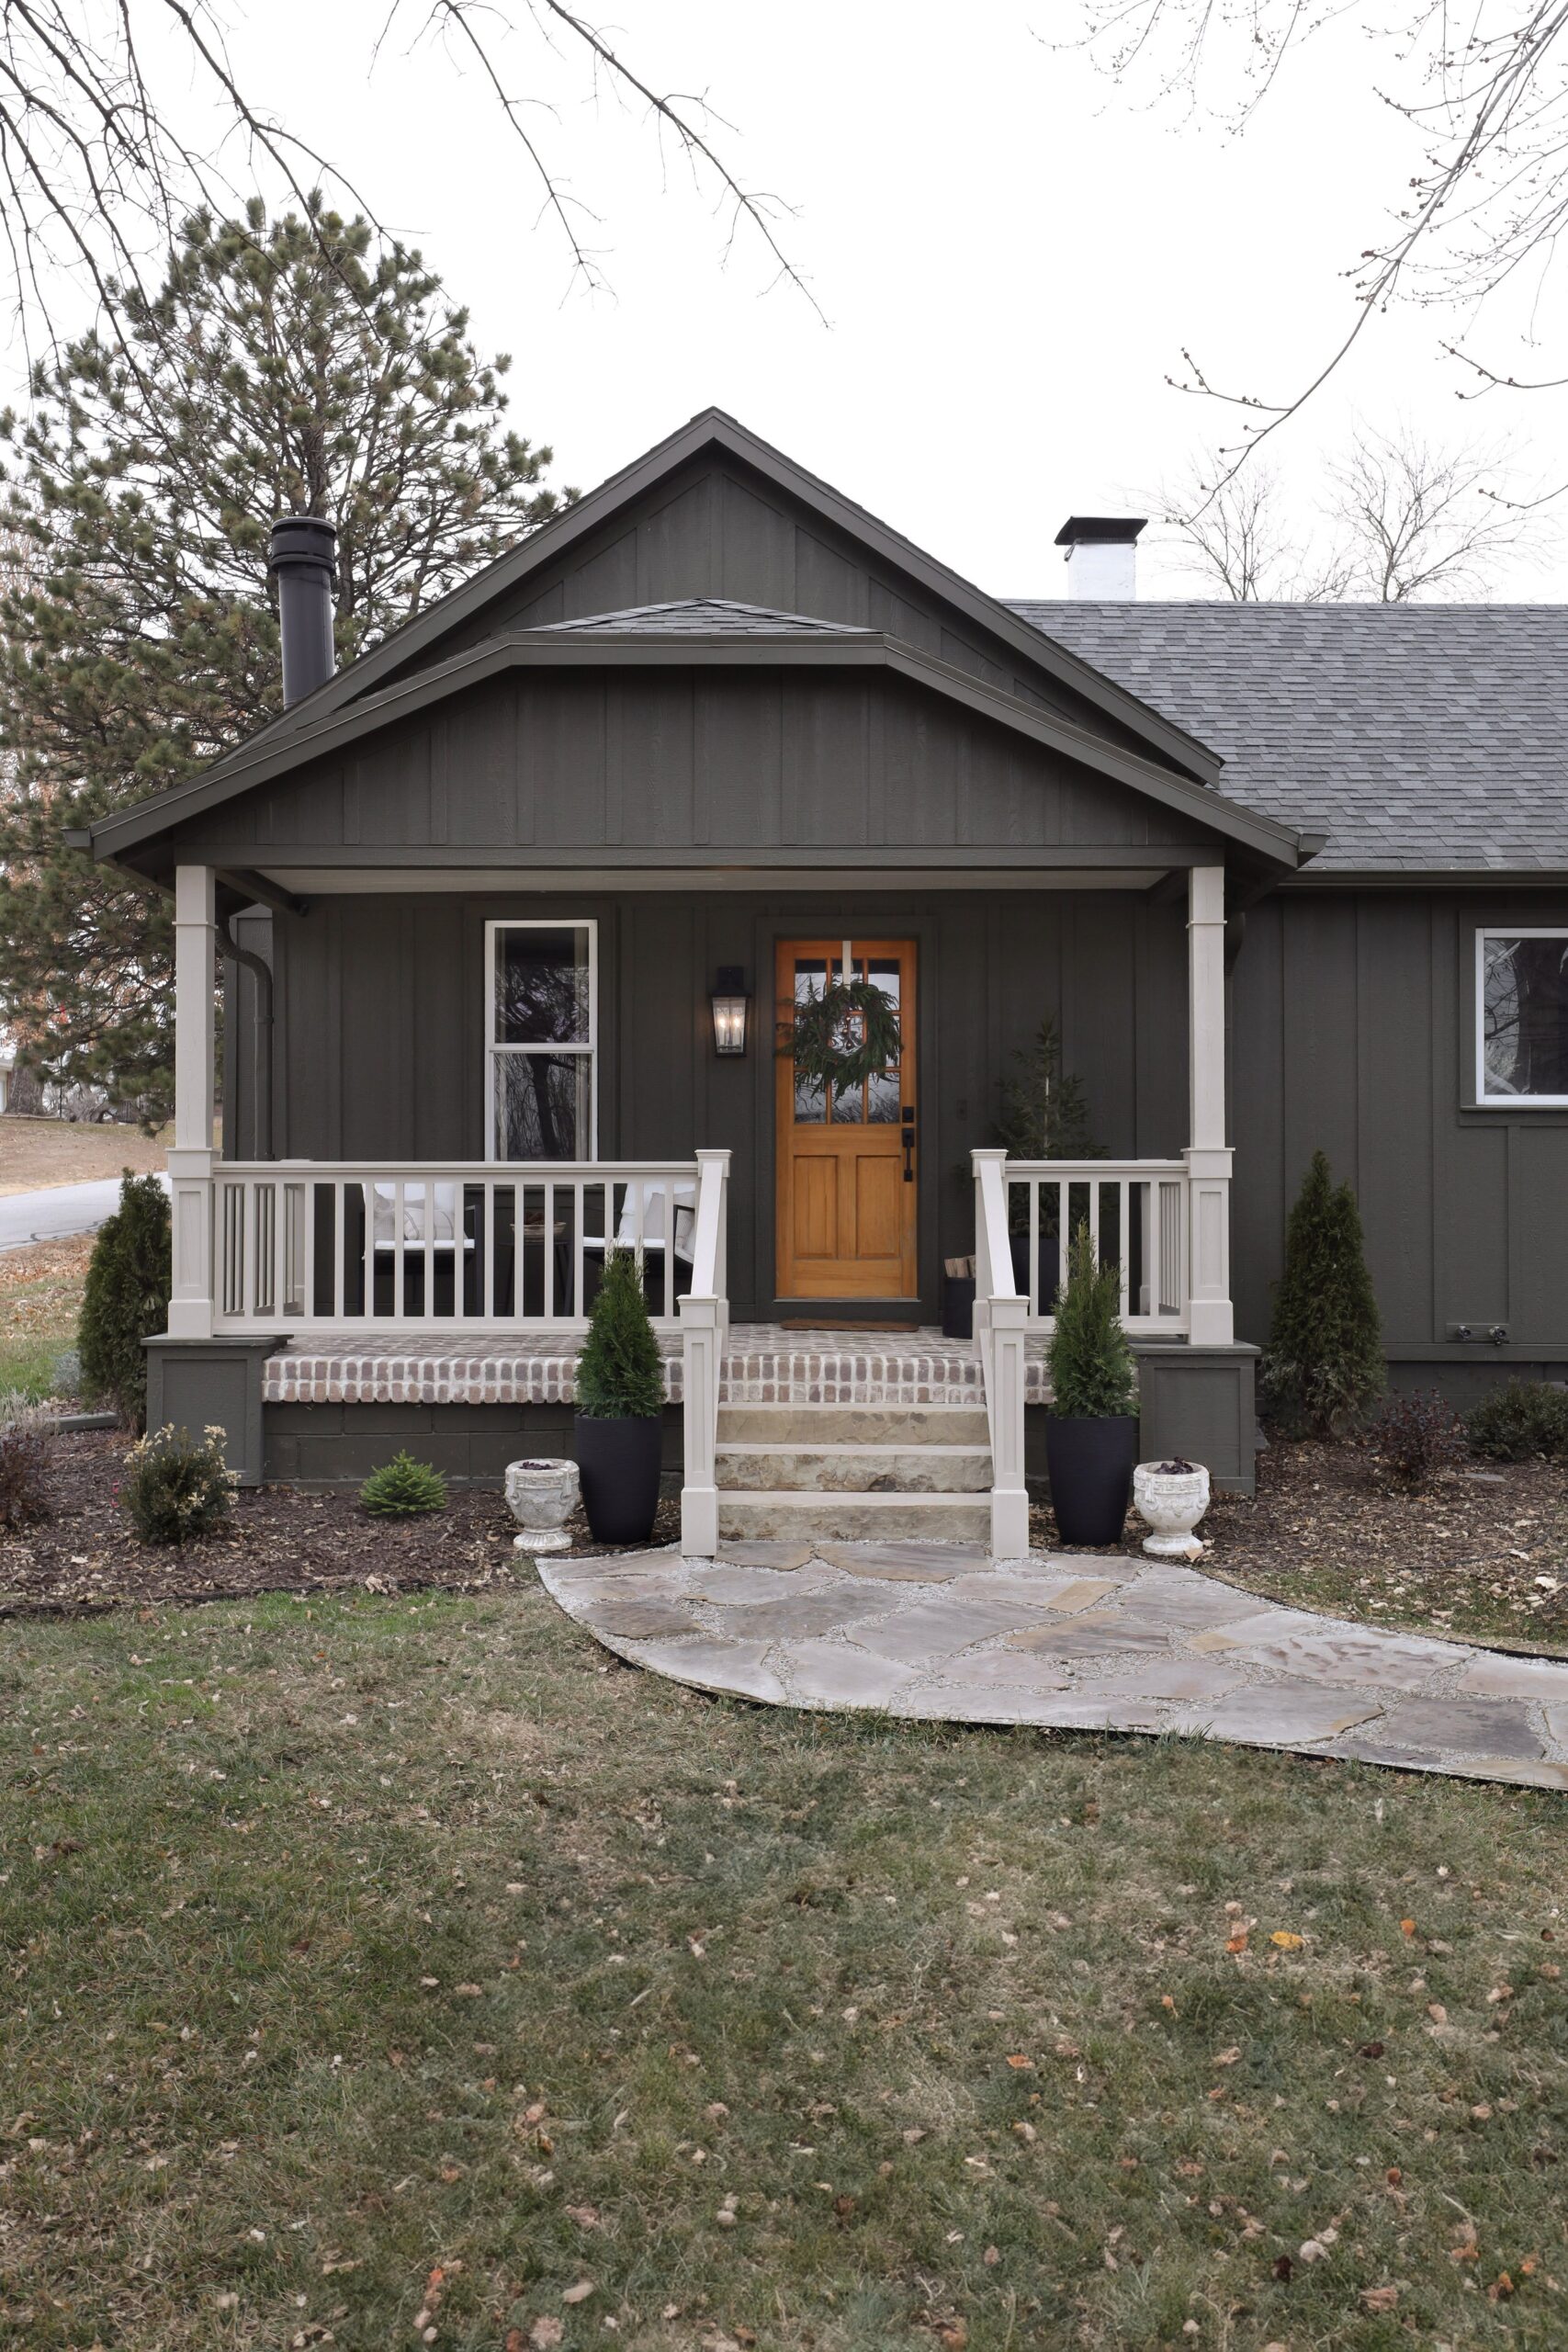
Above: After
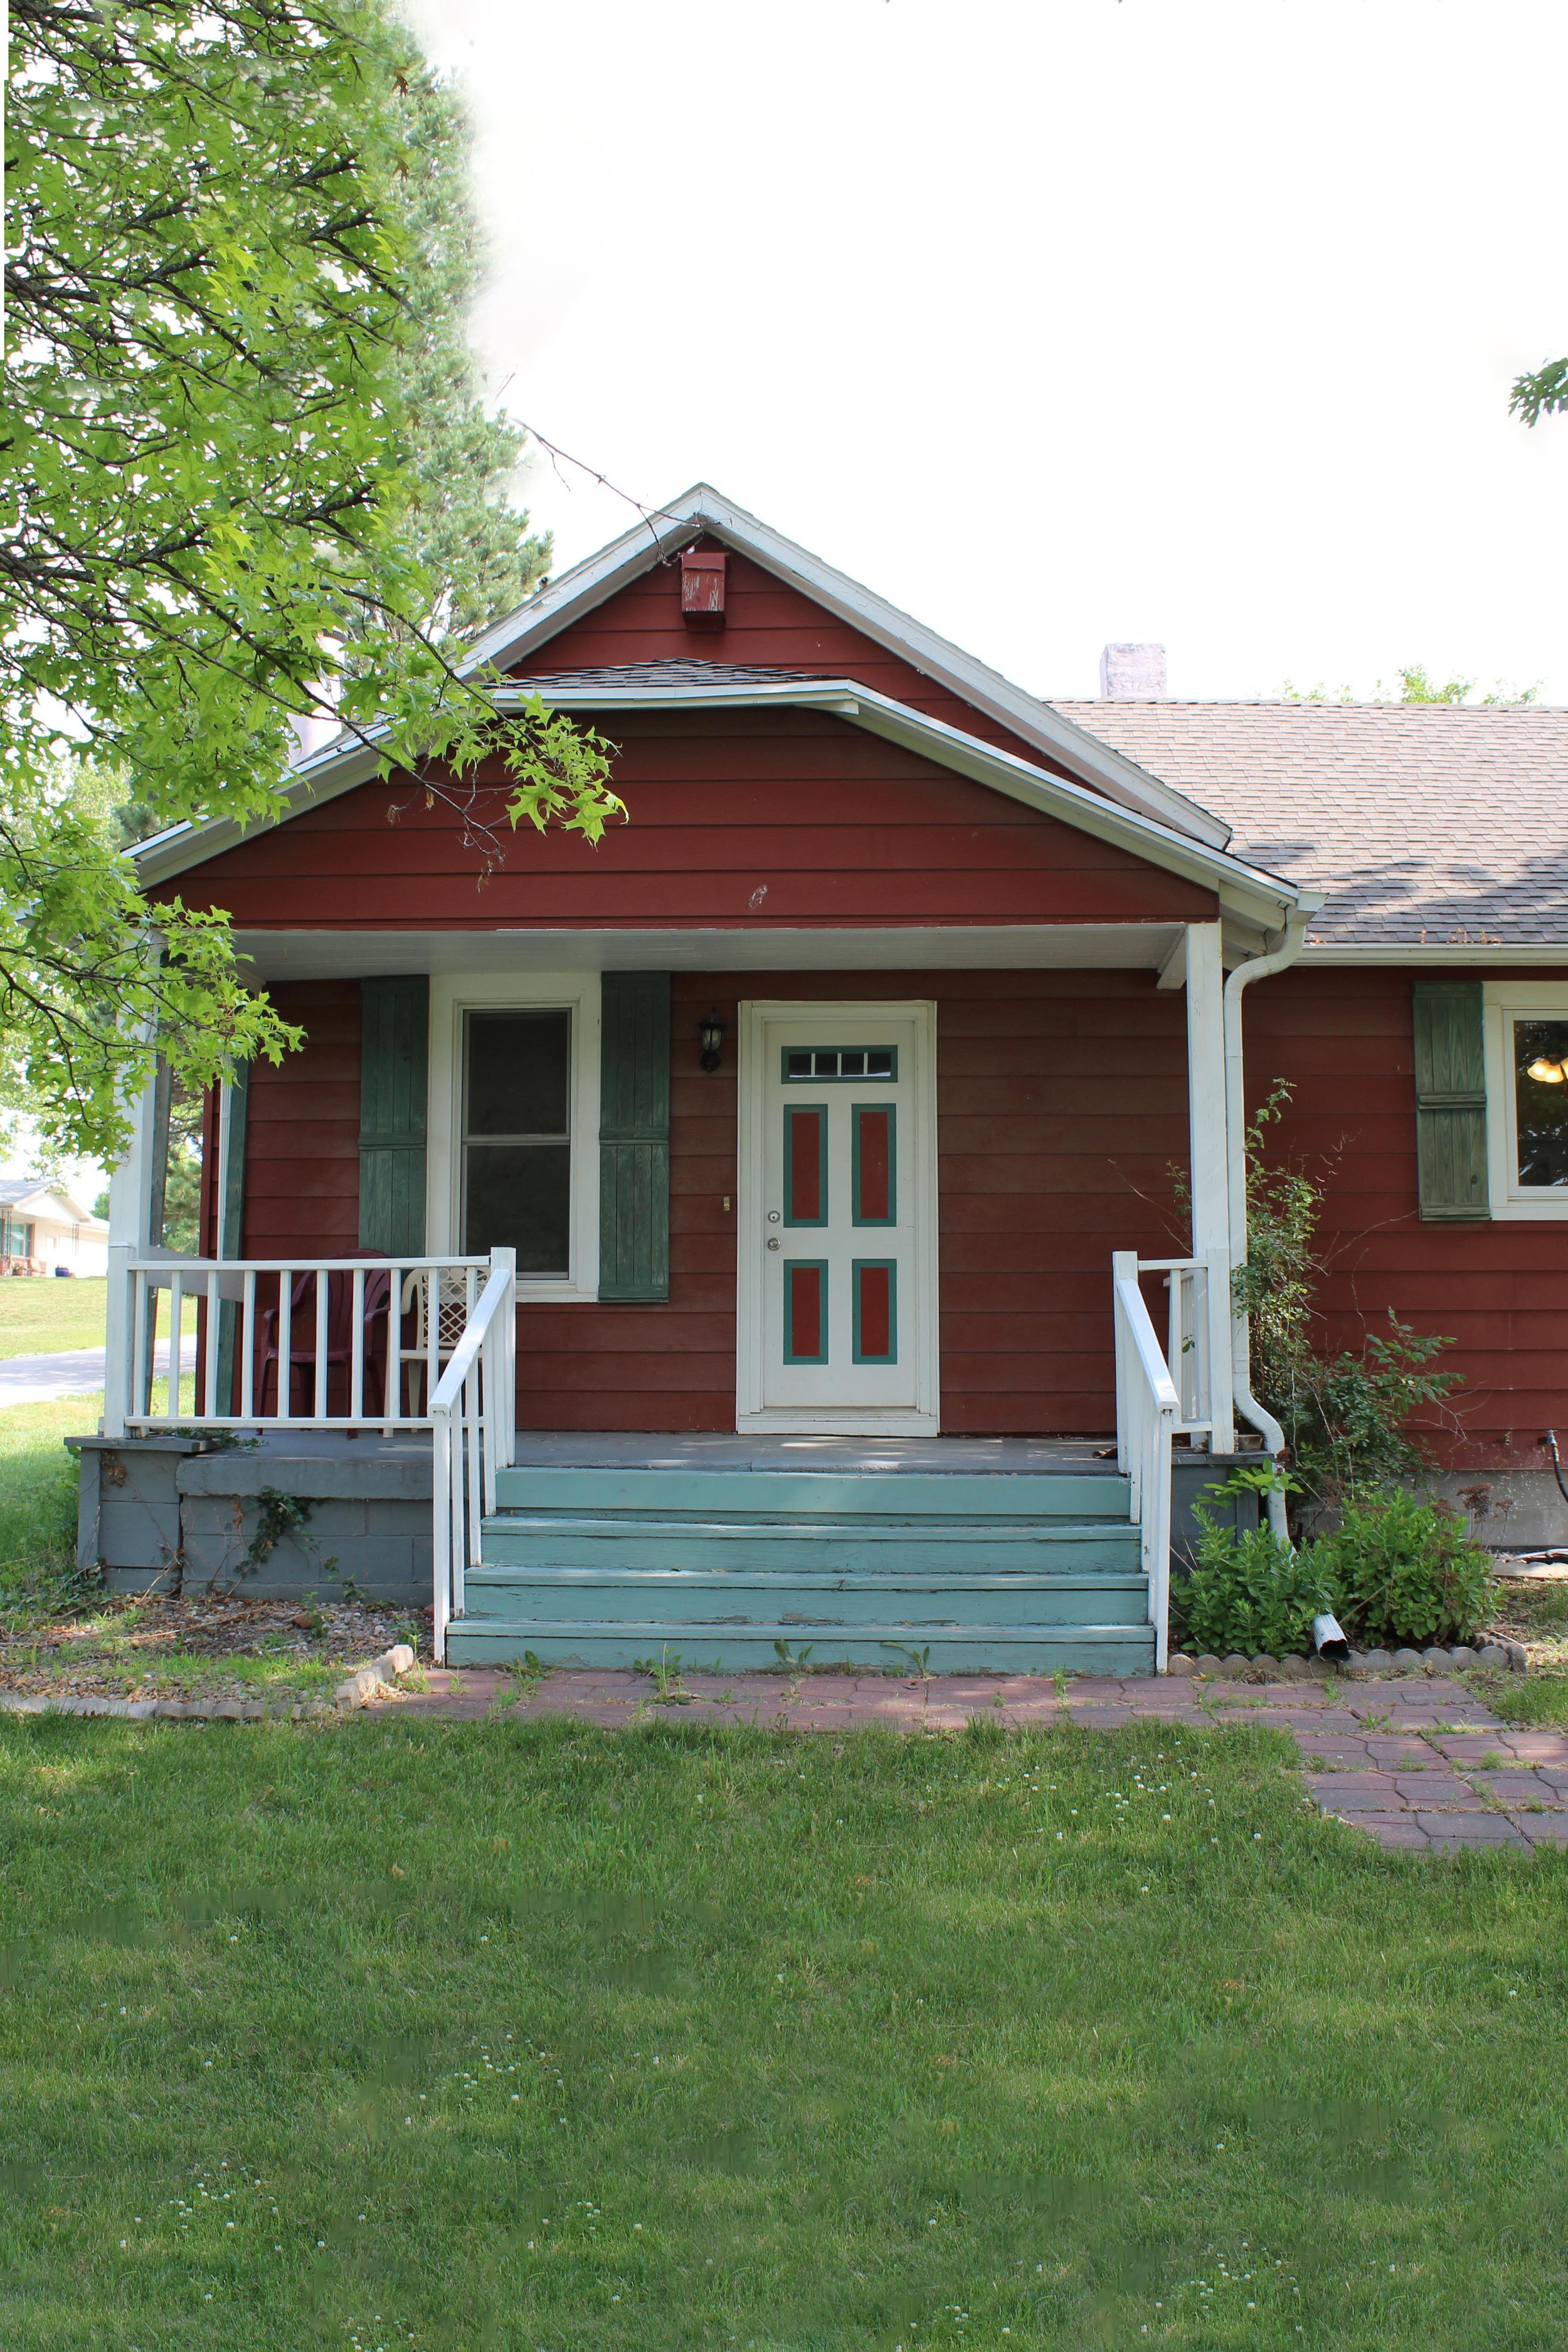
Above: The True Before (Before we resided and did our phase 1 exterior renovation)
Let’s start from the beginning. We started by laying a flagstone path from our driveway to our porch steps. Previously we had red faux pavers in a very linear shape and I envisioned something more organic in both shape and material. We opted for flagstone in the color Foxglove with a limestone chip filler and it’s the perfect whimsical path that I had hoped for.
We installed the path ourselves and, to our surprise, this was the quickest and easiest project of all the porch projects we did. Read more about how we installed the flagstone here. Or see a budget breakdown of the flagstone path here.
Once the path was installed, we moved onto the porch steps and porch floor. After a lot of deliberation, we landed on Black Hills Sawn stone steps. We purchased them from a local stone yard and had the ambitious idea to install them ourselves. Of course, these stone steps are 400 lbs a piece so we had to get creative in how we moved them without equipment. Rolling them on PVC pipes worked surprisingly well.
The natural stone with the irregular fronts are the perfect compliment to the flagstone. It was a risky choice (for me at least) to mix two different types of stone that are seen side by side, but with the natural variation in stone, I was able to find flagstone and stone steps that featured both orange and blue.
I think matching 2 types of stones gave me a confidence boost because I decided to add a third natural material to the mix – brick.
While the previous painted concrete floor served us (somewhat) well temporarily, I’ve been envisioning this tumbled brick floor for years! I was nervous about the color of the bricks not meshing with the steps and flagstones, but again, with all the variations in natural materials, they blend seamlessly and I love the combination of all three.
The brick adds a sense of history to this house. While it’s not original, it feels original with the imperfect tumbled edges and the charming imperfections.
We installed the brick ourselves and it’s a very beginner friendly project. If you’re wishing to add thin bricks to your porch, I shared the full tutorial here.
And of course the railing. The most complicated piece of this porch puzzle. While we could have saved ourselves a month’s worth of work had we installed a pre-fabricated railing, I just knew this house deserved something a little more custom. Initially I planned on ordering a custom railing, but after being quoted $3-$4k for the unassembled railing parts only, we shifted our plans to a DIY custom built railing instead. Meaning we built this railing from scratch.
I pulled inspiration from a few different custom railings I loved to create our own unique style. It’s a mix of Craftsman with the box trimmed posts. A smidge of Traditional in the decorative trim wrapped along the base trim. And there’s a modern twist with the balusters being an unconventional width and depth. My main focus was layers. A layered handrail, layered box trim and baseboards wrapped around each post, and layered post caps. The trim around each post makes my heart pitter patter every time.
Part of the railing is wood and some parts are PVC. Anywhere the railing or trim came into contact with the ground, we used either cedar or PVC to avoid rot.
While I initially planned on sharing a build tutorial for the railing, it became far too complicated to lay out each step. I shared as much of the process as I could here, but you’ll have to forgive me for the lack of depth I offered.
While I initially thought about painting the railing the same color as our house (Muddled Basil by Sherwin Williams), we both realized that we wanted the railing to pop. A pure white would’ve been too stark of a contrast for me, but a cream was the perfect soft contrast from the house. I landed on my new go-to color – Oatbran by Valspar.
I just don’t think we fully anticipated how much of a difference this project would make to the curb appeal. Just when we thought we were almost done, we kept adding layers (both big and small) to the porch. And with each addition, it felt like a massive transformation.
So with the porch renovation under our belts, we have officially finished the exterior of our home! And what a sigh of joy that is!

Leave a Reply Cancel reply
Where behind the scenes, exclusive advice, and candid conversations are sent straight to your inbox every week.



This turned out lovely! Amazing how adding those small details really ups the charm-factor!
Thank you Jean! We just can’t believe how much of a difference it made!
A vast improvement! You must be so proud of the job you did.
Thank you so much! Not gonna lie, we’re kinda proud of ourselves for figuring out all the math in the railing build process! 🙂 Our brains are mathed out now.
You guys did an amazing job. I hope you both take a break now & relax a bit.
Already in the R&R zone!
You both are doing a great job and can be very proud of your selves. Happy Holidays!
Thank you so much Ann! So thrilled to have this project under our belts!